To create stunning reflection photos, start by adjusting contrast for clarity, enhancing the distinction between light and dark areas. Next, crop your image to perfect symmetry, aligning the horizon and following the rule of thirds. Fine-tune colors to boost impact, especially in water reflections. Remove distractions using healing tools for a cleaner composition. Apply subtle vignettes to draw focus to the central elements. Experiment with black and white conversions for dramatic effects. Finally, balance exposure between reflected and non-reflected areas for a harmonious look. These pro tips will elevate your reflection photos from ordinary to extraordinary. Dive deeper to master these techniques and transform your images.
Adjust Contrast for Clarity
When it comes to editing reflection photos, adjusting contrast is essential for clarity. By increasing the contrast, you'll enhance the distinction between light and dark areas, making the reflection more prominent and eye-catching.
Start by using the contrast slider in your editing software to boost the overall contrast. Be careful not to overdo it, as excessive contrast can lead to loss of detail in highlights and shadows.
For more precise control, utilize the curves tool to adjust contrast selectively. Focus on enhancing the midtones while preserving the details in the highlights and shadows. This technique will help maintain a natural look while improving the reflection's visibility.
Don't forget to pay attention to the different elements in your photo. Adjust the contrast separately for the reflective surface and the reflected subject if possible. This approach allows you to fine-tune each component independently, creating a more balanced and visually appealing image.
Experiment with local adjustments using brushes or gradient filters to target specific areas of the reflection. This technique enables you to emphasize certain parts of the image without affecting others, resulting in a more polished and professional-looking reflection photo.
Enhance Symmetry With Cropping

When enhancing symmetry in reflection photos, you'll want to focus on three key cropping techniques.
First, straighten your horizon lines to create a level foundation for the image.
Next, apply the rule of thirds to position key elements effectively within the frame.
Straighten Horizon Lines
A crooked horizon line can quickly ruin an otherwise stunning reflection photo. To guarantee your image maintains its impact, it's vital to straighten the horizon. Start by using the straighten tool in your editing software, which often allows you to draw a line along the horizon to automatically level it. If your software doesn't have this feature, you can manually rotate the image until the horizon appears perfectly level.
Pay close attention to the water's edge in reflection photos, as this serves as your primary reference point. In scenes without a clear horizon, use vertical elements like trees or buildings to guide your straightening efforts. Remember that straightening may result in empty areas at the edges of your frame. You'll need to crop these out, so it's wise to shoot with extra space around your subject.
Don't forget to check the reflection itself. The mirrored horizon should also be straight, creating a seamless, balanced composition. If you're dealing with a slightly wavy water surface, focus on straightening the most prominent lines in both the real and reflected scenes. This approach will maintain the natural feel of the image while guaranteeing overall visual alignment.
Apply Rule of Thirds
The rule of thirds can really bring out the best in your reflection photos. This compositional guideline suggests dividing your image into a 3×3 grid and placing key elements along these lines or at their intersections. For reflection shots, this technique can enhance symmetry and create a more balanced, visually appealing image.
When applying the rule of thirds to reflection photos, consider placing the horizon line along the upper or lower horizontal third. This will give prominence to either the reflected subject or the reflection itself, depending on your artistic vision. You can also position the main subject or its reflection at one of the grid's intersections to create a focal point.
Don't be afraid to crop your image to achieve this composition. Sometimes, you'll need to sacrifice some of the original frame to create a more impactful shot. Experiment with different cropping options to find the most effective composition.
Crop for Perfect Balance
Cropping isn't just about following the rule of thirds; it's a powerful tool for enhancing symmetry in reflection photos. When you're working with reflections, perfect balance can elevate your image from good to stunning.
Start by identifying the line of symmetry in your photo, which is often the horizon or water's edge. Align this line precisely in the center of your frame to create a mirror-like effect.
Next, examine the elements on either side of this line. Crop out any distractions that disrupt the symmetry, ascertaining both halves of the image are as identical as possible. Don't be afraid to crop tightly; sometimes, a closer view can intensify the impact of the reflection.
Pay attention to the edges of your frame, removing any partial objects that might draw the eye away from the central reflection.
If your original shot isn't perfectly aligned, use your editing software's rotation tool to straighten the image before cropping. This ascertains your line of symmetry is truly horizontal or vertical.
Fine-tune Colors for Impact

How can you make your reflection photos truly enchanting? One of the most powerful ways is to fine-tune the colors for maximum impact.
Start by adjusting the white balance to guarantee the overall tone of your image is accurate. This step can dramatically improve the mood and realism of your reflection.
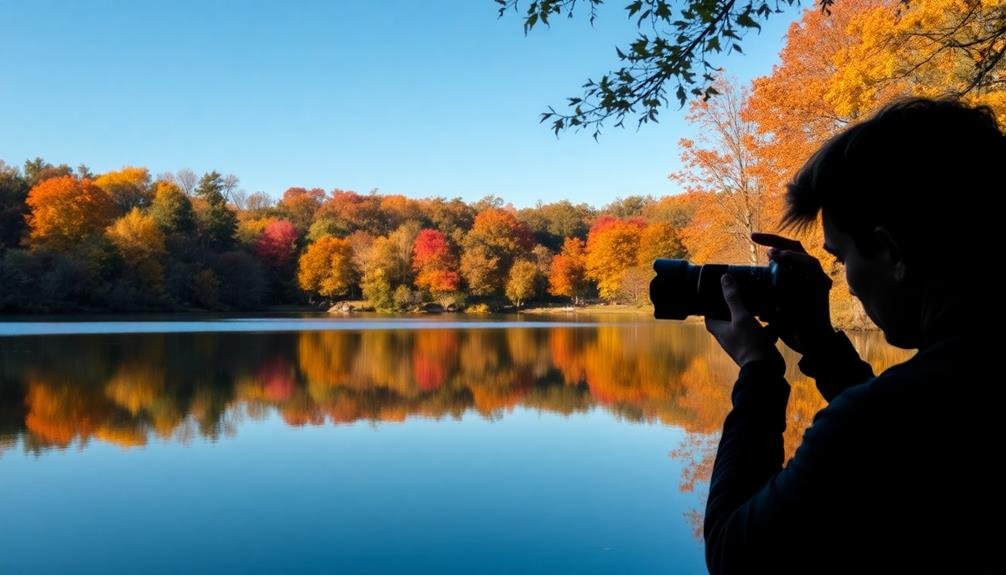
Next, boost the vibrance slightly to enhance the colors without oversaturating them. Pay special attention to the blues and greens in water reflections, as these often need a subtle lift to look their best.
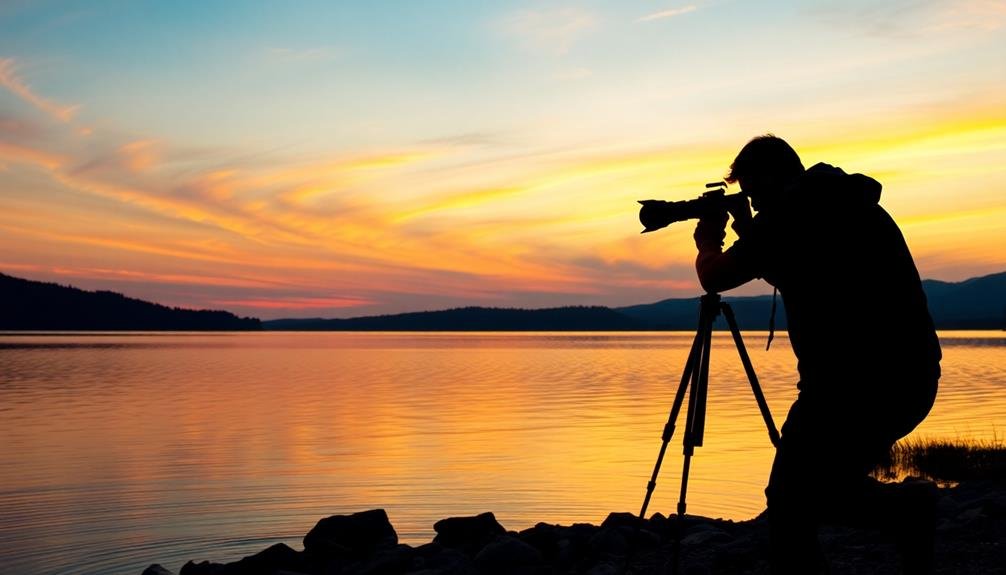
For golden hour shots, warm up the highlights to emphasize the magical quality of the light.
Don't forget to adjust the contrast between the reflected subject and its mirror image. Often, the reflection appears slightly darker or muted, so you'll want to balance this out.
Use selective adjustments to bring out details in both areas without losing the natural feel of the scene.
Remove Distractions With Healing Tool

When editing reflection photos, you'll often encounter unwanted elements that distract from the main subject.
Use the healing tool to identify and remove these distractions, such as floating debris or stray objects.
Identify Unwanted Elements
Three common distractions often plague reflection photos: stray objects, unintended people, and unwanted ripples. To create a stunning reflection image, you'll need to identify these unwanted elements before removing them.
First, scan the entire image for any out-of-place objects. Look for floating debris, branches, or litter that might detract from the main subject. Pay close attention to the edges of the frame, where stray elements often lurk.
Next, focus on any unintended people in the shot. While human subjects can add interest, random passersby or partial figures can be distracting. Examine both the actual scene and its reflection for any unwanted individuals.
Finally, assess the water's surface for unwanted ripples or waves. While some texture can enhance the image, excessive disturbance can obscure the reflection. Look for areas where the water's movement disrupts the clarity of the mirrored subject.
As you identify these elements, make mental notes or use a photo editing software's markup tool to highlight areas that need attention. This systematic approach will guarantee you don't miss any distractions during the editing process, setting the stage for a cleaner, more impactful reflection photo.
Seamlessly Blend Surrounding Areas
Mastering the healing tool is essential for seamlessly blending surrounding areas and removing distractions in your reflection photos. This powerful feature allows you to eliminate unwanted elements while maintaining the natural look of your image. Start by selecting the healing brush tool in your editing software and adjusting its size to match the area you're working on.
When using the healing tool, sample from a nearby area with similar texture and color. Carefully paint over the distraction, allowing the tool to blend it with the surrounding pixels. For larger areas, use multiple small strokes rather than one large one to achieve a more natural result.
| Healing Tool Tips | Benefits | Challenges |
|---|---|---|
| Sample nearby areas | Maintains consistency | Requires practice |
| Use small strokes | Achieves natural look | Time-consuming |
| Adjust brush size | Precision control | Can blur details |
Pay attention to edges and connections between different elements in your photo. You may need to use a combination of healing and clone stamp tools for complex areas. Don't forget to zoom in and check your work at different magnifications to guarantee a seamless blend. With practice, you'll be able to remove distractions and create stunning reflection photos that captivate viewers.
Apply Subtle Vignettes
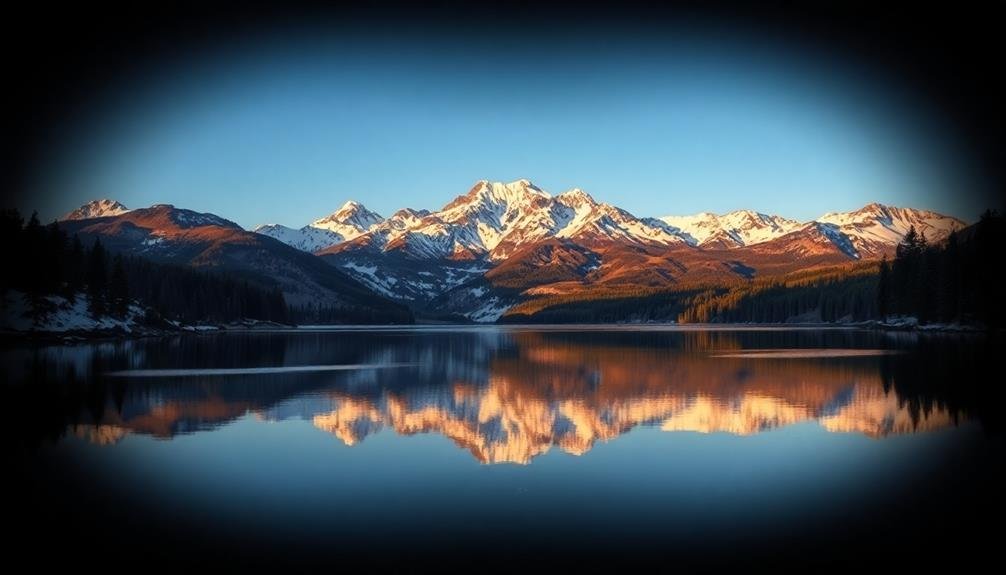
A subtle vignette can add depth and focus to your reflection photos. By darkening the edges of your image, you'll draw the viewer's attention to the central elements, particularly the reflection itself. When applying a vignette, use a light touch to avoid an overly dramatic or artificial look.
Start by creating a new layer in your editing software and set it to overlay mode. Use a large, soft brush to paint black around the edges of your image, gradually decreasing the opacity as you move towards the center. Adjust the layer's overall opacity to fine-tune the effect.
For more control, consider using radial gradients or adjustment brushes to selectively darken specific areas. This technique allows you to emphasize certain parts of the reflection or surrounding elements while maintaining a natural appearance.
Experiment with different shapes and intensities to find the right balance for your photo. Circular vignettes work well for symmetrical compositions, while oval or custom shapes can complement off-center subjects.
Experiment With Black and White
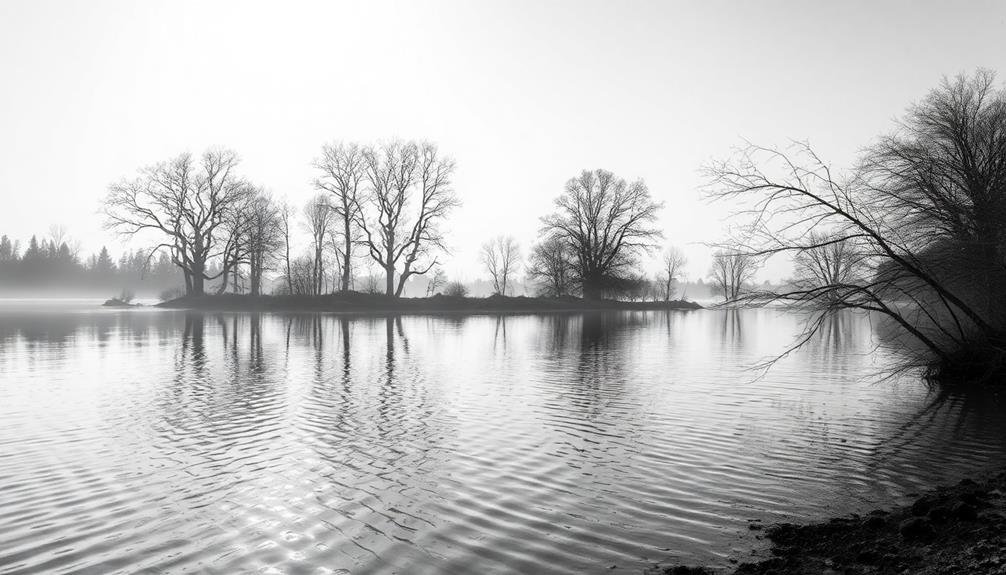
While color can beautifully capture the nuances of reflections, black and white conversions offer a unique opportunity to emphasize form, texture, and contrast. When experimenting with monochrome editing, you'll find that reflections take on a timeless, often ethereal quality.
Start by adjusting the exposure and contrast to enhance the separation between light and dark areas. Pay close attention to the tonal range, ensuring you maintain detail in both highlights and shadows.
Use selective adjustments to fine-tune specific areas of your image. Dodge and burn techniques can help accentuate the interplay between the reflected subject and its mirror image. Don't be afraid to push the contrast further than you might in color edits; black and white images often benefit from more dramatic tonal differences.
Consider these emotional impacts of black and white reflection photos:
- Serenity: Calm waters reflecting a minimalist landscape
- Drama: High-contrast urban reflections in rain-slicked streets
- Nostalgia: Vintage-inspired scenes with soft, dreamy reflections
Experiment with different black and white conversion methods, such as channel mixing or gradient maps, to achieve the desired mood and emphasis in your reflection photos.
Balance Exposure in Reflections
Balancing exposure in reflections presents a unique challenge for photographers and editors alike. Often, you'll find that the reflected portion of your image is markedly darker or brighter than the rest of the scene.
To address this, start by using the graduated filter tool in your editing software. Apply it to the reflection area, adjusting the exposure, highlights, and shadows to match the non-reflected part of the image.
Don't hesitate to use multiple graduated filters with different settings to achieve a natural-looking balance. Pay close attention to the shift between the reflected and non-reflected areas, ensuring it remains smooth and realistic.
If you're working with a particularly tricky reflection, consider using a luminosity mask to target specific tonal ranges within the image.
Remember that your goal isn't to make the reflection identical to the rest of the scene, but rather to create a harmonious balance that draws the viewer's eye. Experiment with slightly different exposures for the reflection to maintain a sense of depth and dimension.
Frequently Asked Questions
What Camera Settings Are Best for Capturing Reflections?
To capture reflections, you'll want to use a narrow aperture (f/8 to f/16) for greater depth of field. Set a slower shutter speed to enhance water reflections. Use a tripod and lower ISO for crisp, noise-free images.
How Can I Create Artificial Reflections in Post-Processing?
You can create artificial reflections in post-processing by duplicating your image, flipping it vertically, and adjusting opacity. Use masking tools to blend the reflection seamlessly. Don't forget to add ripples or distortions for a realistic effect.
Are There Specific Weather Conditions Ideal for Reflection Photography?
You'll get the best reflection shots on calm, still days. Overcast skies create soft, even light. Early morning or late evening offer stunning colors. Wet surfaces after rain can provide unexpected reflection opportunities. Don't forget foggy conditions!
What Lens Filters Can Enhance Reflection Photos?
You'll find polarizing filters extremely useful for reflection photos. They can enhance or reduce reflections as needed. Neutral density filters are great for long exposures, creating smooth water surfaces. Don't forget graduated filters for balancing sky and water exposures.
How Do I Prevent Camera Shake When Shooting Reflections on Water?
To prevent camera shake when shooting water reflections, you'll want to use a tripod. If you don't have one, try stabilizing your camera on a solid surface. Increase your shutter speed and use image stabilization if available.
In Summary
You've now got the tools to take your reflection photos to the next level. Remember, it's all about enhancing the natural beauty while maintaining a realistic look. Don't be afraid to experiment with these techniques, but always trust your artistic eye. With practice, you'll develop a keen sense for what works best. Keep shooting, keep editing, and watch as your reflection photography transforms into stunning, eye-catching art.


Leave a Reply