
The Fibonacci spiral technique can transform your smartphone photography, elevating ordinary snapshots into visually enchanting masterpieces. You'll use the spiral's natural flow to guide your composition, placing key elements along its curve for maximum impact. Start by downloading a grid overlay app to help you visualize the spiral. Then, position your main subject at the spiral's focal point and arrange secondary elements along its path. Experiment with different orientations and don't be afraid to break the rules occasionally for creative tension. With practice, you'll develop an intuitive sense for applying these principles, revealing a new level of artistry in your mobile photography.
Understanding the Fibonacci Spiral
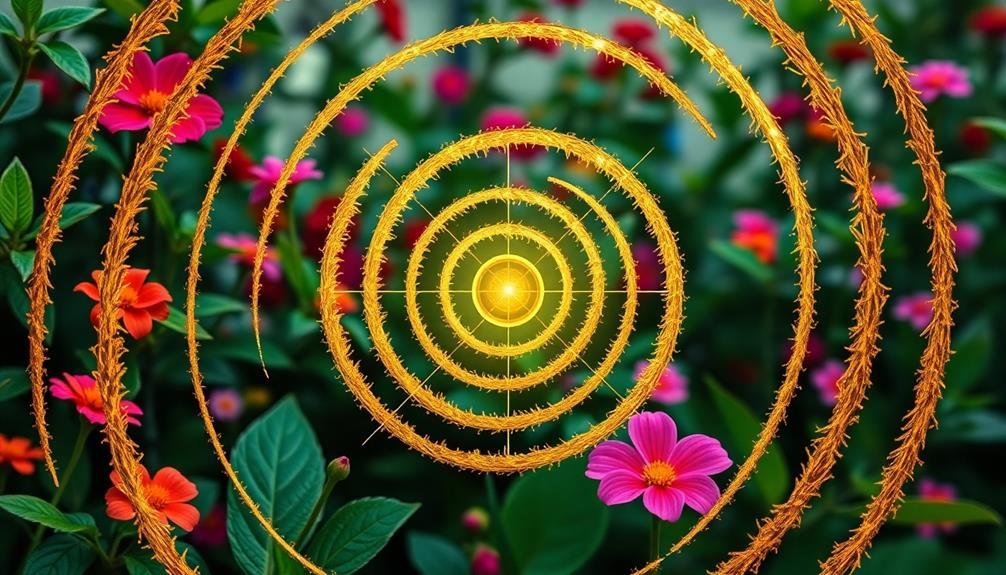
Diving into the Fibonacci Spiral reveals a fascinating mathematical concept that's found throughout nature and art. This spiral is based on the Fibonacci sequence, where each number is the sum of the two preceding ones: 0, 1, 1, 2, 3, 5, 8, 13, and so on. When you plot these numbers as squares and connect their corners, you'll create a perfect spiral shape.
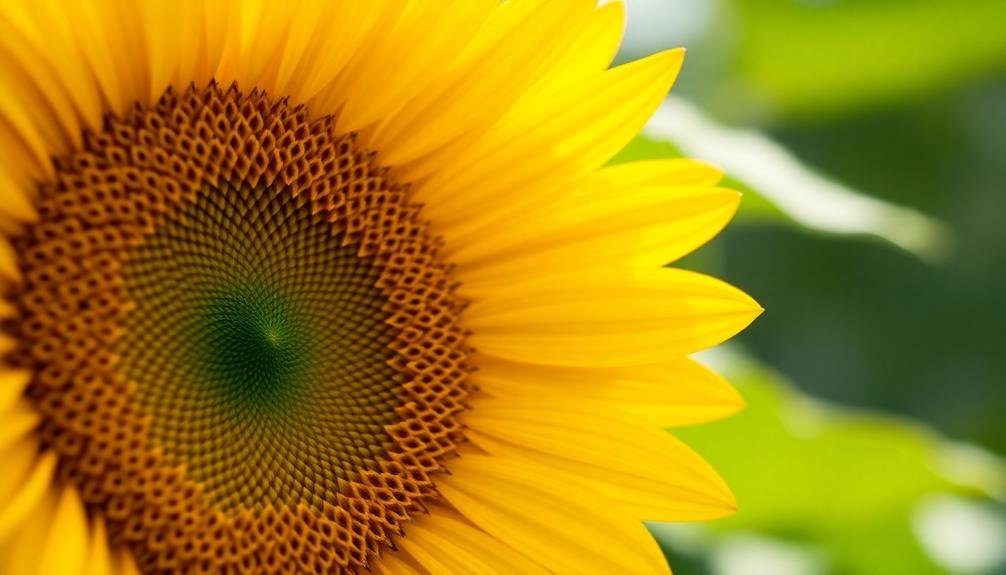
You'll find this spiral in various natural phenomena, from the arrangement of sunflower seeds to the shape of galaxies. In photography, it's a powerful compositional tool that can help you create visually appealing images. The spiral's proportions are closely related to the golden ratio, which many consider aesthetically pleasing.
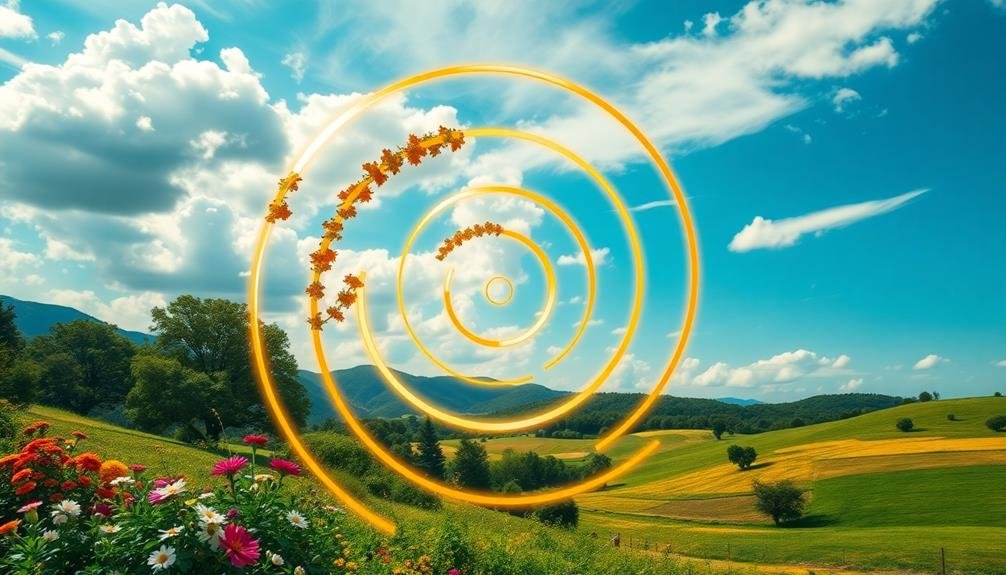
To use the Fibonacci Spiral in your photos, imagine it overlaid on your frame. Place key elements of your composition along the curve or at its focal points. This technique can guide the viewer's eye through your image in a natural, flowing manner.
History of Fibonacci in Art
You'll find Fibonacci's influence in art stretching back to ancient civilizations, where artists intuitively applied similar compositional principles.
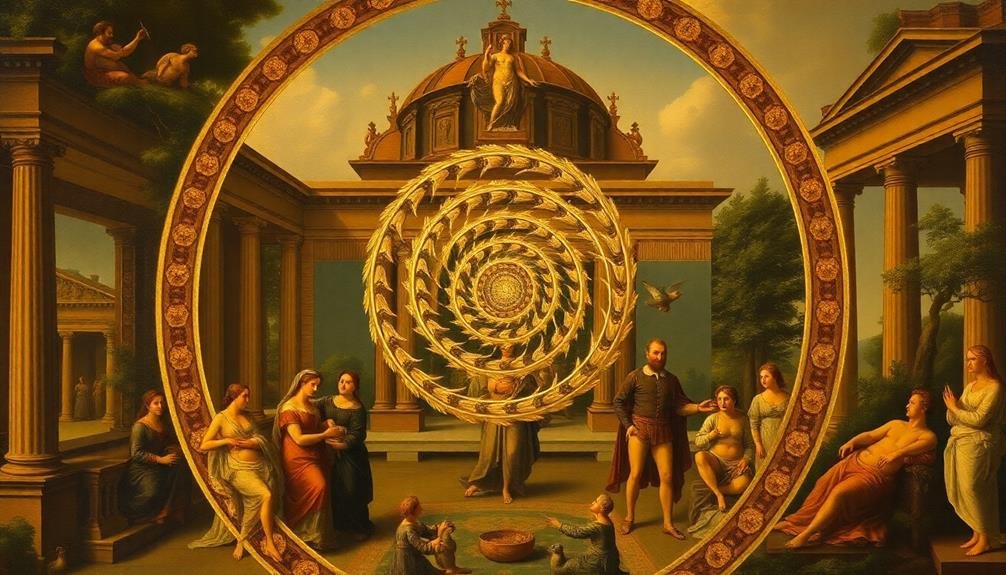
During the Renaissance, painters and architects consciously embraced the golden ratio, closely related to the Fibonacci sequence, to create harmonious and aesthetically pleasing works.
Today, photographers have adapted these time-honored concepts, incorporating the Fibonacci spiral into their framing techniques to produce visually striking images.
Ancient Art Composition Principles
The Fibonacci sequence and its related spiral have roots in ancient art composition principles, dating back thousands of years.
You'll find these principles embedded in the works of classical Greek and Roman artists, who sought to create harmonious and balanced compositions. They often used the golden ratio, closely related to the Fibonacci sequence, to determine proportions in their sculptures and architecture.
In ancient Egyptian art, you'll notice a strong emphasis on symmetry and geometric patterns. Artists used grids to guarantee precise proportions in their paintings and reliefs. This mathematical approach to composition aligns with the principles underlying the Fibonacci spiral.
Ancient Chinese artists employed the rule of thirds, dividing their compositions into a 3×3 grid. This technique, still used today, shares similarities with the Fibonacci spiral's division of space.
You'll also see spiral motifs in Celtic art, reflecting a natural understanding of this pleasing geometric form.
Renaissance Golden Ratio Usage
During the Renaissance, artists and mathematicians rediscovered and refined ancient composition principles, bringing renewed focus to the golden ratio and Fibonacci sequence.
You'll find these concepts applied extensively in Renaissance art, architecture, and design. Artists like Leonardo da Vinci and Botticelli incorporated the golden ratio into their compositions, creating harmonious and visually pleasing works.
The golden ratio, approximately 1.618:1, was used to determine ideal proportions in paintings and sculptures. You'll notice it in the placement of key elements, the division of space, and even in human figures.
Renaissance artists believed this ratio reflected divine harmony and natural beauty.
To apply the Renaissance golden ratio in your photography:
- Divide your frame using the golden ratio grid
- Place key subjects at intersections or along the lines
- Use spiral compositions based on Fibonacci sequences
- Experiment with golden rectangles for framing
Modern Photography Applications
Many modern photographers have embraced the Fibonacci spiral and golden ratio principles, adapting Renaissance techniques for contemporary image-making.
You'll find these concepts applied across various genres, from landscape and portrait photography to product shots and architectural imagery.
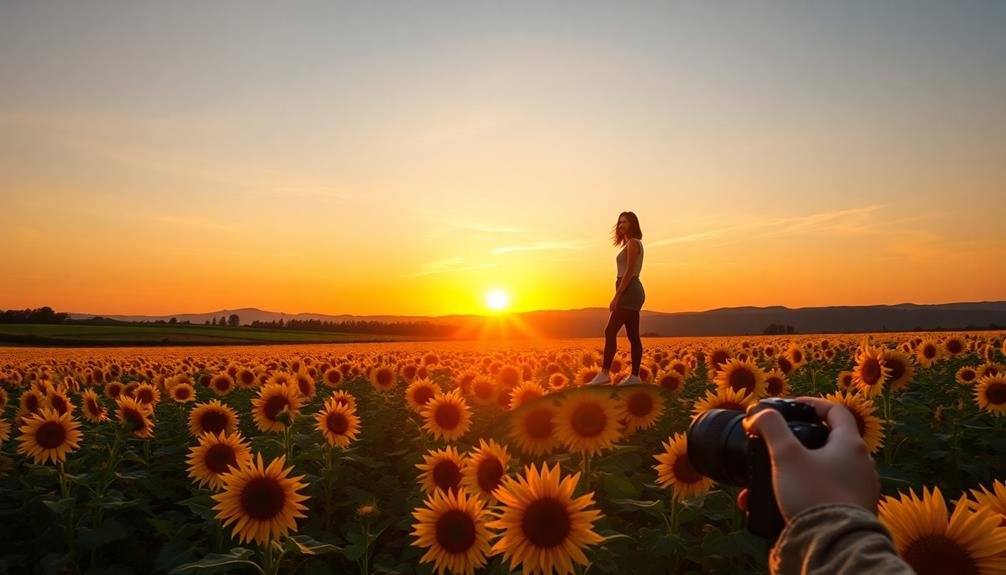
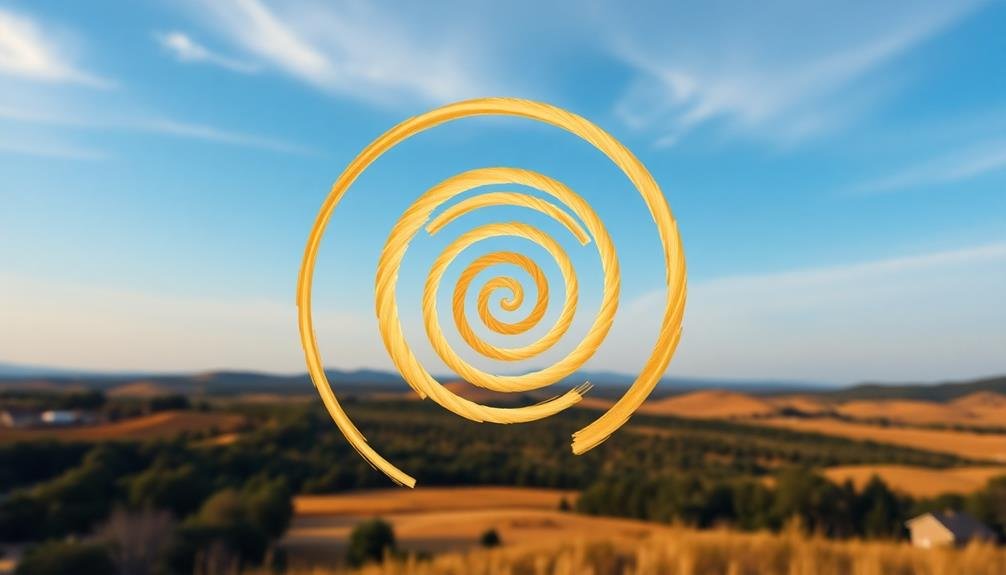
In landscape photography, you can use the spiral to guide viewers' eyes through a scene, placing key elements along its curve.
For portraits, positioning facial features or the subject's body according to the spiral can create a sense of balance and visual appeal.
Product photographers often align objects within the spiral's framework to attain aesthetically pleasing compositions that draw attention to specific details.
You'll also see the Fibonacci spiral employed in architectural photography, where it helps capture the inherent geometry of buildings and interiors.
Some photographers even use specialized camera overlays or post-processing grids to guarantee precise alignment with the spiral.
Applying Fibonacci to Smartphone Photography
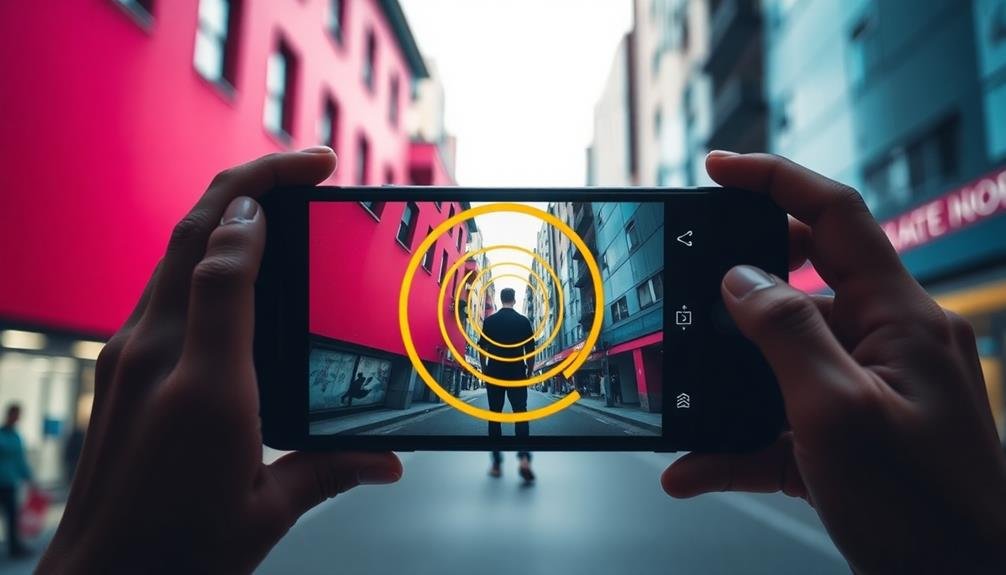
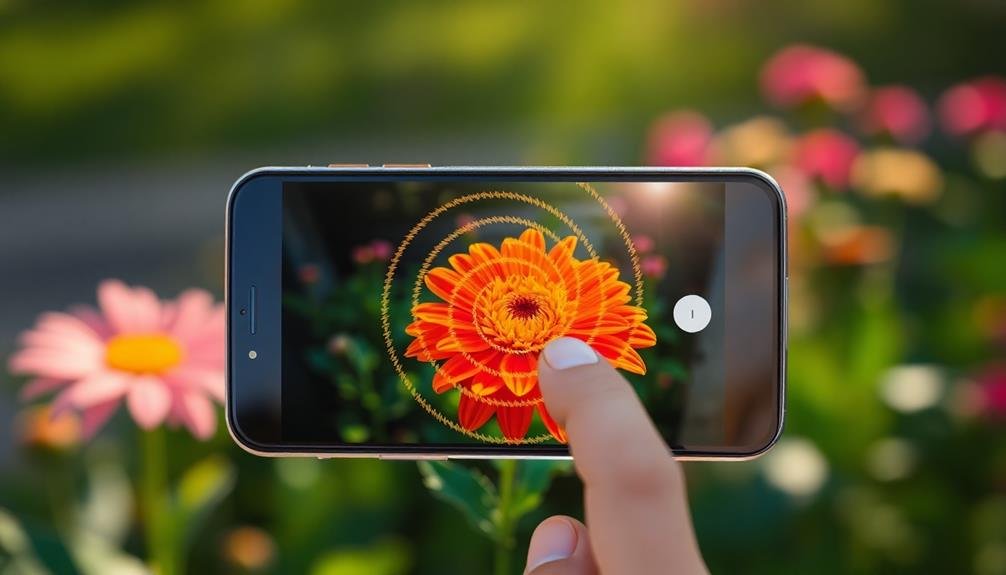
You can easily apply Fibonacci principles to your smartphone photography using grid overlay apps that provide the golden spiral as a composition guide.
Position your subjects strategically along the spiral's curves to create visually appealing images that naturally draw the viewer's eye.
After capturing your shots, use post-processing tools to fine-tune the balance and emphasize the Fibonacci-inspired composition.
Fibonacci Grid Overlay Apps
For smartphone photographers looking to incorporate the Fibonacci spiral into their compositions, several apps offer convenient grid overlay tools. These apps superimpose the spiral or grid directly onto your camera viewfinder, making it easy to align your shots with the golden ratio.
Popular options include "Golden Ratio Camera" for iOS and "Moments – Pro Camera" for Android. These apps allow you to adjust the overlay's opacity and color, ensuring it doesn't interfere with your view of the subject. Some even offer multiple Fibonacci-based grids, giving you flexibility in your compositional choices.
When using these apps, remember to:
- Experiment with different spiral orientations
- Place key elements along the curve
- Use the smallest spiral section as a focal point
- Don't force the composition if it doesn't feel natural
While these tools can be helpful, they shouldn't dictate your every shot. Use them as a guide to train your eye, but don't be afraid to break the rules when your instincts tell you to.
With practice, you'll develop an intuitive sense of how to apply the Fibonacci spiral to your smartphone photography, creating more visually appealing and balanced images.
Positioning Subjects Strategically
When applying the Fibonacci spiral to smartphone photography, strategic subject positioning is key to creating visually compelling images. Place your main subject at or near one of the spiral's focal points, typically where the tightest curve occurs. This naturally draws the viewer's eye to the most important element of your photo.
As you compose your shot, use the spiral's flow to guide secondary elements within the frame. Position supporting subjects along the curve, creating a visual journey that leads the viewer's gaze through the image.
Don't be afraid to experiment with different orientations of the spiral, flipping or rotating it to find the most effective composition.
Remember that the Fibonacci spiral isn't a rigid rule but a flexible guide. You can break it intentionally for creative effect. For example, placing your subject slightly off the focal point can create tension or intrigue.
When shooting landscapes, align the horizon with one of the spiral's lines to add balance and structure to your composition. By thoughtfully positioning elements within the Fibonacci framework, you'll create more dynamic and visually appealing smartphone photos that naturally engage viewers.
Post-Processing for Balance
After capturing your Fibonacci-inspired compositions, post-processing can further enhance the balance and visual flow of your smartphone photos. Use editing apps to fine-tune your images, emphasizing the spiral's natural progression.
Adjust contrast and brightness to highlight key elements along the curve, drawing the viewer's eye through the composition. Apply selective sharpening to subjects positioned at essential points in the spiral, enhancing their visual impact.
Subtle vignetting can help direct attention towards the center of the spiral, reinforcing the image's focal point. Don't hesitate to crop your photo if it improves the spiral's alignment with significant elements.
Color grading plays an important role in creating harmony within your Fibonacci-based images. Consider these techniques:
- Use complementary colors to emphasize different sections of the spiral
- Apply a consistent color palette to unify elements along the curve
- Adjust saturation to create depth and dimension within the spiral
- Experiment with split-toning to separate foreground and background elements
Finding Spiral Patterns in Nature
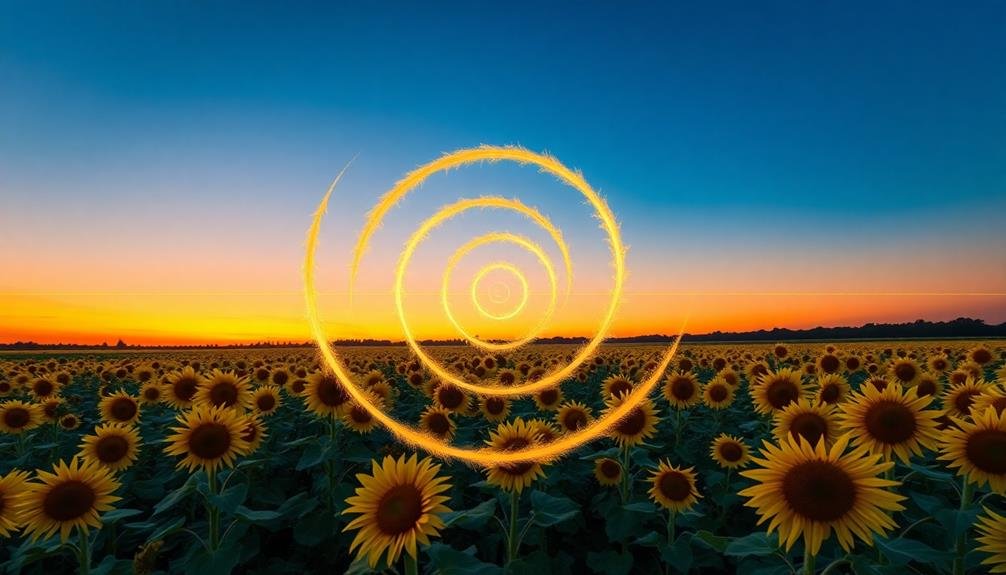
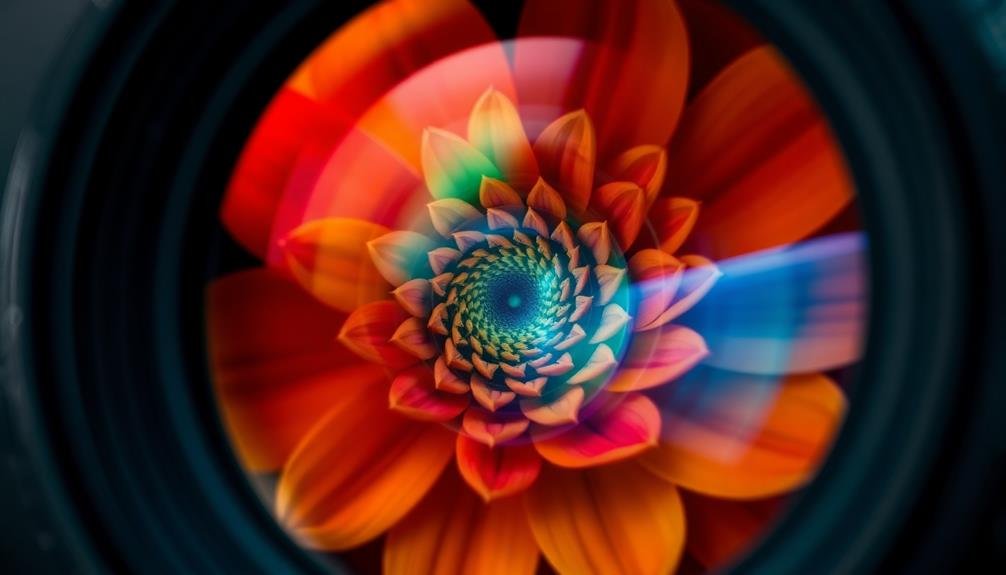
Nature's artistry often reveals itself in spiral patterns, mirroring the Fibonacci sequence. As you explore the world around you, you'll find these spirals in unexpected places.
Look closely at the center of a sunflower, where the seeds form a mesmerizing spiral pattern. Observe the intricate structure of a nautilus shell, which grows in a logarithmic spiral. Even pinecones and pineapples display spiral arrangements in their scales and fruitlets.
To capture these natural spirals in your photos, train your eye to spot them. Start by examining plants: ferns unfurling their fronds, succulents with spiral leaf arrangements, and the spiraling tendrils of climbing vines.
In landscapes, you might find spiral patterns in meandering rivers, swirling clouds, or the curl of a breaking wave. Even in wildlife, spirals appear in the curled tails of chameleons or the horns of certain animals.
When you're out shooting, challenge yourself to find and frame these natural spirals. Use macro photography to highlight the details of smaller spiral patterns, or incorporate them into wider landscape shots for added visual interest.
Composition Tools for Smartphone Cameras
Modern smartphones come equipped with powerful cameras and built-in composition tools that can help you capture Fibonacci-inspired photos. Most camera apps offer grid overlays, including the rule of thirds and golden ratio grids.
To access these tools, explore your camera app's settings and enable the grid feature.
When composing your shot, use these grids to align key elements along the lines or at intersection points. This naturally creates a balanced and visually appealing composition that echoes the Fibonacci spiral.
Many smartphones also offer a "portrait mode" that simulates depth of field, allowing you to emphasize your subject while blurring the background.
To further enhance your Fibonacci-inspired smartphone photography:
- Use the exposure compensation tool to adjust brightness
- Experiment with different aspect ratios (4:3, 16:9, 1:1)
- Try panorama mode for sweeping landscapes
- Utilize burst mode to capture dynamic scenes
Placing Subjects Along the Spiral
To effectively place subjects along the Fibonacci spiral, you'll need to visualize the curve's path through your composition. Start by imagining the spiral originating from one corner of your frame, then sweeping across the image. Position your main subject at or near the spiral's center, where it'll naturally draw the viewer's eye.
As you arrange secondary elements, place them along the curve to create a sense of flow and harmony. Consider these key points:
| Position | Purpose | Example |
|---|---|---|
| Spiral's origin | Introduce composition | Foreground object |
| Along the curve | Guide viewer's eye | Leading lines |
| Near spiral center | Emphasize main subject | Portrait focus |
| Outer sections | Add context | Background elements |
| Negative space | Balance composition | Empty areas |
Creating Balance With Fibonacci
When using the Fibonacci spiral, you'll create balance by strategically placing elements along its curves.
You can harmonize visual components by aligning them with the spiral's proportions, creating a sense of natural flow.
Placing Elements Strategically
Placing elements strategically within the Fibonacci spiral can transform an ordinary photo into an enchanting visual masterpiece. As you compose your shot, consider the spiral's flow and use it to guide your subject placement. Position key elements along the curve or at its focal points to naturally draw the viewer's eye through the image.
To effectively place elements using the Fibonacci spiral:
- Identify the spiral's origin and endpoint.
- Place your main subject near the spiral's center.
- Use secondary elements to lead the eye along the curve.
- Position supporting details at the outer edges of the spiral.
Remember that the spiral doesn't have to be perfectly centered in your frame. You can rotate or flip it to suit your composition.
Try placing your subject at different points along the curve to see how it affects the overall balance and visual flow. Don't be afraid to experiment with unconventional placements – sometimes, breaking the "rules" can lead to striking results.
Harmonizing Visual Components
The Fibonacci spiral's power in photography extends far beyond mere element placement. It's a tool for harmonizing visual components, creating a sense of balance and flow that's pleasing to the eye.
As you compose your shot, consider how different elements interact within the spiral's framework. Use the spiral to guide your viewers' eyes through the image. Place your main subject at one of the spiral's focal points, then arrange secondary elements along its curve. This creates a natural visual journey, leading the viewer through your composition.
Pay attention to how colors, shapes, and textures interact as they follow the spiral's path. Don't be afraid to break the spiral's "rules" occasionally. Sometimes, intentionally placing an element outside the spiral can create tension or drama.
The key is to maintain overall balance within the frame. Experiment with different arrangements, using the spiral as a starting point rather than a strict template.
Guiding Viewer's Eye
Building on the concept of harmonizing visual elements, let's focus on how the Fibonacci spiral guides the viewer's eye through your photograph. By aligning key elements along the spiral's curve, you'll create a natural flow that leads the viewer's gaze through your image. This technique helps emphasize your subject while creating a sense of movement and rhythm within the frame.
To effectively guide the viewer's eye using the Fibonacci spiral:
- Place your main subject at or near the spiral's center.
- Arrange secondary elements along the curve.
- Use leading lines that follow the spiral's path.
- Incorporate negative space to enhance the spiral's flow.
As you compose your shot, consider how the spiral intersects with important features in your scene. You can use the spiral's golden ratio proportions to determine ideal placement for horizon lines, focal points, and areas of contrast.
Enhancing Depth in Mobile Photos

Countless mobile photographers struggle to create a sense of depth in their images, often resulting in flat, uninteresting compositions. The Fibonacci spiral technique can help you overcome this challenge and add a compelling sense of dimension to your mobile photos. By aligning key elements along the spiral's curve, you'll naturally guide the viewer's eye through different planes of the image, creating a perception of depth.
To enhance depth in your mobile photos using the Fibonacci spiral:
- Place foreground elements near the spiral's center
- Position mid-ground subjects along the curve
- Arrange background elements towards the outer edges
This technique works particularly well with landscapes and street photography. Consider the following examples:
| Scenario | Foreground | Mid-ground | Background |
|---|---|---|---|
| Landscape | Flowers | Trees | Mountains |
| Street | Person | Buildings | Sky |
| Beach | Shells | Waves | Horizon |
| Forest | Leaf | Tree trunk | Canopy |
| Urban | Bench | Street | Skyline |
Using Negative Space Effectively
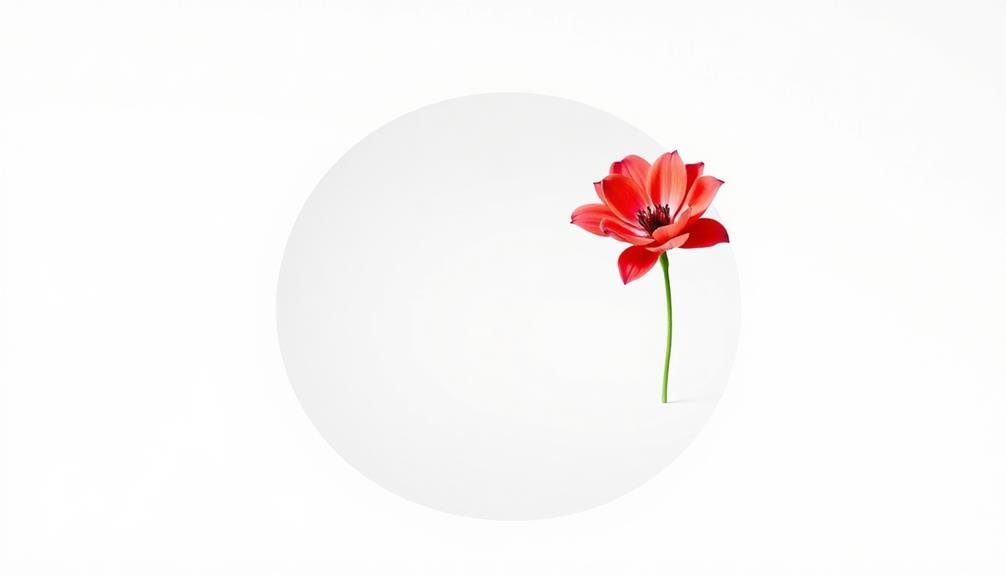
While the Fibonacci spiral technique helps create depth, another powerful composition tool is negative space. This concept refers to the empty or unoccupied areas surrounding your main subject. When used effectively, negative space can draw attention to your focal point, create balance, and evoke emotions in your images.
To incorporate negative space using the Fibonacci spiral, place your subject along the spiral's curve and leave the remaining areas relatively empty. This approach can create a sense of isolation, serenity, or contemplation in your photos.
You'll find that negative space works particularly well with minimalist compositions and can make your subject stand out more prominently.
Here are four ways to use negative space effectively with the Fibonacci spiral:
- Use a plain background to isolate your subject
- Incorporate natural elements like sky or water as negative space
- Experiment with high-contrast scenes to create stark separations
- Utilize shallow depth of field to blur the background
Fibonacci and the Rule of Thirds
The Fibonacci spiral and the Rule of Thirds are two powerful composition techniques that often intersect in photography. While the Rule of Thirds divides your frame into a 3×3 grid, the Fibonacci spiral creates a more organic, curved guide for positioning elements. You'll find that these methods frequently align, offering complementary approaches to crafting visually appealing images.
When you're composing a shot, try overlaying both the Fibonacci spiral and the Rule of Thirds grid in your mind. You'll notice that key points in the spiral often coincide with the intersections of the thirds. This alignment can help you place your subject or focal point for maximum impact.
| Aspect | Rule of Thirds | Fibonacci Spiral |
|---|---|---|
| Shape | Grid-like | Curved |
| Focus | Intersections | Spiral center |
| Balance | Even | Dynamic |
| Usage | Versatile | Organic subjects |
Editing Photos With Spiral Overlay

You can enhance your photos using Fibonacci spiral overlay templates in post-processing software.
By adjusting your composition after capture, you'll have the flexibility to align key elements with the spiral's curves.
Fine-tuning the spiral's placement allows you to experiment with different focal points and achieve a more balanced, aesthetically pleasing image.
Applying Spiral Overlay Templates
Ready to take your Fibonacci-inspired photography to the next level? Applying spiral overlay templates is a game-changer for perfecting your composition.
These templates act as guides, helping you align your subjects and key elements with the golden ratio.
To apply a spiral overlay template, you'll need photo editing software that supports layers. Many programs offer built-in Fibonacci spiral templates, but you can also download custom ones online.
Once you've imported your image, add the spiral template as a new layer on top of your photo. Adjust the template's size, rotation, and position to best fit your composition.
When using spiral overlay templates, keep these tips in mind:
- Align key subjects with the spiral's center
- Place important elements along the curve
- Use the spiral's sections to divide your frame
- Flip or rotate the template to explore different compositions
Adjusting Composition Post-Capture
Photography's dynamic nature often means you can't always achieve perfect composition in-camera. That's where post-capture adjustments come in handy, especially when applying the Fibonacci spiral technique.
With editing software, you can overlay the spiral onto your image and make subtle changes to enhance its alignment with key elements. Start by cropping your photo to better fit the spiral's proportions. Adjust the aspect ratio if necessary, ensuring the main subject falls along the curve.
Use the transform tool to slightly rotate, scale, or skew the image, aligning important features with the spiral's segments. Don't overdo it; subtle tweaks often yield the best results.
Consider using selective adjustments to draw attention to specific areas along the spiral. Increase contrast, brightness, or sharpness in these regions to guide the viewer's eye. Conversely, you can slightly reduce emphasis on less critical parts.
Remember to maintain a natural look and avoid obvious manipulation. Experiment with different versions of your edit, comparing them side by side. This helps you find the perfect balance between adhering to the Fibonacci spiral and preserving the photo's original essence.
Fine-Tuning Spiral Placement
Once you've overlaid the Fibonacci spiral on your image, fine-tuning its placement becomes essential for achieving ideal composition. Adjust the spiral's position, size, and rotation to align key elements with the curve and intersections.
You'll want to experiment with different placements to find the most visually appealing arrangement. Pay close attention to how the spiral guides the viewer's eye through the image. The largest section of the spiral should typically encompass the main subject, while secondary elements can align with the tighter curves.
Don't be afraid to flip or mirror the spiral to better suit your composition. When fine-tuning spiral placement, consider these key points:
- Align important elements with spiral intersections
- Use the curve to lead the eye towards your main subject
- Adjust spiral size to match the scale of your image
- Rotate the spiral to create dynamic diagonal compositions
Common Mistakes to Avoid
When applying the Fibonacci spiral technique to your photos, it's easy to fall into common traps that can diminish its effectiveness. One frequent mistake is forcing the spiral onto every image, even when it doesn't fit naturally. Remember, not all compositions will benefit from this technique, so use it judiciously.
Another error is placing the main subject directly in the center of the spiral. While this might seem logical, it often creates a static composition. Instead, position your subject along the curve or at one of the spiral's intersections for a more dynamic result.
Don't forget about negative space. Overcompensating by filling every part of the spiral with elements can lead to cluttered, chaotic images. Embrace empty areas to create balance and draw attention to your main subject.
Avoid rigidly adhering to the spiral's exact proportions. While the Fibonacci sequence provides a guide, slight deviations can still produce visually pleasing results. Trust your artistic instincts and use the spiral as a starting point rather than an inflexible rule.
Lastly, don't neglect other compositional techniques. The Fibonacci spiral works best when combined with other principles like leading lines, color theory, and the rule of thirds.
Practicing Fibonacci Composition Techniques

Now that you're aware of common pitfalls, it's time to hone your skills in applying the Fibonacci spiral technique.
Start by practicing with simple subjects in controlled environments. Set up still life scenes or shoot landscapes where you can easily arrange elements along the spiral. As you become more comfortable, challenge yourself with dynamic subjects and real-world scenarios.
Use a grid overlay on your camera or in post-processing to visualize the spiral. Experiment with different placements of your main subject and supporting elements. Don't be afraid to crop your images to achieve the desired composition.
To improve your Fibonacci spiral technique, try these exercises:
- Photograph the same subject from multiple angles, applying the spiral each time
- Create a series of images using only the Fibonacci spiral for composition
- Analyze famous photographs and paintings to identify Fibonacci spiral use
- Practice quick sketches of potential compositions before shooting
Showcasing Your Spiral-Inspired Photos
After mastering the Fibonacci spiral technique, how can you share your newfound skills with the world? It's time to showcase your spiral-inspired photos and let your creativity shine. Start by selecting your best shots that clearly demonstrate the Fibonacci composition. Create a dedicated portfolio on your website or photography platform, highlighting these images and explaining the technique's application.
Consider entering photography contests that focus on composition or abstract themes. Your unique approach using the Fibonacci spiral may catch the judges' attention. Share your work on social media platforms, using relevant hashtags to reach fellow photography enthusiasts and potential clients.
| Platform | Benefits | Challenges |
|---|---|---|
| Wide audience reach | Algorithm limitations | |
| 500px | Photography-focused community | Requires active engagement |
| Personal website | Full creative control | Needs marketing efforts |
Don't forget to engage with your audience by explaining the Fibonacci spiral concept and how you've applied it in your work. Offer tips and tutorials to help others learn this technique, establishing yourself as an expert in the field. By showcasing your spiral-inspired photos effectively, you'll not only gain recognition but also inspire others to explore this fascinating compositional approach.
Frequently Asked Questions
Can the Fibonacci Spiral Be Applied to Portrait Photography?
Yes, you can apply the Fibonacci spiral to portrait photography. It'll help you create balanced, visually appealing compositions. Place your subject's eyes or key features along the spiral's curve to draw attention and enhance the photo's aesthetic impact.
Are There Apps That Overlay the Fibonacci Spiral on Live Camera Views?
Yes, you'll find several apps that overlay the Fibonacci spiral on live camera views. They're available for both iOS and Android devices. You can use these apps to compose your shots in real-time, aligning elements with the spiral's curves.
How Does the Fibonacci Spiral Differ From the Golden Ratio in Photography?
You'll find the Fibonacci spiral and golden ratio are closely related. While the golden ratio is a fixed proportion, the Fibonacci spiral is a logarithmic curve based on the Fibonacci sequence. They're often used interchangeably in composition.
Can Fibonacci Composition Be Effectively Used in Black and White Photography?
You can definitely use Fibonacci composition in black and white photography. It'll help you create balanced, visually appealing images. The spiral's natural flow guides the viewer's eye, emphasizing key elements regardless of color. Try it in your next monochrome shoot!
Is the Fibonacci Spiral Technique Suitable for Action or Sports Photography?
You can use the Fibonacci spiral technique in action sports photography, but it's challenging. You'll need to anticipate movement and frame quickly. It's more suited for planned shots or post-processing composition rather than spontaneous action captures.
In Summary
You've learned how to harness the power of the Fibonacci spiral in your smartphone photography. Now it's time to put these techniques into practice. As you explore nature and compose your shots, keep an eye out for spiral patterns. Don't be afraid to experiment with composition tools and editing overlays. Remember to avoid common mistakes and keep practicing. Soon, you'll be creating stunning, harmonious images that showcase the beauty of this ancient mathematical concept in your everyday photos.


Leave a Reply