To fix blurry photos, start by cleaning your smartphone lens with a microfiber cloth. Check for scratches and remove case obstructions that might affect image quality. Adjust your focus settings, using manual focus for precise shots and autofocus for moving subjects. Stabilize your device using both hands or a tripod, and avoid digital zoom to maintain clarity. Verify your camera app is up-to-date and clear its cache regularly. For advanced control, try third-party apps with manual settings. If issues persist, consider professional lens repair. These quick fixes will help you capture sharper, more impressive images in no time.
Identify Common Causes of Blur
Photography's most common enemy, blur, can stem from various sources. Understanding these causes is essential for preventing and fixing blurry images.
Camera shake is a primary culprit, often resulting from slow shutter speeds or unsteady hands. You'll notice this type of blur as overall softness in the image.
Motion blur occurs when your subject moves during exposure, creating streaks or ghosting effects. This is common in low-light situations or when capturing fast-moving subjects.
Incorrect focus is another frequent issue. You might've accidentally focused on the wrong part of the scene or used too shallow a depth of field. Look for sharp areas in unexpected places to identify this problem.
Lens issues can also cause blur. Dirty or damaged lenses, or using the wrong aperture for the scene, can result in soft or hazy images.
Finally, don't overlook camera settings. High ISO can introduce noise that appears as blur, while inadequate sharpening in-camera or during post-processing can leave your images looking soft.
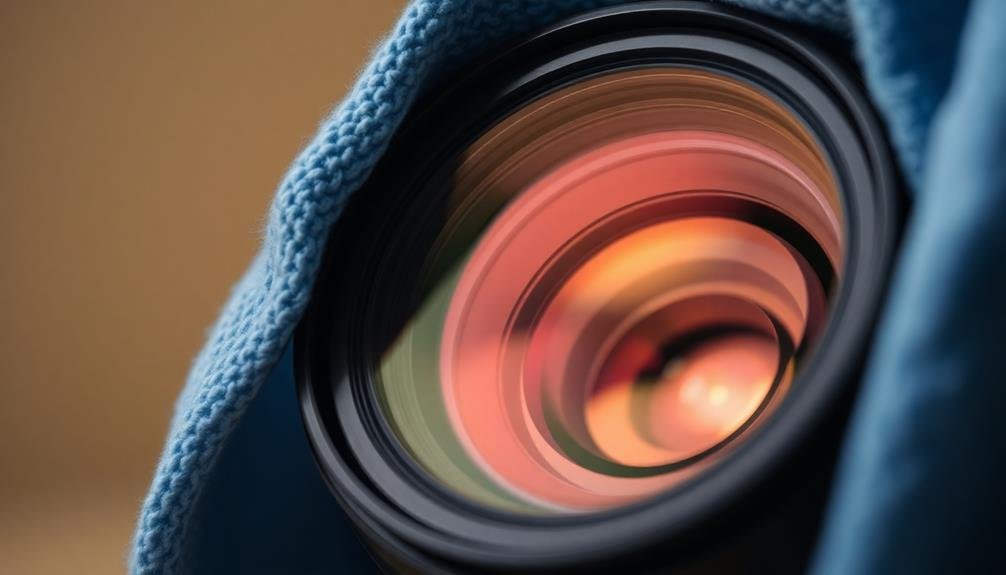
Clean Your Smartphone Camera Lens
To keep your smartphone photos sharp, you'll need to clean your camera lens regularly.
Start by using proper cleaning materials, such as a microfiber cloth or lens cleaning wipes, to avoid scratching the delicate surface.
When cleaning, use a gentle wiping technique with circular motions, ensuring you remove all smudges and fingerprints without applying excessive pressure.
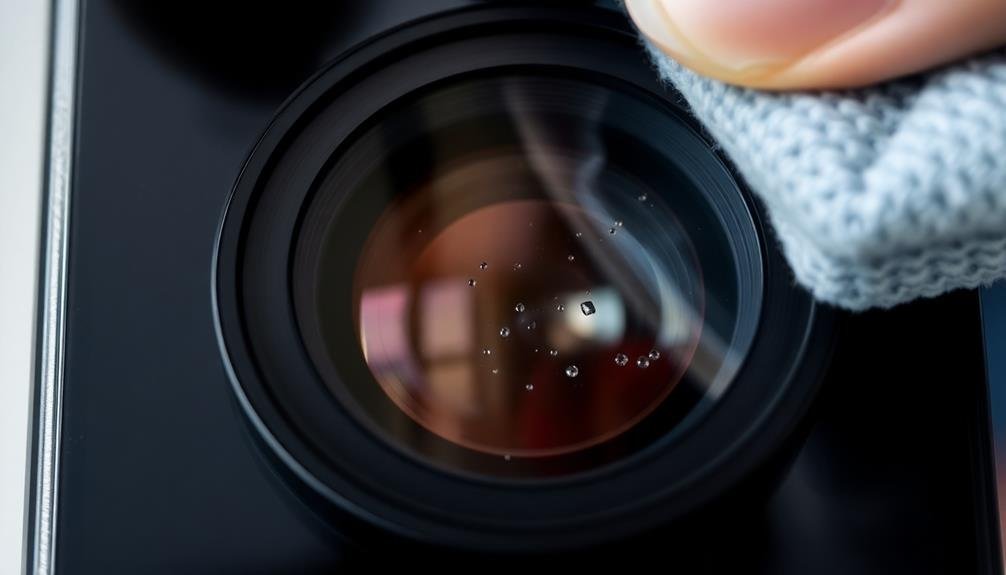
Proper Cleaning Materials
Maintaining a clean smartphone camera lens is essential for capturing sharp, clear photos. To effectively clean your lens, you'll need the right materials. Don't use just any cloth or tissue, as these can scratch the delicate lens surface.
Opt for a microfiber cloth specifically designed for cleaning camera lenses. These are lint-free and won't leave residue. For stubborn smudges, you can use a small amount of lens cleaning solution. Never apply the solution directly to the lens; instead, put a drop on the cloth first.
Here's a quick guide to cleaning materials:
| Material | Recommended | Not Recommended | Why |
|---|---|---|---|
| Cloth | Microfiber | Cotton, paper | Lint-free, gentle |
| Solution | Lens cleaner | Household cleaners | Safe for coatings |
| Brush | Lens brush | Makeup brush | Soft, won't scratch |
| Air | Blower | Compressed air | Gentle, no moisture |
| Wipes | Lens wipes | Baby wipes | Specially formulated |
Gentle Wiping Technique
Once you've gathered the proper cleaning materials, it's time to employ a gentle wiping technique.
Start by holding your smartphone securely in one hand, guaranteeing you don't accidentally press any buttons. With your other hand, take the microfiber cloth and lightly place it on the camera lens. Using small, circular motions, gently wipe the lens surface. Don't apply excessive pressure, as this could scratch the lens or damage its coating.
Continue wiping in circles, gradually expanding outward from the center of the lens. If you encounter stubborn smudges, slightly dampen a corner of the cloth with distilled water or lens cleaning solution. Be cautious not to oversaturate the cloth, as excess moisture can seep into the phone's internals.
Resume the gentle circular motions, focusing on the problem areas. After cleaning, use a dry portion of the cloth to remove any remaining moisture. Inspect the lens under good lighting to verify you've removed all smudges and fingerprints.
If necessary, repeat the process, always maintaining a light touch. Remember, patience and gentleness are key to effectively cleaning your smartphone's camera lens without causing damage.
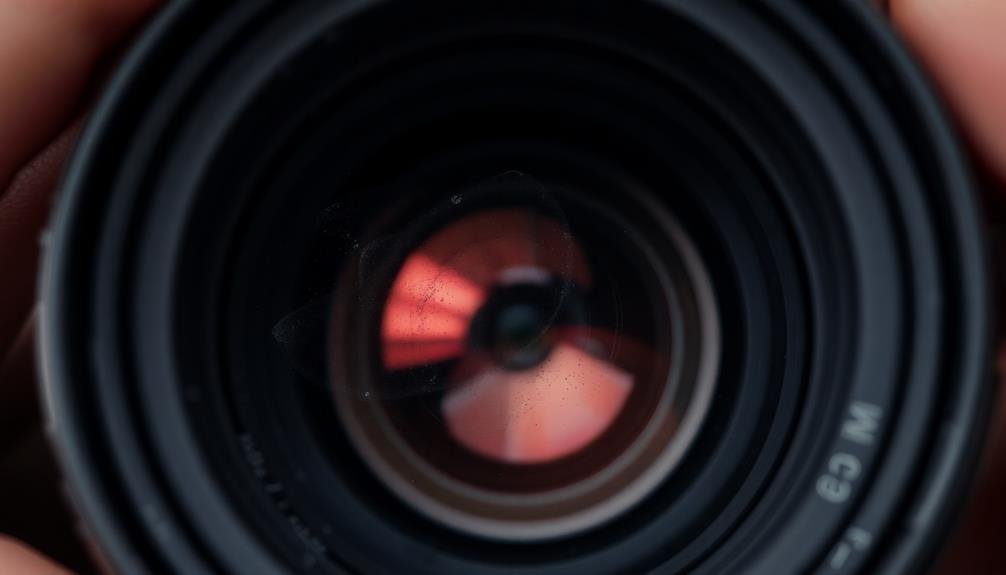
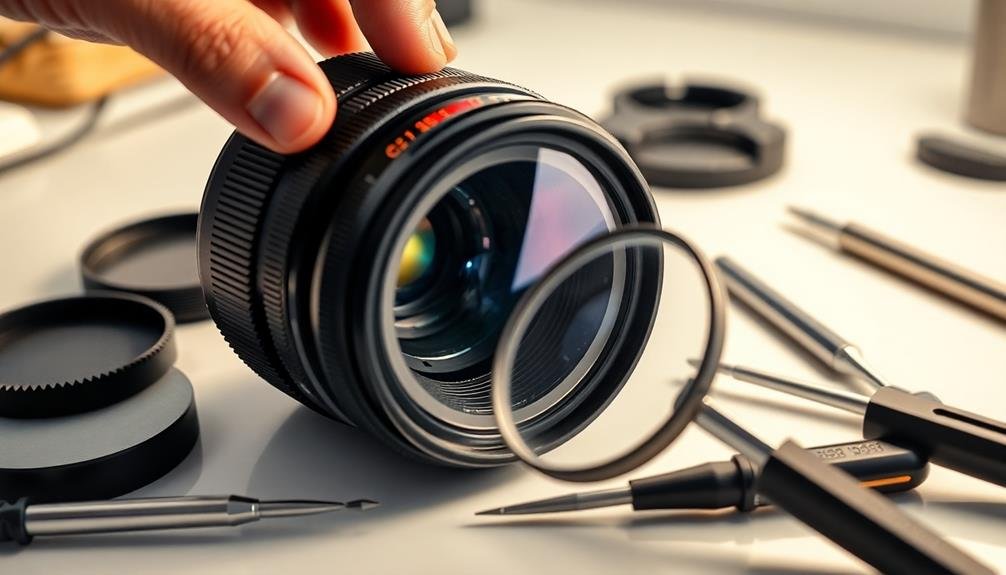
Check for Lens Scratches

While it's easy to overlook, your camera's lens might be the culprit behind those blurry photos. Scratches on the lens surface can greatly impact image quality, causing unwanted diffusion and reducing sharpness.
To check for scratches, you'll need a clean, well-lit environment. Start by holding your lens up to a bright light source, such as a lamp or window. Slowly rotate the lens, observing its surface from different angles. Look for any visible marks, scratches, or imperfections.
Pay close attention to the front element, as it's most susceptible to damage. If you spot scratches, don't panic. Minor scratches often won't affect image quality noticeably. However, deeper or more numerous scratches can cause issues.
For a more thorough examination, use a magnifying glass or loupe to inspect the lens surface closely.
Remove Protective Case Obstructions
Protective cases for smartphones and cameras can be a double-edged sword. While they protect your device from damage, they can sometimes interfere with your photos. If you're experiencing blurry images, your case might be the culprit.
First, check if the case is blocking or partially covering your camera lens. Some cases have small openings that don't fully expose the lens, causing vignetting or distortion. Remove the case and take a test photo to compare the results.
Next, inspect the case's lens opening for dirt, dust, or fingerprints. These can accumulate over time and affect image quality. Clean the opening with a microfiber cloth or compressed air.
If you're using a case with a built-in lens cover, make sure it's fully open when taking photos. Sometimes these covers can stick or only partially retract, leading to blurry or partially obstructed images.
Consider investing in a case specifically designed for photography. These often have larger lens openings and sometimes even attachable lenses for improved image quality.
Lastly, if you frequently encounter issues with your case, try using your device without it when taking important photos. The slight risk might be worth the clearer shots you'll capture.
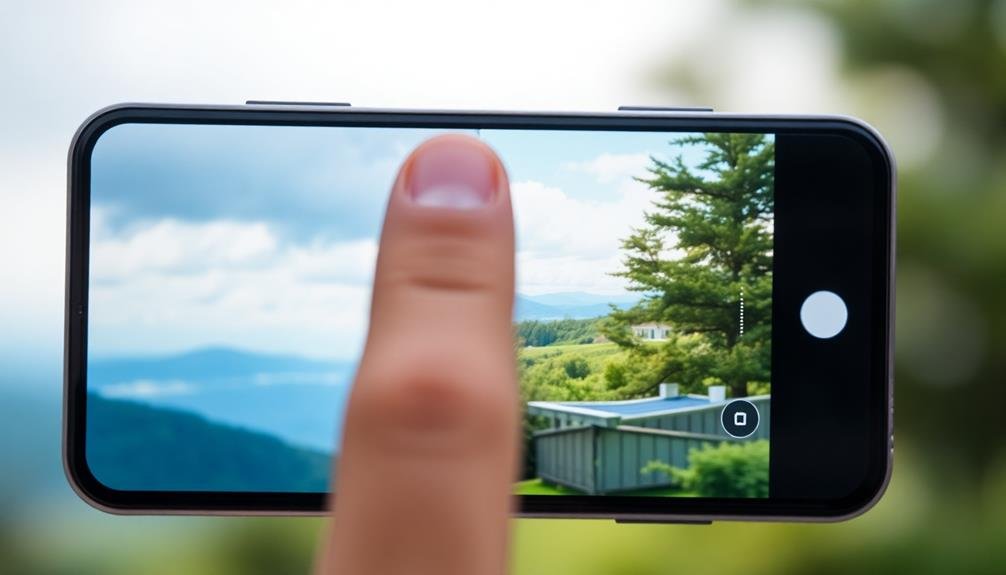
Adjust Camera Focus Settings

You'll find two main focus options on your camera: manual and autofocus. Understanding these settings and when to use each can greatly improve your photo sharpness.
Explore your camera's focus modes, such as single-point, continuous, or face detection, to tailor your focus approach to different shooting scenarios.
Manual vs. Autofocus
One of the most common culprits for blurry photos is incorrect focus. Understanding the difference between manual and autofocus can help you capture sharper images.
Autofocus is convenient and works well in most situations, but it's not always perfect. Sometimes, your camera might focus on the wrong subject or struggle in low light conditions.
Manual focus gives you complete control over what's in focus, but it requires more skill and practice. It's particularly useful for:
- Macro photography, where precise focus is essential
- Low light situations where autofocus might hunt for a focus point
- Creative shots where you want to focus on an unexpected element
To decide between manual and autofocus, consider your subject and shooting conditions. If you're photographing fast-moving subjects or need to capture moments quickly, autofocus is usually your best bet.
For static subjects or when you have time to compose your shot carefully, manual focus can yield excellent results. Don't be afraid to switch between the two as needed.
With practice, you'll develop an intuition for when to use each mode, resulting in consistently sharper photos.
Focus Modes Explained
After mastering the basics of manual and autofocus, it's crucial to understand your camera's focus modes. These modes determine how your camera tracks and maintains focus on subjects, helping you capture sharp images in various situations.
Most cameras offer several focus modes, including:
- Single-shot AF: Ideal for stationary subjects, it locks focus when you half-press the shutter.
- Continuous AF: Perfect for moving subjects, it constantly adjusts focus as long as you hold the shutter button.
- Automatic AF: Switches between single and continuous modes based on subject movement.
- Manual focus: Gives you full control over focus adjustment.
To help you choose the right mode, consider this emotional impact table:
| Focus Mode | Static Subject | Moving Subject |
|---|---|---|
| Single-shot AF | Confident | Frustrated |
| Continuous AF | Unnecessary | Excited |
| Automatic AF | Relaxed | Hopeful |
| Manual focus | Precise | Challenging |
| No focus | Artistic | Risky |
Experiment with these modes to find what works best for your shooting style and subject matter. Remember, the right focus mode can make the difference between a blurry mess and a tack-sharp masterpiece.
Stabilize Your Smartphone While Shooting
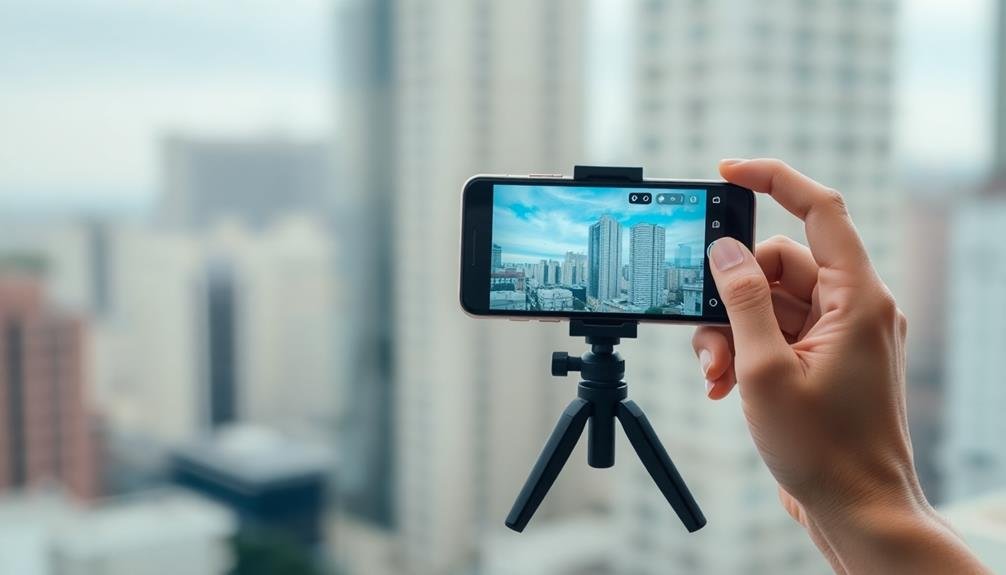
Shaky hands are the nemesis of sharp smartphone photos. Even with advanced image stabilization technology, your movements can still cause blur. To combat this, you'll need to focus on stabilizing your device while shooting. By adopting proper techniques, you can greatly improve the clarity of your images.
First, grip your smartphone firmly with both hands. Position your elbows close to your body for added support. This creates a more stable platform for your device, reducing unwanted movement. If possible, lean against a wall or sturdy object to further minimize shake.
For even better results, consider these additional stabilization methods:
- Use a smartphone tripod or gimbal for rock-steady shots
- Activate your phone's timer function to avoid tapping the screen
- Employ burst mode to capture multiple shots, increasing your chances of a sharp image
When shooting in low light conditions, stability becomes even more essential. In these situations, try to find a flat surface to rest your phone on, or use the volume button as a shutter release to avoid tapping the screen.
Avoid Digital Zoom
While digital zoom may seem like a convenient way to get closer to your subject, it's often a major culprit behind blurry photos. Unlike optical zoom, which uses the camera's lens to magnify the image, digital zoom simply crops and enlarges a portion of the image. This process results in a loss of image quality and resolution, leading to pixelation and blurriness.
To avoid this issue, stick to using your camera's optical zoom capabilities. If you're using a smartphone, move physically closer to your subject instead of relying on digital zoom. When that's not possible, take the photo without zoom and crop it later during editing. This approach gives you more control over the final image quality.
If you must use digital zoom, be aware of its limitations. Many modern smartphones offer hybrid zoom, which combines optical and digital zoom techniques. While this can produce better results than pure digital zoom, it's still not as crisp as optical zoom alone.
Always check your camera settings to verify you're using the best zoom option available. By being mindful of how you zoom, you'll greatly reduce the likelihood of ending up with blurry, low-quality photos.
Use Optimal Lighting Conditions

Lighting plays a key role in capturing sharp, clear photos. When you're shooting in low-light conditions, your camera compensates by using a slower shutter speed, which can lead to blurry images due to camera shake or subject movement.
To avoid this, seek out well-lit environments or create your own ideal lighting conditions.
Natural light is often the best choice for crisp photos. Position your subject near a window or shoot outdoors during the golden hour (just after sunrise or before sunset) for soft, flattering light.
If you're indoors, turn on additional lights or use a flash to increase the available light.
Here are three tips for using lighting to improve photo sharpness:
- Adjust your camera's ISO setting to match the lighting conditions
- Use a reflector to bounce light onto your subject and reduce shadows
- Experiment with different light sources to find the most flattering angles
Update Your Camera App

If you're using a smartphone to take photos, keeping your camera app up-to-date is crucial for ideal performance. Developers regularly release updates that improve image processing algorithms, fix bugs, and add new features. These enhancements can greatly reduce blur and improve overall photo quality.
To update your camera app, visit your device's app store and check for available updates. If you're using a third-party camera app, verify it's compatible with your phone's latest operating system. Some updates may require a full device restart to take effect.
Here's a quick comparison of benefits from updating your camera app:
| Feature | Before Update | After Update |
|---|---|---|
| Focus Speed | Slower | Faster |
| Image Stabilization | Basic | Advanced |
| Low-light Performance | Poor | Improved |
Don't forget to explore new features after updating. Many camera apps introduce AI-powered enhancements, night mode capabilities, or improved HDR processing. These additions can help you capture sharper, clearer images in various conditions. If you're still experiencing blurry photos after updating, consider trying different camera apps that may better suit your device or photography style.
Clear Camera App Cache

Your camera app's cache can sometimes be the culprit behind blurry photos. Over time, this cache accumulates data that may interfere with your app's performance, potentially affecting image quality. Clearing the cache can help resolve issues and improve your photo-taking experience.
To clear your camera app's cache, follow these steps:
- Go to your device's Settings
- Find and tap on "Apps" or "Application Manager"
- Locate your camera app and tap on it
Once you've accessed your camera app's settings, look for the "Storage" or "Cache" option. Tap on "Clear Cache" to remove the accumulated data. Don't worry; this won't delete your photos or app settings.
After clearing the cache, restart your device to verify the changes take effect. You should notice improved performance and potentially sharper images when using your camera app.
It's a good practice to clear your camera app's cache periodically, especially if you've noticed a decline in photo quality or app performance.
Try Third-Party Camera Apps

Sometimes, your device's built-in camera app mightn't offer the features or quality you need. That's where third-party camera apps come in handy. These apps often provide advanced controls and features that can help you capture sharper, clearer images.
Popular options like Camera+ 2, ProCamera, and Halide offer manual focus controls, allowing you to fine-tune your focus point. They also provide exposure compensation tools, helping you adjust for challenging lighting conditions that might otherwise result in blurry shots.
Many third-party apps include image stabilization features that can reduce camera shake, especially in low-light situations. Some even offer AI-powered enhancements to automatically improve image sharpness.
Don't forget to explore apps with RAW capture capabilities. RAW files contain more data than standard JPEGs, giving you greater flexibility in post-processing to sharpen and refine your images.
Before settling on an app, read reviews and try free versions when available. Different apps excel in various areas, so choose one that aligns with your specific photography needs and skill level.
With the right third-party camera app, you'll have more control over your shots and can greatly reduce the occurrence of blurry photos.
Consider Professional Lens Repair
If your camera lens issues go beyond simple fixes, you might need to contemplate professional repair services.
Start by researching reputable technicians who specialize in diagnosing complex lens problems and have experience with your specific camera model.
Once you've found a trusted service, they can accurately assess the damage and provide expert repairs to restore your lens's clarity and performance.
Diagnosing Complex Lens Issues
Complex lens problems can turn your crisp shots into blurry disappointments. When you've exhausted basic troubleshooting steps and your photos remain stubbornly out of focus, it's time to contemplate more intricate issues. These problems often require specialized knowledge and equipment to diagnose accurately.
Start by examining your lens for any visible damage or misalignment. Look for scratches on the glass, bent lens barrels, or loose components. If you're comfortable, gently clean the lens contacts with a microfiber cloth to guarantee proper communication between the lens and camera body.
Listen for unusual sounds when focusing or zooming, as these can indicate internal mechanical problems.
For a more thorough diagnosis, contemplate these advanced steps:
- Use a lens calibration tool to check for front or back focusing issues
- Perform a manual focus test using a focus chart to identify inconsistencies
- Capture test shots at various apertures to detect problems with specific lens elements
If you're still unsure about the cause of your lens issues, it's best to consult a professional. They can perform in-depth tests and provide expert analysis to pinpoint the exact problem and recommend the most effective solution.
Finding Reputable Repair Services
When your lens issues prove too complex for DIY fixes, it's time to contemplate professional repair services.
Start by researching reputable camera repair shops in your area. Look for businesses with positive customer reviews and certifications from major camera manufacturers. Don't hesitate to ask fellow photographers for recommendations, as they may have firsthand experience with local repair services.
Before committing to a repair, request a detailed estimate and turnaround time. Reputable shops will provide a clear breakdown of costs and expected completion dates. If possible, choose a service that offers a warranty on their repairs. This can protect you from potential issues down the line.
Consider sending your lens directly to the manufacturer for repair, especially if it's still under warranty. While this option may take longer, it guarantees that your lens is handled by technicians specifically trained for your equipment.
Be wary of suspiciously low prices, as they may indicate subpar work or counterfeit parts. Remember, quality repairs are an investment in your photography gear.
A skilled technician can often restore your lens to its original performance, saving you the cost of a replacement.
Frequently Asked Questions
Can Lens Filters Cause Blurry Photos?
Yes, lens filters can cause blurry photos. If you're using poor-quality filters or stacking multiple filters, you'll likely see reduced image sharpness. Dirty or scratched filters can also contribute to blurriness in your photos.
How Do Weather Conditions Affect Photo Clarity?
Weather can considerably impact your photo clarity. Rain, fog, and humidity can create haze and reduce sharpness. Strong winds might cause camera shake. Extreme temperatures can affect your gear's performance. You'll need to adapt your techniques accordingly.
Does Using a Phone Case With a Built-In Lens Impact Image Quality?
Yes, phone cases with built-in lenses can impact image quality. They might enhance or degrade your photos, depending on the lens quality. You'll notice differences in sharpness, color, and distortion. It's best to test before relying on them.
Can Certain Photo Editing Apps Help Fix Slightly Blurry Images?
Yes, certain photo editing apps can help fix slightly blurry images. You'll find tools like sharpening filters and clarity adjustments that can enhance focus. However, they can't work miracles, so it's best to capture clear shots initially.
How Does Lens Coating Degradation Contribute to Blurry Photos Over Time?
Over time, your lens coating can wear off, causing light scatter and reduced contrast. You'll notice your photos becoming less sharp. This gradual degradation affects image quality, leading to increasingly blurry shots as your lens ages.
In Summary
You've now got a toolkit to tackle blurry photos head-on. From cleaning your lens to tweaking settings, these quick fixes can make a world of difference. Don't let a smudge or outdated app ruin your shots. If you're still struggling, consider professional help for more serious issues. Remember, clear photos are within reach – it's just a matter of identifying the problem and applying the right solution. Happy shooting!


Leave a Reply