Panorama glitches occur when your camera or subjects move during capture, or when lighting and exposure change between shots. You'll see issues like ghosting, warping, and misalignment in your final image. To avoid these, use a tripod and maintain consistent camera settings throughout the shoot. Lock your exposure, focus, and white balance manually. Aim for 30-40% overlap between shots and try to minimize moving objects in your scene. Choose calm days to reduce wind effects on foliage. While software can help, it's not foolproof. By understanding the causes and implementing proper techniques, you'll be well on your way to creating stunning, glitch-free panoramas.
Understanding Panorama Glitches
Many panorama glitches occur due to misalignment or inconsistencies during the image capture process. These errors can result in distorted, warped, or fragmented final images that don't accurately represent the scene you intended to capture.
Common glitches include ghosting, where moving objects appear multiple times, stitching errors that create jagged edges or misaligned features, and exposure differences between frames.
To understand these issues, you need to evaluate how panoramas work. Your camera or smartphone takes multiple overlapping photos and then stitches them together. This process relies on consistent lighting, camera position, and scene composition.
When these factors change between shots, glitches can appear. For example, if you move the camera too quickly or unevenly, the software may struggle to align the images properly. Similarly, changes in lighting or moving subjects can cause inconsistencies that lead to visible errors in the final panorama.
Common Types of Distortions
When creating panoramic images, you'll often encounter two main types of distortions.
Ghosting and double imagery occur when moving objects appear multiple times in the final image.
You'll also notice warping and stretching, where straight lines become curved or objects appear unnaturally elongated, especially near the edges of the panorama.
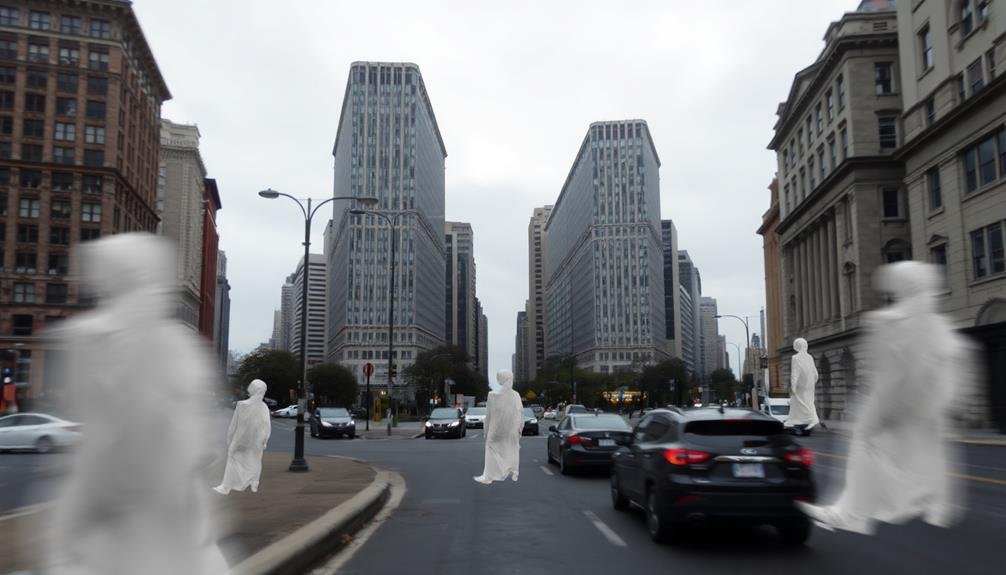
Ghosting and Double Imagery
Panorama enthusiasts frequently encounter ghosting and double imagery, two common types of distortions that can mar an otherwise perfect shot. These artifacts occur when objects move between frames during the capturing process. Ghosting appears as translucent, phantom-like images, while double imagery results in duplicated elements within the final panorama.
To avoid these issues, you'll need to be mindful of moving objects in your scene. People, animals, vehicles, and even swaying branches can cause problems. Shoot quickly to minimize the time between frames, and consider using a tripod for stability. If possible, choose a time when there's less movement in your environment.
| Distortion Type | Appearance | Emotional Impact |
|---|---|---|
| Ghosting | Translucent, ethereal | Eerie, unsettling |
| Double Imagery | Duplicated objects | Confusing, jarring |
| Clean Panorama | Seamless, cohesive | Satisfying, immersive |
When you encounter unavoidable moving elements, try taking multiple shots of that specific area. This technique allows you to choose the best frame during post-processing, potentially eliminating ghosting and double imagery. With practice and attention to detail, you'll be able to capture stunning, distortion-free panoramas that truly showcase the beauty of your surroundings.
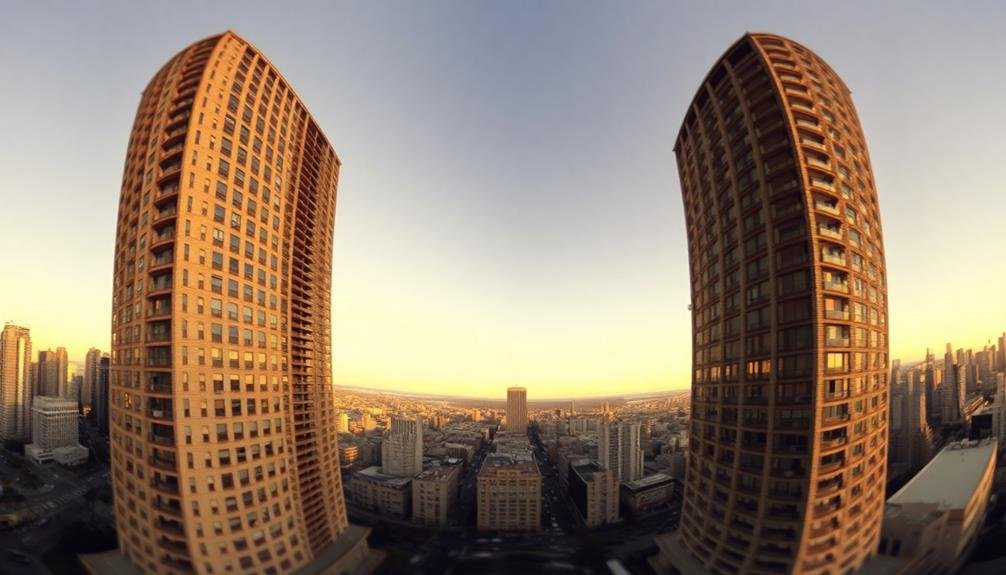
Warping and Stretching
Two of the most frustrating distortions in panoramic photography are warping and stretching. These issues can turn your carefully composed shot into a warped mess, distorting straight lines and elongating objects unnaturally.
Warping occurs when the stitching software struggles to align images correctly, often due to inconsistent camera angles or excessive movement between shots. You'll notice curved lines where they should be straight, particularly near the edges of your panorama. Buildings may appear to bend, and horizons can take on a wavy appearance.
Stretching, on the other hand, happens when the software tries to compensate for misaligned images by elongating certain areas. This can result in objects appearing unnaturally thin or wide, especially near the edges or in areas with less overlap between shots.
To avoid these issues, use a tripod and level your camera carefully. Maintain consistent settings throughout your shoot, including focal length and exposure.
Overlap your images by at least 30-40% to give the software more data to work with. When shooting architecture or scenes with straight lines, pay extra attention to your camera's position and alignment.
Camera Movement Issues
One of the most common causes of panorama glitches is erratic camera movement during the capture process. When you're shooting a panorama, even slight deviations from a smooth, steady motion can result in misaligned images and visible seams in your final composition. You'll need to pay close attention to your technique to avoid these issues.
Here are some common camera movement problems and their effects:
| Movement Type | Cause | Effect |
|---|---|---|
| Vertical shift | Uneven hand movement | Misaligned horizon |
| Rotation | Twisting the camera | Curved panorama edges |
| Forward/backward | Changing distance to subject | Parallax errors |
| Inconsistent speed | Rushed or hesitant panning | Uneven image spacing |
To minimize these issues, use a tripod whenever possible. If you're shooting handheld, practice a smooth, steady motion and maintain a consistent distance from your subject. Try to pivot around the camera's nodal point, which is typically near the center of the lens. This will help reduce parallax errors and guarantee a more seamless final image. Remember, patience and practice are key to capturing flawless panoramas.
Subject Motion Problems
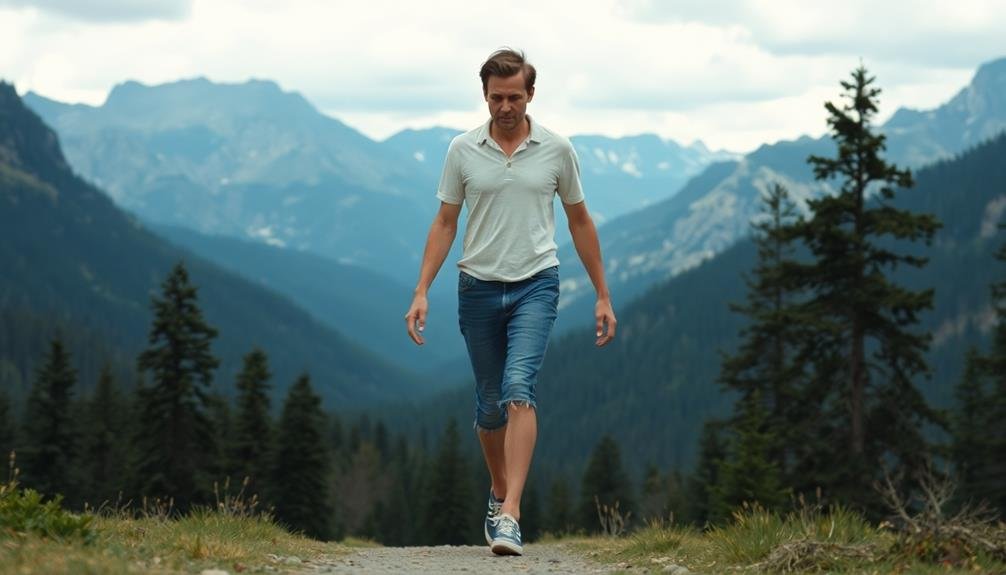
When capturing panoramas, you'll often encounter issues with moving subjects in your scene.
People walking, cars driving, or even leaves blowing in the wind can create ghosting or duplication effects in your final image.
To minimize these problems, you'll need to be aware of potential moving elements and adjust your shooting technique accordingly.
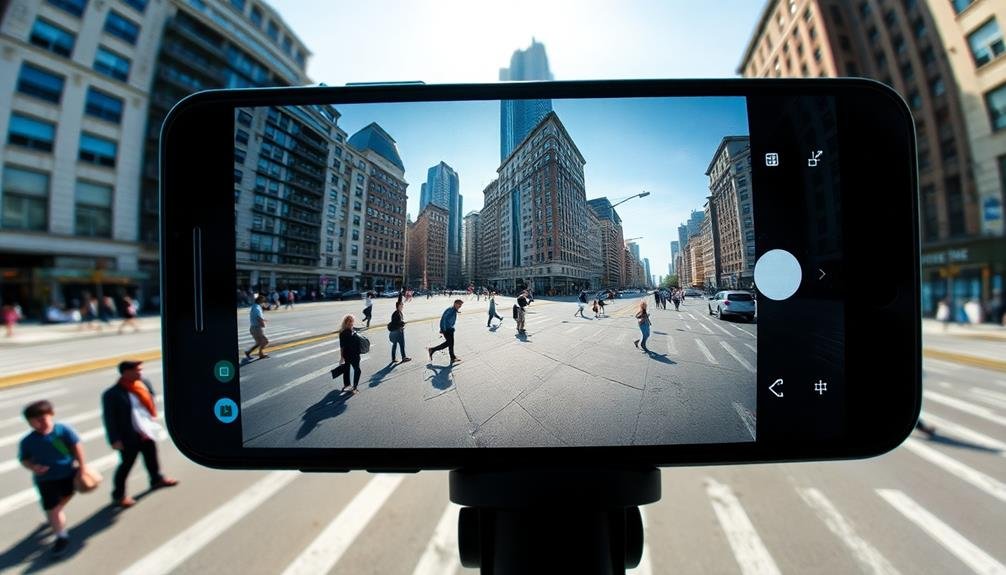
Moving Objects and People
Moving objects and people pose a significant challenge when capturing panoramic images. As you sweep your camera to capture multiple frames, anything in motion can appear distorted, duplicated, or partially missing in the final stitched image. This effect is particularly noticeable with vehicles, pedestrians, or animals crossing your frame.
To minimize these issues, consider the following tips:
- Time your shots carefully, waiting for a lull in activity
- Use a faster shutter speed to freeze motion
- Take multiple sets of panoramic shots for more options
- Choose a less busy time of day or location
- Edit out problematic elements in post-processing
If you're shooting in a busy area, you'll need to be patient and observant. Watch for patterns in foot traffic or vehicle movement, and be ready to capture your frames during brief moments of stillness.
In some cases, you may need to accept that moving elements will be part of your panorama's character, adding a dynamic quality to the image. Alternatively, you can embrace the surreal effects created by motion, intentionally incorporating them into your artistic vision.
With practice, you'll develop a keen eye for anticipating and managing movement in your panoramic shots.
Wind-Blown Elements
While moving objects pose challenges, wind-blown elements can create equally troublesome subject motion problems in panoramic photography. Trees, grass, flags, and other objects susceptible to wind movement can cause distortions and ghosting effects in your final image. As you're capturing multiple frames to stitch together, these elements may appear in different positions across shots, resulting in blurred or misaligned areas.
To minimize wind-related glitches, try shooting on a calm day or during periods of less wind. If that's not possible, increase your shutter speed to freeze motion more effectively. You'll need to adjust your ISO or aperture to compensate for the faster shutter speed.
Consider using a tripod and remote shutter release to reduce camera shake, which can exacerbate wind-related issues. In post-processing, you may need to manually align problematic areas or use content-aware tools to fix distortions.
For scenes with extensive wind-blown elements, consider taking multiple shots of the same area and selecting the best-aligned frames during the stitching process. By being aware of wind effects and employing these techniques, you'll improve your chances of creating seamless panoramas even in challenging conditions.
Parallax Effects
Parallax effects pose a significant challenge in panoramic photography, particularly when capturing scenes with objects at varying distances from the camera.
As you rotate your camera to take multiple shots, objects at different distances appear to move at different speeds relative to each other. This can result in misalignments and distortions when stitching the images together.
To minimize parallax effects and create seamless panoramas, consider these tips:
- Use a panoramic head or nodal point adapter
- Rotate the camera around its nodal point
- Keep moving objects out of frame when possible
- Increase your distance from nearby objects
- Shoot with a wider focal length
Lighting and Exposure Challenges
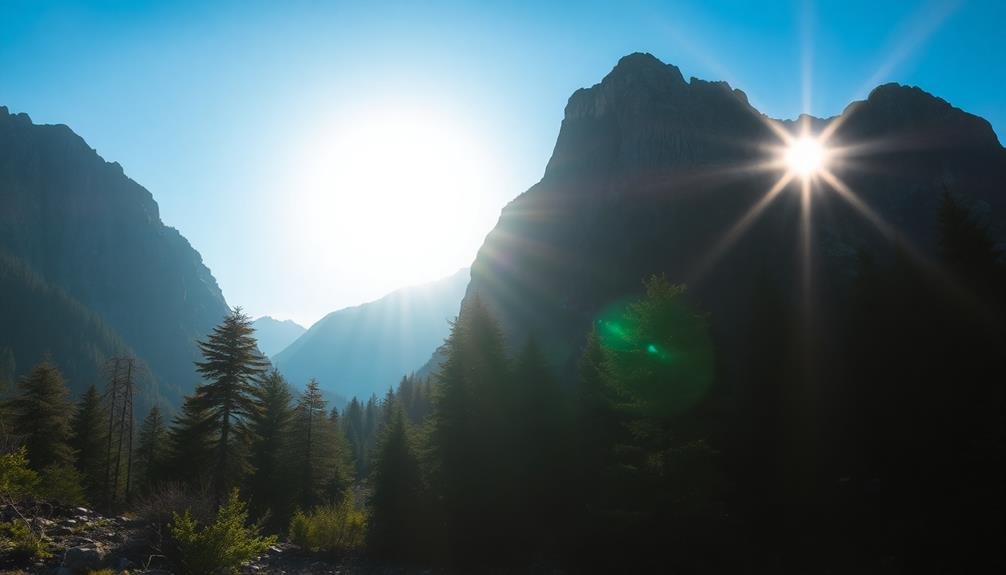
Photography's most challenging aspect when creating panoramas is managing lighting and exposure across multiple frames. As you sweep your camera to capture a panoramic scene, lighting conditions can change dramatically, especially if you're shooting outdoors. The sun's position, cloud cover, and shadows can all shift, causing inconsistencies in brightness and color temperature between shots.
To combat these issues, you'll need to lock your camera's exposure settings manually. Use the same aperture, shutter speed, and ISO for all frames to maintain consistency. It's also essential to avoid auto white balance, as it can lead to color shifts between images. Instead, set a fixed white balance based on the dominant lighting condition.
Be mindful of extreme contrast in your scene. If you're capturing a panorama with both bright skies and dark foregrounds, consider using graduated neutral density filters or bracketing your exposures. In post-processing, you can blend these exposures to create a balanced final image.
Alignment and Stitching Errors
Even with perfect lighting, panoramas can still suffer from alignment and stitching errors. These issues occur when your camera or software fails to accurately match up the overlapping areas between individual shots. You'll often notice these problems as ghosting, misaligned objects, or visible seams in your final image.
To minimize alignment and stitching errors, consider the following tips:
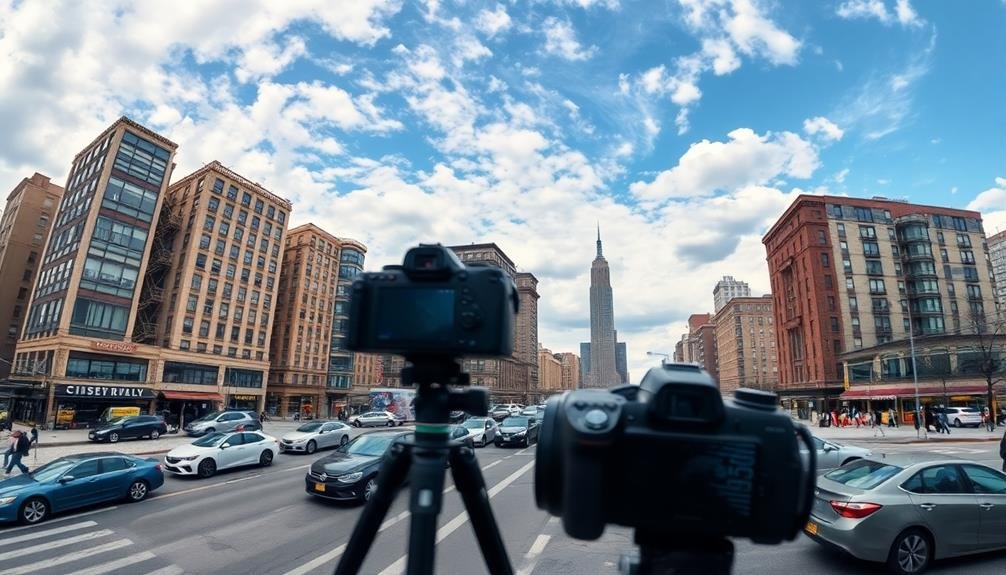
- Use a tripod with a panoramic head for precise rotation
- Maintain consistent camera settings across all shots
- Overlap your images by at least 30-40%
- Avoid moving subjects in your scene
- Choose a focal length between 35mm and 50mm
When shooting handheld, keep your camera's rotation point (nodal point) as steady as possible. This helps prevent parallax errors, which can make stitching difficult.
If you're using a wide-angle lens, be aware that distortion can complicate the alignment process. In post-processing, use specialized panorama software that offers advanced alignment tools and manual control options.
Don't rely solely on automatic stitching; carefully review each seam and make adjustments as needed. With practice and attention to detail, you'll be able to create seamless panoramas that truly capture the grandeur of expansive scenes.
Software Limitations and Bugs
While panorama software has come a long way, it's not immune to limitations and bugs. These issues can lead to glitches in your final panoramic image, even when you've done everything else correctly. Some common software-related problems include inconsistent color blending, visible seams, and distorted elements near the edges of your photo.
You might encounter limitations in your software's ability to handle complex scenes, especially those with moving objects or dramatic lighting changes. This can result in ghosting or misaligned elements in your panorama. Additionally, bugs in the software's algorithms can cause unexpected artifacts or errors in the stitching process.
To minimize these issues, keep your software up to date and use reputable programs known for their reliability. If you're experiencing persistent problems, try alternative software or manual stitching techniques.
It's also helpful to shoot in RAW format, giving you more flexibility in post-processing to correct color inconsistencies or exposure differences. Remember that even the best software can struggle with challenging scenes, so planning your shots carefully and using proper technique remain essential for creating seamless panoramas.
Best Practices for Glitch-Free Panoramas
To minimize software-related issues and capture flawless panoramas, you'll need to follow some key best practices. Start by ensuring your camera settings remain consistent throughout the shoot. Use manual mode to lock in exposure, focus, and white balance. This prevents sudden changes that can lead to stitching problems later.
When capturing your images, maintain a consistent overlap between shots, typically around 30-40%. This gives the software ample data to work with during the stitching process. Additionally, use a tripod or steady hand to keep the camera level and minimize motion blur.
Here are five essential tips for glitch-free panoramas:
- Use a nodal point adapter to eliminate parallax errors
- Shoot in RAW format for maximum editing flexibility
- Avoid including moving objects in your composition
- Turn off image stabilization when using a tripod
- Consider using a panoramic head for precise rotations
Frequently Asked Questions
Can Panorama Glitches Be Fixed in Post-Processing?
You can fix some panorama glitches in post-processing. Use software like Photoshop or Lightroom to stitch images, adjust alignment, and blend exposure. However, it's best to avoid glitches during shooting for ideal results.
Are Certain Camera Models More Prone to Panorama Glitches?
While no camera model is immune, you'll find that older or entry-level cameras may be more prone to panorama glitches. Higher-end models often have better stitching algorithms and sensors, reducing the likelihood of glitches in your panoramas.
How Do Weather Conditions Affect Panorama Quality?
Weather conditions can greatly impact your panorama quality. Wind can cause camera shake, while bright sunlight may create exposure issues. Cloudy days offer consistent lighting, but rain or snow can obstruct your lens. Always adapt to the environment.
What's the Maximum Number of Images for a Successful Panorama?
You'll find there's no strict maximum for panorama images. It depends on your camera and software capabilities. Generally, you can stitch 10-20 photos successfully, but some advanced setups allow for hundreds of images in a single panorama.
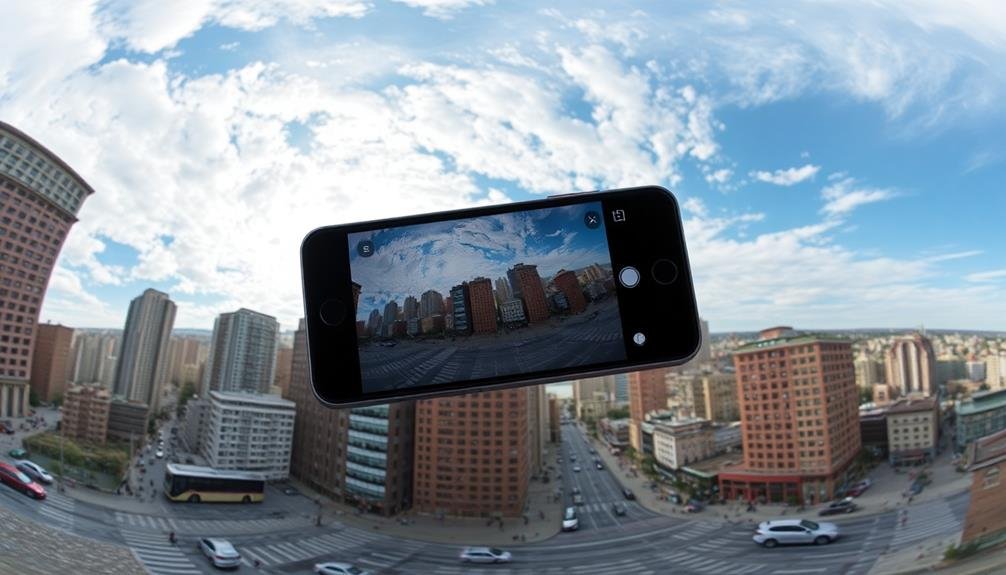
Do Smartphone Panoramas Suffer From the Same Glitches as DSLR Cameras?
Yes, your smartphone panoramas can suffer from similar glitches as DSLR cameras. You'll encounter issues like ghosting, misalignment, and exposure differences. However, smartphones often have built-in software that helps minimize these problems during capture and processing.
In Summary
You've learned about the various causes of panorama glitches and how to prevent them. By understanding camera movement, subject motion, lighting challenges, and software limitations, you're now equipped to tackle these issues head-on. Remember to use proper techniques, maintain consistent settings, and choose the right software for stitching. With practice and patience, you'll be creating stunning, glitch-free panoramas in no time. Keep experimenting and refining your skills!


Leave a Reply