
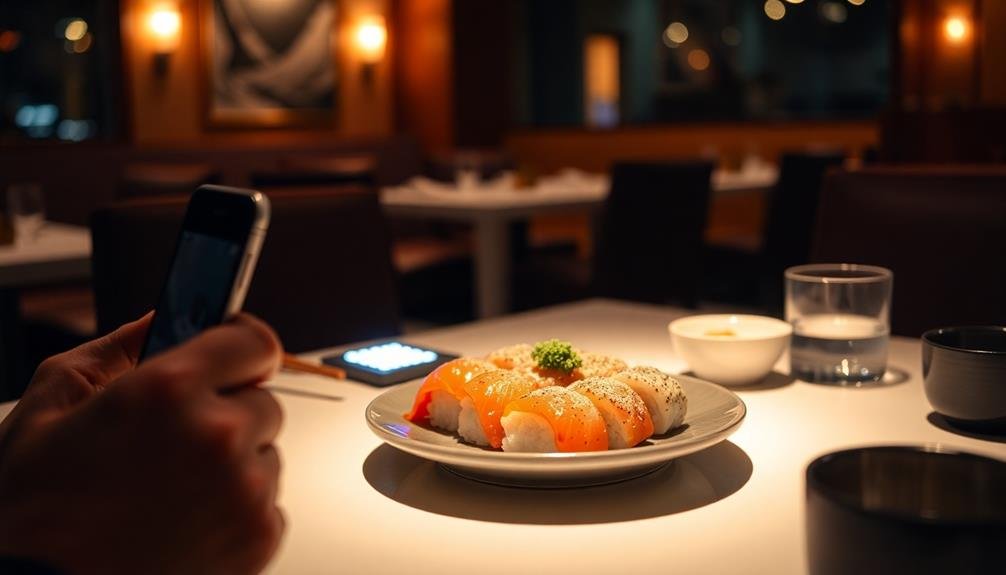
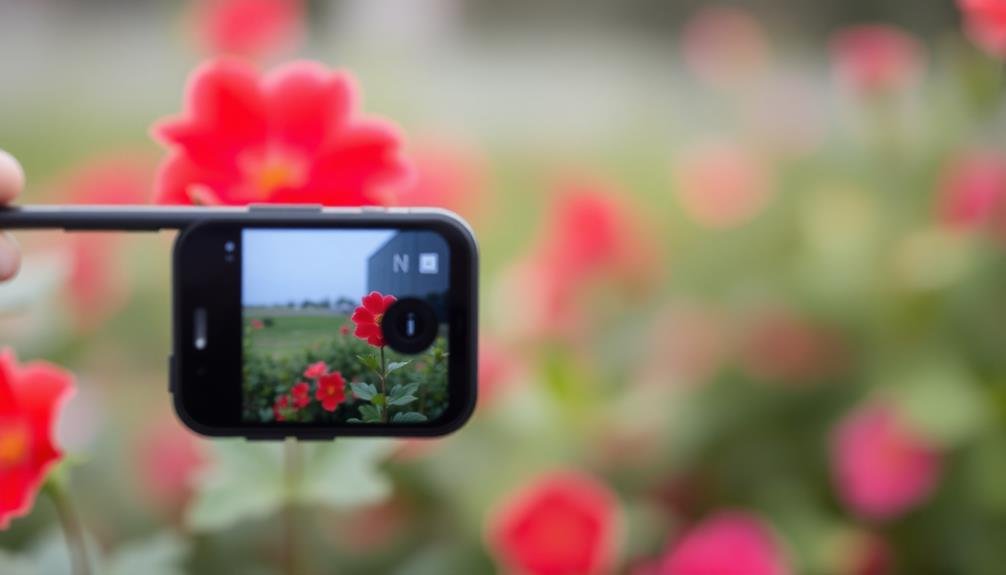
To capture mouth-watering food photos on your mobile, harness natural light as your best ally. Position your dish near a window, avoiding direct sunlight to prevent harsh shadows. Use sheer curtains or white sheets to diffuse light if needed. Experiment with angles and shadows to add depth and texture to your shots. For evening shots, invest in small LED panels or use DIY reflectors to enhance lighting. Don't forget the power of golden hour – that magical time just after sunrise or before sunset. With these tricks, you'll elevate your food photography game, but there's so much more to explore in the world of mobile food styling.
Natural Light: Your Best Friend
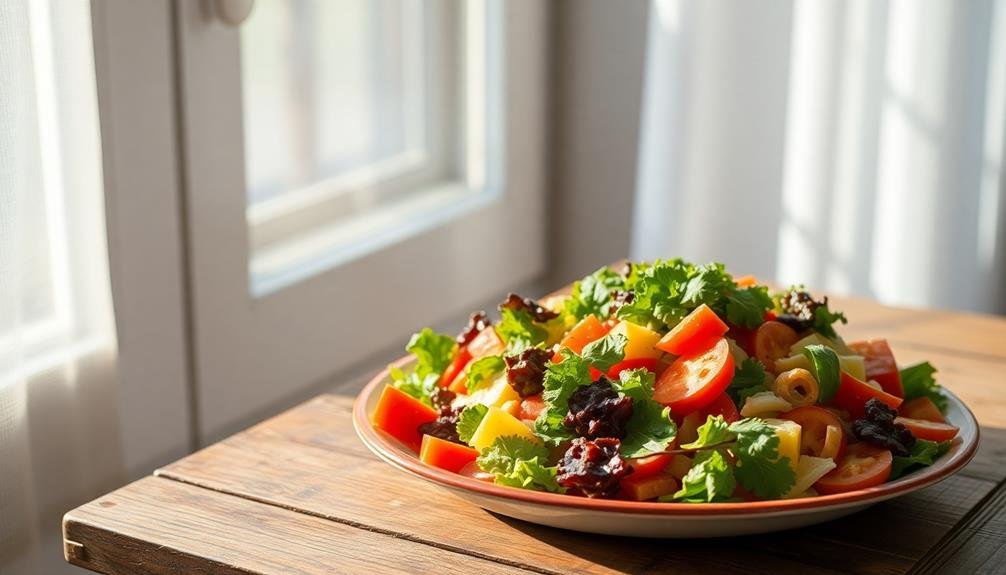
When it comes to food photography, natural light is your secret weapon. It's free, readily available, and gives your dishes a natural, appetizing look. To harness its power, position your food near a window, but avoid direct sunlight, which can create harsh shadows and overexpose your shot.
Opt for soft, diffused light by shooting on cloudy days or using a sheer curtain to filter strong sunlight. This creates a gentle, even illumination that brings out textures and colors without overwhelming the food's details.
If you're dealing with uneven lighting, use a white foam board or a piece of white paper as a reflector to bounce light back onto shadowy areas.
Time your shoots wisely. Early morning and late afternoon offer the best natural light, known as the "golden hours." These times provide a warm, flattering glow that enhances the food's appeal.
If you're shooting indoors, turn off artificial lights to avoid color casts. Instead, adjust your camera's white balance to match the natural light source, ensuring accurate color representation in your photos.
Window Placement for Optimal Lighting
When positioning your food for a photo shoot, consider the window's placement carefully.
You'll want to diffuse harsh direct sunlight using sheer curtains or a thin white sheet to create a softer, more flattering light.
Experiment with different angles relative to the window to achieve soft shadows that add depth and dimension to your food images.
Diffusing Harsh Sunlight
Natural sunlight can make or break your food photos, but harsh direct rays often cast unflattering shadows. To soften this light and create a more appealing image, you'll need to diffuse it. One simple method is to hang a thin white curtain or sheet over your window. This acts as a natural diffuser, scattering the light and creating a softer, more even illumination for your food.
If you don't have curtains handy, you can use parchment paper or a white shower curtain as makeshift diffusers. Tape them to the window or hold them up between the light source and your food.
For a more professional setup, invest in a collapsible diffuser panel. These portable tools can be easily positioned to control light direction and intensity.
On particularly bright days, you might need to further reduce the light. Try moving your setup further from the window or using a thicker diffusing material.
Angle for Soft Shadows
To achieve soft, flattering shadows in your food photography, the angle of your light source is essential. When using window light, position your dish at a 45-degree angle to the window. This setup creates gentle shadows that add depth and dimension to your food without overpowering the image.
Remember, the closer your subject is to the window, the softer the light will be.
Experiment with different angles to find what works best for your specific dish. Here are three key tips to keep in mind:
- Side lighting: Place your food perpendicular to the window for dramatic side shadows that highlight texture.
- Backlighting: Position your dish between the camera and the window for an ethereal glow and rim lighting effect.
- 45-degree lighting: This versatile angle works well for most foods, creating balanced shadows and highlights.
Don't be afraid to adjust your camera position to capture the best angle of light. Move around your subject, observing how the shadows change.
You'll quickly develop an eye for the most flattering light angles, elevating your food photos from ordinary to mouth-watering with just a simple shift in perspective.
Diffusing Harsh Sunlight Effectively
Harsh sunlight can be a food photographer's nemesis, creating unwanted shadows and blown-out highlights. To tame this intense light, you'll need to diffuse it effectively.
Start by moving your food setup away from direct sunlight. Instead, place it near a window where the light is softer and more even.
If you're still dealing with harsh rays, use a white sheet or translucent curtain to cover the window. This simple trick will scatter the light, creating a more flattering effect on your food.
Don't have a sheet handy? Improvise with parchment paper or a thin white tablecloth.
For more control, invest in a portable diffuser or make your own using a PVC frame and white fabric. Position it between the sun and your subject to soften the light.
If you're outdoors, seek natural shade under trees or buildings to avoid direct sunlight altogether.
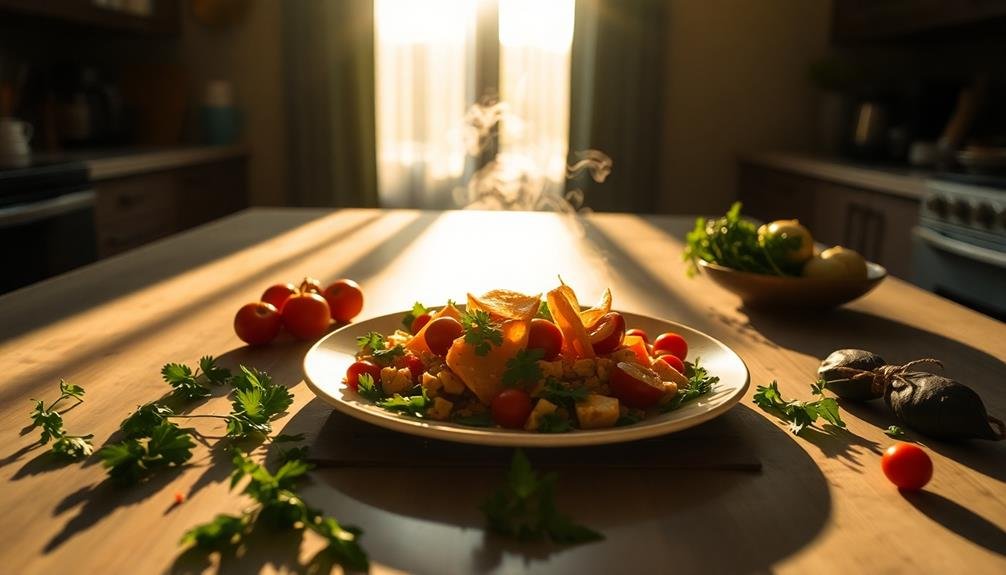
Mastering Golden Hour Food Shots

To capture stunning golden hour food shots, you'll need to time your shoot precisely, typically an hour before sunset.
Position your dish to take advantage of the warm, soft light streaming in from the side or behind your subject.
Remember to adjust your camera settings for the lower light conditions, often requiring a wider aperture or higher ISO to maintain a crisp image.
Timing Golden Hour Precisely
Capturing the perfect golden hour food shot requires impeccable timing. To nail your golden hour photos, you'll need to plan ahead and be ready when the magic moment arrives.
Golden hour typically occurs twice daily: shortly after sunrise and just before sunset. However, the exact timing varies depending on your location and the time of year.
To time golden hour precisely:
- Use a golden hour calculator app or website to determine the exact times for your location.
- Set up your food and props at least 30 minutes before the predicted golden hour start time.
- Begin shooting as soon as the warm light appears, and continue until it fades.
Positioning for Optimal Light
Once you've mastered the timing of golden hour, it's time to focus on positioning your food for ideal light. Start by placing your dish near a window or outdoor area where soft, warm sunlight can gently illuminate it. Experiment with different angles to find the most flattering position for your subject.
Try positioning the food so that the light comes from behind or to the side, creating appealing shadows and highlights that add depth to your image. Backlight can create a beautiful glow around the edges of your dish, while side lighting can emphasize texture and form.
Don't be afraid to move around your subject. Crouch down, stand on a chair, or lean in close to find the perfect angle that captures the light's interplay with your food. Use reflectors or white surfaces to bounce light back onto shadowy areas, ensuring even illumination.
Remember that golden hour light changes rapidly, so be prepared to adjust your positioning as the sun moves. Keep an eye on how the light affects your food's colors and textures, and be ready to make quick adjustments to maintain the ideal lighting throughout your shoot.
Adjusting Camera Settings Accordingly
When golden hour arrives, adjusting your camera settings becomes essential for capturing the perfect food shot. Your mobile device's camera may struggle with the changing light conditions, so you'll need to take control.
Start by tapping on the screen to focus on your dish, then adjust the exposure by sliding your finger up or down. This guarantees your food is properly lit without losing detail in the highlights or shadows.
Next, consider tweaking these key settings:
- ISO: Keep it as low as possible to minimize noise, typically between 100-400.
- Shutter speed: Opt for a faster speed to freeze motion, especially if you're shooting handheld.
- White balance: Choose the "cloudy" or "shade" preset to warm up the image and complement the golden hour glow.
Don't forget to experiment with your phone's HDR mode. It can help balance the contrast between bright and dark areas, particularly useful during golden hour.
If your device offers manual controls, try adjusting the aperture to control depth of field. A wider aperture (lower f-number) will create a beautiful bokeh effect, drawing attention to your main subject.
Creating Shadows for Depth
Shadows play an essential role in adding depth and dimension to food photography. When you're shooting with your mobile device, you can create intentional shadows to enhance the visual appeal of your food shots. Start by positioning your main light source to one side of the dish, allowing natural shadows to form on the opposite side. This technique instantly adds depth and texture to your image.
To further emphasize shadows, try using a black foam board or a dark-colored card on the side opposite your light source. This will deepen the shadows and create more contrast.
For softer, more diffused shadows, place a white reflector or a piece of white paper on the shadow side to bounce some light back onto the subject.
Don't be afraid to experiment with different angles and heights of your light source. Raising or lowering it can dramatically change the shadow patterns on your food.
You can also use small props or garnishes to cast interesting shadows, adding visual interest to your composition. Remember, shadows aren't just dark areas; they're powerful tools for creating mood and atmosphere in your food photos.
Reflectors: DIY Light Enhancers
You can easily enhance your food photography lighting with DIY reflectors.
Try using aluminum foil to bounce light onto your subject, or white paper to soften harsh shadows.
For precise highlight control, experiment with small mirrors to direct light exactly where you need it.
Aluminum Foil Light Bounce
A simple yet effective trick for enhancing your food photography is the aluminum foil light bounce technique. This method uses everyday kitchen foil to redirect light onto your subject, filling in shadows and adding a subtle sparkle to your shots. You'll be amazed at how this inexpensive tool can dramatically improve your food photos.
To create an aluminum foil light bounce:
- Cut a piece of cardboard slightly larger than your desired reflector size.
- Cover one side of the cardboard with aluminum foil, smoothing out any wrinkles.
- Experiment with crumpling the foil for different light effects.
Position your homemade reflector opposite your main light source to bounce light back onto your food. You can adjust the angle and distance to control the intensity of the reflected light.
For a softer effect, try using the dull side of the foil. If you're working with a particularly reflective surface, like a glass of wine, be careful not to create unwanted glare.
With practice, you'll learn how to manipulate the foil reflector to achieve the perfect balance of light and shadow in your food photos.
White Paper Diffusion
White paper diffusion is a budget-friendly light-softening technique that can transform harsh shadows in your food photography.
It's an easy way to create a more even, flattering light that brings out the best in your culinary subjects. To use this method, you'll need a sheet of white paper or parchment paper and a light source.
Place the paper between your light source and the food, creating a barrier that softens and diffuses the light. This works especially well with natural light from windows or artificial lights like desk lamps.
The paper acts as a mini softbox, spreading the light more evenly across your subject and reducing harsh highlights and shadows.
You can experiment with the distance between the paper, light source, and food to achieve different effects. Moving the paper closer to the light source will create softer light, while placing it nearer to the food will result in more defined shadows.
For even more control, try using multiple sheets of paper or combining this technique with other DIY light enhancers like aluminum foil reflectors.
With white paper diffusion, you'll be able to create professional-looking food photos using simple, everyday materials.
Mirrors for Targeted Highlights
While white paper diffusion softens light, mirrors offer a powerful tool for adding targeted highlights to your food photography. By strategically placing small mirrors around your subject, you can bounce light onto specific areas, creating eye-catching accents and depth. This technique works wonders for bringing out textures, enhancing glossy surfaces, and adding sparkle to drinks.
To effectively use mirrors for targeted highlights:
- Start with a small, handheld mirror or compact.
- Experiment with different angles to direct light precisely where you want it.
- Use multiple mirrors to create complex lighting effects and fill shadows.
Don't limit yourself to traditional mirrors. Reflective surfaces like aluminum foil, metallic gift wrap, or even a shiny spoon can serve as makeshift mirrors. The key is to control the intensity and direction of the reflected light.
You'll be amazed at how a well-placed highlight can transform a flat, uninspiring image into a mouth-watering masterpiece. With practice, you'll develop an intuitive sense of where to add those perfect glints and gleams that make your food photos pop.
Avoiding Flash Photography Pitfalls
Although flash photography can seem like a quick fix for low-light situations, it often creates more problems than it solves when shooting food. The harsh, direct light from your phone's flash can produce unflattering shadows, wash out colors, and create unwanted reflections on plates or utensils.
Instead of relying on flash, you'll want to explore alternative lighting techniques for better results.
To avoid flash pitfalls, start by seeking out natural light sources. Position your food near a window or in a well-lit outdoor area. If you're indoors, turn on all available lights and adjust your phone's exposure settings to compensate for lower light levels.
You can also use white surfaces or reflectors to bounce light onto your subject, creating a softer, more even illumination.
If you absolutely must use flash, try diffusing it with a piece of tissue paper or a small sheet of white plastic. This will help soften the light and reduce harsh shadows.
Alternatively, consider investing in a small, portable LED light designed for mobile photography. These can provide a more controlled and flattering light source than your phone's built-in flash.
Adjusting White Balance on Mobile
Once you've mastered natural lighting techniques, it's time to focus on color accuracy. Adjusting white balance on your mobile device is essential for capturing the true colors of your food. Most smartphones offer built-in white balance settings, but you'll need to understand how to use them effectively.
Start by identifying the lighting conditions you're working with. Is it natural daylight, indoor fluorescent, or warm incandescent light? Each of these scenarios requires different white balance adjustments.
To achieve the most accurate results, follow these steps:
- Look for the white balance settings in your camera app, usually denoted by a "WB" icon or found in the advanced settings menu.
- Experiment with preset options like "daylight," "cloudy," or "tungsten" to match your current lighting situation.
- For precise control, use the manual white balance feature if available. Place a white object in the frame and use it as a reference point.
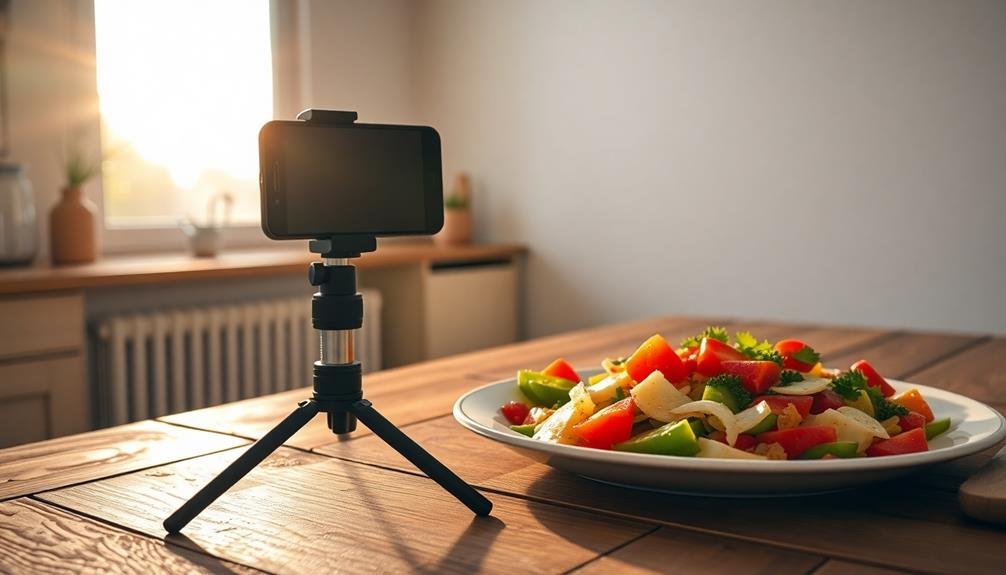
Using Apps for Lighting Control

Even with built-in camera features, you might find yourself needing more control over lighting for your food photos. That's where specialized apps come in handy. These tools offer advanced lighting controls that can transform your mobile food photography.
Apps like VSCO, Snapseed, and Lightroom Mobile provide powerful editing features. You'll find options to adjust exposure, highlights, shadows, and contrast with precision. Some apps offer selective editing, allowing you to brighten specific areas of your food while leaving others untouched.
For more dramatic effects, try apps like Lens Distortions or RNI Films. They offer light leak overlays and film emulations that can add warmth or cool tones to your images. These effects can create the illusion of natural sunlight or candlelight, enhancing the mood of your food photos.
Don't forget about apps that simulate studio lighting setups. Fotograf and Set.a.light 3D let you experiment with different light positions and intensities, helping you understand how lighting affects your food's appearance.
Backlit Food Photography Techniques
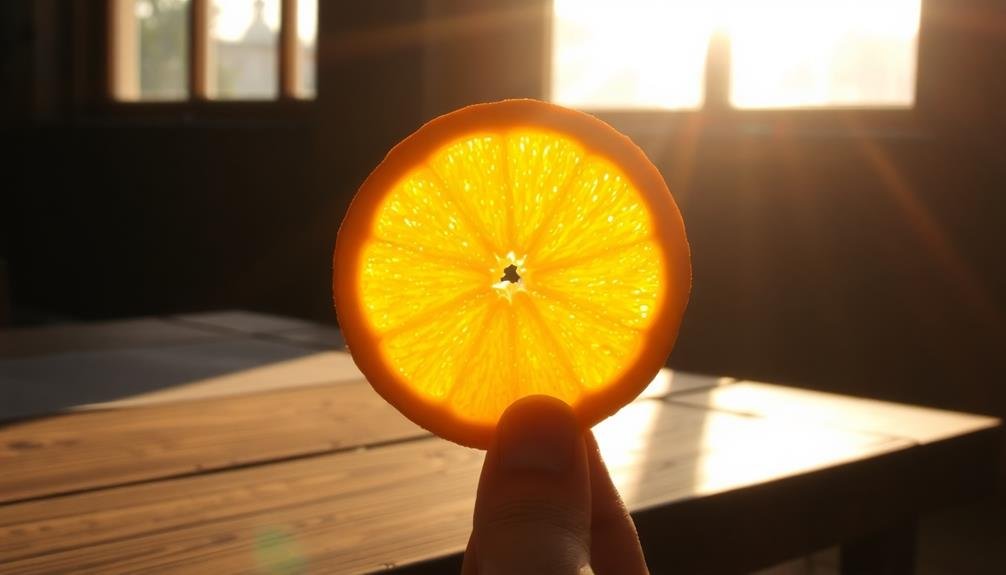
Backlit food photography can elevate your images from good to spectacular. This technique involves placing your light source behind the food, creating a beautiful glow around the edges and highlighting the texture of your subject.
To achieve this effect with your mobile phone, you'll need to position yourself between the light source and the food. Natural light from a window works best, but you can also use artificial lighting for more control.
When shooting backlit food photos, remember these key tips:
- Expose for the highlights: Your camera might struggle with the bright background, so tap on the brightest part of the image to set exposure.
- Use a reflector: Place a white card or reflector opposite the light source to bounce light back onto the front of your food.
- Experiment with angles: Slight adjustments to your camera position can dramatically change how light wraps around your subject.
Don't be afraid to underexpose slightly for a moodier feel. You can always brighten shadows in post-processing.
Pay attention to how the backlighting accentuates steam, smoke, or translucent elements in your dish. With practice, you'll master this technique and create stunning, professional-looking food photos using just your smartphone.
Artificial Lighting for Night Shots
When the sun goes down, you don't have to put your food photography on hold. Artificial lighting can be your best friend for nighttime food shots. To create stunning images after dark, you'll need to master a few key techniques and tools.
First, invest in a small, portable LED light panel. These versatile lights offer adjustable brightness and color temperature, allowing you to mimic natural light or create dramatic effects. Position your light source at a 45-degree angle to the food for ideal shadows and highlights.
Here's a quick guide to artificial lighting setups:
| Setup | Light Position | Effect |
|---|---|---|
| Side | 90° to subject | Dramatic shadows |
| Front | 0° to subject | Flat, even light |
| Back | 180° to subject | Rim lighting, glow |
| Top | Above subject | Natural look |
| Multiple | Various angles | Complex, pro look |
Don't forget to diffuse your light source with a softbox or white cloth to avoid harsh shadows. Experiment with different angles and distances to find the perfect balance of light and shadow. You'll soon be capturing mouth-watering night shots that rival your daytime photos.
Colored Lighting for Mood Enhancement
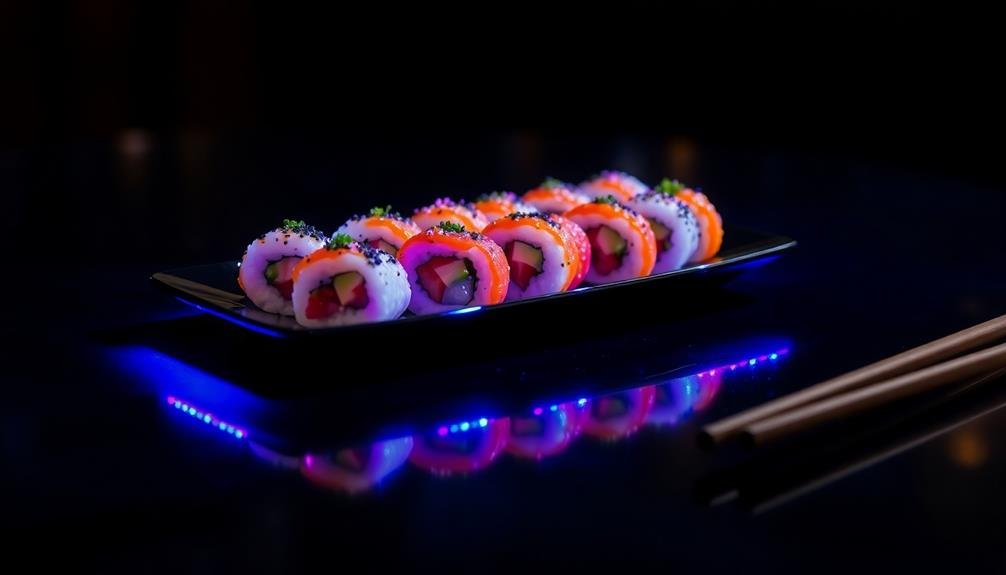
While artificial lighting allows for nighttime food photography, colored lighting takes your images to the next level by enhancing mood and atmosphere. You can use colored gels or LED lights to create a specific ambiance that complements your dish.
For example, warm orange tones can make comfort foods appear more inviting, while cool blue hues can enhance the freshness of seafood dishes.
To effectively use colored lighting in your food photos:
- Choose colors that complement your dish's natural tones
- Experiment with different angles to create interesting shadows and highlights
- Use multiple colored light sources to add depth and dimension
Don't overdo it with intense colors, as they can make your food look unappetizing. Instead, opt for subtle tints that enhance the dish's natural appeal.
You can also try using colored backdrops or reflectors to add a soft, diffused color to your composition.
Editing: Perfecting Light Post-Capture

The magic of food photography doesn't end with the click of a shutter. Post-processing is where you'll perfect the lighting and enhance your food's appeal. Start by adjusting the exposure to balance the overall brightness. Then, fine-tune the highlights and shadows to add depth and dimension to your dish.
Color temperature adjustments can warm up or cool down your image, making food appear more appetizing. Don't forget to boost the vibrance and saturation slightly to make colors pop. Use the clarity slider sparingly to enhance texture without making your food look artificial.
Here's a quick guide to common editing adjustments and their effects:
| Adjustment | Increase | Decrease | Effect |
|---|---|---|---|
| Exposure | Brighter | Darker | Overall light |
| Contrast | More defined | Softer | Tonal range |
| Highlights | Brighter lights | Softer lights | Detail in bright areas |
| Shadows | Lighter darks | Deeper darks | Detail in dark areas |
Frequently Asked Questions
How Do I Choose the Right Background Color for My Food Photos?
To choose the right background color for your food photos, you'll want to contemplate contrast. Pick a color that complements your dish without overpowering it. Neutral tones often work well, but don't be afraid to experiment with bolder hues.
What Props Work Best to Complement Food in Mobile Photography?
When choosing props for food photos, you'll want to use items that enhance the dish's appeal. Try rustic wooden boards, vintage utensils, colorful napkins, or fresh herbs. Don't overdo it; keep the focus on the food itself.
How Can I Make Drinks Look More Appealing in Mobile Photos?
To make drinks look more appealing in mobile photos, you'll want to focus on glassware, garnishes, and condensation. Use clear glasses, add colorful fruits or herbs, and spritz water on the outside for that enticing, frosty look.
Are There Specific Camera Settings for Capturing Steam From Hot Dishes?
To capture steam, try using a fast shutter speed and high ISO. You'll want to increase contrast and adjust exposure settings. Experiment with backlighting to make the steam more visible. Don't forget to focus on the steam itself.
How Do I Photograph Dark-Colored Foods Without Losing Texture and Detail?
To photograph dark-colored foods, you'll want to use side lighting to create shadows and highlight texture. Increase exposure slightly, but don't overdo it. Try using a light-colored backdrop to create contrast and enhance details.
In Summary
You've now got the tools to elevate your food photography using just your mobile device. Remember, it's all about harnessing light effectively. Whether you're working with natural sunlight or artificial sources, these techniques will help you create stunning, appetizing images. Don't be afraid to experiment with shadows, backlighting, and even colored lighting. And when you're done shooting, a few simple edits can perfect your lighting for truly mouth-watering results.


Leave a Reply