Elevate your mobile food photography with these seven eye-catching plating tricks. Create height by stacking ingredients, starting with a sturdy base. Embrace negative space to highlight your dish's focal point. Incorporate contrasting colors for visual appeal, and play with texture variety to add depth. Opt for asymmetrical arrangements to create dynamic compositions. Utilize garnishes strategically to enhance color and texture. Finally, implement the rule of thirds to guide your framing and subject placement. By mastering these techniques, you'll transform your ordinary food shots into mouth-watering masterpieces. Dive deeper to reveal the full potential of your culinary creations.
Create Height With Stacking

When it comes to food photography, height is your secret weapon. Stacking ingredients vertically not only adds visual interest but also creates depth in your mobile photos.
Start by choosing a sturdy base, like a slice of bread or a hearty vegetable. Then, layer your ingredients strategically, placing heavier items at the bottom and lighter ones on top.
For sandwiches, stack different colored ingredients to create a vibrant cross-section. With salads, use a wide-mouthed glass to layer greens, vegetables, and proteins vertically. For desserts, try stacking cookies or pancakes with complementary toppings between each layer.
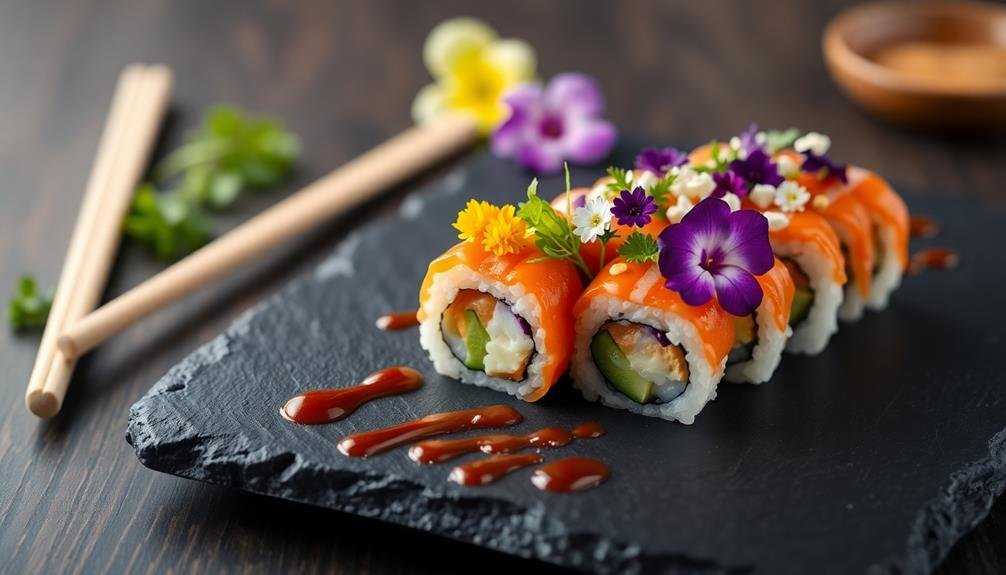
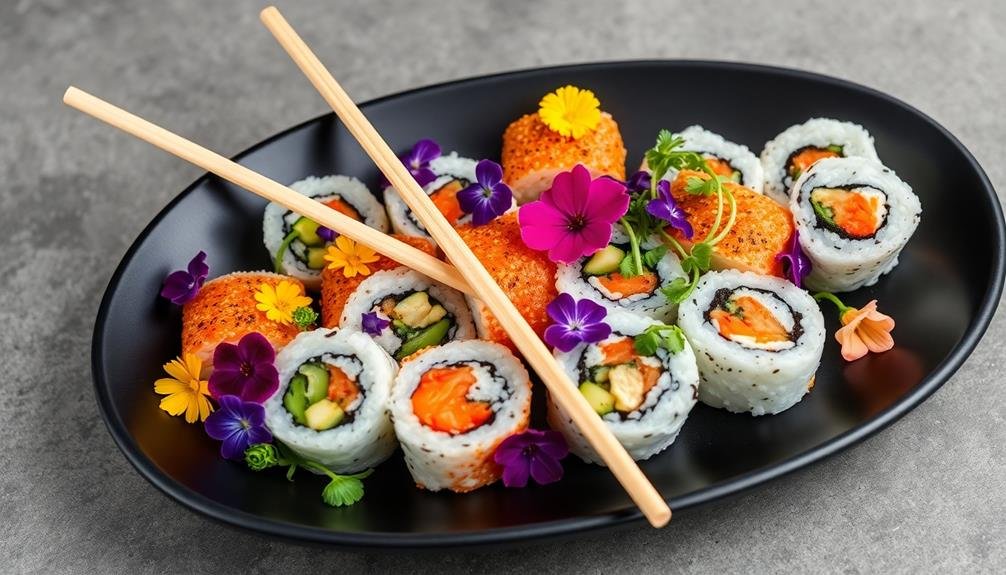
Don't forget about garnishes. Use herbs, microgreens, or edible flowers to add height and texture to the top of your dish. Experiment with different arrangements until you find the perfect balance.
When photographing your stacked creation, shoot from a slight angle to showcase the layers. Use natural light and a simple background to make your food stand out.
Use Negative Space Effectively
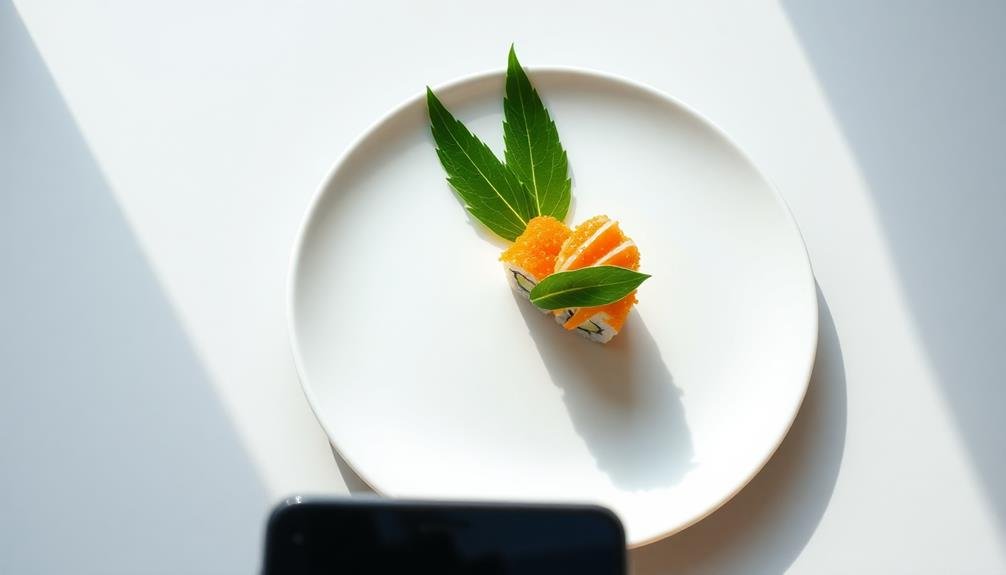
In food photography, negative space can be your best friend. It's the empty area around your main subject that helps draw attention to the food and creates a clean, uncluttered look. To use negative space effectively, start by choosing a simple, neutral-colored plate or surface. This will help your food stand out and prevent distractions.
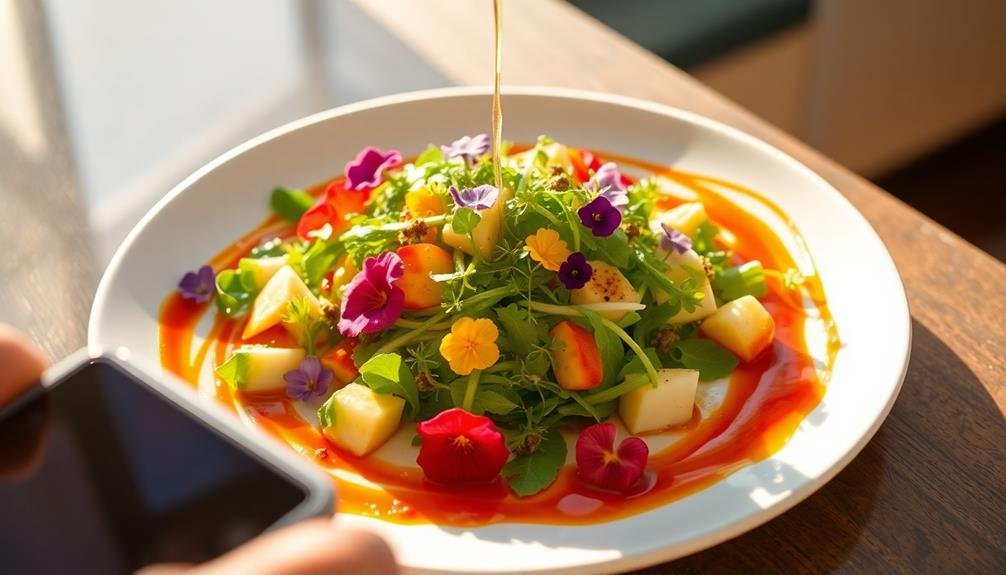
When plating your dish, don't feel the need to fill the entire plate. Instead, leave some areas intentionally empty. This creates a sense of balance and allows the viewer's eye to focus on the main elements of your dish. You can also use negative space to guide the viewer's gaze by strategically placing garnishes or sauce drizzles.
Experiment with off-center compositions. Place your main dish slightly to one side, leaving more empty space on the other. This asymmetry can add visual interest and make your photo more dynamic.
Don't forget about the background – a clean, uncluttered backdrop can serve as additional negative space, further highlighting your food. Remember, less is often more when it comes to food photography, so embrace the power of empty space to make your dishes truly pop.
Incorporate Contrasting Colors
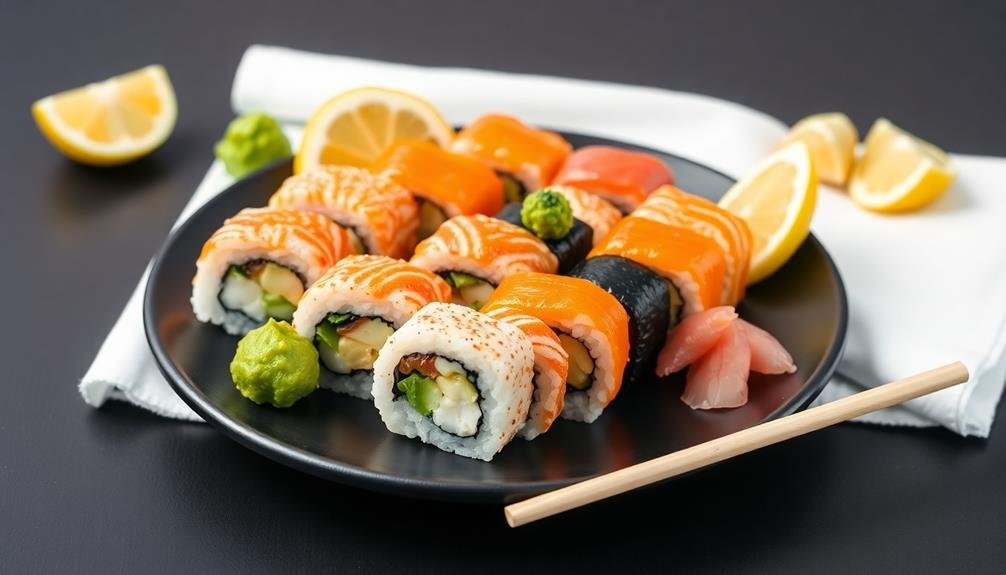
To make your food photos pop, you'll want to play with contrasting colors on the plate.
Start by pairing complementary colors, like red and green or purple and yellow, to create visual interest.
You can also add bold accent elements in vibrant hues or opt for a monochromatic styling approach to showcase different shades of the same color family.
Complementary Color Pairings
For eye-catching food photos, mastering complementary color pairings is essential. These pairings create visual interest and make your dishes pop on screen. To achieve this effect, use colors that sit opposite each other on the color wheel. Common complementary pairs include red and green, blue and orange, and purple and yellow.
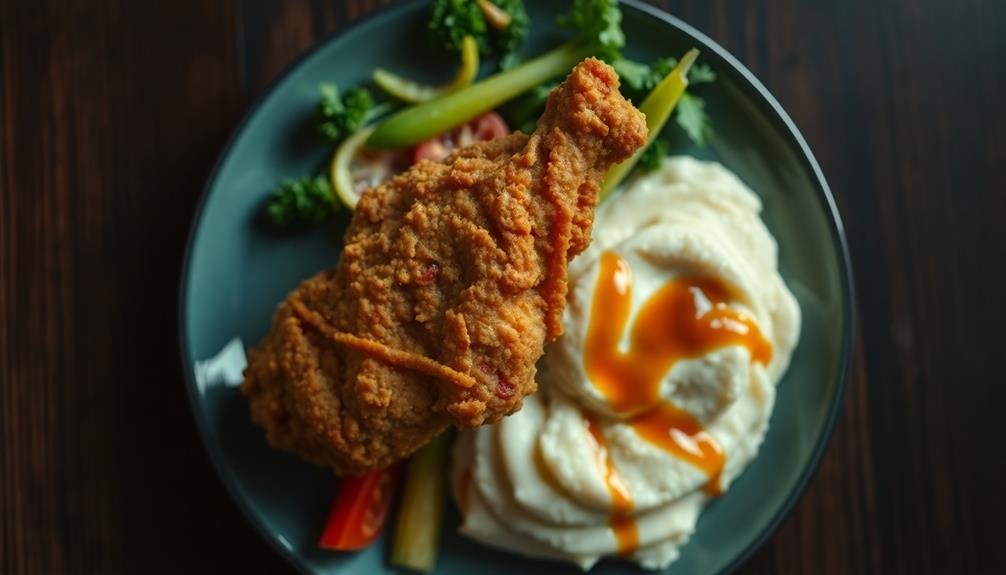
When plating your food, consider how you can incorporate these color combinations. For example, pair a vibrant green salad with slices of juicy red tomatoes or strawberries. Serve golden-brown fried chicken on a bed of purple cabbage slaw. Place orange-hued carrots or sweet potatoes alongside blue plates or napkins.
Don't limit yourself to just the main ingredients. Use garnishes, sauces, and even tableware to introduce complementary colors. A sprinkle of fresh herbs can add a pop of green to a red pasta dish. A drizzle of beet reduction can provide a striking contrast to a creamy yellow risotto.
Bold Accent Elements
While complementary colors create harmony, bold accent elements add visual excitement to your food photos. These eye-catching details can transform an ordinary dish into a fascinating image.
To incorporate bold accents, start by selecting one or two vibrant colors that contrast sharply with your main dish. You'll want to use these sparingly to avoid overwhelming the composition.
Consider adding a bright garnish, like a sprig of fresh herbs or a sprinkle of vivid spices. A single slice of citrus fruit or a few edible flowers can provide a pop of color that draws the viewer's eye.
Don't overlook the power of sauces or dressings; a drizzle of vibrant coulis or a dollop of colorful aioli can create a striking focal point.
For non-edible accents, try using boldly patterned napkins, brightly colored utensils, or uniquely shaped serving dishes.
Remember, the key is to create contrast without cluttering the frame. Use these bold elements strategically to guide the viewer's gaze and highlight the most appealing aspects of your dish.
With careful placement, these accents will elevate your food photos from ordinary to extraordinary.
Monochromatic Dish Styling
Simplicity often speaks volumes in food photography, and monochromatic dish styling can create a powerful visual impact. By focusing on a single color palette, you'll create a cohesive and striking image that stands out on social media feeds.
To achieve a monochromatic look, choose a primary color and incorporate various shades and tints of that hue throughout your dish. For example, if you're working with green, combine elements like avocado, cucumber, pistachios, and herbs.
Don't forget to include contrasting textures to add depth to your image. While sticking to one color family, you can introduce small pops of contrast to make your dish more visually interesting. A sprinkle of edible flowers, a drizzle of sauce, or a garnish in a complementary color can provide just enough contrast without breaking the monochromatic theme.
When plating, consider the shape and arrangement of your ingredients. Create patterns or geometric designs to add visual interest within your chosen color scheme.
Use negative space strategically to highlight the monochromatic elements and prevent the image from feeling cluttered or overwhelming.
Play With Texture Variety
Texture can make or break your food photos. When you're plating for a mobile shoot, don't just focus on colors and composition; pay attention to the variety of textures in your dish. Contrasting textures create visual interest and depth, making your food look more appetizing and complex.
Mix smooth with crunchy, crispy with creamy, and rough with silky to add dimension to your plate.
Consider these texture combinations to elevate your food photos:
- Pair a velvety soup with crispy croutons or fried onions
- Top a creamy pasta dish with rough, grated cheese and crunchy nuts
- Contrast a smooth puree with a sprinkle of coarse sea salt or herbs
- Add a glossy sauce to a dish with a matte finish for visual contrast
When arranging your plate, think about how different textures interact. Place contrasting elements next to each other to highlight their differences.
Use garnishes strategically to add textural pops throughout the dish. Don't be afraid to create height and layers with varying textures; this adds depth to your photos and makes the food more visually appealing.
Embrace Asymmetrical Arrangements
Embrace asymmetry in your food plating to create visual tension that captivates viewers.
You'll achieve this by intentionally placing elements off-center or clustering them to one side of the plate.
Balance your asymmetrical arrangement with strategic use of negative space, allowing certain areas to breathe and draw attention to your focal points.
Create Visual Tension
To create visual tension in your food photos, abandon symmetry and opt for asymmetrical arrangements. This approach adds intrigue and draws the viewer's eye across the entire image. Place your main dish off-center, using the rule of thirds to guide your composition.
Experiment with varying heights and textures to create depth and interest.
Consider these elements to add visual tension:
- Contrasting colors: Pair complementary hues for a striking effect
- Size variations: Mix large and small components on the plate
- Negative space: Leave strategic areas empty to highlight key elements
- Diagonal lines: Use utensils or garnishes to create dynamic angles
Don't be afraid to break traditional plating rules. Overlap ingredients, stack items vertically, or let sauces drip artfully off the plate's edge.
Incorporate unexpected elements like edible flowers or herbs to add pops of color and texture.
Remember, the goal is to create a visually compelling image that captures attention and entices viewers to engage with your food photography.
Balance Through Negative Space
Negative space's power in food photography can't be overstated. It's the empty area around your dish that helps draw attention to the main subject. To create balance through negative space, embrace asymmetrical arrangements.
Don't center your food; instead, position it off to one side of the plate or frame. This technique creates visual interest and guides the viewer's eye.
When plating, leave portions of the dish empty. This doesn't mean using smaller portions; rather, it's about strategic placement. Use the rule of thirds as a guide, placing your main elements along these imaginary lines.
Experiment with different ratios of food to empty space to find what works best for each dish.
Consider the background, too. A clean, simple backdrop can enhance the negative space effect. Use plain plates or neutral surfaces to avoid distracting from the food.
Utilize Garnishes Strategically
Once you've arranged the main components of your dish, it's time to turn your attention to garnishes. These final touches can elevate your food photography from good to great.
Garnishes add color, texture, and visual interest, helping to create a more appealing composition for your mobile photos. When utilizing garnishes strategically, evaluate their placement carefully.
Don't simply toss them on haphazardly. Instead, use them to guide the viewer's eye through the image. Place herbs, edible flowers, or microgreens in areas that need a pop of color or to fill small gaps in the composition.
Remember that less is often more when it comes to garnishes. You don't want to overwhelm the main dish or create a cluttered appearance. Choose garnishes that complement the flavors and colors of your dish.
Here are some effective garnish options to evaluate:
- Fresh herbs (parsley, basil, cilantro)
- Citrus zest or thin slices
- Edible flowers
- Microgreens or sprouts
Implement the Rule of Thirds
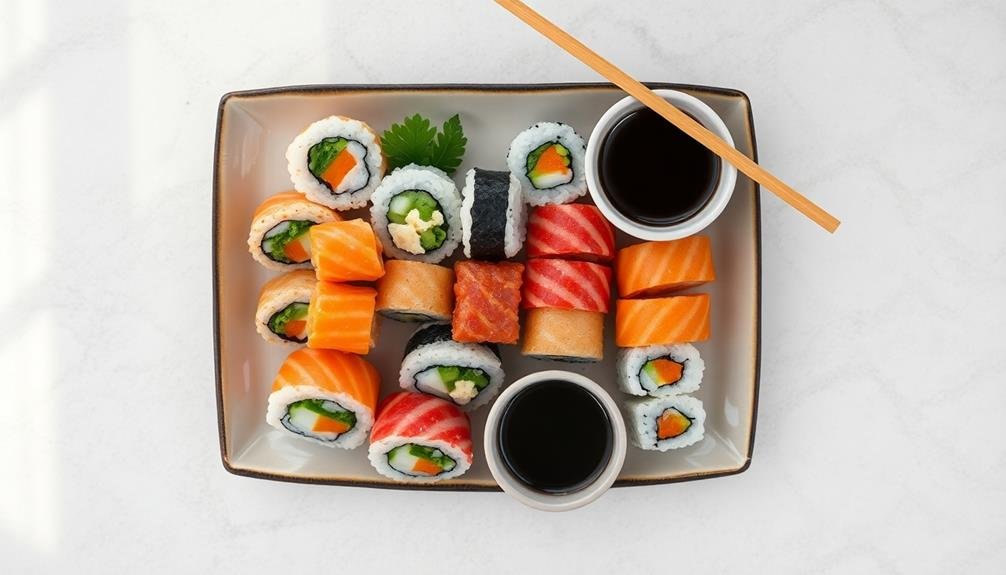
With your garnishes strategically placed, it's time to contemplate the overall composition of your food photo. The rule of thirds is a fundamental principle in photography that can meaningfully enhance your mobile food shots. Imagine dividing your screen into a 3×3 grid, creating nine equal sections. The key is to position the main elements of your dish along these lines or at their intersections.
When plating your food, aim to place the focal point of your dish slightly off-center. This creates a more dynamic and visually appealing composition than centering everything. For example, position a main protein at one of the grid's intersections, while balancing it with complementary items in the opposite third of the frame.
Don't forget about negative space – the empty areas in your photo. Use it intentionally to draw attention to your dish and create a sense of balance. As you arrange your food, keep adjusting and experimenting with different placements until you achieve a harmonious composition.
Frequently Asked Questions
What Lighting Setup Works Best for Food Photography With Smartphones?
For food photography with smartphones, you'll get the best results using natural light. Position your dish near a window, but avoid direct sunlight. If it's too bright, diffuse the light with a sheer curtain or white paper.
How Can I Prevent Hot Dishes From Steaming up My Phone Camera?
To prevent hot dishes from steaming up your phone camera, you'll want to let the food cool slightly before shooting. You can also try moving your phone farther away or using a small fan to disperse steam.
Are There Apps Specifically Designed for Enhancing Food Photos?
Yes, there are several apps designed for food photography. You'll find options like Foodie, VSCO, and Snapseed that offer filters and editing tools specifically tailored to enhance your culinary shots. They'll help you create mouthwatering images effortlessly.
What Are the Best Backgrounds to Use for Food Plating?
You'll want to use neutral backgrounds that don't distract from the food. Opt for plain white plates, wooden surfaces, or matte black boards. Don't forget textured linens or marble countertops for added visual interest.
How Can I Make Small Portions Look More Substantial in Photos?
You can make small portions look more substantial by using smaller plates, adding height with garnishes, and placing food off-center. Spread sauces artfully, use negative space wisely, and angle your shot to create depth and dimension.
In Summary
You've now got a toolkit of plating tricks to make your food photos pop on mobile. Remember, it's all about creating visual interest through height, space, color, texture, and composition. Don't be afraid to experiment and break the rules sometimes. With practice, you'll develop your own unique style. So grab your phone, plate up your next meal, and watch as your foodie followers start drooling over your Instagram-worthy creations.


Leave a Reply