
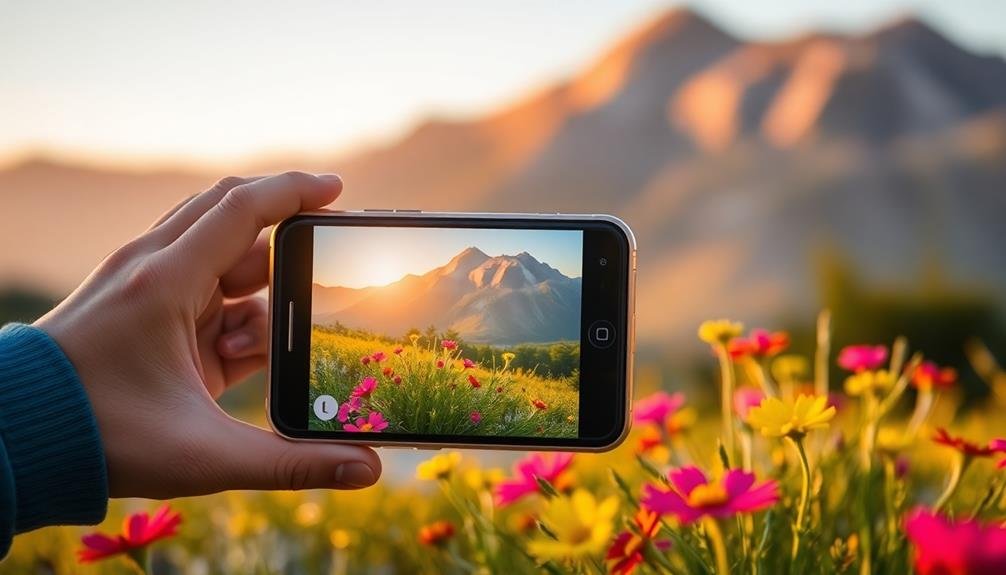
Boost your mobile photos with foreground focus by placing subjects in the front of your frame. This technique adds depth and draws attention to your main elements. Position objects in the lower third or corners for effective composition. Tap to focus on foreground subjects, ensuring clarity and sharpness. Use natural elements like flowers or rocks in landscapes, or architectural features in urban settings. Experiment with angles and distances to create balanced compositions. Blur the background to enhance focus on your subject, and utilize leading lines to guide the viewer's eye. By mastering these techniques, you'll reveal a new dimension in your mobile photography.
Understanding Foreground Focus
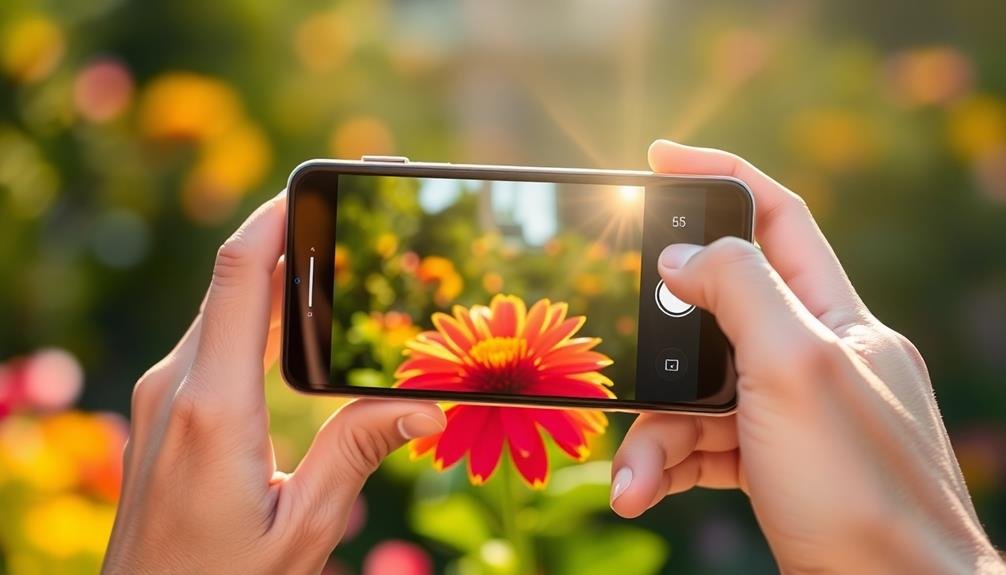
One of the most effective techniques for enhancing your mobile photos is mastering foreground focus. This approach involves deliberately placing an object or subject in the foreground of your image, drawing the viewer's attention and creating depth in your composition.
To achieve foreground focus, start by identifying an interesting element close to your camera. This could be anything from a flower or rock to a person's hand or a textured surface. Position your phone so that this element occupies the lower third or corner of your frame. Tap on this foreground subject to set your focus point, ensuring it's sharp and clear.
As you compose your shot, consider how the foreground element relates to the background. It should complement or contrast with the main scene, not distract from it. Experiment with different angles and distances to find the perfect balance. You'll often need to get low or close to your foreground subject for maximum impact.
Remember that foreground focus works best when there's a clear separation between the near and far elements in your image. This technique adds depth, leads the viewer's eye through the photo, and creates a more engaging, three-dimensional feel to your mobile photography.
Selecting Engaging Foreground Elements

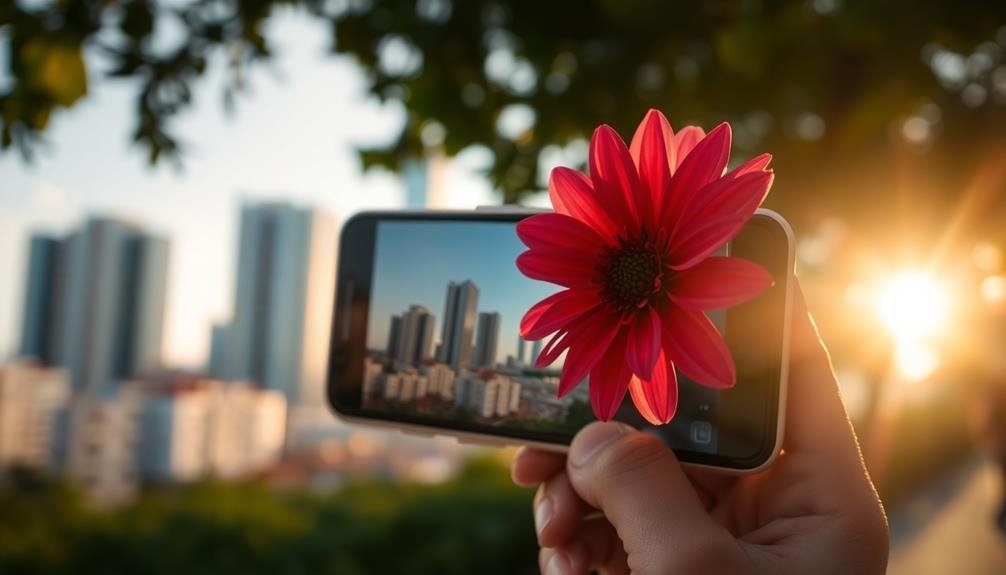
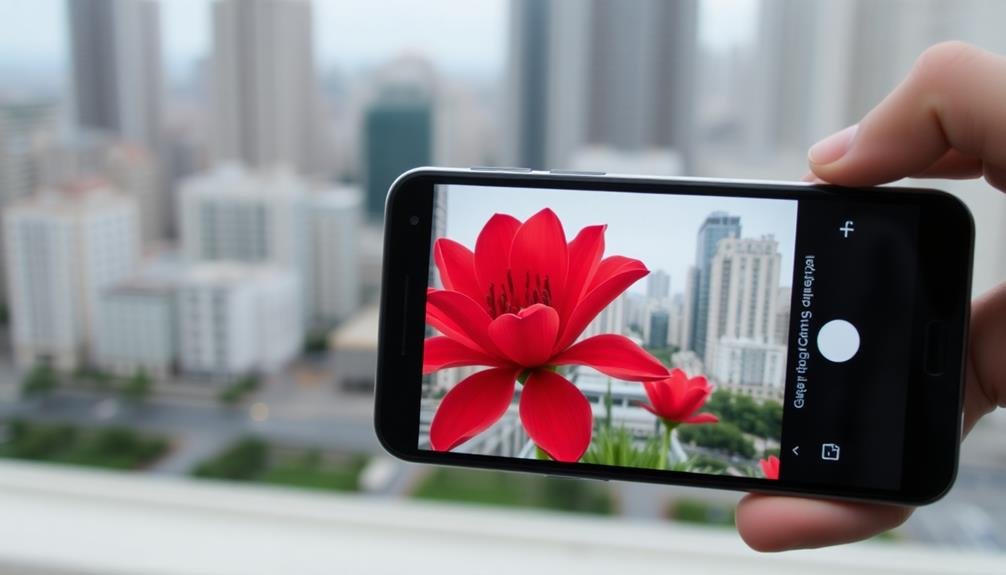
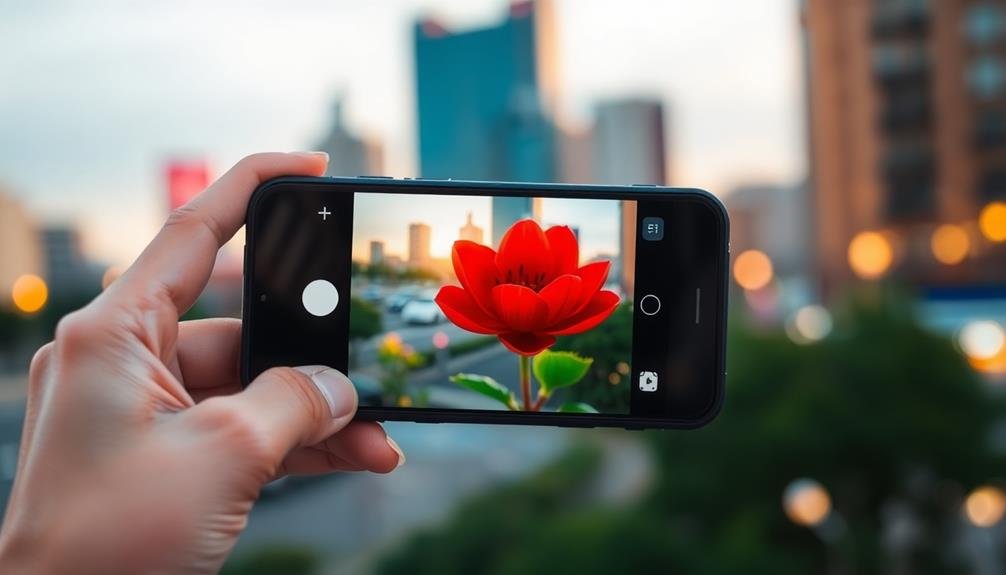
Choosing the right foreground elements can make or break your mobile photos. When selecting engaging foreground elements, look for objects that add depth, context, or visual interest to your composition. Natural elements like flowers, leaves, or rocks often work well, especially in landscape shots.
In urban settings, consider using architectural features, street signs, or interesting textures. Pay attention to the shape, color, and texture of potential foreground elements. They should complement, not overpower, your main subject.
Experiment with different angles and distances to find the perfect balance. Sometimes, a partially obscured foreground element can create intrigue and draw the viewer's eye into the frame.
Don't forget about human elements. A person's hand reaching into the frame or feet walking along a path can add a storytelling aspect to your image. You can also use foreground elements to frame your subject, like shooting through an archway or between tree branches.
Creating Depth in Mobile Photos
To create depth in your mobile photos, you'll want to master a few key techniques.
Start by layering foreground elements to guide the viewer's eye through the image. You can also frame your subject with nearby objects or blur background details to enhance the sense of dimension and draw focus to your main subject.
Layering Foreground Elements
In order to create stunning depth in your mobile photos, consider layering foreground elements. This technique adds visual interest and dimension to your images, drawing viewers into the scene. To effectively layer foreground elements, look for objects close to your camera that can frame or complement your main subject.
Start by identifying potential foreground elements like leaves, branches, flowers, or architectural features. Position yourself so these objects partially obscure the edges of your frame, creating a natural vignette effect. Experiment with different angles and distances to find the most pleasing composition.
When incorporating foreground elements, pay attention to focus. You can choose to keep the foreground sharp while slightly blurring the background, or vice versa, depending on your desired effect. Use your phone's tap-to-focus feature to control this aspect.
Color contrast between foreground and background can enhance depth. Look for elements that stand out against your main subject. Additionally, consider using leading lines in your foreground to guide the viewer's eye towards the focal point of your image.
Framing With Nearby Objects
Framing your mobile photos with nearby objects is a powerful technique to create depth and visual interest. By incorporating elements in the foreground to frame your main subject, you'll add layers and dimension to your images. This technique guides the viewer's eye to the focal point while providing context and enhancing the overall composition.
To effectively frame with nearby objects:
- Look for natural frames like archways, tree branches, or doorways.
- Use man-made structures like windows, fences, or bridges.
- Experiment with unconventional frames like hands, sunglasses, or other props.
When framing, position yourself to include the framing element in the foreground, ensuring it doesn't overpower the main subject. Adjust your angle and distance to achieve the right balance between the frame and the subject. You can also play with focus, keeping the frame slightly blurred to emphasize the main subject.
Don't limit yourself to complete frames; partial frames can be just as effective. A branch extending from one corner or a building edge on one side can add depth without dominating the image.
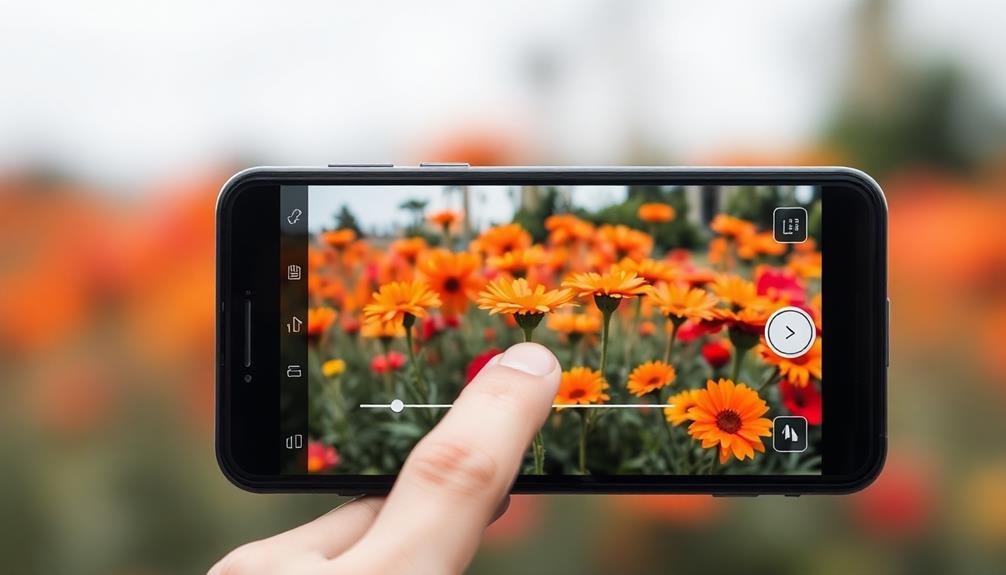
Blurring Background Details
By mastering the art of blurring background details, you'll instantly elevate your mobile photography game. This technique, known as bokeh, creates depth and draws attention to your main subject.
To achieve this effect on your smartphone, follow these tips:
First, use portrait mode if your device has it. This feature automatically blurs the background while keeping your subject sharp. If you don't have portrait mode, get close to your subject and tap to focus on it. The closer you are, the more pronounced the blur will be.
Consider your background carefully. Choose a setting with some distance between your subject and the background elements. This separation enhances the blurring effect.
Experiment with different angles to find the most pleasing composition.
Play with aperture settings in pro mode or third-party camera apps. A wider aperture (lower f-number) creates a shallower depth of field, resulting in more background blur.
Framing Techniques for Foreground Interest

Enhance your mobile photos by incorporating foreground elements that draw viewers into the scene.
You can use the leading lines technique to guide the eye through your composition, creating a sense of depth and movement.
Additionally, applying the rule of thirds when framing your shot can help you position foreground elements strategically, adding visual interest and balance to your mobile photographs.
Leading Lines Technique
When it comes to creating enchanting mobile photos, the leading lines technique stands out as a powerful tool for guiding viewers' eyes through your image. This method uses natural or man-made lines within the frame to draw attention to your subject or create a sense of depth and perspective.
To effectively use leading lines in your mobile photography:
- Identify potential lines in your environment, such as roads, fences, or architectural features.
- Position yourself to align these lines with your subject or focal point.
- Experiment with different angles to create the most visually appealing composition.
As you frame your shot, consider how the lines interact with your subject. They can lead directly to the main focus or create a path for the eye to follow through the image.
Don't be afraid to get creative – curves, zigzags, and diagonal lines can add dynamism to your photos.
Rule of Thirds
While leading lines guide the viewer's eye, the Rule of Thirds helps you create balanced and visually appealing compositions. This technique divides your frame into a 3×3 grid, with two horizontal and two vertical lines. The key is to place your main subject along these lines or at their intersections, known as power points.
To apply the Rule of Thirds when focusing on foreground elements:
- Activate your phone's grid overlay in the camera settings.
- Position your foreground subject along the grid lines or at intersections.
- Place the horizon on the upper or lower third line, not in the center.
- Use negative space in the remaining two-thirds to create depth.
- Experiment with different placements to find the most compelling composition.
| Left Third | Center | Right Third |
|---|---|---|
| Power Point | Power Point | |
| Power Point | Power Point | |
| Foreground | Subject | Background |
Mastering Perspective in Foreground Composition
Delving into foreground composition, perspective plays a crucial role in elevating your mobile photos. By strategically placing elements in the foreground, you'll create depth and draw viewers into your images.
Consider using leading lines, such as a winding path or a fence, to guide the eye from the foreground to the background. This technique adds dimension and interest to your shots.
Experiment with different angles to enhance your foreground composition. Get low to the ground for a unique perspective, or try shooting from above to capture interesting patterns and textures.
Don't be afraid to move around and find the perfect vantage point that showcases your subject in relation to its surroundings.
To master perspective in foreground composition, focus on these key points:
- Choose a strong foreground element that complements your main subject
- Use contrast in size and scale to create depth and emphasize distance
- Experiment with depth of field to blur or sharpen foreground elements
Lighting for Impactful Foreground Subjects
Lighting is the backbone of impactful foreground subjects in mobile photography. It can make or break your foreground composition, so you'll need to master light manipulation techniques.
Start by observing natural light sources and their effects on your subject. Look for interesting shadows, highlights, and contrasts that can add depth and dimension to your foreground elements.
When shooting in bright sunlight, use it to your advantage by positioning your foreground subject to create long, dramatic shadows. For softer lighting, seek out overcast days or shoot during the golden hour. You can also use reflectors or diffusers to control harsh light and fill in shadows.
Don't forget about artificial lighting options. Your phone's flash can be a powerful tool when used creatively. Try using it to illuminate foreground subjects in low-light situations or to create striking silhouettes.
Experiment with off-camera lighting sources like LED panels or even a friend's phone flashlight to add unique lighting effects to your foreground.
Utilizing Negative Space Effectively

Negative space can be just as powerful as your foreground subjects when composing mobile photos. It's the empty area surrounding your main subject, and when used effectively, it can dramatically enhance your image's impact. By incorporating ample negative space, you'll draw attention to your subject while creating a sense of balance and simplicity in your shots.
To utilize negative space effectively in your mobile photography:
- Look for clean backgrounds: Seek out plain walls, clear skies, or expansive landscapes to serve as your negative space.
- Experiment with subject placement: Try positioning your subject off-center or in a corner to create more negative space.
- Use negative space to convey emotion: A small subject surrounded by vast emptiness can evoke feelings of isolation or contemplation.
When composing your shot, consider the relationship between your subject and the surrounding negative space. This balance can create a powerful visual narrative.
Don't be afraid to leave large portions of your frame empty – it's not wasted space, but rather an intentional element of your composition.
Balancing Foreground and Background Elements
A well-balanced mobile photo requires careful consideration of both foreground and background elements. To achieve this balance, start by identifying your main subject and positioning it in the foreground. Use the rule of thirds to place your subject off-center, creating a more dynamic composition.
Next, evaluate your background. It should complement your subject without overpowering it. Look for elements that add context or depth to your image, such as interesting textures, shapes, or colors. If the background is too busy, try changing your angle or using portrait mode to blur it slightly.
Don't forget about middle-ground elements that can bridge the gap between foreground and background. These can help create a sense of depth and guide the viewer's eye through the image.
Experiment with different focal lengths by zooming in or out. A wider shot can include more background elements, while a tighter frame emphasizes the foreground subject.
Pay attention to lighting as well; verify that both foreground and background are properly exposed. If necessary, use HDR mode or adjust exposure manually to balance bright and dark areas.
Editing Tools for Enhancing Foreground
Powerful editing tools can transform your mobile photos by enhancing the foreground elements. Apps like Snapseed, VSCO, and Adobe Lightroom Mobile offer advanced features to help you bring your subject to life. Focus on adjusting brightness, contrast, and sharpness to make foreground objects pop. Use selective editing tools to target specific areas without affecting the entire image.
Experiment with these techniques to elevate your foreground:
- Dodge and burn: Lighten or darken specific areas to create depth and dimension.
- Color grading: Adjust hues and saturation to make foreground colors more vibrant or muted.
- Vignette: Add a subtle darkening around the edges to draw attention to the center.
Don't shy away from using masks and brushes to apply effects precisely. These tools allow you to paint adjustments onto specific parts of your image, giving you ultimate control over the final result.
Frequently Asked Questions
Can Foreground Focus Be Used Effectively in Portrait Photography?
Yes, you can use foreground focus effectively in portrait photography. It'll draw attention to your subject, create depth, and add visual interest. You'll achieve a more dynamic composition by blurring the background and emphasizing the foreground.
How Does Weather Affect Foreground Focus in Outdoor Mobile Photography?
Weather greatly impacts your foreground focus in outdoor mobile shots. You'll find bright sunlight creates harsh shadows, while overcast skies offer softer light. Rain can add interesting textures, and fog can create depth and mystery in your foreground elements.
Are There Specific Mobile Apps Designed for Enhancing Foreground Elements?
You'll find several apps tailored for foreground enhancement. Try Snapseed, VSCO, or Lightroom Mobile. They offer tools like selective focus, brushes, and masks to emphasize foreground elements. Experiment with these apps to elevate your mobile photography game.
What Common Mistakes Should Beginners Avoid When Attempting Foreground Focus?
You should avoid cluttered foregrounds, overexposing the background, and neglecting composition. Don't forget to clean your lens, use proper focus techniques, and experiment with different angles. Remember, practice makes perfect when mastering foreground focus.
How Can You Incorporate Movement in Foreground Subjects for Dynamic Compositions?
You can add movement to foreground subjects by capturing motion blur. Try panning with a moving subject, using slow shutter speeds, or experimenting with intentional camera movement. These techniques create dynamic compositions that draw the viewer's eye.
In Summary
You've now got the tools to elevate your mobile photography with foreground focus. Remember, it's all about creating depth, framing creatively, and balancing elements. Don't be afraid to experiment with perspective and lighting. As you practice, you'll develop an eye for intriguing foreground subjects. Keep exploring editing techniques to refine your shots. With these skills, you'll transform ordinary scenes into striking images that draw viewers in and tell a story.


Leave a Reply