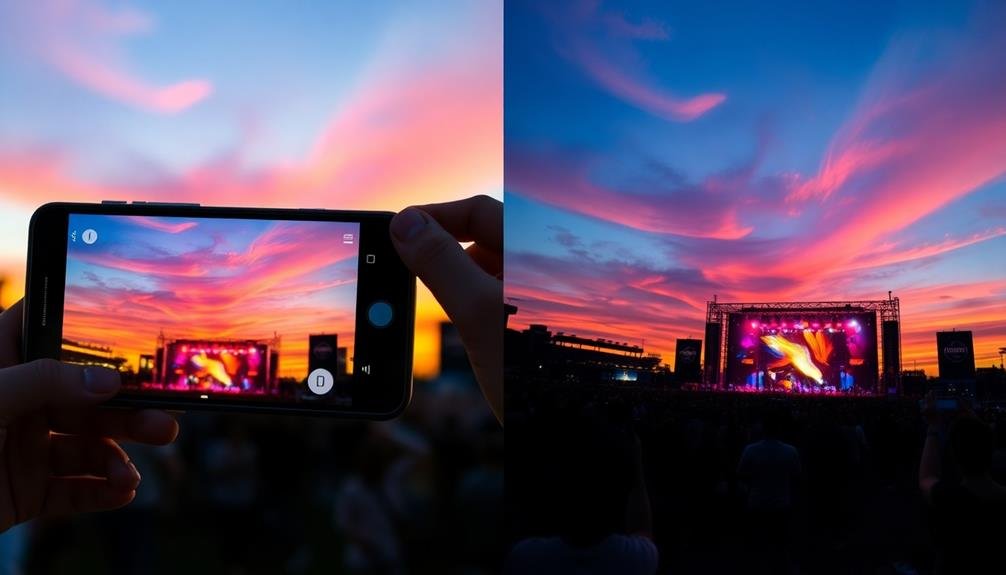
Master golden hour photography with these five mobile tricks. Capture dramatic silhouettes by positioning subjects against the setting sun. Create dreamy lens flares by angling your shot with the sun partially obscured. Seek out reflective surfaces for stunning depth and sparkle in your images. Use backlighting to give your subjects an ethereal glow. Adjust your white balance settings to enhance warm color tones and create a cozy atmosphere. With these techniques, you'll transform ordinary scenes into extraordinary masterpieces. Dive deeper into each trick to reveal the full potential of your golden hour shots.
Silhouette Shots for Dramatic Effect

Often overlooked, silhouette shots can add a powerful dramatic effect to your golden hour photos. To capture stunning silhouettes, position your subject between the camera and the setting sun. Guarantee your subject has a distinct, recognizable shape to create a strong visual impact.
Adjust your camera settings to expose for the bright background, not your subject. This will darken the foreground, creating the silhouette effect. On most smartphones, tap the brightest part of the sky to set the exposure. If your device allows, reduce the exposure compensation slightly for a more dramatic result.
Experiment with different poses and props to add interest to your silhouettes. Trees, architecture, and people in motion can all make for compelling subjects. Try capturing a series of shots as your subject moves to find the most striking composition.
For added depth, include foreground elements like rocks or plants. These create layers in your image and add visual interest.
Don't forget to clean your lens before shooting to guarantee sharp, clear silhouettes against the golden sky.
Lens Flare Mastery

While silhouettes darken your subjects, lens flares can add a touch of light and magic to your golden hour photos. To master lens flares, start by positioning the sun just out of frame or partially obscured by an object. This creates a soft, dreamy glow that enhances your image's atmosphere.
Experiment with different angles to control the flare's intensity and shape. Move your phone slightly to find the sweet spot where the flare complements your composition without overpowering it. You can also use objects like tree branches or buildings to partially block the sun, creating unique flare patterns.
Many mobile cameras now offer lens flare filters or effects. While these can be fun to play with, natural flares often yield more authentic results.
If you're struggling to achieve the desired effect, try cleaning your lens to remove any smudges that might interfere with the flare.
Reflections in Golden Light

Reflections can take your golden hour photos up a notch, adding depth and visual interest to your compositions. During this magical time of day, reflective surfaces become powerful tools for creating stunning images. Look for water bodies, glass buildings, or even puddles to capture the warm, golden light.
Position yourself to include both the subject and its reflection in the frame. Experiment with different angles to find the most enchanting composition. Try shooting from a low angle to maximize the reflection's size and impact. If you're near water, wait for the surface to calm for clearer reflections, or embrace ripples for a more abstract effect.
Use your phone's HDR mode to balance the bright sky and darker reflective surfaces. Adjust exposure manually if needed, focusing on preserving highlight details. Consider using the rule of thirds to place the horizon line, balancing the real subject with its mirrored counterpart.
Don't forget about partial reflections. Even a small reflective element can add a golden sparkle to your image.
Backlighting Subjects for Glow

In light of the golden hour's soft, warm glow, backlighting your subjects can create a stunning ethereal effect. Position your subject between you and the sun, allowing the light to illuminate them from behind. This technique adds depth, dimension, and a magical aura to your photos.
To achieve the best results, adjust your camera settings to expose for the subject's face rather than the bright background. This may require increasing the exposure compensation or using spot metering. Experiment with different angles to capture light streaks or lens flares for added drama.
Here's a quick guide to backlighting techniques:
| Technique | Effect | Best For |
|---|---|---|
| Rim Light | Highlights edges | Silhouettes |
| Halo Effect | Soft glow around subject | Portraits |
| Sun Flare | Adds warmth and drama | Landscape shots |
Don't be afraid to get creative with your compositions. Try framing your subject with natural elements like trees or flowers to add interest. Remember, the key to successful backlighting is finding the right balance between highlighting your subject and preserving the golden hour's magical atmosphere. With practice, you'll master this technique and capture breathtaking images that showcase the beauty of golden hour lighting.
Capturing Warm Color Tones

Golden hour's warm hues offer a perfect opportunity to capture stunning color tones in your mobile photography. To make the most of this magical light, adjust your camera's white balance to "cloudy" or "shade" settings. This will enhance the warm oranges and reds, creating a cozy atmosphere in your shots.
Don't be afraid to experiment with your phone's built-in filters or editing tools to further accentuate these golden tones. Pay attention to your surroundings and look for elements that complement the warm light. Seek out subjects with warm-colored textures like brick walls, wooden fences, or autumn leaves. These will absorb and reflect the golden light beautifully.
When composing your shot, include the sun in the frame for a sun flare effect, but be careful not to overexpose your image. Use your phone's HDR mode to balance the bright sky with shadowed areas.
For portraits, position your subject facing the sun to bathe them in warm light. This will create a soft, flattering glow on their skin. Remember to tap on your subject's face to adjust exposure and focus.
Frequently Asked Questions
What's the Best App for Editing Golden Hour Photos on Mobile?
You'll find Snapseed or VSCO excellent for editing golden hour photos on mobile. They offer powerful tools to enhance warm tones, adjust exposure, and add filters. Both apps are user-friendly and provide professional-looking results for your sunset shots.
How Can I Predict the Exact Time of Golden Hour?
You can predict golden hour using specialized apps like Sun Surveyor or PhotoPills. They'll calculate exact times based on your location. Alternatively, check local sunrise and sunset times; golden hour typically occurs about an hour before sunset or after sunrise.
Are There Any Specific Camera Settings for Golden Hour Photography?
For golden hour photography, you'll want to adjust your camera settings. Use a low ISO, wide aperture, and slower shutter speed. Turn off your flash, enable HDR mode, and adjust white balance to "cloudy" or "shade" for warmer tones.
Can I Achieve Golden Hour Effects During Other Times of Day?
You can simulate golden hour effects anytime using photo editing apps or filters. Try adjusting warmth, contrast, and highlights. Alternatively, use artificial lighting sources like warm LEDs or reflectors to create a similar soft, golden glow in your shots.
What Accessories Are Essential for Mobile Golden Hour Photography?
You'll want a mini tripod for stability, a smartphone lens kit for versatility, and a reflector for light control. Don't forget a portable charger and a remote shutter. These accessories will elevate your golden hour mobile photography game.
In Summary
You've now got the tools to create stunning golden hour photos with your mobile device. Remember to experiment with silhouettes, play with lens flares, seek out reflections, backlight your subjects, and capture those warm, rich tones. Don't be afraid to try different angles and compositions. With practice, you'll master these techniques and elevate your photography game. So grab your phone, head out during golden hour, and start shooting. Your Instagram feed will thank you!


Leave a Reply