
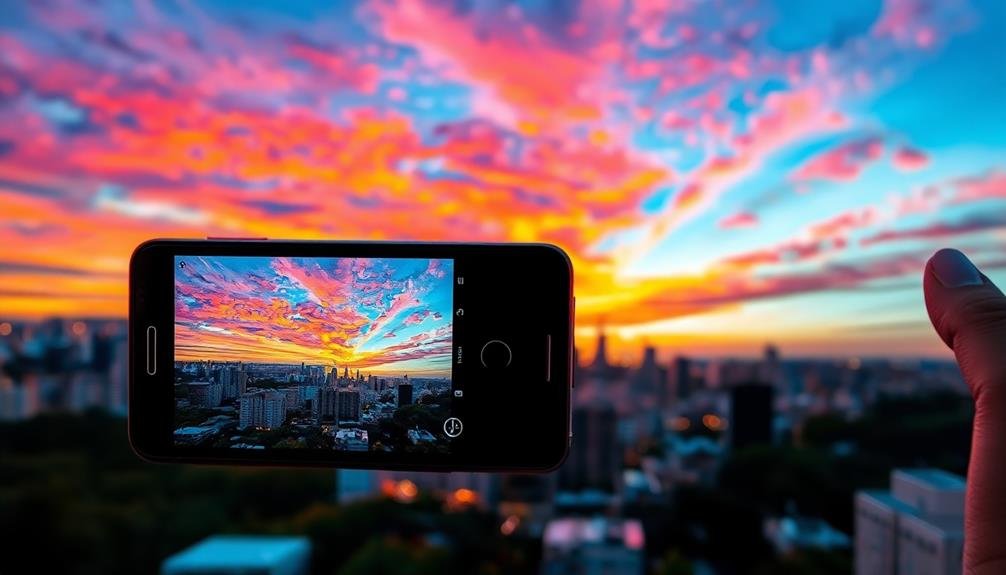
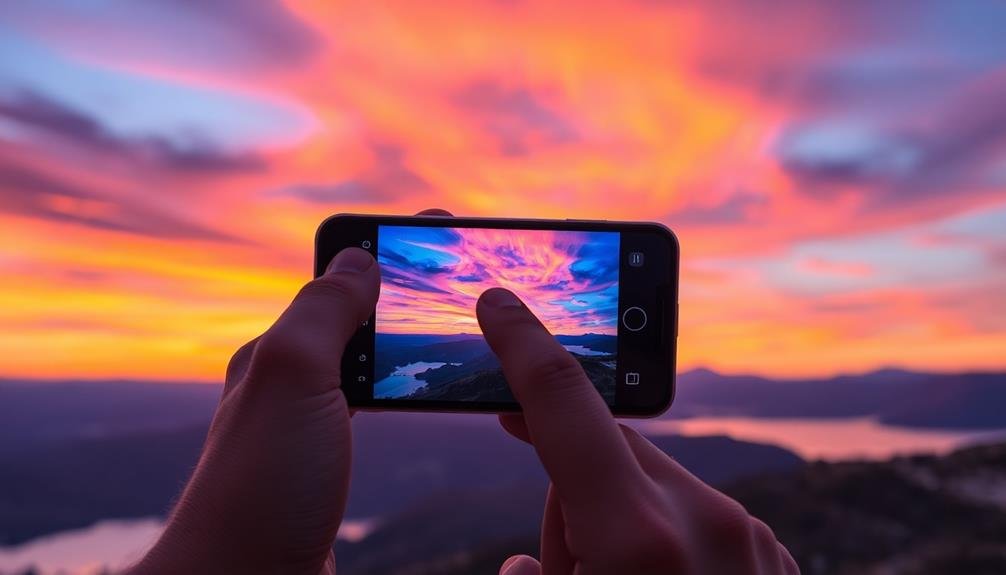
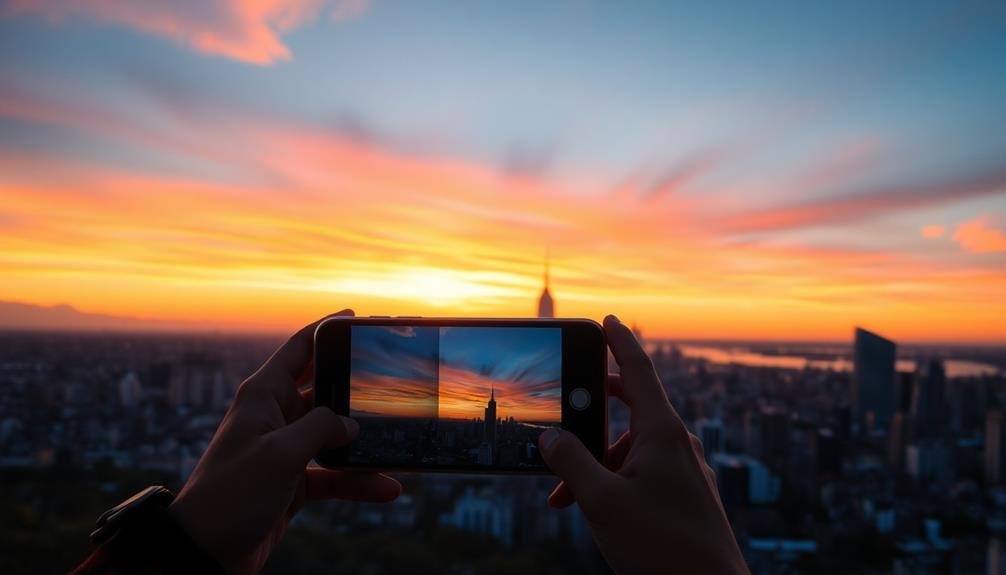
HDR panoramas elevate your mobile photography by capturing a wider range of light and detail than standard shots. They combine multiple exposures to create stunning, expansive images with enhanced contrast and vibrant colors. You'll preserve both highlights and shadows, resulting in photos that closely match what your eyes see. With the right techniques, you can produce professional-quality landscapes, cityscapes, and interiors using just your smartphone. HDR panoramas also allow you to experiment with creative compositions and overcome challenging lighting conditions. By mastering this technology, you'll take your mobile photography to new heights and reveal a world of artistic possibilities.
Understanding HDR Panorama Technology
Three key elements come together in HDR panorama technology: High Dynamic Range (HDR) imaging, panoramic capture, and mobile device capabilities.
HDR imaging allows your phone to capture a wider range of light intensities, from deep shadows to bright highlights. It does this by taking multiple exposures of the same scene and combining them into a single image with enhanced detail and contrast.
Panoramic capture involves stitching together multiple photos to create a wide-angle view that's broader than what your phone's camera can capture in a single shot. When you're taking an HDR panorama, you'll move your phone steadily across the scene while it captures a series of HDR images.
Your mobile device's processing power and advanced algorithms then come into play. They seamlessly blend the HDR images into a cohesive panoramic shot, adjusting for exposure differences and correcting any alignment issues.
The result is a high-quality, wide-angle image with enhanced dynamic range that captures the scene as your eyes perceive it, overcoming the limitations of traditional mobile photography.
Essential Equipment for HDR Panoramas
While you might think you need a lot of fancy gear to capture stunning HDR panoramas, the truth is that you're already holding the most essential piece of equipment in your hand. Your smartphone, with its advanced camera and processing capabilities, is the primary tool you'll need for creating HDR panoramas.
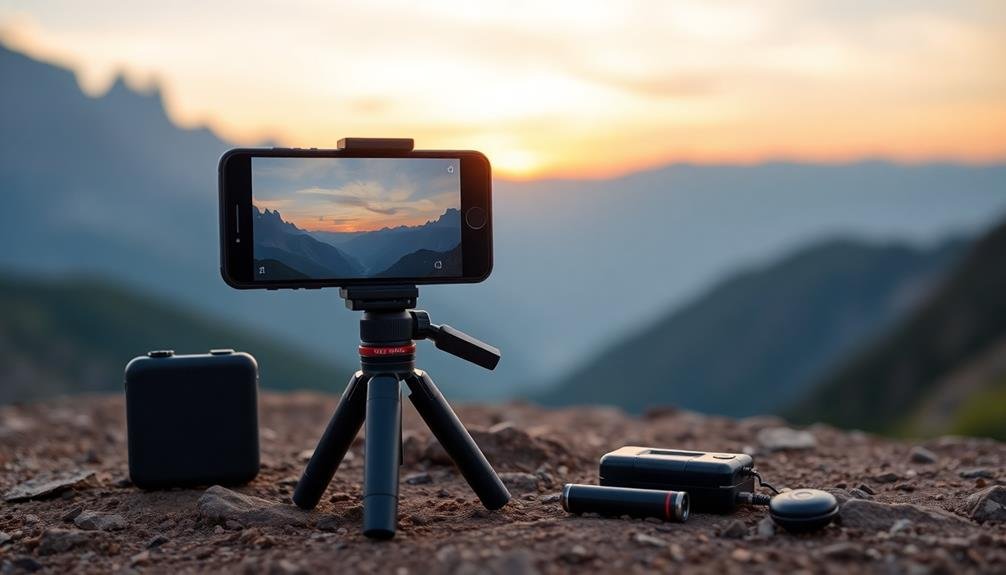
To enhance your mobile HDR panorama photography, consider investing in a few key accessories. A sturdy smartphone tripod will help you maintain stability and consistency across multiple shots. Look for a compact, lightweight option that's easy to carry.
A remote shutter release, either wireless or wired, can further reduce camera shake when capturing your images. For more advanced setups, a smartphone gimbal can provide smooth panning motions, ensuring seamless shifts between shots.
If you're shooting in challenging lighting conditions, a clip-on smartphone lens kit can offer additional flexibility, allowing you to capture wider angles or zoom in on distant subjects.
Lastly, don't forget about post-processing software. While your phone's built-in camera app may suffice, dedicated HDR panorama stitching apps can provide more control over the final result, allowing you to fine-tune exposure, color, and alignment.
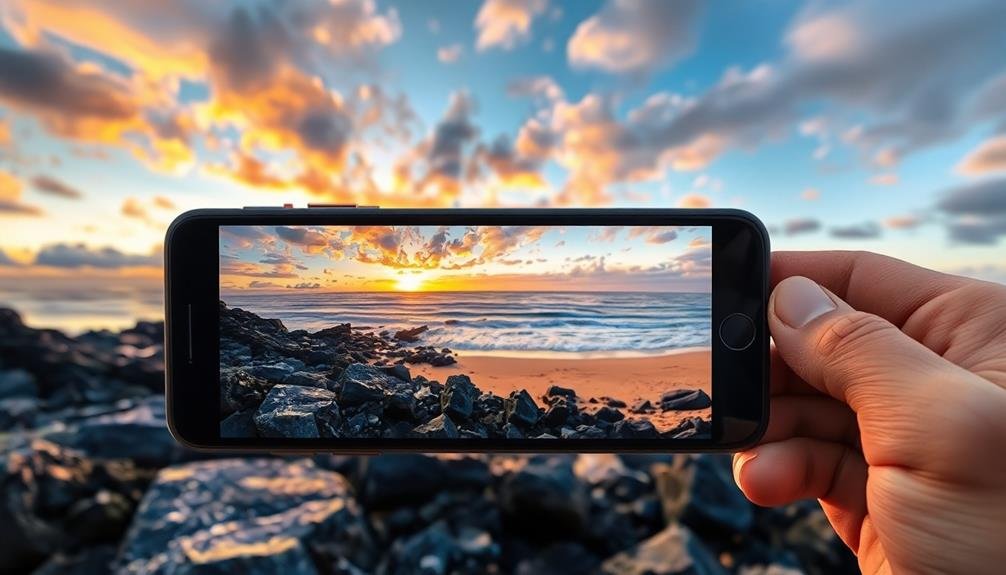
Choosing the Right Scene

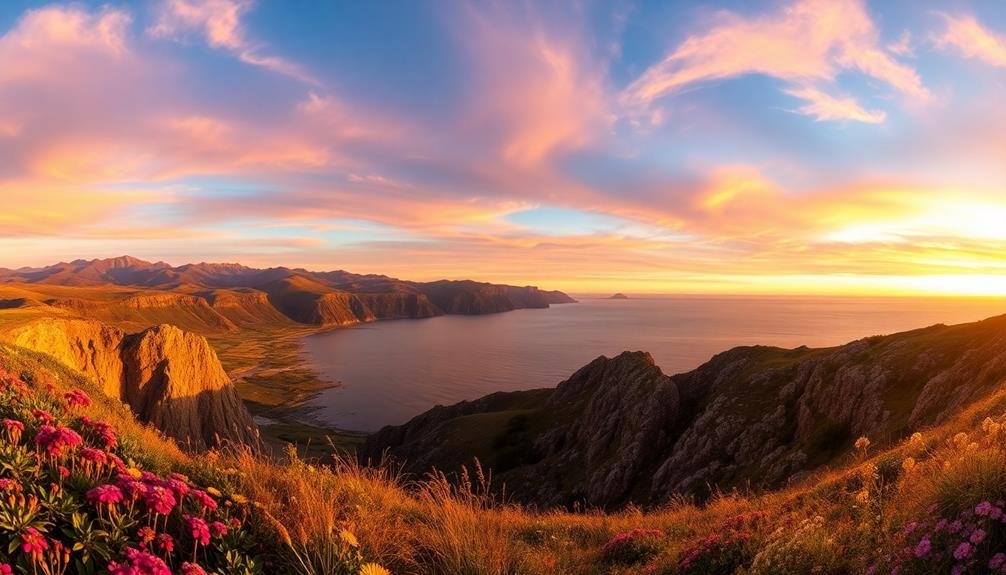
A photographer's success in capturing stunning HDR panoramas often hinges on selecting the right scene. When choosing your location, look for expansive views with a mix of light and shadow. Landscapes with dramatic skies, cityscapes with varied architecture, or interiors with intricate details are ideal candidates for HDR panoramas.
Seek out scenes with a wide dynamic range, where there's a significant difference between the brightest and darkest areas. This will allow you to showcase the full potential of HDR technology. Consider the time of day, as golden hour or blue hour can add a magical quality to your panoramas.
Avoid scenes with too much movement, as this can create ghosting or stitching issues in your final image. Instead, opt for relatively static environments. Look for interesting foreground elements to anchor your composition and lead the viewer's eye through the panorama.
Don't shy away from challenging lighting conditions. HDR excels in situations where traditional photography might struggle, such as backlit scenes or areas with harsh contrasts.
Mastering Exposure Bracketing
Exposure bracketing is the cornerstone of HDR photography, allowing you to capture a wider range of tones than a single exposure can achieve. To master this technique, you'll need to understand your phone's camera settings and capabilities. Most modern smartphones offer built-in HDR modes, but for more control, use a third-party camera app that allows manual exposure adjustments.
Start by setting your base exposure for the mid-tones in your scene. Then, take additional shots at -2, -1, +1, and +2 stops from this base. This five-shot sequence will cover most lighting situations. For high-contrast scenes, you might need to expand to -3 and +3 stops.
Remember to keep your phone steady between shots; using a tripod or stabilizer can greatly improve your results.
When shooting panoramas, apply this bracketing technique to each segment of your shot. As you pan across the scene, maintain consistent exposure settings for each bracket set. This guarantees a seamless blend when you merge the images later.
Pay special attention to areas with dramatic lighting changes, like shifts from shadowy foregrounds to bright skies. By mastering exposure bracketing, you'll capture stunning HDR panoramas that truly showcase the full dynamic range of your scenes.
Composition Techniques for Panoramas
When composing panoramas, you'll want to apply classic photography principles like the Rule of Thirds and Leading Lines.
The Rule of Thirds can help you balance your expansive scene by placing key elements along imaginary grid lines.
You can use Leading Lines to draw the viewer's eye through your panorama, creating a sense of depth and guiding attention to the main subject.
Rule of Thirds
The Rule of Thirds stands as one of the most fundamental composition techniques in photography, and it's particularly effective when applied to panoramic shots.
When you're capturing HDR panoramas with your mobile device, imagine dividing your frame into a 3×3 grid. Place key elements of your scene along these lines or at their intersections to create a more balanced and visually appealing composition.
In panoramic photography, you'll often have expansive landscapes or cityscapes to work with.
Use the Rule of Thirds to position the horizon along either the upper or lower horizontal line, depending on whether you want to emphasize the sky or the foreground.
For vertical elements like trees, buildings, or landmarks, align them with the vertical lines of the grid.
Leading Lines Technique
Leading lines serve as powerful visual guides in panoramic compositions, drawing the viewer's eye through the image and creating a sense of depth and direction.
When shooting HDR panoramas on your mobile device, look for natural or man-made lines that can lead the viewer's gaze across the expansive scene. These lines can be roads, rivers, fences, or even patterns in the landscape.
To effectively use leading lines in your panoramic shots:
- Scout for linear elements that stretch across your frame
- Position yourself to capture lines that converge towards a focal point
- Use diagonal lines for a more dynamic and energetic composition
- Incorporate S-curves to add a sense of flow and movement
- Experiment with vertical lines to emphasize height and grandeur
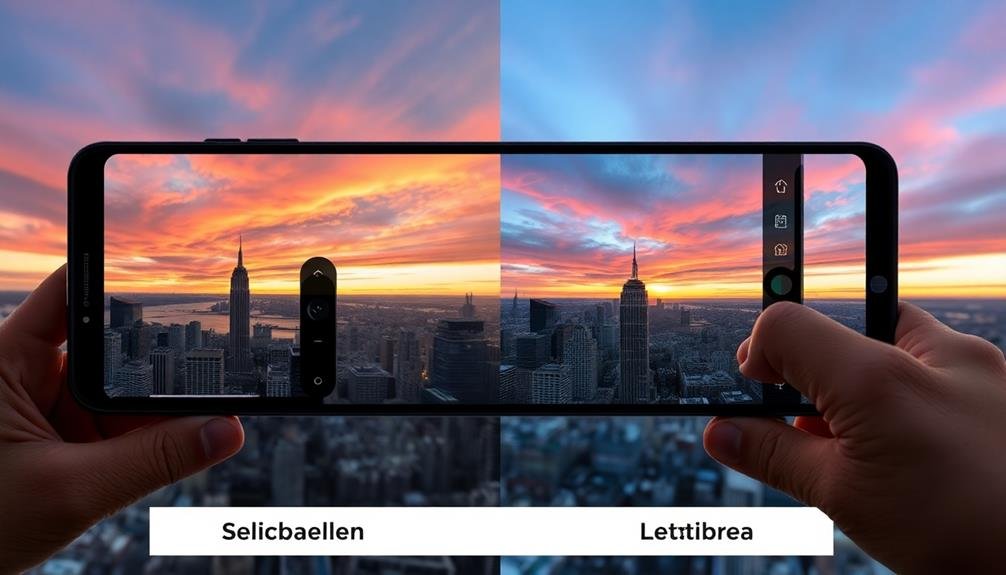
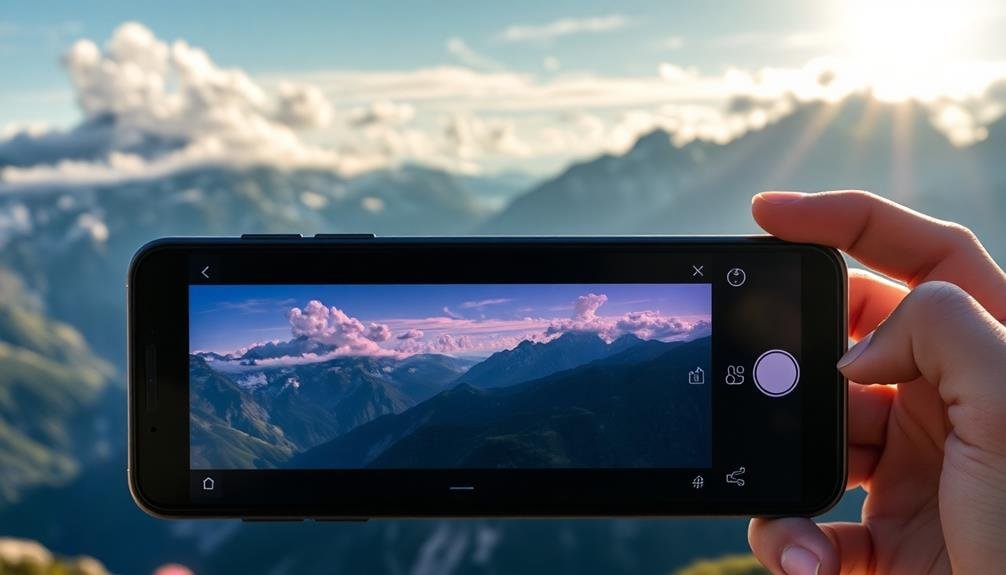
HDR Panorama Apps for Smartphones
Thanks to advancements in mobile technology, numerous apps now enable smartphone users to capture stunning HDR panoramas. These apps combine multiple exposures and stitch together wide-angle shots, resulting in breathtaking images with enhanced dynamic range.
One popular option is Adobe Lightroom Mobile, which offers a built-in HDR panorama feature. It allows you to capture, edit, and share your creations within a single app.
Google Camera, available on Pixel phones, also provides an excellent HDR panorama mode with advanced processing capabilities.
For iOS users, ProCamera is a powerful choice, offering manual controls and HDR panorama functionality.
Another cross-platform option is Camera+ 2, which boasts intuitive controls and high-quality output.
If you're looking for more specialized tools, consider Panorama 360 or DMD Panorama. These apps focus exclusively on panoramic photography and offer additional features like virtual tours and 360-degree image creation.
When choosing an HDR panorama app, consider factors such as ease of use, editing capabilities, and compatibility with your device.
Experiment with different apps to find the one that best suits your photography style and produces the most impressive results.
Capturing Dynamic Range Effectively
While HDR panorama apps provide powerful tools, mastering the art of capturing dynamic range effectively is key to creating stunning wide-angle shots. You'll need to understand how to balance highlights and shadows across your entire scene.
Start by identifying the brightest and darkest areas in your composition, then adjust your camera settings accordingly.
To capture dynamic range effectively in HDR panoramas:
- Use manual exposure mode to maintain consistent settings
- Bracket your exposures, taking multiple shots at different levels
- Focus on the midtones to preserve detail in both highlights and shadows
- Utilize your smartphone's HDR mode for each individual frame
- Pay attention to moving objects to avoid ghosting in the final image
When shooting, hold your phone steady and rotate slowly around a central axis. This technique helps maintain consistency across all frames.
Don't forget to overlap each shot by about 30% to guarantee smooth stitching later.
Post-Processing HDR Panorama Images

Post-processing is where the magic happens for HDR panorama images. After capturing your shots, you'll need to merge and edit them to create a stunning final product. Start by importing your images into specialized HDR software or a capable mobile app. These tools will align and blend your exposures, creating a single high dynamic range image.
Next, you'll want to adjust the tone mapping to bring out the best details in highlights and shadows. Don't overdo it; aim for a natural look that preserves the scene's atmosphere. Fine-tune your white balance, contrast, and saturation to enhance the overall appearance.
Here's a quick guide to common post-processing steps:
| Step | Purpose | Tips |
|---|---|---|
| Alignment | Guarantee proper image stitching | Use automatic tools, manual adjustments if needed |
| Exposure blending | Create balanced dynamic range | Adjust highlights, shadows, and midtones |
| Color correction | Achieve natural-looking colors | Fine-tune white balance and saturation |
| Sharpening | Enhance details | Apply selectively to avoid noise |
Remember to crop your final image to remove any distorted edges or unwanted elements. Finally, export your HDR panorama in a high-quality format suitable for your intended use, whether it's for print or digital display.
Avoiding Common HDR Panorama Mistakes
To capture stunning HDR panoramas, you'll need to master proper exposure bracketing, ensuring each frame is well-exposed across the dynamic range.
You should also be mindful of movement artifacts, which can occur if you or your subjects shift during the capture process.
Proper Exposure Bracketing
Mastering proper exposure bracketing is vital for creating stunning HDR panoramas and avoiding common pitfalls.
When you're shooting multiple exposures for your HDR panorama, it's important to capture the full dynamic range of the scene. Start by setting your camera to manual mode and adjusting your ISO and aperture settings. Then, vary your shutter speed to capture different exposure levels.
To guarantee you're bracketing correctly, follow these key steps:
- Take at least three exposures: underexposed, properly exposed, and overexposed
- Use consistent increments between exposures (e.g., 2 stops apart)
- Keep your camera steady using a tripod or stable surface
- Avoid changing your composition between shots
- Use your camera's auto-bracketing feature if available
Avoiding Movement Artifacts
Movement artifacts can ruin an otherwise perfect HDR panorama, so it's crucial to minimize them during your shoot. To avoid these issues, start by using a stable platform. A tripod is ideal, but if you don't have one, brace yourself against a solid object or keep your elbows tucked close to your body.
When capturing your panorama, move smoothly and steadily between shots. Avoid jerky movements or pausing between frames. If your phone has a panorama mode, use it to guide your motion. For manual shots, maintain a consistent speed and overlap each frame by about 30%.
Be aware of moving objects in your scene. People, vehicles, or swaying trees can create ghosting or blurring effects. If possible, wait for a moment when there's less movement. Alternatively, you can take multiple shots of the same area and blend out the moving elements in post-processing.
Wind can be a significant problem, causing camera shake. Shield your phone from gusts or wait for calmer conditions.
Minimizing Ghosting Effects
Ghosting effects can plague even the most carefully composed HDR panoramas, but you can minimize these issues with a few key techniques.
When objects move between shots, they can appear transparent or duplicated in the final image, detracting from its quality. To combat this, you'll need to be quick and strategic in your approach.
Start by selecting a scene with minimal movement, if possible. Then, use these tips to further reduce ghosting:
- Shoot in rapid succession to minimize time between exposures
- Use a faster shutter speed to freeze motion
- Enable ghost removal in your HDR software
- Manually align problem areas in post-processing
- Consider using a single RAW file instead of multiple exposures
Creative Applications of HDR Panoramas
HDR panoramas open up a world of creative possibilities for mobile photographers. You can use these techniques to capture stunning landscapes with a wide dynamic range, showcasing both vibrant skies and detailed foregrounds.
Try experimenting with cityscapes at sunset, where you'll capture the warm glow of street lights alongside the fading daylight.
HDR panoramas excel in interior photography, allowing you to balance bright windows with darker room details. You'll create immersive virtual tours of homes, museums, or historic buildings.
In nature photography, you can capture the intricate details of a forest canopy while maintaining the texture of the shadowy forest floor.
Don't limit yourself to horizontal panoramas. Vertical panoramas, or "vertoramas," can dramatically showcase tall structures or natural formations.
Try capturing a towering waterfall or a skyscraper from base to top. For a unique perspective, experiment with 360-degree panoramas, creating interactive, spherical images that viewers can explore.
HDR panoramas also shine in low-light situations. You'll capture the Milky Way stretching across the night sky while maintaining detail in the landscape below.
Overcoming Lighting Challenges
Despite their versatility, HDR panoramas can present unique lighting challenges for mobile photographers. You'll often encounter scenes with extreme contrasts, from bright skies to shadowy foregrounds. But don't let this deter you; HDR panoramas are designed to tackle these very issues.
When shooting HDR panoramas, you're fundamentally capturing multiple exposures of each frame. This technique allows you to overcome common lighting problems:
- Balancing bright skies with darker landscapes
- Reducing harsh shadows in midday sun
- Capturing details in both highlights and shadows
- Minimizing lens flare and glare
- Achieving even exposure across the entire panorama
To make the most of HDR panoramas, start by identifying the brightest and darkest areas in your scene. Use these as reference points for your exposure settings.
Remember to keep your phone steady as you pan, ensuring each frame is properly aligned. If possible, use a tripod or stabilizer for even better results.
Post-processing is essential for fine-tuning your HDR panorama. Most mobile editing apps offer tools to adjust contrast, highlights, and shadows.
Don't be afraid to experiment with these settings to achieve the perfect balance in your final image.
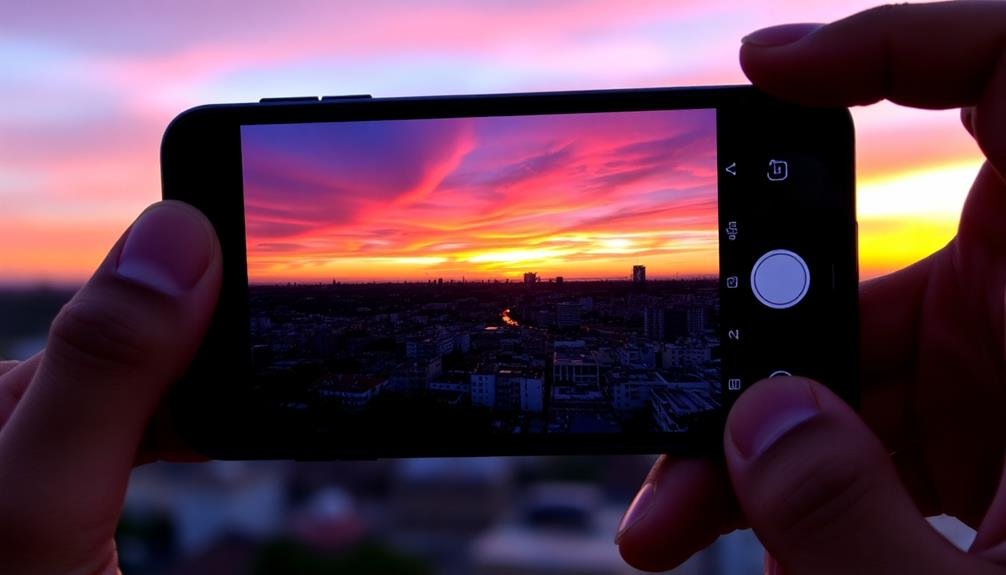
Sharing Your HDR Panoramas
After capturing and perfecting your HDR panorama, you'll want to share it with the world. Most social media platforms now support panoramic images, allowing viewers to scroll or pan across your creation. Instagram, Facebook, and Twitter all offer this functionality, making it easy to showcase your work to a wide audience.
For a more immersive experience, consider using specialized panorama viewing apps or websites. These platforms often provide 360-degree viewing options, letting your audience explore your image as if they were there. Some popular choices include Kuula, 360Cities, and Google Street View.
If you're looking to print your HDR panorama, seek out services that specialize in large-format or panoramic printing. These companies can produce high-quality prints that truly showcase the detail and dynamic range of your image.
Alternatively, you might consider creating a photo book that features your panoramas alongside other images from your travels or photography projects.
Don't forget to optimize your file size and format when sharing online. This guarantees quick loading times and maintains image quality across different devices and platforms.
Frequently Asked Questions
How Long Does It Take to Capture a Single HDR Panorama?
The time to capture an HDR panorama varies, but you'll typically spend 30 seconds to 2 minutes. It depends on your device, lighting conditions, and the scene's complexity. You'll need patience for ideal results.
Can HDR Panoramas Be Created With Older Smartphone Models?
Yes, you can create HDR panoramas with older smartphones, but you'll likely face limitations. You're better off using newer models with advanced cameras and built-in HDR panorama modes for the best results and ease of use.
Are There Any Copyright Issues When Shooting HDR Panoramas of Famous Landmarks?
When you're shooting HDR panoramas of famous landmarks, you'll generally be fine. However, you should be aware that some privately-owned buildings may have restrictions. It's always best to check local laws and regulations beforehand.
How Much Storage Space Do HDR Panorama Files Typically Require?
You'll find HDR panorama files can be quite large, often ranging from 50MB to 200MB or more. They'll take up significant space on your device, so you might want to contemplate cloud storage or external drives.
Can HDR Panoramas Be Printed and Displayed as Large-Format Artwork?
Yes, you can print HDR panoramas as large-format artwork. They're ideal for this purpose because of their high resolution and dynamic range. You'll get stunning, detailed prints that capture a wide view with vibrant colors and rich contrasts.
In Summary
You've now got the tools to take your mobile photography to new heights with HDR panoramas. Remember to practice often, experiment with different scenes, and don't be afraid to push your creativity. As you master this technique, you'll capture breathtaking vistas and unique perspectives that stand out from the crowd. Share your stunning HDR panoramas with pride, knowing you've elevated your photography game. Keep shooting, learning, and enjoying the art of mobile photography!


Leave a Reply