
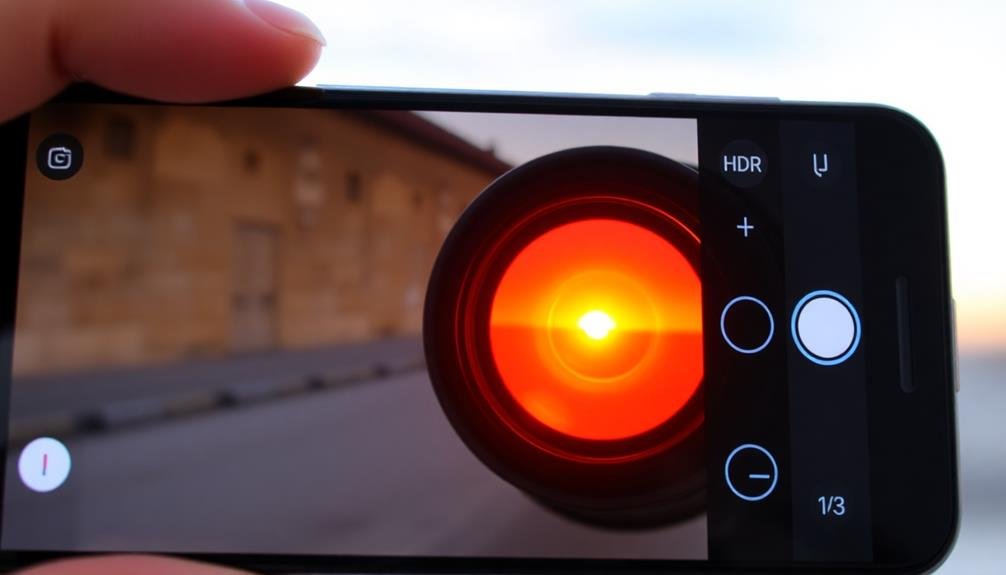
For the best HDR settings in mobile photography, start with Auto HDR to let your device intelligently decide when to use it. In high-contrast scenes, manually enable HDR and adjust exposure compensation to fine-tune brightness. Aim for moderate HDR intensity, around 50-60% of maximum, to enhance details without creating an unnatural look. Balance highlights and shadows using on-screen taps or sliders. Keep your phone steady and avoid using HDR for moving subjects to prevent ghosting. Experiment with combining HDR with other modes like Night or Portrait for creative results. Mastering these settings will elevate your mobile photography to new heights.
Understanding HDR on Mobile Devices
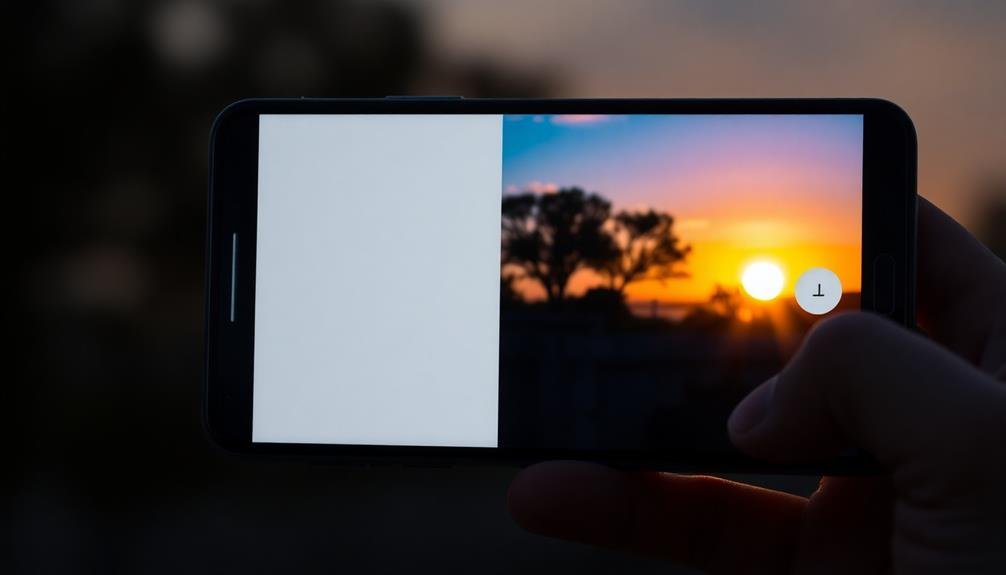
HDR, or High Dynamic Range, is frequently misunderstood by mobile photographers. It's a technique that combines multiple exposures of the same scene to create a single image with a broader range of tones. On your mobile device, HDR aims to capture more detail in both the highlights and shadows of your photos.
When you enable HDR on your smartphone, it typically takes three images in rapid succession: one underexposed, one properly exposed, and one overexposed. The camera then merges these shots to produce a final image with improved dynamic range. This process helps you avoid blown-out highlights or lost details in shadowy areas.
Modern smartphones often have an "Auto HDR" feature that intelligently decides when to use HDR based on the scene. However, you can usually toggle HDR on or off manually in your camera app.
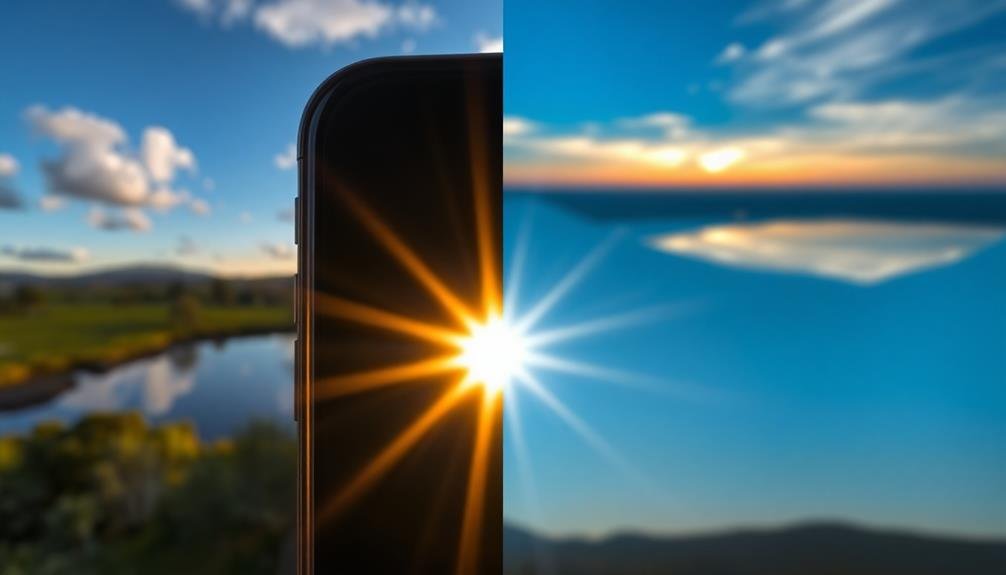
It's important to understand that HDR isn't always necessary or beneficial. In well-lit scenes with balanced lighting, standard shooting might yield better results.
HDR shines in high-contrast situations, such as landscapes with bright skies and darker foregrounds, or backlit subjects.
When to Use HDR
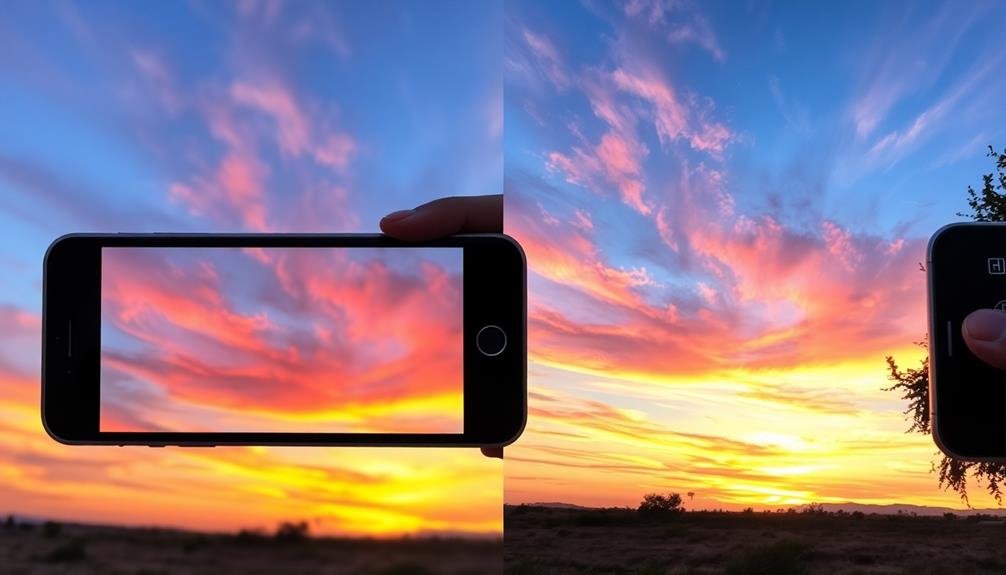
Despite its versatility, HDR isn't a one-size-fits-all solution for mobile photography. Knowing when to use HDR can greatly enhance your images.
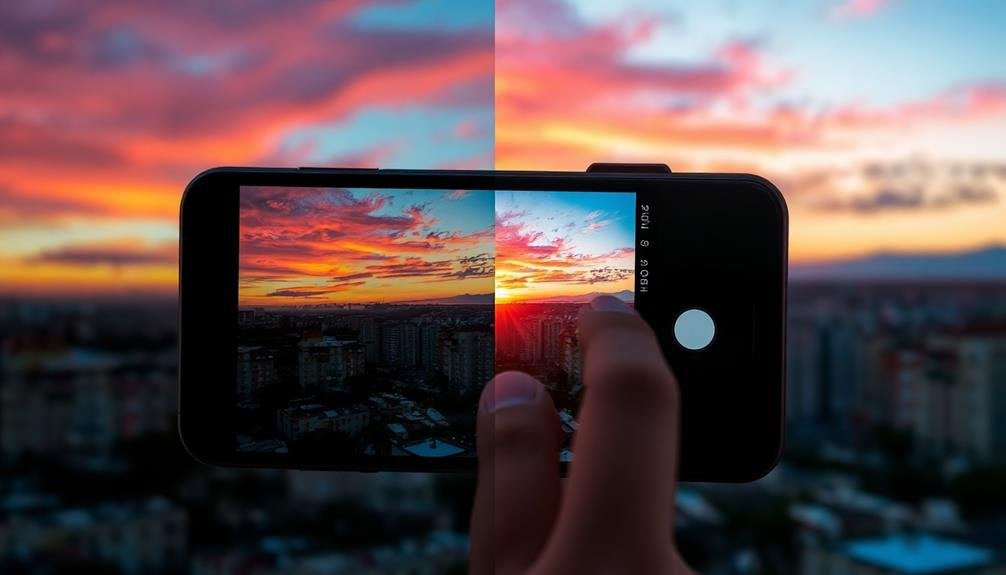
Use HDR in high-contrast scenes where you want to capture details in both bright and dark areas. It's particularly effective for landscape photography, especially during sunrise or sunset, when the sky is much brighter than the foreground.
HDR works well in backlit situations, helping to balance exposure between your subject and the background. It's also useful for interior shots with bright windows, ensuring both the room and the view outside are properly exposed.
However, avoid using HDR for moving subjects or action shots, as it can create ghosting or blurring effects.
Consider using HDR in these scenarios:
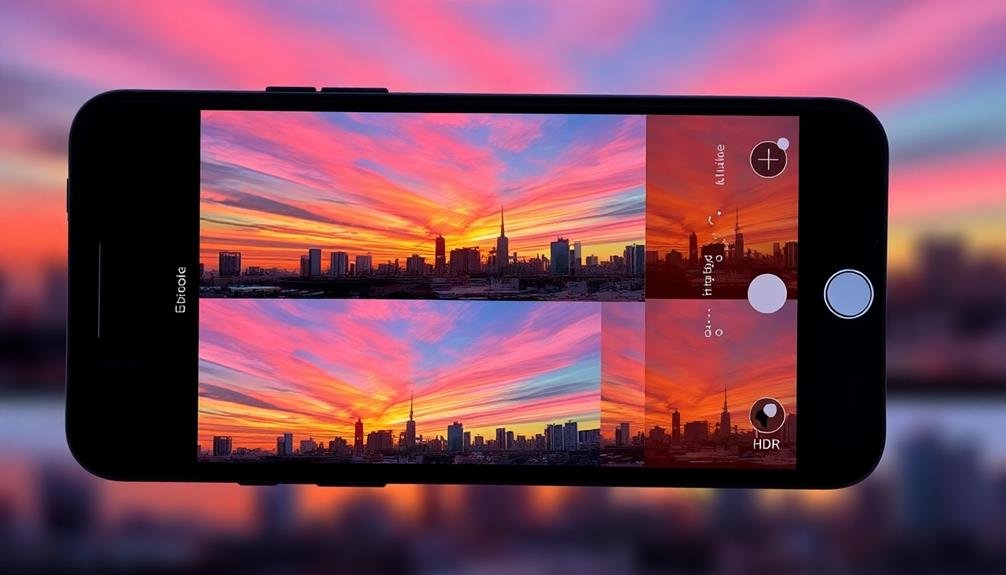
- A cityscape with bright skyscrapers and shadowy streets
- A portrait against a bright sky or sunset
- An indoor scene with sunlight streaming through windows
- A landscape with a dark foreground and bright sky
Exposure Compensation in HDR
Exposure compensation plays an essential role in fine-tuning your HDR images. When using HDR mode on your mobile device, you'll often need to adjust the exposure to achieve the best results. This setting allows you to brighten or darken the overall image while maintaining the expanded dynamic range.
To use exposure compensation effectively, start by evaluating the scene. If your subject appears too dark against a bright background, increase the exposure compensation. Conversely, if the highlights are blown out, decrease it. Most mobile cameras offer exposure compensation in 1/3 stop increments, ranging from -2 to +2 EV.
Remember that HDR combines multiple exposures, so your adjustments will affect the entire range. Experiment with different settings to find the right balance. For high-contrast scenes, you might need to push the exposure compensation further than usual.
Pay attention to the histogram if your camera app provides one. Aim for a balanced distribution of tones without clipping highlights or shadows.
With practice, you'll develop an intuition for the right exposure compensation in various HDR scenarios, resulting in more balanced and visually appealing images.
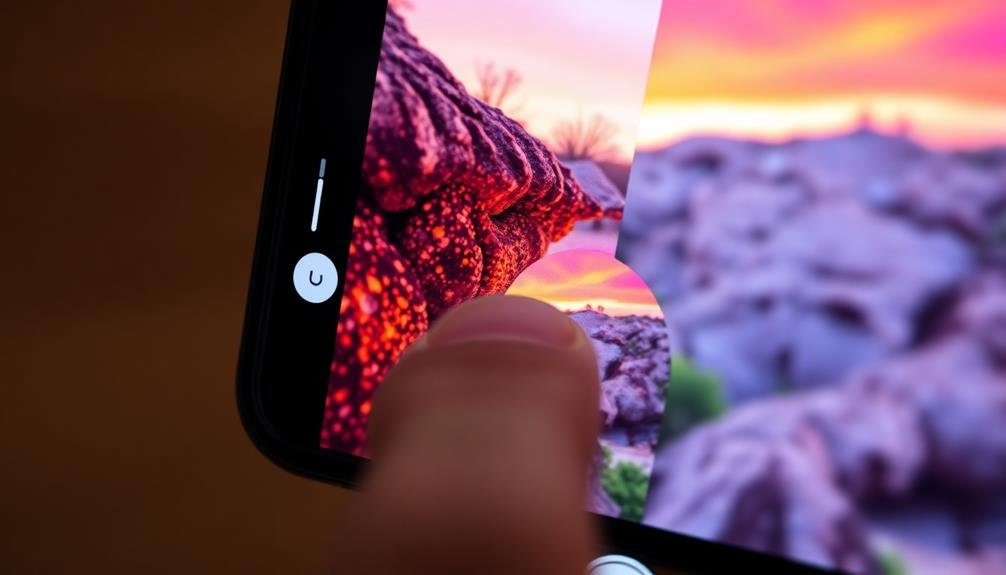
Balancing Highlights and Shadows
While exposure compensation helps you adjust the overall brightness of your HDR image, balancing highlights and shadows is key to achieving a natural-looking result.
When using HDR on your mobile device, you'll want to pay close attention to how the camera handles the brightest and darkest areas of your scene.
To effectively balance highlights and shadows, consider the following:
- Tap on different areas of your screen to see how it affects the overall exposure
- Use the highlight and shadow sliders in your camera app to fine-tune the balance
- Look for a "smart HDR" or "auto HDR" option that can help automate the process
- Pay attention to the histogram, if available, to guarantee you're not clipping highlights or shadows
Aim for a balance where you can see detail in both the brightest and darkest parts of your image.
This might mean slightly reducing the intensity of highlights to bring out more shadow detail, or vice versa.
Remember, the goal is to create a photo that looks natural to the human eye, not an over-processed image that appears artificial.
Experiment with different settings to find the right balance for each unique scene you're capturing.
HDR and Moving Subjects

When using HDR for moving subjects, you'll face challenges with motion blur as the camera takes multiple exposures.
Fast action scenes can be particularly tricky, often resulting in ghosting or misaligned images.
For best results, stick to HDR for static scenes and switch it off when capturing dynamic subjects or fast-paced events.
Motion Blur Challenges
One major challenge when using HDR in mobile photography is dealing with motion blur. When capturing multiple exposures for HDR, any movement can result in ghosting or blurring in the final image. This issue becomes particularly problematic when photographing:
- People walking or gesturing
- Trees swaying in the wind
- Vehicles in motion
- Flowing water or waves
To minimize motion blur in your HDR shots, you'll need to adjust your technique. First, try to keep your phone as steady as possible. Use both hands, brace your elbows against your body, or consider using a tripod for maximum stability.
If you're shooting handheld, take a deep breath and hold it while capturing the image to reduce camera shake.
When photographing moving subjects, you might need to compromise. Choose a faster shutter speed, even if it means sacrificing some dynamic range. Alternatively, you can embrace the motion blur as a creative element in your composition.
Some HDR apps offer motion detection and can automatically align images, reducing ghosting. Experiment with different settings and apps to find the best balance between HDR quality and motion handling for your specific shooting conditions.
Capturing Fast Action
Capturing fast action with HDR on mobile devices presents unique challenges. When photographing moving subjects, you'll need to adjust your HDR settings to prevent ghosting and blur.
Start by enabling your phone's "Auto HDR" mode, which intelligently decides when to use HDR based on the scene. For manual control, reduce the number of exposures in your HDR settings to minimize motion artifacts.
To freeze action, increase your camera's shutter speed. Many newer smartphones allow manual shutter speed adjustments. If yours doesn't, try using "Sports" or "Action" mode. These modes prioritize faster shutter speeds, reducing motion blur.
Additionally, use burst mode to capture multiple frames in quick succession, increasing your chances of getting a sharp image.
Consider disabling HDR entirely for extremely fast-moving subjects. Instead, focus on getting a single, well-exposed shot. You can always enhance dynamic range in post-processing.
If you must use HDR, try pre-focusing on the area where action will occur and anticipate the movement. This technique helps your camera react more quickly when capturing the decisive moment.
Static vs. Dynamic Scenes
Understanding the difference between static and dynamic scenes is key to mastering HDR photography on your mobile device.
Static scenes, like landscapes or still-life compositions, are ideal for HDR as they allow your phone to capture multiple exposures without movement. For these shots, you can confidently use HDR to enhance details in shadows and highlights.
Dynamic scenes, however, present a challenge. Moving subjects can create ghosting or blurring in HDR images. Consider turning off HDR when photographing:
- A bustling city street with cars and pedestrians
- Athletes in motion during a sporting event
- Birds in flight or other fast-moving wildlife
- Children or pets playing actively
For scenes with both static and dynamic elements, focus on the stationary parts. If you're capturing a sunset with people walking, compose the shot to emphasize the sky and landscape.
In some cases, you might use HDR selectively, applying it only to specific areas of the image in post-processing.
Adjusting HDR Intensity
Many modern smartphones offer manual HDR controls, allowing you to fine-tune the effect's intensity.
You'll want to adjust these settings to achieve a balance between enhancing details and maintaining a natural look.
Experiment with different intensity levels to find the sweet spot that complements your subject and lighting conditions without creating an overly processed appearance.
Manual HDR Controls
Have you ever wondered how to take your mobile HDR photography to the next level? Manual HDR controls are the answer. Unlike auto HDR, manual controls give you complete freedom to fine-tune your images. You'll have the power to adjust exposure, shadows, highlights, and contrast independently.
To master manual HDR controls, start by experimenting with these key elements:
- Exposure: Balance the overall brightness of your image
- Shadows: Bring out details in darker areas
- Highlights: Prevent bright areas from being overexposed
- Contrast: Enhance the difference between light and dark tones
When using manual HDR controls, it's essential to understand your scene's dynamic range. Begin by setting your base exposure, then adjust shadows and highlights to recover lost details.
Fine-tune the contrast to add depth and dimension to your image. Remember, subtlety is key – avoid pushing the settings too far, as this can lead to unnatural-looking photos.
Practice is vital to developing your eye for manual HDR. Try shooting the same scene with different settings to see how each adjustment affects the final image.
With time and experience, you'll be able to create stunning HDR photos that truly capture the beauty of high-contrast scenes.
Optimal Intensity Levels
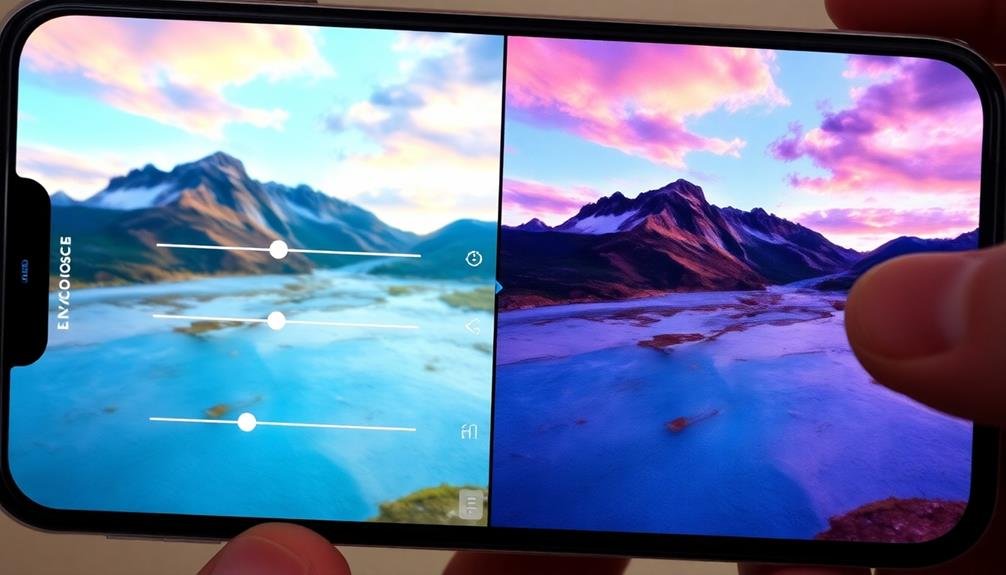
With HDR intensity, finding the right balance is essential for creating natural-looking images. When adjusting HDR settings on your mobile device, start with a moderate intensity level, typically around 50-60% of the maximum. This allows you to enhance the dynamic range without making the photo appear artificial or overly processed.
Pay attention to the highlights and shadows in your scene. If you're shooting in high-contrast situations, you may need to increase the intensity to recover more detail in both bright and dark areas. However, be cautious not to push it too far, as this can lead to a flat, unrealistic appearance.
For scenes with less contrast, such as on overcast days, lower intensity levels often work better. You'll want to maintain some natural shadows and highlights to preserve depth and dimensionality in your images.
Experiment with different intensity levels and compare the results. Look for a setting that enhances the overall image without introducing halos around objects or creating an unnatural color cast.
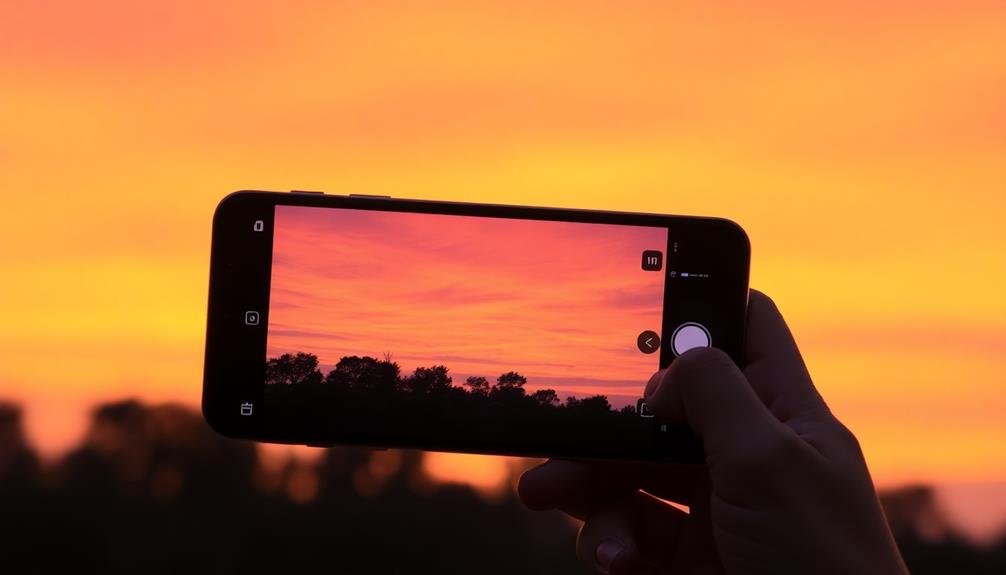
HDR for Different Lighting Conditions
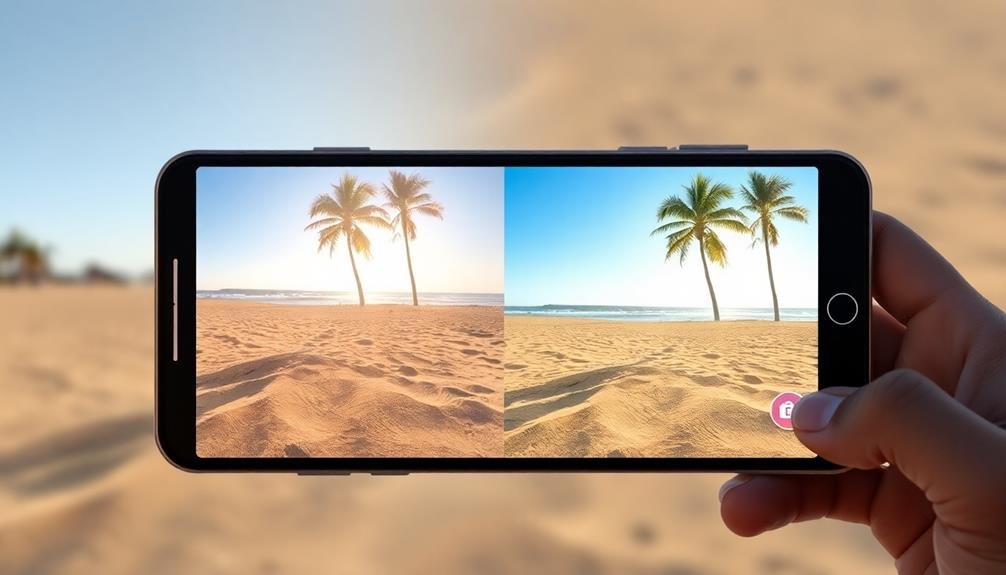
Lighting conditions play an essential role in determining the effectiveness of HDR in mobile photography. When shooting in bright sunlight, HDR can help balance the extreme contrast between highlights and shadows. It's particularly useful for capturing scenes with a bright sky and darker foreground elements.
In low-light situations, HDR can enhance details in shadowy areas while preventing overexposure of brighter parts. For indoor photography, HDR can compensate for mixed lighting sources, such as natural light from windows and artificial room lighting.
When photographing landscapes at sunset or sunrise, HDR excels at capturing the full range of colors and tones in the sky while maintaining detail in the foreground.
Consider these scenarios where HDR can notably improve your mobile photos:
- Backlit subjects against a bright background
- High-contrast scenes with deep shadows and bright highlights
- Cityscapes with a mix of sunlit and shadowy areas
- Interior shots with windows showing outdoor scenery
Remember to adjust your HDR settings based on the specific lighting conditions you're facing. In some cases, you may need to increase the HDR intensity for extreme lighting situations, while in others, a subtle HDR effect might be more appropriate to maintain a natural look.
Preserving Natural Colors in HDR
One of the challenges when using HDR in mobile photography is maintaining natural-looking colors. To preserve realistic hues, start by adjusting your phone's HDR settings to a more moderate level. This will help prevent oversaturation and unnatural color shifts.
Pay attention to your white balance settings, as HDR can sometimes alter the overall color temperature of your images. Use the auto white balance feature or manually adjust it to match the lighting conditions.
When shooting, avoid scenes with extremely contrasting colors, as HDR may struggle to accurately render them.
In post-processing, use subtle adjustments to fine-tune colors. Avoid cranking up saturation or vibrance too much, as this can quickly lead to an artificial look. Instead, focus on balancing highlights and shadows while maintaining the original color palette.
Consider using HDR-specific editing apps that offer more precise control over color preservation. These tools often provide options to blend multiple exposures while maintaining natural tones.
Experiment with different HDR intensities and compare the results to find the sweet spot that enhances your image without compromising color accuracy.
HDR and Image Noise Reduction
While preserving natural colors is important, HDR can also play a significant role in reducing image noise. When you capture multiple exposures in HDR mode, you're fundamentally gathering more light information, which can help minimize the grainy appearance often associated with low-light shots.
To effectively use HDR for noise reduction:
- Steady your phone or use a tripod to avoid motion blur
- Enable HDR in low-light situations or high-contrast scenes
- Experiment with manual HDR settings if your camera app allows
- Post-process your HDR images to fine-tune noise reduction
Remember that HDR isn't a magic solution for all noise issues. It works best in scenes with a wide dynamic range, where shadows and highlights need balancing. In extremely low-light conditions, you might still need to rely on your phone's dedicated night mode or manual settings.
When using HDR for noise reduction, pay attention to the final image's sharpness. Overly aggressive noise reduction can sometimes lead to a loss of detail.
Strike a balance between noise reduction and maintaining crisp edges and textures. With practice, you'll learn to leverage HDR effectively, producing cleaner, more detailed images even in challenging lighting conditions.
Combining HDR With Other Modes
You can enhance your mobile photography by combining HDR with other camera modes.
Try pairing HDR with Portrait Mode for stunning depth-of-field effects, or experiment with Night Mode HDR techniques to capture low-light scenes with improved detail and reduced noise.
Don't forget to explore HDR in panoramic shots, which can help balance exposure across wide landscapes and create more immersive images.
HDR and Portrait Mode
Combining HDR with portrait mode can elevate your mobile photography to new heights. When you use these features together, you'll capture stunning portraits with enhanced dynamic range and a beautifully blurred background.
To get the best results, make sure your subject is well-lit and positioned against a contrasting background. This combination works particularly well in challenging lighting situations, such as backlit scenes or high-contrast environments.
When using HDR with portrait mode, keep in mind that processing times may increase slightly. Hold your phone steady for a few extra seconds after taking the shot to make sure all exposures are captured correctly.
Experiment with different HDR strengths in your phone's camera settings to find the perfect balance between natural-looking results and enhanced detail.
For the most engaging HDR portraits, consider these scenarios:
- A subject framed by a vibrant sunset sky
- A person standing in dappled sunlight beneath trees
- A portrait against a dramatic cityscape with varying light levels
- An indoor shot with bright windows in the background
Night Mode HDR Techniques
For stunning low-light photography, pairing HDR with night mode can yield remarkable results. When using these features together, you'll capture more detail in shadows and highlights while reducing noise in dark areas.
Start by enabling both HDR and night mode on your smartphone camera. Most modern devices offer this combination, often labeled as "Night HDR" or similar.
Position your phone steadily, using a tripod if possible, to minimize motion blur during longer exposures. Frame your shot carefully, including both bright and dark elements to maximize HDR's effectiveness.
Experiment with different exposure levels, as night mode often allows manual adjustments. Aim for a slightly underexposed image, as HDR can recover shadow details more effectively than blown-out highlights.
After capturing, review your photo and fine-tune it using your device's built-in editing tools. Adjust contrast, shadows, and highlights to enhance the HDR effect without creating an unnatural look.
Pay attention to color balance, as night scenes can introduce unusual tints. Finally, consider using selective editing to emphasize specific areas of interest while maintaining the overall mood of the low-light scene.
HDR in Panoramic Shots
HDR technology isn't limited to single-frame shots; it can also enhance panoramic photography. When combining HDR with panoramic modes, you're able to capture wide scenes with improved dynamic range, resulting in stunning landscape images. To achieve the best results, start by enabling both HDR and panorama modes on your mobile device.
As you pan your camera to capture the panoramic shot, keep these tips in mind:
- Move slowly and steadily to guarantee proper alignment
- Maintain consistent exposure throughout the pan
- Pay attention to areas with high contrast, such as bright skies and dark foregrounds
- Be aware of moving objects that might create ghosting effects
After capturing your HDR panorama, you'll likely need to process the image further. Many mobile editing apps offer tools specifically designed for HDR panoramas.
Adjust highlights and shadows carefully to bring out details in both bright and dark areas without creating an unnatural look.
Remember that HDR panoramas can be more challenging to execute than standard panoramas, so practice and patience are key.
Experiment with different scenes and lighting conditions to master this technique and create breathtaking wide-angle images with enhanced dynamic range.
Post-Processing HDR Mobile Photos
After you've captured your HDR photos, the real magic happens in post-processing. To enhance your HDR mobile images, start by adjusting the exposure and contrast. Boost shadows slightly to reveal hidden details, but be careful not to overdo it and create an unnatural look.
Fine-tune highlights to prevent blown-out areas, especially in bright skies or reflective surfaces.
Next, focus on color balance and saturation. HDR can sometimes produce oversaturated colors, so dial back the intensity if needed. Adjust the white balance to guarantee accurate color representation across the image.
Don't forget to sharpen your photo, but use this tool sparingly to avoid introducing noise.
For a more advanced approach, consider using selective editing tools. These allow you to apply adjustments to specific areas of your image, giving you greater control over the final result.
Experiment with clarity and dehaze sliders to add depth and remove any HDR-induced haziness.
Frequently Asked Questions
Can HDR Mode Drain My Phone's Battery Faster?
Yes, HDR mode can drain your phone's battery faster. It's processing multiple exposures and combining them, which requires more power. If you're concerned about battery life, use HDR sparingly or turn it off when not needed.
Are There Differences in HDR Quality Between Android and Ios Devices?
You'll find HDR quality varies between Android and iOS devices. While both offer HDR capabilities, iOS often provides more consistent results. However, high-end Android phones can match or exceed iOS performance in some cases. It's device-specific.
How Does HDR Affect File Size and Storage on Mobile Devices?
HDR typically increases your file size as it combines multiple exposures. You'll notice larger photos taking up more storage space on your device. It's worth considering this if you're limited on storage or frequently use HDR.
Can I Use HDR Effectively for Selfies or Portrait Photography?
You can use HDR effectively for selfies and portraits. It'll help balance harsh lighting, capture more details in shadows and highlights, and enhance skin tones. Just be careful not to overdo it, as it may look unnatural.
Are There Any Situations Where Using HDR Might Worsen Image Quality?
Yes, HDR can sometimes worsen image quality. You'll notice issues when shooting fast-moving subjects, as it might create ghosting or blur. It's also not ideal for high-contrast scenes, potentially resulting in flat, unnatural-looking images.
In Summary
You've now got the tools to master HDR on your mobile device. Remember, it's not just about turning it on; it's about understanding when and how to use it effectively. Experiment with exposure, balance highlights and shadows, and don't forget to contemplate movement in your scenes. By combining HDR with other modes and fine-tuning in post-processing, you'll elevate your mobile photography to new heights. Keep practicing, and you'll see the difference.


Leave a Reply