To capture stunning HDR landscape photos on your mobile, start by bracketing your exposures. Take at least three shots of the same scene at different exposure levels to capture a wide range of light and shadow detail. Next, align and merge these bracketed images using your phone's built-in HDR feature or a dedicated app. This step combines the best parts of each exposure for a balanced final image. Finally, fine-tune your HDR processing settings to enhance details, adjust contrast, and control color saturation without creating an unnatural look. These techniques will help you reveal the full potential of your mobile camera and create breathtaking landscape images.
Bracket Your Exposures
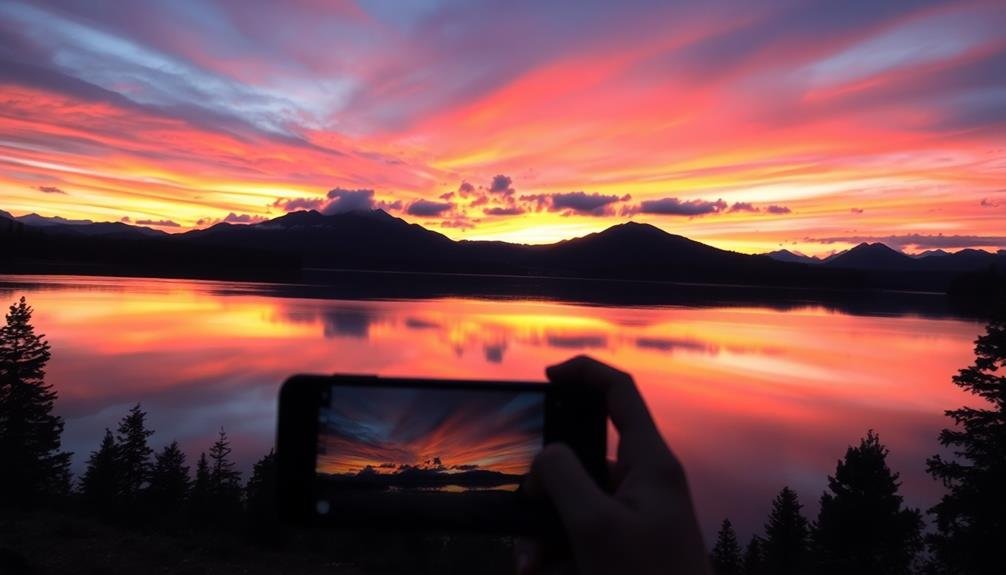
To bracket your exposures, take multiple shots of the same scene at different exposure levels. This technique allows you to capture a wider range of light and shadow detail than a single exposure can achieve.
Start by setting your camera app to HDR mode if available, or use manual controls to adjust exposure compensation.
Begin with a standard exposure, then take additional shots that are underexposed and overexposed. Aim for at least three images: one at the default exposure, one at -1 or -2 EV, and another at +1 or +2 EV. For more dramatic scenes, you might take five or seven shots with smaller exposure increments.
When bracketing, keep your phone as still as possible to guarantee alignment between shots. Use a tripod or rest your device on a stable surface if available. If you're shooting handheld, enable any built-in stabilization features and take a deep breath before capturing each image.
After shooting, you'll need to combine these bracketed exposures using HDR software or a mobile app. This process merges the best-exposed parts of each image, resulting in a final photo with enhanced dynamic range and detail in both highlights and shadows.
Align and Merge HDR Images

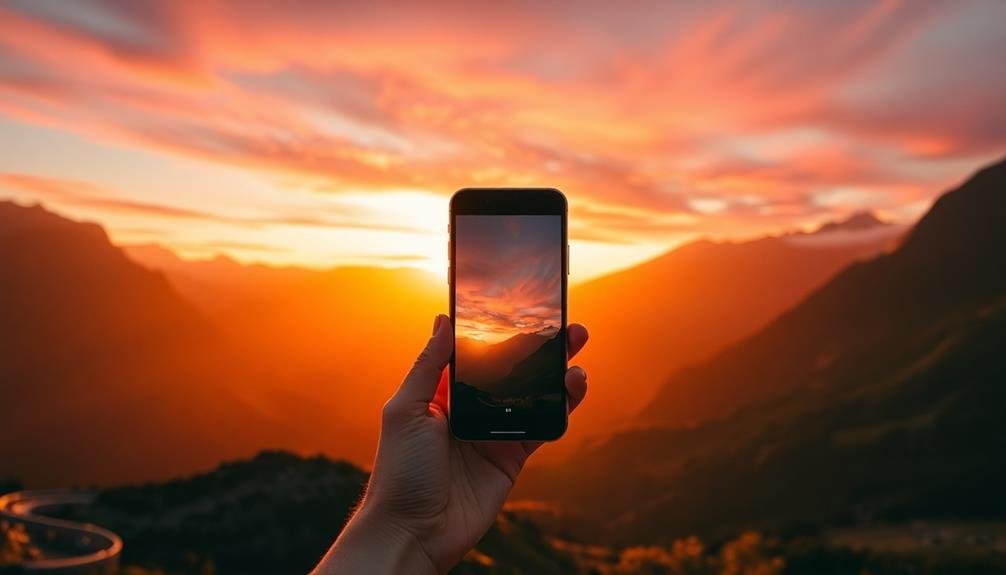
Once you've captured your bracketed exposures, the next step is aligning and merging them into a single HDR image. Most modern smartphones have built-in HDR features, but for more control, you'll want to use a dedicated HDR app or desktop software. These tools automatically align your images to compensate for slight movements between shots.
When merging, pay attention to the tone mapping settings. This process determines how the software combines the different exposures to create a balanced final image. Start with the app's default settings, then adjust sliders for exposure, contrast, and saturation to achieve your desired look.
Be careful not to overdo it; subtle adjustments often yield the most natural results.
If you're using desktop software, you'll have more advanced options like ghost removal and de-noising. Ghost removal helps eliminate artifacts caused by moving objects in your scene, while de-noising reduces graininess in darker areas.
Experiment with these features to refine your image further.
Fine-Tune HDR Processing Settings
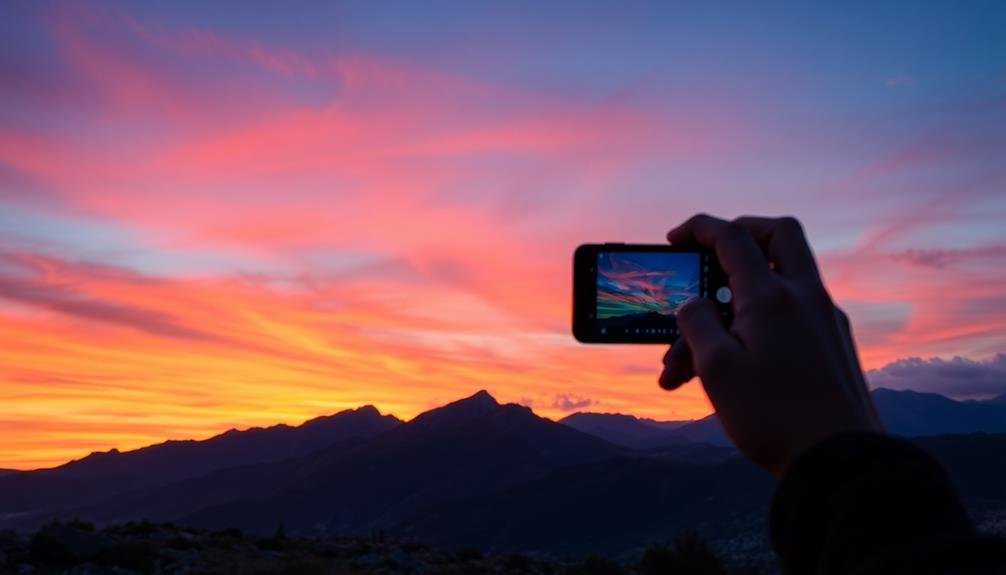
Fine-tuning your HDR processing settings is essential for achieving the perfect balance in your final image. Start by adjusting the exposure and contrast sliders to bring out the details in both highlights and shadows. Don't overdo it; aim for a natural look that doesn't appear artificial.
Next, focus on color saturation and vibrancy. HDR can sometimes result in oversaturated colors, so use these settings sparingly to maintain realism. Adjust the white balance to guarantee accurate color representation across the entire image.
Pay attention to the tone mapping settings, which control how the different exposures are blended. Experiment with local contrast and detail enhancement to bring out textures without creating halos or artifacts.
Use the dehaze tool cautiously to add clarity to distant objects, but be careful not to introduce an unnatural look. Fine-tune sharpness and noise reduction to enhance details without amplifying digital noise.
Frequently Asked Questions
Which Mobile Apps Are Best for Capturing HDR Landscape Photos?
You'll find several excellent apps for HDR landscape photos. Try Adobe Lightroom Mobile, ProCamera, or Snapseed. They offer manual controls and HDR modes. Don't forget your phone's native camera app, which often includes HDR functionality.
How Do I Prevent Ghosting in HDR Images of Moving Subjects?
To prevent ghosting in HDR images with moving subjects, you'll want to use a faster shutter speed, align your shots quickly, or try a single-shot HDR mode. You can also manually mask out moving elements in post-processing.
Can I Create HDR Photos From a Single Exposure on My Smartphone?
Yes, you can create HDR-like photos from a single exposure on your smartphone. Many modern devices have built-in AI and software processing that can enhance dynamic range. You'll also find apps that simulate HDR effects from one image.
What's the Ideal Number of Bracketed Exposures for Mobile HDR Landscapes?
For mobile HDR landscapes, you'll typically want 3-5 bracketed exposures. Start with a normal exposure, then capture 1-2 underexposed and 1-2 overexposed shots. This range usually covers the scene's dynamic range effectively.
How Do I Achieve a Natural-Looking HDR Effect Without Overdoing It?
To achieve a natural HDR effect, you'll want to use subtle adjustments. Don't push sliders too far. Blend exposures carefully, focusing on balancing highlights and shadows. Avoid oversaturation and keep contrast realistic. Trust your eye for a natural look.
In Summary
You've now got the tools to create stunning HDR landscape photos on your mobile device. Remember to bracket your exposures, carefully align and merge your images, and fine-tune your HDR processing settings. With practice, you'll master these techniques and capture breathtaking scenes with incredible detail and dynamic range. Don't be afraid to experiment and push your creativity. Your mobile phone is a powerful tool – use it to its full potential and watch your landscape photography soar to new heights.


Leave a Reply