
Your iPhone panoramas may be falling short due to several common issues. You might not be keeping a steady hand or maintaining a consistent panning speed, leading to blurry or distorted images. Moving subjects can cause ghosting effects, while poor lighting conditions can result in uneven exposure. You may also be overlooking the importance of composition in wide formats or neglecting to use gridlines and guides for alignment. Post-processing techniques can often enhance your panoramas, but they can't fix fundamental shooting errors. By mastering these aspects and understanding the intricacies of panorama mode, you'll be able to capture stunning wide-angle shots that truly impress.
Understanding Iphone Panorama Mode

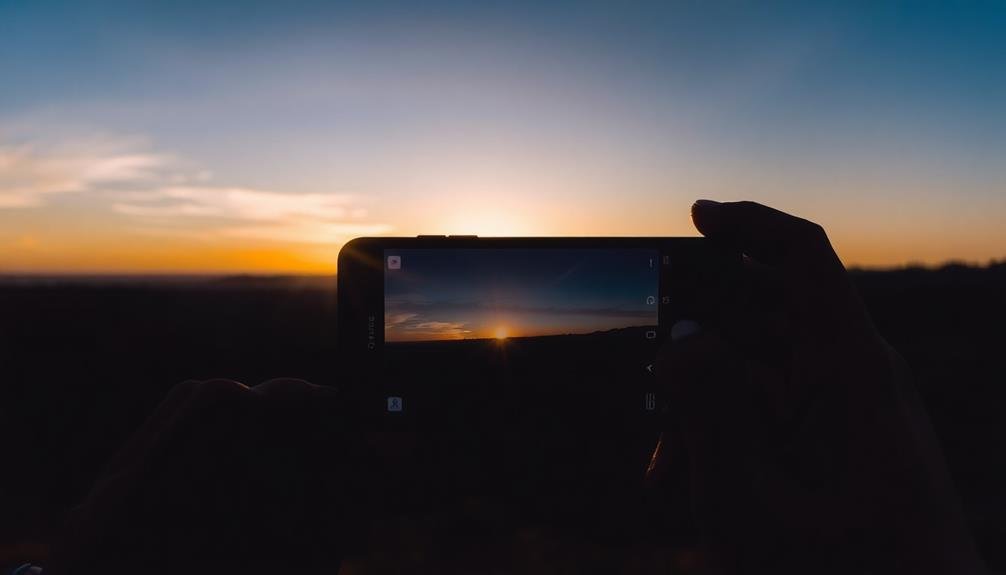
Nearly every iPhone user has experimented with the panorama mode at some point. This feature allows you to capture wide-angle shots by slowly panning your device across a scene. To use it, you'll find the panorama option in your camera app's mode selection.
When you activate panorama mode, you'll see an arrow and a line on your screen. As you move your iPhone, the arrow guides you along the line, ensuring you maintain a steady pace and level position. The camera continuously captures images and stitches them together in real-time.
Understanding how the iPhone processes these images is vital. It's not simply taking one long exposure but rather combining multiple shots. This means movement in your scene can cause distortions or ghosting effects.
The panorama mode works best for static scenes with good lighting. It struggles with moving subjects or extreme light variations.
To get the best results, you should move smoothly, keep your iPhone level, and maintain a consistent distance from your subject. Being aware of these factors will help you avoid common pitfalls and create more successful panoramic images.
Steady Hand Techniques

You'll need to decide between using a tripod for maximum stability or relying on handheld techniques for your iPhone panoramas.
If you're going handheld, proper body positioning is essential – keep your elbows tucked in and your feet shoulder-width apart for better balance.
Practice smooth, steady motions by sweeping your iPhone across the scene at a consistent speed, as if you're painting a horizontal line with your device.
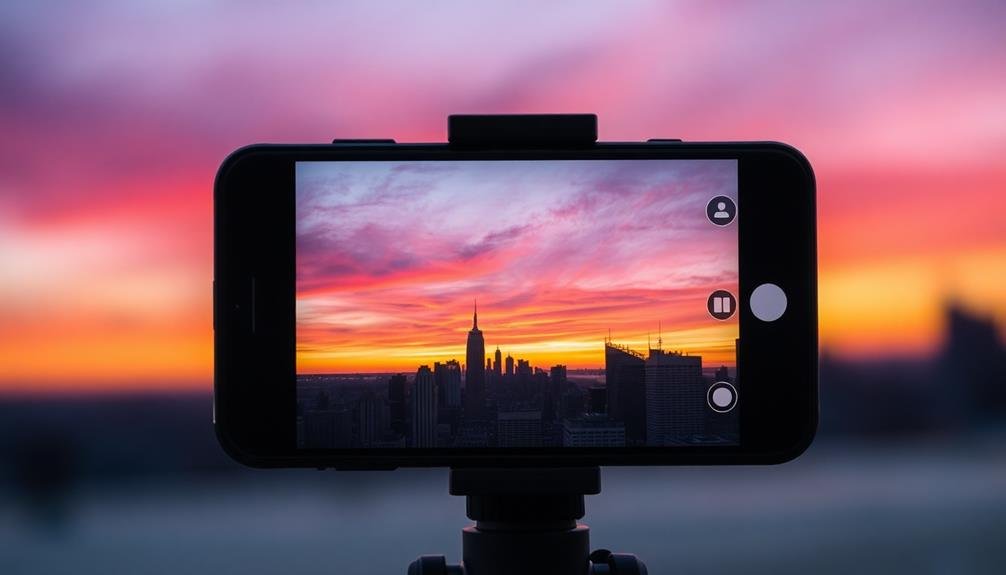
Tripod vs. Handheld Stability
Stabilizing your iPhone is essential for capturing crisp, seamless panoramas. While handheld techniques can produce decent results, using a tripod offers superior stability and consistency. When shooting handheld, you're more likely to introduce camera shake and uneven movements, which can result in distorted or blurry images. A tripod eliminates these issues, allowing for smoother panning and more precise control over your composition.
Here's a comparison of tripod vs. handheld stability:
| Feature | Tripod | Handheld |
|---|---|---|
| Stability | Excellent | Variable |
| Consistency | High | Low |
| Ease of Use | Requires setup | Immediate |
| Portability | Bulky | Convenient |
While a tripod may seem cumbersome, it's worth the extra effort for high-quality panoramas. It's particularly useful in low-light situations or when capturing complex scenes with multiple elements. If you don't have a tripod, try improvising with a stable surface or lean against a wall for added support. Remember, the steadier your iPhone, the sharper and more professional your panoramas will look.
Body Positioning Tips
Proper body positioning is essential for achieving steady handheld panoramas with your iPhone. Start by planting your feet shoulder-width apart, creating a stable base. Tuck your elbows close to your body to minimize arm movement. Hold your iPhone with both hands, gripping it firmly but not too tightly. This will help reduce shake while allowing for smooth panning.
As you sweep across the scene, pivot from your waist rather than your arms or shoulders. This technique guarantees a more consistent motion and helps maintain a level horizon. Keep your upper body as still as possible, focusing on rotating smoothly from your core.
Breathe steadily and avoid holding your breath, which can cause tension and unwanted movement. If possible, lean against a stable object like a wall or tree for added support.
When capturing the panorama, move the iPhone slowly and steadily, following the on-screen arrow guide. Don't rush the process; a slower, more controlled movement will yield better results. Finally, maintain a consistent distance from your subject throughout the pan to avoid distortion in the final image.
Smooth Motion Practice
Once you've mastered proper body positioning, it's time to focus on smooth motion techniques. Your iPhone's panorama feature requires a steady hand and consistent movement to capture stunning wide-angle shots. Practice moving your device in a slow, controlled manner, maintaining a constant speed throughout the capture process.
To develop smooth motion skills, try these exercises:
| Exercise | Description | Duration |
|---|---|---|
| Wall Slide | Move along a wall, keeping your phone parallel | 30 seconds |
| Pivot Point | Rotate around a fixed point, maintaining distance | 45 seconds |
| Figure Eight | Trace a figure eight pattern in the air | 1 minute |
| Straight Line | Move in a perfectly straight line | 30 seconds |
| Speed Control | Practice varying speeds while maintaining smoothness | 2 minutes |
Start with shorter durations and gradually increase as you improve. Focus on keeping your movements fluid and avoiding jerky motions. Use visual markers or reference points to guide your path. Remember to breathe steadily and relax your muscles to reduce tension and tremors. With consistent practice, you'll develop the muscle memory necessary for capturing flawless panoramas.
Proper Panning Speed

To capture stunning iPhone panoramas, mastering the correct panning speed is essential. Move too quickly, and you'll end up with a blurry, disjointed image. Pan too slowly, and your iPhone might struggle to stitch the frames together seamlessly. The key is to find a steady, moderate pace that allows your device to capture each section of the panorama clearly.
Start by holding your iPhone vertically and aligning it with the arrow on the screen. As you begin to pan, maintain a smooth, consistent motion. Imagine you're slowly sweeping a paintbrush across a canvas.
The iPhone's panorama feature will guide you with on-screen prompts, helping you stay on track and maintain the right speed. If you're panning too fast, you'll see a "Slow down" message. Conversely, if you're moving too slowly, the app will prompt you to speed up.
Pay attention to these cues and adjust your pace accordingly. With practice, you'll develop an intuitive sense of the ideal panning speed, resulting in crisp, well-aligned panoramas that truly capture the breadth of your surroundings.
Avoiding Moving Subjects

When capturing panoramas on your iPhone, be aware that moving objects can cause blurring and distortion in your final image.
To minimize this issue, you'll want to start by capturing the stationary elements of your scene first.
If possible, try to time your panorama when there's less movement in the frame, allowing you to create a cleaner and more cohesive final result.
Blur From Moving Objects
While capturing panoramic shots with your iPhone can produce stunning results, moving objects in the frame often lead to blurry or distorted images.
This blur occurs because the panorama mode takes multiple photos and stitches them together, causing problems when things move between shots. To minimize this issue, you'll need to be aware of your surroundings and take steps to reduce motion in your panoramas.
Here are three strategies to help you avoid blur from moving objects:
- Time your shots carefully: Wait for a lull in activity before starting your panorama. This might mean pausing for a few moments until pedestrians have passed or vehicles have cleared the area.
- Adjust your sweep speed: Move your iPhone more quickly when capturing areas with potential motion. This reduces the time between individual frames, minimizing the chance of objects shifting positions.
- Choose your angle wisely: Position yourself so that moving objects are entering or exiting the frame, rather than crossing it. This approach can help limit their appearance in the final image.
Capturing Stationary Elements First
A clever approach to tackling moving subjects in panoramas is zeroing in on stationary elements first. When you're capturing a scene with both static and moving objects, start by focusing on the immobile parts. This technique helps you establish a solid foundation for your panorama.
Begin by identifying the key stationary elements in your composition. These might include buildings, landscapes, or large objects that won't move during your shot. Position yourself to capture these elements first, then gradually pan to include the areas where movement is likely to occur.
Here's a quick guide to help you prioritize elements in your panorama:
| Priority | Static Elements | Moving Elements |
|---|---|---|
| High | Buildings | People |
| Medium | Mountains | Vehicles |
| Low | Trees | Animals |
Lighting Considerations for Panoramas
Mastering lighting is essential for creating stunning iPhone panoramas. As you sweep your camera across the scene, the lighting conditions can change dramatically, affecting the overall exposure and consistency of your image.
To overcome this challenge, you'll need to take into account the direction and intensity of light sources, as well as the time of day you're shooting.
When capturing panoramas, keep these lighting tips in mind:
- Golden hour magic: Shoot during the golden hours (just after sunrise or before sunset) for soft, warm light that adds depth and dimension to your panoramas.
- Avoid harsh midday sun: High contrast and strong shadows can create uneven exposures across your panorama. If you must shoot midday, look for open shade or cloudy conditions.
- Lock exposure and focus: Before starting your panorama, tap and hold on the screen to lock exposure and focus on a mid-toned area. This helps maintain consistent lighting throughout the sweep.
Composition in Wide Formats

Lighting plays a key role in panoramas, but it's not the only factor to evaluate. Composition in wide formats presents unique challenges and opportunities that you'll need to master for stunning iPhone panoramas. When framing your shot, consider the entire sweep of the landscape and how elements will interact across the expanded canvas.
Look for strong foreground elements to anchor your image and lead the viewer's eye through the scene. Incorporate leading lines, such as roads, rivers, or fences, to create depth and guide attention. Balance is essential in panoramas; distribute points of interest evenly across the frame to maintain visual harmony.
Don't forget about the rule of thirds, which becomes even more important in wide formats. Place key subjects at intersections of imaginary grid lines to create a more dynamic composition. Experiment with unconventional aspect ratios, pushing beyond the standard 2:1 or 3:1 to capture truly expansive vistas.
Remember that panoramas allow you to tell a broader story. Use this expanded space to showcase relationships between elements in your scene, revealing connections that mightn't be apparent in a standard photo format.
Vertical Panorama Options

Versatility defines the iPhone's panorama capabilities, extending beyond traditional horizontal sweeps. You're not limited to capturing wide landscapes; vertical panoramas offer unique opportunities to capture tall structures, waterfalls, or even entire city skylines. To create a vertical panorama, simply turn your iPhone sideways and sweep from bottom to top or vice versa.
When shooting vertical panoramas, keep these tips in mind:
- Start with a stable base: Plant your feet firmly and use your body as a pivot point.
- Maintain a steady pace: Move the camera slowly and evenly to avoid distortion.
- Consider your subject: Vertical panoramas work best for subjects with strong vertical lines or elements.
Experiment with different angles and compositions to make the most of this feature.
Try capturing the grandeur of towering redwoods or the intricate details of a multi-story building facade. You can even use vertical panoramas to create unique portraits, capturing a person from head to toe in a single, seamless image.
Dealing With Exposure Shifts

Exposure shifts can be one of the most frustrating challenges when creating iPhone panoramas. As you pan across a scene, your camera automatically adjusts exposure for different lighting conditions, often resulting in noticeable brightness changes within your final image.
To combat this issue, try locking your exposure before starting the panorama. Tap and hold on the brightest area of your scene until you see "AE/AF Lock" appear. This will maintain consistent exposure throughout your shot. Alternatively, you can use a third-party camera app that offers manual exposure control for panoramas.
If you're dealing with high contrast scenes, consider using HDR mode. While it won't completely eliminate exposure shifts, it can help balance out extreme light and dark areas.
Another technique is to shoot in sections, adjusting exposure for each part and later stitching them together in post-processing.
Remember that sometimes, exposure shifts can add a creative element to your panorama. If you embrace them, they can create a unique visual narrative, showcasing the diverse lighting conditions across your captured scene.
Panorama Stitching Errors

While managing exposure shifts can improve your panoramas, another common issue you'll encounter is stitching errors. These occur when your iPhone's software struggles to seamlessly blend multiple images into a single panoramic shot. You'll often notice these errors as jagged lines, distorted objects, or misaligned elements in your final image.
To minimize stitching errors and capture smoother panoramas:
- Move your iPhone slowly and steadily as you pan, maintaining a consistent speed throughout the shot.
- Keep the arrow centered on the guide line, ensuring your movement is as straight as possible.
- Avoid including moving subjects in your panorama, as they can cause ghosting or duplication effects.
Pay attention to scenes with repetitive patterns or uniform textures, as these can confuse the stitching algorithm.
When photographing architecture, be mindful of straight lines and edges, which can appear warped if not captured correctly.
If you're shooting in low light conditions, use a tripod or stabilizing device to reduce camera shake and improve the chances of a successful stitch.
Choosing the Right Scene

When choosing a scene for your iPhone panorama, you'll want to steer clear of busy environments that can confuse the camera.
Instead, seek out wide, open vistas that showcase expansive landscapes or cityscapes.
Don't forget to take into account the lighting conditions, as harsh shadows or overly bright areas can impact the final result of your panoramic shot.
Avoid Busy Environments
Selecting the right scene is essential for successful iPhone panoramas. When you're capturing a wide-angle shot, busy environments can often lead to cluttered and confusing images. To create stunning panoramas, you'll want to avoid scenes with too much activity or excessive detail.
Busy environments pose several challenges for panoramic photography:
- Movement: People, vehicles, or animals moving through the frame can cause distortions or ghosting effects in your final image.
- Complexity: Scenes with numerous objects or intricate details can overwhelm the viewer and detract from the overall impact of your panorama.
- Lighting inconsistencies: Busy areas often have varied lighting conditions, making it difficult to achieve a balanced exposure across the entire panorama.
Instead, look for locations with clean lines, open spaces, and minimal distractions. Landscapes, cityscapes with clear horizons, or architectural subjects often work well for panoramas.
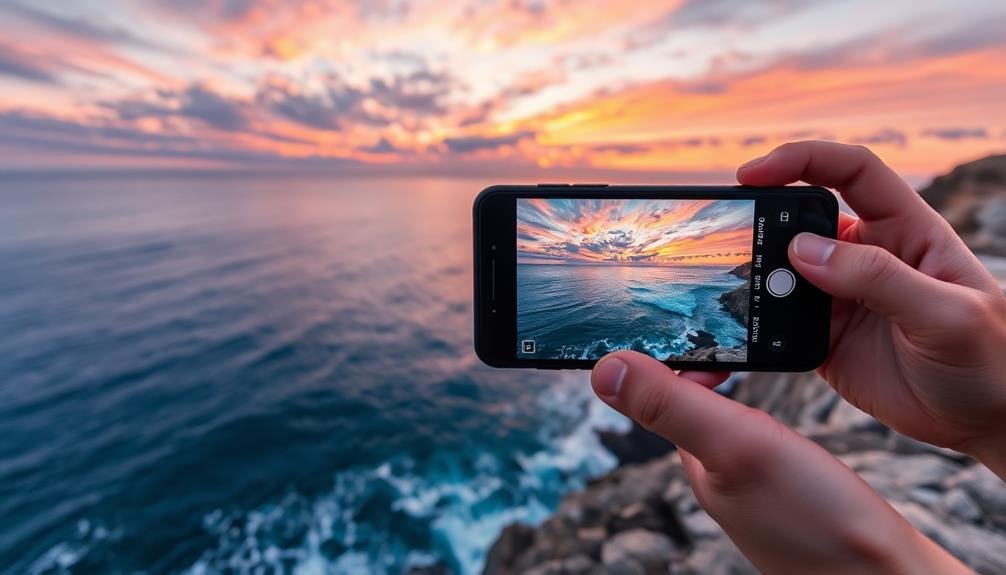
Look for Wide Vistas
Out across the horizon, wide vistas offer the perfect canvas for stunning iPhone panoramas. These expansive scenes allow your camera to capture the full breadth of a landscape, showcasing its grandeur and scale.
Look for locations that provide unobstructed views, such as mountaintops, coastal cliffs, or open fields. These settings give your panorama room to breathe and create a sense of space that'll wow viewers.
When scouting for the ideal vista, consider the time of day and lighting conditions. Early morning or late afternoon often provide the most dramatic lighting, with long shadows and warm hues that can elevate your panorama.
Pay attention to the sky as well; interesting cloud formations can add depth and character to your shot.
Don't shy away from incorporating foreground elements into your wide vista panoramas. A lone tree, a winding road, or a distinctive rock formation can serve as an anchor point, guiding the viewer's eye through the expansive scene.
Consider Lighting Conditions
For successful iPhone panoramas, lighting conditions play an essential role in choosing the right scene. You'll want to pay attention to the sun's position and intensity, as well as any shadows or highlights that may affect your image. Harsh midday light can create unflattering contrasts, while golden hour offers warm, soft illumination that enhances landscapes.
Consider these factors when evaluating lighting conditions:
- Direction of light: Side-lighting can add depth and texture to your panorama, while backlighting may create dramatic silhouettes.
- Cloud cover: Overcast skies provide even, diffused light that's ideal for capturing details without harsh shadows.
- Time of day: Early morning or late afternoon light tends to be more flattering and interesting than midday sun.
You'll also want to be mindful of extreme lighting situations. Very bright scenes can cause overexposure, while low-light conditions may result in grainy images.
If possible, try to find a balance between light and shadow to create depth and interest in your panorama. Don't forget to adjust your iPhone's exposure settings by tapping and sliding on the screen to fine-tune the lighting before you start your sweep.
Utilizing Gridlines and Guides

Gridlines and guides are powerful tools that can dramatically improve your iPhone panoramas. They help you maintain a level horizon and guarantee your composition is balanced. To activate gridlines, go to your iPhone's Settings, tap Camera, and turn on the Grid option.
When taking a panorama, use the horizontal gridlines to keep your phone level as you pan. This prevents the final image from appearing tilted or uneven. The vertical gridlines can help you frame key elements in your shot, following the rule of thirds for a more visually appealing composition.
Your iPhone's panorama mode also provides a guide arrow that you should follow as you move the camera. Keep the arrow centered on the line for smooth panning and consistent exposure. If you move too fast or deviate from the line, the app will alert you to slow down or adjust your movement.
Pay attention to the edges of your frame as you pan. Use the gridlines to guarantee important elements aren't cut off and that you're capturing the full scope of the scene you want to photograph.
Post-Processing Panoramic Images

Many iPhone panoramas benefit from post-processing to enhance their visual impact. After capturing your panoramic shot, you'll want to fine-tune it to bring out its best qualities.
Start by adjusting the basic elements like exposure, contrast, and saturation to achieve a balanced look across the entire image. Pay special attention to areas where the lighting might've changed during the capture process.
Next, focus on sharpening and noise reduction. Panoramas often suffer from softness due to the stitching process, so a careful application of sharpening can help restore crisp details. Be cautious not to overdo it, as this can introduce artifacts.
Consider these advanced post-processing techniques to elevate your panoramas:
- Use selective adjustments to enhance specific areas without affecting the entire image.
- Apply graduated filters to balance the sky and foreground exposure.
- Experiment with perspective correction tools to straighten horizons and vertical lines.
Advanced Panorama Shooting Techniques
To elevate your iPhone panoramas, you'll want to master advanced shooting techniques.
Start by perfecting your steady motion, ensuring a smooth sweep as you capture the scene.
Next, focus on overlapping image segments for seamless stitching, and consider experimenting with HDR panorama shooting to capture a wider range of light and detail in your expansive shots.
Steady Motion Techniques
Mastering steady motion is essential for capturing stunning panoramas with your iPhone. When you're taking a panoramic shot, even the slightest shake can result in distorted or blurry images.
To achieve smooth, professional-looking results, you'll need to focus on maintaining a steady hand and consistent movement throughout the capture process.
Here are three key techniques to help you improve your steady motion:
- Use your body as a tripod: Plant your feet firmly on the ground, shoulder-width apart. Keep your elbows tucked close to your body and rotate from your hips, not your arms.
- Maintain a constant speed: Move your iPhone at a steady pace from start to finish. The app will guide you, so don't rush or slow down abruptly.
- Follow a visual guide: Use the horizon line or a prominent feature in the scene as a reference point to keep your phone level throughout the panorama.
Overlapping Image Segments
In addition to steady motion, overlapping image segments is an essential technique for creating seamless panoramas with your iPhone. When capturing panoramas, your device stitches together multiple images to create one continuous shot. To guarantee a smooth result, you'll need to overlap each segment by about 30-40%.
As you pan your iPhone, pay close attention to the arrow guide on the screen. It'll help you maintain the correct overlap percentage. Don't rush through this process; take your time to align each segment properly. If you move too quickly, you'll risk creating gaps or misaligned areas in your final panorama.
Remember that the iPhone's panorama mode captures images from left to right by default. However, you can change this direction by tapping the arrow before you start shooting. This flexibility allows you to choose the best starting point for your composition.
HDR Panorama Shooting
Have you ever wondered how to capture stunning panoramas with perfect exposure across varying light conditions? HDR panorama shooting is the answer. This advanced technique combines high dynamic range (HDR) photography with panoramic imaging, allowing you to capture a wide range of tones and details in challenging lighting situations.
To master HDR panorama shooting on your iPhone, follow these steps:
- Enable HDR mode in your camera settings before starting your panorama.
- Pay attention to the exposure as you pan, adjusting it manually if needed.
- Move slowly and steadily to guarantee each frame captures multiple exposures.
By using HDR panorama shooting, you'll be able to handle scenes with both bright highlights and deep shadows, such as sunsets or interiors with windows.
The iPhone's software will blend these exposures seamlessly, resulting in a final image with balanced lighting throughout.
Remember that HDR panoramas may take longer to process and require more storage space.
However, the improved dynamic range and overall image quality make it worth the extra effort.
With practice, you'll be able to create breathtaking panoramas that truly capture the essence of expansive scenes, even in tricky lighting conditions.
Common Panorama Pitfalls

Newcomers to iPhone panorama photography often encounter several common pitfalls that can spoil their shots. One of the most frequent mistakes is moving too quickly while capturing the image. If you pan too fast, you'll end up with blurry or distorted results. Instead, maintain a slow, steady pace as you sweep across the scene.
Another issue is failing to keep the iPhone level throughout the capture process. Tilting the device up or down can lead to misaligned or wavy panoramas. To avoid this, use the on-screen guide to keep your phone straight as you pan.
Inconsistent lighting can also be problematic. If you're shooting a scene with varying light conditions, your panorama may have noticeable brightness changes. Try to choose locations with more uniform lighting or wait for better conditions.
Parallax errors occur when objects in the foreground appear distorted or duplicated. To minimize this, pivot your body around a fixed point rather than moving laterally as you pan.
Lastly, neglecting composition can result in lackluster panoramas. Plan your shot carefully, considering the entire scene and potential focal points before you start capturing.
Frequently Asked Questions
Can I Use Panorama Mode Underwater or With Waterproof Cases?
You can't use panorama mode underwater, as it won't work. However, you can use waterproof cases to protect your iPhone while taking panoramas near water. Just make sure the case doesn't obstruct the camera lens.
How Do I Capture Panoramas of the Night Sky or Star Trails?
To capture night sky panoramas or star trails, you'll need a tripod and long exposure app. Set your iPhone to manual mode, use a wide aperture, and high ISO. Slowly pan across the sky, taking overlapping shots for stitching later.
Are There Any Third-Party Apps That Enhance Iphone Panorama Capabilities?
You'll find several third-party apps that boost your iPhone's panorama skills. Try ProCam, Pano, or 360 Panorama for enhanced features like manual controls, higher resolution, and better stitching. They'll help you capture more impressive panoramic shots.
Can I Create 360-Degree Panoramas Directly on My Iphone?
Yes, you can create 360-degree panoramas on your iPhone. Use the built-in Camera app's panorama mode or download third-party apps like Google Street View or 360 Panorama for more advanced features. They'll guide you through the process step-by-step.
How Do I Incorporate People or Pets Into Panoramic Shots Effectively?
To include people or pets in panoramas, ask them to stay still as you pan. You can also have them move strategically between shots, creating fun, multi-exposure effects. Practice timing and communication for the best results.
In Summary
You've now got the tools to elevate your iPhone panoramas. Remember, it's all about steady hands, consistent panning, and being aware of your surroundings. Don't rush the process; take your time to get it right. With practice, you'll master the art of capturing stunning wide-angle shots. If you're still not satisfied, try experimenting with third-party apps or post-processing techniques. Keep shooting, and you'll soon be creating panoramas that truly impress.

Leave a Reply