To make low-light portraits pop on your phone, start by mastering your device's night mode and manual camera settings. Position your subject near available light sources and experiment with angles for flattering poses. Choose backgrounds that complement your subject and use flash techniques wisely. Don't forget to utilize accessories like portable LED lights or mini tripods for sharper images. After capturing your shot, enhance it through post-processing by adjusting exposure, lifting shadows, and reducing noise. With practice, you'll develop an eye for creating striking low-light portraits that stand out. Dive deeper to reveal the full potential of your phone's camera in challenging lighting conditions.
Understanding Your Phone's Night Mode

How does your phone's Night Mode actually work? It's a sophisticated combination of hardware and software that enables your device to capture stunning low-light images.
When you activate Night Mode, your phone's camera takes multiple exposures of the same scene, often over several seconds. These exposures are then intelligently combined to create a single, well-lit image.
Night Mode utilizes your phone's optical image stabilization (OIS) and AI algorithms to compensate for hand shake during longer exposures. It also adjusts the ISO sensitivity, allowing the sensor to capture more light without introducing excessive noise.
The software then analyzes the captured data, enhancing details in shadows and highlights while preserving natural colors.
Many phones now feature dedicated night photography hardware, such as larger sensors or wider apertures, which further improve low-light performance. Some even use pixel binning, combining multiple pixels to create larger, more light-sensitive pixels.
Understanding your phone's Night Mode capabilities helps you maximize its potential. Experiment with different scenes and lighting conditions to familiarize yourself with its strengths and limitations.
Mastering Manual Camera Settings
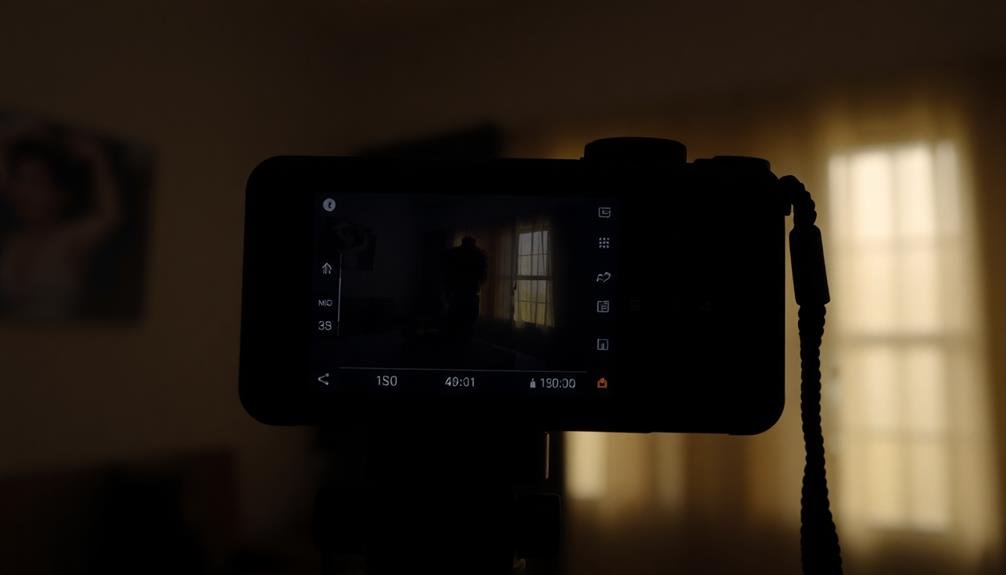
You'll gain more control over your low-light portraits by mastering manual camera settings on your phone.
Start by adjusting the ISO and shutter speed to balance light sensitivity and motion blur.
Then, explore your phone's aperture and focus controls to fine-tune depth of field and sharpness in your nighttime shots.
Adjusting ISO and Shutter
Mastering manual camera settings releases the potential for stunning low-light portraits on your phone. When adjusting ISO and shutter speed, you'll need to balance these two settings carefully. ISO controls your camera's sensitivity to light, while shutter speed determines how long the sensor is exposed to light.
In low-light situations, you'll often need to increase your ISO. Start with ISO 400 and gradually increase it if needed. However, be cautious, as higher ISO values can introduce noise to your images.
To compensate, use a slower shutter speed to allow more light in. Try 1/30th or 1/15th of a second, but be aware that slower speeds may lead to motion blur if you or your subject moves.
For sharper images, stabilize your phone using a tripod or rest it against a stable surface. If you're shooting a moving subject, prioritize a faster shutter speed and increase ISO instead.
Experiment with different combinations of ISO and shutter speed to find the sweet spot that produces well-exposed, crisp portraits without excessive noise. Remember, each low-light situation is unique, so don't be afraid to adjust your settings as needed.
Aperture and Focus Control
Beyond ISO and shutter speed, aperture and focus control play key roles in creating enchanting low-light portraits on your phone. Many modern smartphones offer manual aperture adjustment, allowing you to control the amount of light entering the lens. A wider aperture (lower f-number) lets in more light, which is vital for low-light situations. It also creates a shallower depth of field, beautifully blurring the background and making your subject pop.
Focus control is equally important. In low light, your phone's autofocus might struggle. Switch to manual focus for precise control. Tap on your subject's face to guarantee it's sharp, even if the background is slightly out of focus. Some phones offer focus peaking, which highlights in-focus areas, making it easier to nail your shot.
When mastering aperture and focus control, imagine:
- A portrait with tack-sharp eyes and softly blurred background lights
- A subject emerging from the shadows, perfectly focused amidst a dreamy bokeh
- A candlelit scene where the flame is in focus, creating a warm, intimate atmosphere
Optimal Positioning of Light Sources
When positioning light sources for low-light portraits, you'll want to experiment with different angles to create dramatic shadows.
Try placing your light source at a 45-degree angle to your subject for a classic, flattering look.
Angles for Dramatic Shadows
To create dramatic shadows in low-light portraits, the positioning of your light source is essential. Experiment with different angles to achieve the desired effect.
Try placing your light source at a 45-degree angle to your subject's face, creating a classic Rembrandt lighting pattern. This angle casts a small triangle of light on the cheek opposite the light source, adding depth and dimension to your portrait.
For more dramatic shadows, position your light source at a 90-degree angle to your subject. This side lighting technique emphasizes texture and creates strong contrasts between light and dark areas.
Don't be afraid to go extreme – placing the light source behind your subject can create striking silhouettes or rim lighting effects.
When working with dramatic shadows, keep these tips in mind:
- Use a single light source to maintain simplicity and control
- Adjust the distance between the light and your subject to fine-tune shadow intensity
- Incorporate reflectors or diffusers to soften harsh shadows if needed
Distance From Subject
The distance between your light source and subject plays a key role in shaping the mood and quality of your low-light portraits. As you move your light closer, you'll create softer, more flattering illumination with gentler shadows. This proximity also increases the light's intensity, allowing you to use lower ISO settings and faster shutter speeds for cleaner images.
Conversely, placing your light source farther away produces harder, more dramatic shadows and a moodier atmosphere. It's ideal for creating high-contrast portraits with bold, defined features. However, you'll need to compensate for the reduced light intensity by increasing your ISO or slowing your shutter speed.
Experiment with different distances to find the sweet spot for your desired effect. Start around 3-4 feet away and adjust from there.
For a balanced approach, try positioning your light at a 45-degree angle to your subject, about 2-3 feet away. This setup often provides a good mix of soft lighting and subtle shadows.
Utilizing Available Ambient Light
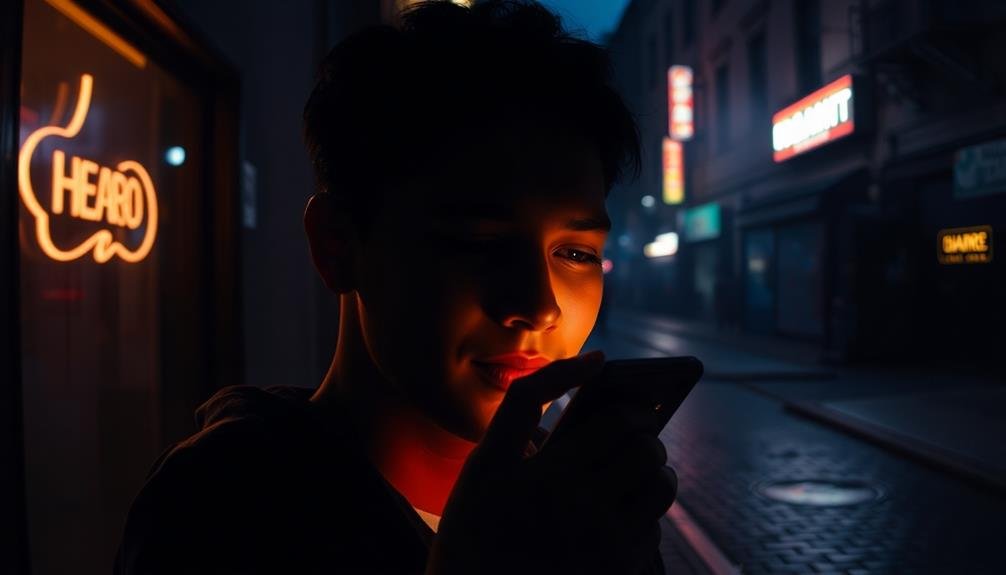
Look out for existing light sources in your environment when shooting low-light portraits on your phone. Street lamps, neon signs, and even passing car headlights can create interesting and dramatic lighting effects.
Position your subject near these light sources to illuminate their features and add depth to your portraits. Don't be afraid to experiment with different angles and positions to find the most flattering light.
Consider using reflective surfaces to your advantage. Windows, mirrors, and even light-colored walls can bounce light back onto your subject, softening shadows and creating a more even illumination.
If you're indoors, try placing your subject near a window to capture the soft, diffused light that filters through.
Here are some creative ways to utilize ambient light:
- Use a backlit scene to create a silhouette effect
- Capture the glow of a nearby neon sign for a vibrant, colorful portrait
- Position your subject under a streetlight for a moody, film noir-inspired look
Choosing the Right Background

When selecting a background for your low-light portrait, consider how it'll contrast with your subject.
You can opt for a minimalist backdrop to keep the focus entirely on your subject, or choose a textured surface to add depth and interest.
Remember that the background should complement, not compete with, your subject in the dim lighting conditions.
Contrast With Subject
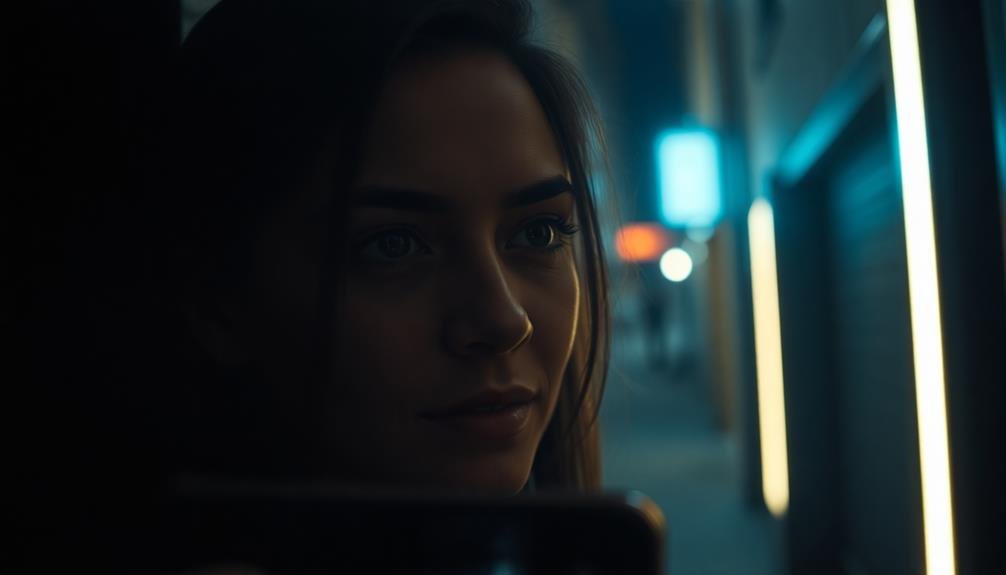
Creating striking low-light portraits on your phone relies heavily on choosing the right background to contrast with your subject. Aim for backgrounds that are darker than your subject to make them stand out. Look for solid, uncluttered surfaces that won't compete for attention. Dark walls, shadowy corners, or even the night sky can serve as excellent backdrops.
Consider the color of your subject's clothing and skin tone when selecting a background. Complementary colors can create a visually appealing contrast. For example, a subject wearing warm-toned clothing will pop against a cool-toned background. Experiment with different angles to find the most flattering contrast between your subject and the background.
To enhance contrast, try these techniques:
- Use a small light source to illuminate your subject, leaving the background in shadow
- Position your subject near a light source, like a streetlamp or shop window
- Incorporate backlighting to create a rim of light around your subject
Minimalist vs. Textured Backdrops
The choice between minimalist and textured backdrops can profoundly impact the mood and focus of your low-light portrait. Minimalist backgrounds, like plain walls or smooth surfaces, direct attention to your subject and create a clean, modern aesthetic. They're ideal for highlighting facial features and expressions, allowing the viewer to connect with the subject without distractions.
On the other hand, textured backdrops add depth and character to your image. Think brick walls, wooden panels, or patterned fabrics. These backgrounds can complement your subject, adding visual interest and context to the portrait. They're particularly effective when you want to create a specific atmosphere or tell a story through your image.
When choosing between minimalist and textured backdrops, consider your subject's clothing, the lighting conditions, and the overall mood you're aiming for. Minimalist backgrounds work well with bold outfits or when you want to emphasize shadows and light play.
Textured backdrops pair nicely with simpler attire and can add warmth to your low-light portraits. Experiment with both styles to find what suits your subject and artistic vision best.
Focusing Techniques in Low Light

Focusing in low-light conditions can throw off even experienced photographers, but it doesn't have to be a stumbling block. To capture sharp portraits in dim settings, you'll need to master a few key techniques.
First, tap on your subject's face to set the focus point manually. This guarantees your phone's camera knows where to direct its attention. If your device has a night mode, use it to improve focus and reduce noise.
For trickier situations, try using the flashlight of another phone to temporarily illuminate your subject. This helps your camera lock focus before you take the shot. Remember to turn off the light before capturing the final image.
Alternatively, use continuous lighting sources like LED panels to maintain consistent illumination throughout your shoot.
Here are some visual cues to look for when focusing in low light:
- A faint outline of contrast around your subject's features
- Subtle highlights in the eyes
- Slight separation between the subject and the background
Effective Use of Flash
Flash photography often gets a bad rap, but it can be your secret weapon for stunning low-light portraits on your phone. When used correctly, flash can add depth, highlight features, and create dramatic effects. Don't rely on your phone's default flash settings; instead, experiment with different techniques to achieve the best results.
Consider these flash methods for your low-light portraits:
| Method | Technique | Effect |
|---|---|---|
| Bounce | Reflect off surfaces | Softer, diffused light |
| Diffuse | Use tissue or fabric | Reduced harshness |
| Off-camera | Hold flash separately | Directional lighting |
| Fill flash | Combine with ambient light | Balanced exposure |
| Colored gels | Apply color filters | Creative mood |
To avoid the dreaded "deer in headlights" look, don't point the flash directly at your subject. Instead, try bouncing it off nearby walls or ceilings for a softer effect. If you're outdoors, diffuse the flash with a small piece of tissue or fabric. Remember, less is often more with flash photography. Start with a low intensity and gradually increase it until you achieve the desired effect. With practice, you'll master the art of using flash to create enchanting low-light portraits on your phone.
Pose and Subject Positioning
While mastering flash techniques can dramatically improve your low-light portraits, perfecting your subject's pose and positioning is equally important.
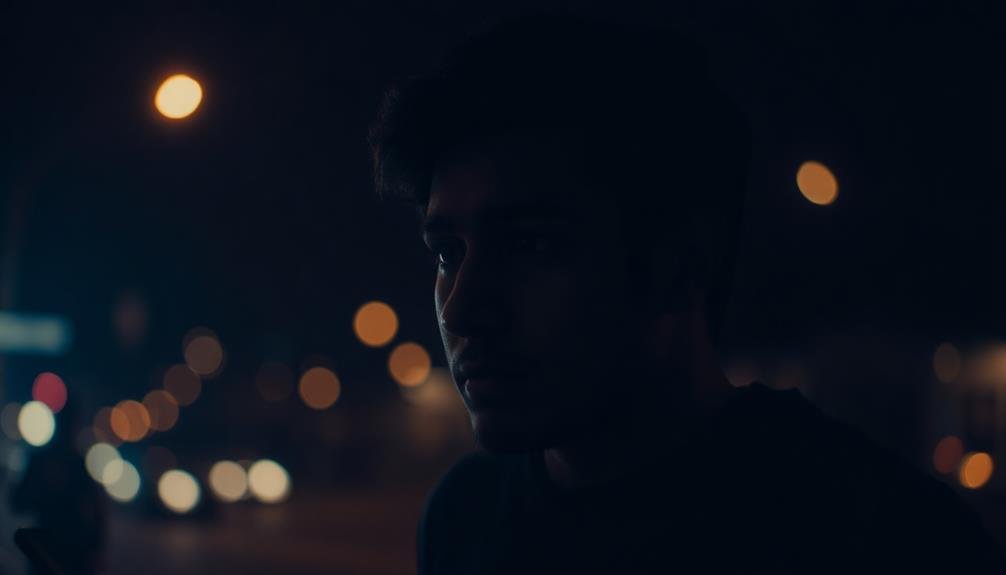
In low-light conditions, you'll want to place your subject near available light sources, such as windows or street lamps. This natural illumination can create a soft, flattering glow on their face.
Experiment with different angles to find the most flattering position for your subject. Often, a slight tilt of the head or turn of the shoulders can make a significant difference. Don't be afraid to direct your subject and make small adjustments to their pose.
Consider the background when positioning your subject. In low light, you'll want to minimize distractions and create contrast between your subject and their surroundings. Look for dark or simple backgrounds that won't compete with your subject for attention.
- Position your subject at a 45-degree angle to the camera
- Ask them to lean slightly forward to create a more engaging pose
- Use their hands to frame their face or add interest to the composition
Post-Processing for Low-Light Portraits

Post-processing can be the secret weapon in your low-light portrait arsenal. After capturing your image, you'll want to fine-tune it to enhance its impact. Start by adjusting the exposure, carefully brightening the image without introducing too much noise.
Next, focus on the shadows and highlights. Lift the shadows slightly to reveal hidden details, but be careful not to lose the moody atmosphere that low-light creates.
Color temperature adjustment is vital in low-light situations. Warm up the image slightly to create a cozy feel, or cool it down for a more dramatic effect.
Don't forget to reduce noise, which is often prevalent in low-light shots. Use your phone's built-in noise reduction tool or a third-party app for more control.
Contrast and clarity adjustments can help your subject pop against the dark background. Selectively sharpen key areas like the eyes and facial features.
Finally, consider a subtle vignette to draw attention to your subject. Remember, the goal is to enhance, not overpower, the natural ambiance of your low-light portrait.
With these post-processing techniques, you'll transform your phone snapshots into striking low-light masterpieces.
Accessories for Better Low-Light Results

Gear can make a significant difference in your low-light portrait photography, even when using a smartphone. External lighting sources are your best allies in challenging lighting conditions.
Consider investing in a small, portable LED light panel that attaches to your phone. These provide adjustable brightness and color temperature, allowing you to fine-tune the illumination for your subject.
A mini tripod or stabilizer can help you capture sharper images by reducing camera shake, especially essential in low-light situations where slower shutter speeds are common. Some models even come with built-in remote controls, making it easier to take self-portraits or group shots.
Don't overlook the power of reflectors. Even a small, collapsible reflector can bounce available light onto your subject, softening shadows and adding a flattering glow. Look for pocket-sized options that are easy to carry and deploy quickly.
Here are three key accessories to enhance your low-light portrait game:
- Clip-on LED light with adjustable brightness and color temperature
- Compact smartphone tripod with remote shutter control
- Foldable mini reflector for redirecting ambient light
Frequently Asked Questions
How Does Phone Sensor Size Affect Low-Light Portrait Quality?
Your phone's sensor size greatly impacts low-light portrait quality. Larger sensors capture more light, reducing noise and improving detail. They'll give you cleaner, sharper images in dim conditions, making your portraits pop with better clarity and color.
Can Ai-Enhanced Night Modes Replace Traditional Photography Skills?
AI-enhanced night modes can't fully replace traditional skills. While they're impressive, you'll still benefit from understanding composition, lighting, and camera settings. Your artistic eye and technical knowledge remain essential for creating truly outstanding low-light portraits.
What's the Impact of Lens Coating on Low-Light Smartphone Photography?
Lens coating considerably impacts your low-light smartphone photography. It reduces glare and reflections, enhancing light transmission. You'll notice improved contrast, color accuracy, and reduced ghosting. This means clearer, sharper images even in challenging lighting conditions.
How Do Different Phone Brands Compare in Low-Light Portrait Capabilities?
You'll find that top brands like Apple, Google, and Samsung excel in low-light portraits. They've got advanced sensors, AI processing, and Night modes. However, Huawei and Xiaomi are catching up with impressive low-light capabilities too.
Are There Specific Makeup Techniques for Better Low-Light Smartphone Portraits?
You'll want to focus on enhancing your features for low-light smartphone portraits. Use matte foundation, highlight strategically, and define your eyes with darker shades. Don't forget to blot excess shine and opt for bold lip colors.
In Summary
You've now got the tools to make your low-light portraits shine. Remember, it's all about balancing your phone's capabilities with smart techniques. Experiment with settings, positioning, and light sources. Don't be afraid to get creative with poses and backgrounds. With practice, you'll capture stunning low-light portraits that rival professional shots. Keep pushing your limits, and you'll soon be amazed at what you can achieve with just your smartphone.


Leave a Reply