
When creating a construction site time-lapse on your mobile, focus on these three pro tips: First, choose a mounting location with a clear, elevated view of the entire site, ensuring security and proper permissions. Second, set capture intervals based on project duration and site activity, balancing video length with storage capacity. Third, manage power and storage effectively by using high-capacity batteries, optimizing device settings, and regularly transferring files to cloud services. By mastering these aspects, you'll capture the project's progress seamlessly. Dive deeper into each tip to elevate your time-lapse game and create truly impressive construction site videos.
Choose the Right Mounting Location
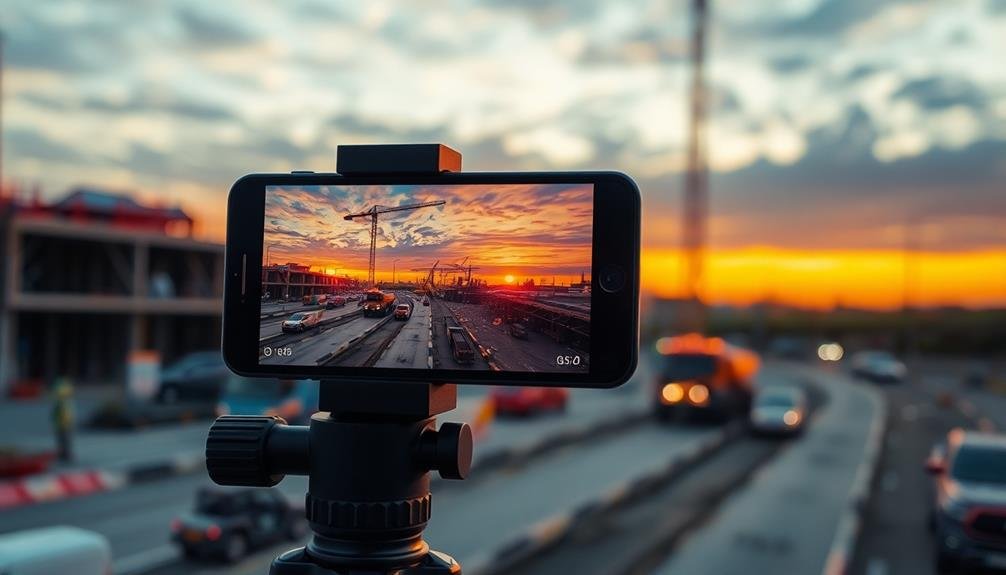
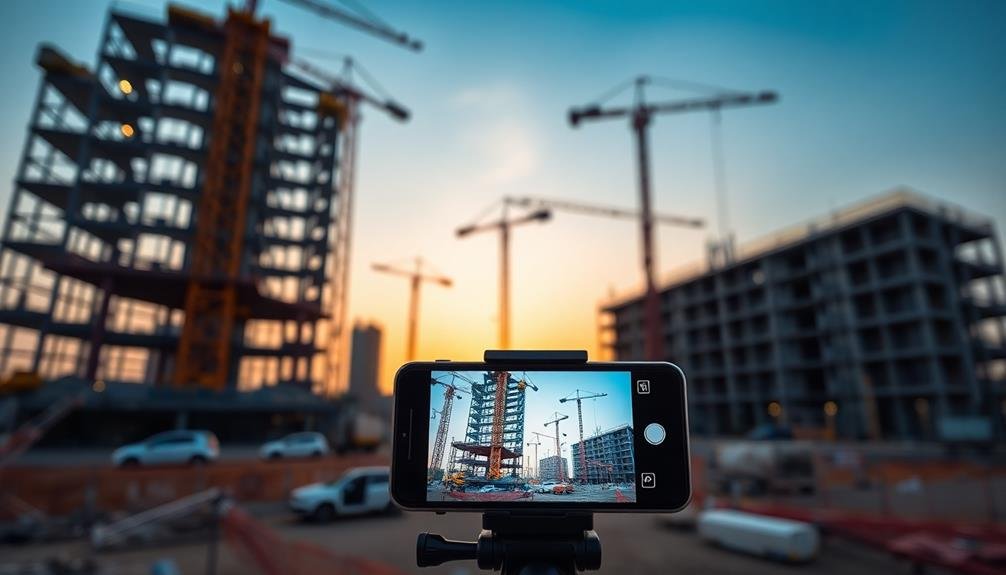
Selecting the perfect vantage point is essential for capturing an engaging construction site time-lapse on your mobile device. You'll want to find a spot that offers a clear, unobstructed view of the entire project area. Look for elevated positions like nearby buildings, hills, or even temporary scaffolding to get a bird's-eye perspective.
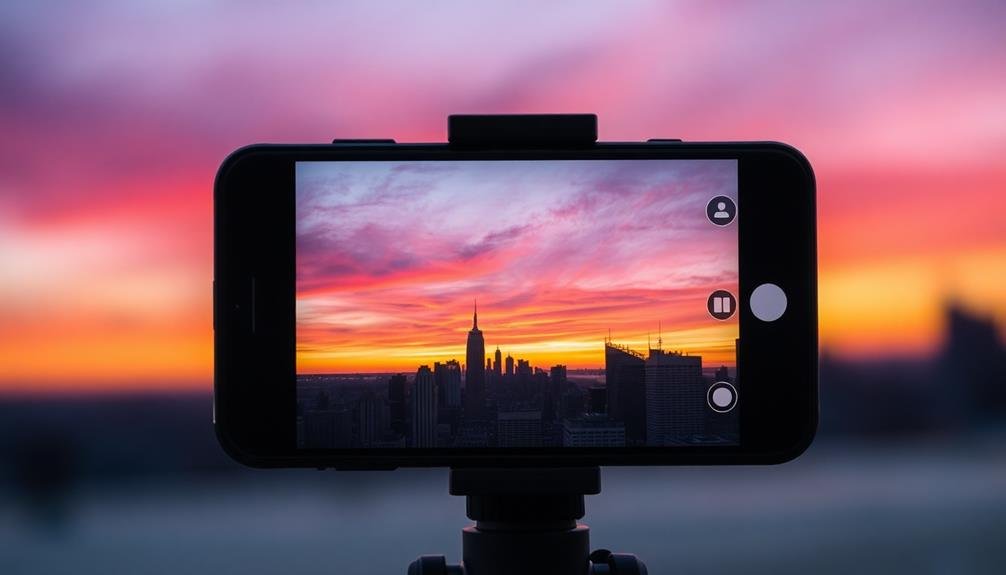
Consider the sun's path throughout the day to avoid harsh shadows or lens flare. A north-facing position often provides consistent lighting. If possible, scout the location at different times to determine the best angle and lighting conditions.
Ensure your chosen spot is secure and accessible for the duration of the project. You'll need to return regularly to check on your device and make adjustments. Weather protection is vital, so look for covered areas or consider using a weatherproof housing for your mobile device.
Don't forget about power sources. If you're planning an extended time-lapse, you'll need to keep your device charged. Look for locations near outlets or consider using a solar charger.
Lastly, obtain necessary permissions from site managers and property owners before setting up your equipment to avoid any legal issues.
Set Optimal Capture Intervals
Once you've secured the perfect mounting location, it's time to determine the ideal capture intervals for your construction site time-lapse. The frequency of your shots will greatly impact the final video's quality and storytelling ability.
Take into account the project's duration and the pace of visible changes on-site when setting your intervals. For most construction projects, capturing an image every 10 to 30 minutes during working hours is effective. This range allows you to showcase the day-to-day progress while maintaining a smooth flow in the final video.
However, you might need to adjust based on specific project needs. Here are four factors to take into account when setting your capture intervals:
- Project duration: Longer projects may benefit from less frequent captures
- Site activity level: Busier sites require more frequent shots
- Available storage: Verify your device can handle the number of images
- Desired final video length: More frequent captures allow for longer videos
Remember to adjust your settings for non-working hours, weekends, and holidays. You can reduce the capture frequency during these times to conserve battery and storage while still maintaining continuity in your time-lapse.
Manage Power and Storage

With your capture intervals set, it's vital to address power and storage management for your mobile time-lapse setup. For extended shoots, invest in a high-capacity power bank or connect your device to a reliable power source. Consider using a solar charger for outdoor projects to keep your device running continuously.
To maximize battery life, disable unnecessary features like Wi-Fi, Bluetooth, and background apps. Lower your screen brightness and use airplane mode when possible. Some time-lapse apps offer power-saving modes; take advantage of these features.
Storage management is equally important. Use a device with ample internal storage or add an external SD card if supported. Regularly transfer files to a cloud service or external hard drive to free up space. Set your app to capture in a compressed format to save storage, but verify it doesn't compromise image quality excessively.
Monitor your device's storage and battery levels throughout the project. Set up notifications to alert you when either is running low.
Frequently Asked Questions
How Can I Protect My Mobile Device From Theft During Long-Term Time-Lapse Projects?
You can protect your mobile device from theft during long-term time-lapse projects by using a secure lockbox or cage, installing anti-theft software, and hiding it in an inconspicuous location. Consider using a remote monitoring system for added security.
What Apps Are Best for Construction Site Time-Lapse Photography on Mobile Devices?
You'll find several excellent apps for construction site time-lapse photography on mobile devices. Try Lapse It, Framelapse, or Hyperlapse for user-friendly interfaces. These apps offer customizable settings, interval options, and easy exporting features for your project needs.
How Do I Handle Extreme Weather Conditions When Capturing Time-Lapse on a Jobsite?
You'll need to protect your camera from harsh elements. Use weatherproof cases, lens covers, and secure mounts. Consider remote monitoring options. Adjust your settings for low light or high contrast. Don't forget to clean the lens regularly.
Can I Combine Multiple Time-Lapse Sequences Into a Single Video After Filming?
Yes, you can combine multiple time-lapse sequences into a single video after filming. Use video editing software to import your sequences, arrange them on the timeline, and export as one cohesive video. It's a great way to showcase progress.
What's the Ideal Frame Rate for Playback of Construction Site Time-Lapse Videos?
You'll typically want 24-30 frames per second for smooth playback of construction time-lapses. This rate balances fluid motion with a sense of accelerated time. Adjust based on your project's duration and desired final video length.
In Summary
You've now got the key tips for creating stunning construction site time-lapses on your mobile device. Remember to choose a stable, well-positioned mounting spot, set capture intervals that balance detail and file size, and plan ahead for power and storage needs. With these strategies, you'll capture the entire project's progress smoothly. Don't forget to experiment and have fun with your time-lapse creations. Soon, you'll be showcasing impressive visual stories of construction projects.


Leave a Reply