
To elevate your social media photos, start by mastering exposure and contrast adjustments. Perfect your white balance for natural-looking colors, and crop strategically to create impactful compositions. Experiment with filters, but use them judiciously to maintain authenticity. Enhance colors effectively, applying subtle adjustments to saturation and vibrance. Don't forget to sharpen your images with precision, and remove any distracting elements. Create eye-catching vignettes to draw focus, and fine-tune highlights and shadows for added depth. By leveraging selective editing tools, you'll transform your smartphone snapshots into professional-grade visuals that captivate your audience. Dive deeper to reveal even more pro-level techniques.
Mastering Exposure and Contrast
Two key elements of great smartphone photography are exposure and contrast. Mastering these aspects will elevate your images from amateur to professional-looking.
To adjust exposure, tap on the brightest part of your screen before taking a photo. This will prevent overexposure and preserve details in highlights. If you're shooting in low light, tap on darker areas to increase exposure.
After capturing your image, use your phone's built-in editing tools or a third-party app to fine-tune exposure. Slightly increase brightness to make your subject pop, but be careful not to wash out the image. Adjust highlights and shadows separately for more control.
Contrast adds depth and dimension to your photos. Boost it slightly to make colors more vibrant and create separation between elements. However, don't overdo it, as excessive contrast can look unnatural. Use the "curves" tool in advanced editing apps for precise contrast adjustments.
Experiment with HDR mode for high-contrast scenes. It combines multiple exposures to capture details in both highlights and shadows.
Perfecting White Balance
White balance is a crucial aspect of smartphone photography that can make or break your images.
It's all about ensuring the colors in your photos appear natural and true to life. When you're editing your smartphone photos, adjusting the white balance can help you correct color casts and create the mood you're aiming for.
To perfect your white balance, follow these steps:
- Identify the light source: Determine whether your photo was taken under natural or artificial light.
- Use presets: Most editing apps offer white balance presets like "daylight," "cloudy," or "tungsten." Start with these as a base.
- Fine-tune manually: Adjust the temperature slider to make your image warmer (more yellow) or cooler (more blue).
- Pay attention to skin tones: They're often a good indicator of whether your white balance is correct.
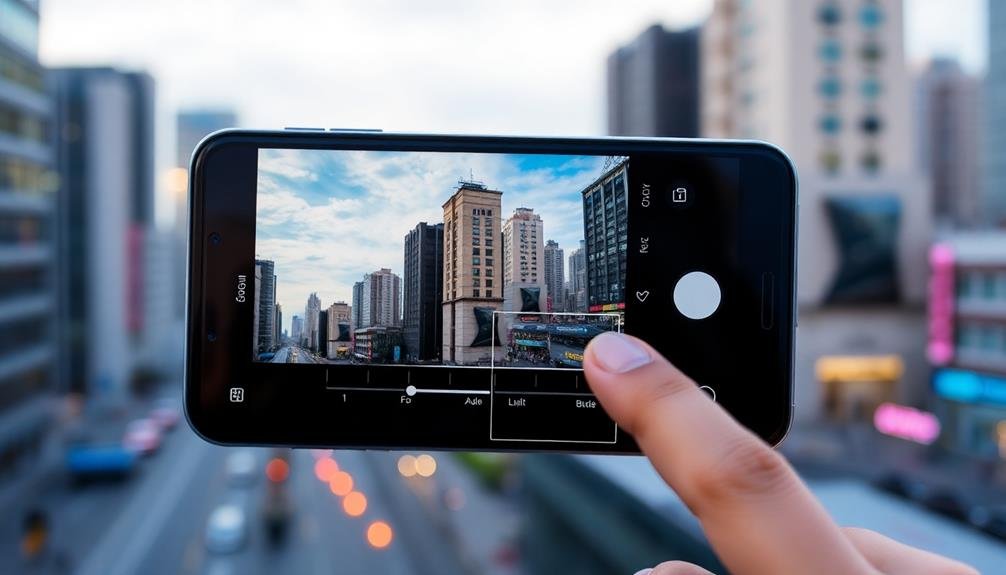
Cropping for Impactful Compositions

How can you transform an ordinary photo into a stunning composition? The answer lies in mastering the art of cropping. By strategically trimming your image, you'll draw attention to the most compelling elements and create a more powerful visual impact.
Start by identifying your photo's focal point. Once you've determined the main subject, use the rule of thirds to guide your crop. Imagine a 3×3 grid overlaying your image, and position key elements along these lines or at their intersections. This technique creates balance and visual interest.
Don't be afraid to crop tightly. Removing unnecessary background elements can dramatically enhance your subject's prominence. Experiment with different aspect ratios to find what works best for your image and intended platform.
Consider the direction of movement or gaze in your photo. Leave more space in front of a moving subject or in the direction a person is looking to create a sense of motion or anticipation.
Harnessing the Power of Filters
While cropping can greatly improve your composition, filters offer another powerful tool to elevate your smartphone photos. Filters can transform the mood, enhance colors, and add a unique style to your images. However, it's essential to use them judiciously to maintain a natural look and avoid overprocessing.
To harness the power of filters effectively:
- Experiment with different presets to find ones that complement your style and subject matter.
- Adjust the filter intensity to strike a balance between enhancement and authenticity.
- Consider creating your own custom filters to develop a consistent aesthetic across your photos.
- Use filters as a starting point, then fine-tune individual settings like contrast, saturation, and temperature.
Remember that filters shouldn't be a crutch for poor photography. Instead, they should enhance already well-composed and properly exposed images.
Pay attention to how filters affect skin tones, especially in portraits, to make sure your subjects look natural. By mastering the art of applying filters, you'll be able to create a cohesive visual style that sets your photos apart on social media platforms.
Enhancing Colors Effectively
To enhance colors in your smartphone photos, start by adjusting the saturation and vibrance levels.
You'll find these controls can dramatically impact the overall color intensity of your image.
For more precise adjustments, try using selective color editing tools to target specific hues within your photo, allowing you to fine-tune individual color elements without affecting the entire image.
Adjust Saturation and Vibrance
When it comes to enhancing your smartphone photos, adjusting saturation and vibrance can make a world of difference.
These two tools may seem similar, but they serve distinct purposes in color enhancement. Saturation intensifies all colors in your image equally, while vibrance targets the less saturated colors, leaving skin tones largely untouched.
To master saturation and vibrance adjustments, follow these tips:
- Start with vibrance: Increase it slightly to bring out muted colors without overdoing the overall effect.
- Use saturation sparingly: A little goes a long way, so increase it gradually to avoid an unnatural look.
- Focus on specific areas: Many apps allow you to selectively adjust saturation and vibrance in certain parts of your image.
- Consider the mood: Vibrant colors work well for upbeat scenes, while muted tones can create a more somber atmosphere.
Use Selective Color Editing
To use selective color editing effectively, start by identifying the key colors in your image. Choose one color at a time and adjust its hue to shift its tone slightly.
Then, tweak the saturation to intensify or soften the color's impact. Finally, modify the luminance to control the color's brightness.
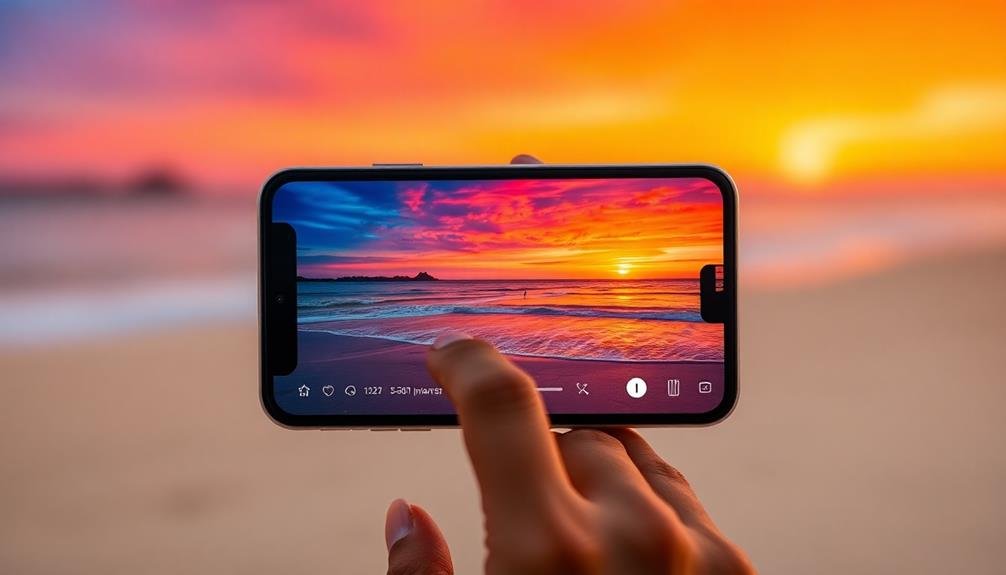
For instance, you can make a sunset more dramatic by deepening the oranges and reds while cooling down the blues. Or, enhance the vibrancy of foliage by boosting the greens and yellows.
Remember to use this tool subtly; overdoing it can make your image look unnatural.
Experiment with different color combinations to create unique moods or emphasize certain elements in your photo. By mastering selective color editing, you'll have greater control over your image's overall aesthetic and emotional impact.
Sharpening Images With Precision
Although sharpening can dramatically improve your smartphone photos, it's crucial to apply this technique with precision. Oversharpening can lead to unnatural-looking images with harsh edges and increased noise.
To sharpen your photos effectively, focus on enhancing details without compromising overall image quality.
Here's how you can sharpen your smartphone photos like a pro:
- Use the sharpening tool in your editing app sparingly. Start with a low intensity and gradually increase it until you achieve the desired effect.
- Apply sharpening selectively to specific areas of your image, such as the subject's eyes or intricate textures, rather than the entire photo.
- Zoom in to 100% while sharpening to confirm you're not introducing unwanted artifacts or exaggerating noise in the image.
- Combine sharpening with subtle noise reduction to maintain a clean, crisp look without sacrificing detail.
Removing Unwanted Objects
Sharpening isn't the only way to enhance your smartphone photos. Removing unwanted objects can greatly improve your images, creating cleaner and more visually appealing compositions. Most modern photo editing apps offer tools to help you erase distractions from your pictures.
Start by identifying the object you want to remove. Use your app's healing or clone stamp tool to carefully paint over the unwanted element. These tools sample nearby areas of the image to seamlessly blend the removed object with its surroundings. For larger objects, you might need to use multiple tools or make several passes.
Pay close attention to edges and textures when removing objects. Verify that the edited area matches the surrounding image regarding color, lighting, and detail. If you're working with complex backgrounds, try using content-aware fill tools, which use AI to intelligently replace removed objects.
Remember to zoom in and check your work at different scales. Small imperfections can become noticeable when viewed at full size.
With practice, you'll be able to remove photobombers, stray objects, and other distractions, leaving you with clean, professional-looking images ready for social media.
Creating Eye-Catching Vignettes

Vignettes can transform your smartphone photos from ordinary to extraordinary.
You'll find various styles and effects to choose from, ranging from subtle darkening around the edges to more dramatic, colored vignettes.
Vignette Styles and Effects
In addition to basic editing techniques, creating eye-catching vignettes can take your smartphone photos to the next level. Vignettes add depth and focus to your images by darkening or lightening the edges, drawing attention to the center.
You'll find various styles and effects to choose from, each offering a unique impact on your photos.
Here are four popular vignette styles you can experiment with:
- Classic dark vignette: This traditional style darkens the corners, creating a subtle, moody effect that works well for portraits and landscapes.
- Light vignette: By lightening the edges, you'll create a dreamy, ethereal look that's perfect for wedding photos or soft, romantic scenes.
- Colored vignette: Add a tinted edge to complement or contrast your image's color scheme, enhancing the overall mood.
- Selective vignette: Apply the effect to specific areas of your photo, guiding the viewer's eye to particular elements within the frame.
When applying vignettes, remember that subtlety is key. Start with a light touch and gradually increase the intensity until you achieve the desired effect.
Experiment with different styles to find what works best for each image and your personal aesthetic.
Adjusting Vignette Intensity
Now that you're familiar with various vignette styles, let's focus on adjusting their intensity to create truly eye-catching effects. The key to a successful vignette lies in finding the perfect balance between subtlety and impact.
Start by applying a light vignette and gradually increase its strength until you achieve the desired look. Pay attention to how the vignette affects your image's overall mood and composition. A subtle vignette can gently draw the viewer's eye to the center, while a more intense one can create a dramatic, moody atmosphere.
Experiment with different intensities to see how they complement your subject matter. Don't forget to take into account your image's existing lighting and contrast. For bright, high-key photos, a softer vignette often works best. Darker, more contrasty images can usually handle a stronger vignette effect.
As you adjust the intensity, keep an eye on the edges of your photo to guarantee the shift remains smooth and natural-looking.
Creative Vignette Placement
Breaking away from traditional centered vignettes opens up a world of creative possibilities. By placing vignettes strategically, you can guide the viewer's eye and create unique focal points in your images. Experiment with off-center vignettes to draw attention to specific areas of your photo, enhancing its storytelling potential.
To create eye-catching vignettes, try these techniques:
- Corner vignettes: Apply darkness to one or more corners to frame your subject and create a sense of depth.
- Linear vignettes: Use a gradient tool to create a directional vignette, emphasizing movement or leading lines in your image.
- Radial vignettes: Place the center of the vignette on your subject, creating a spotlight effect that draws the viewer's gaze.
- Multiple vignettes: Combine two or more vignettes to create complex lighting effects and add drama to your photo.
When applying creative vignettes, remember to adjust the intensity and feathering to suit your image. Subtle vignettes can add a touch of elegance, while more pronounced ones can create a moody atmosphere.
Don't be afraid to push boundaries and experiment with unconventional placements to develop your unique style.
Adjusting Highlights and Shadows
Nearly every smartphone photo editing app offers tools to adjust highlights and shadows, giving you powerful control over your image's tonal range.
These adjustments can dramatically improve your photos by enhancing details and creating a more balanced exposure.
To begin, focus on the highlights. Reduce them slightly to recover details in bright areas like clouds or sunlit surfaces.
Don't overdo it, though, as you'll want to maintain some brightness for a natural look.
Next, tackle the shadows. Lifting them can reveal hidden details in darker areas, but be careful not to push too far, as this can introduce noise.
For a more nuanced approach, use the curves tool if your app offers it.
This allows for precise adjustments across different tonal ranges. You can create an S-curve to boost contrast or target specific areas for adjustment.
Leveraging Selective Editing Tools
Precision is key when it comes to enhancing specific areas of your photo, and that's where selective editing tools come in handy. These tools allow you to target specific parts of your image without affecting the entire composition. Most smartphone editing apps offer various selective editing options, such as brush tools, radial filters, and graduated filters.
To make the most of selective editing tools:
- Use the brush tool to paint over areas you want to adjust, like brightening a subject's face or enhancing the color of flowers in a garden.
- Apply radial filters to draw attention to a specific part of your image by creating a circular or oval-shaped selection.
- Utilize graduated filters to adjust the exposure, color, or other properties of your photo gradually across the frame, perfect for enhancing skies or creating dramatic lighting effects.
- Experiment with masking techniques to blend edits seamlessly and create more natural-looking results.
Remember to use these tools subtly to maintain a realistic appearance. Overusing selective edits can lead to unnatural-looking images, so always step back and evaluate your work with fresh eyes before finalizing your edits.
Applying Subtle Skin Retouching

While selective editing tools can enhance various aspects of your photos, applying subtle skin retouching is an art form in itself. When editing portraits for social media, you'll want to maintain a natural look while smoothing imperfections. Start by using your app's skin smoothing tool at a low intensity, focusing on areas like the forehead, cheeks, and chin. Don't overdo it – preserve some skin texture to avoid an artificial appearance.
Next, tackle blemishes and dark spots using a spot healing tool. Zoom in for precision and blend the edits seamlessly with surrounding skin. For under-eye circles, use a brightening brush sparingly to refresh the look without erasing natural contours.
Here's a quick guide to common skin retouching techniques:
| Technique | Purpose | Tips |
|---|---|---|
| Smoothing | Even skin texture | Keep it subtle, preserve pores |
| Spot healing | Remove blemishes | Work in small areas, blend edges |
| Brightening | Reduce dark circles | Use sparingly, maintain shadows |
Adding Text and Graphics

Creativity flourishes when you add text and graphics to your smartphone photos. These elements can elevate your images, making them more engaging and shareable on social media. To get started, explore the various text and graphic options available in your photo editing app.
When adding text to your images, consider the following tips:
- Choose fonts that complement your photo's style and mood.
- Experiment with different text sizes and placements for visual impact.
- Use contrasting colors to guarantee readability against your background.
- Keep your message concise and relevant to the image.
Graphics can add another layer of interest to your photos. Try incorporating simple shapes, icons, or stickers that enhance your image's story. Be mindful of balance and avoid cluttering your composition with too many elements.
Many editing apps offer pre-designed templates for adding text and graphics, which can be a great starting point. As you become more comfortable, you'll develop your own unique style.
Remember to maintain consistency in your text and graphic choices across your social media posts to create a cohesive visual brand. With practice, you'll master the art of combining photos, text, and graphics to create eye-catching content that stands out in crowded social media feeds.
Optimizing Image Resolution
Image resolution can make or break your smartphone photos. When optimizing for social media, you'll need to strike a balance between quality and file size.
Start by understanding the recommended resolutions for each platform. For Instagram, aim for 1080×1080 pixels for square posts, 1080×1350 for portraits, and 1080×608 for landscapes. Facebook prefers 1200×630 pixels for shared links and 1200×1200 for regular posts.
To optimize your images, use your phone's built-in editing tools or third-party apps. Crop your photos to the ideal aspect ratio for your chosen platform. Resize images that are too large, as this can affect loading times and engagement.
Be careful not to compress too much, as this can lead to pixelation and loss of detail. Consider using AI-powered tools that automatically optimize resolution for different social media platforms. These can save time and guarantee your images look great across all devices.
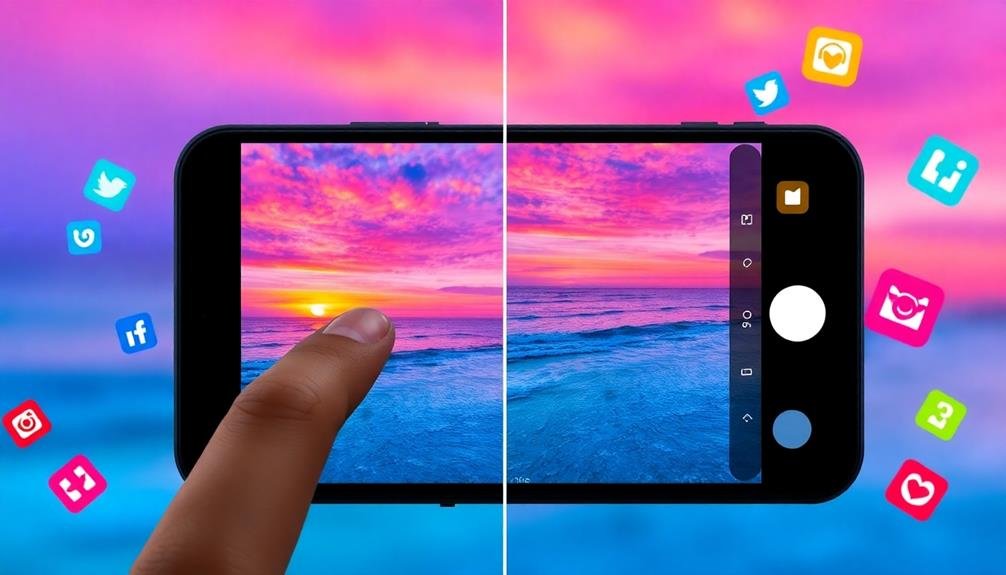
Saving and Exporting for Platforms

Once you've perfected your photo's edits, it's crucial to save and export it correctly for your intended platform. Different social media sites have varying requirements for image size, aspect ratio, and file type.
To guarantee your photos look their best across all platforms, follow these guidelines:
- Instagram: Save images as JPEGs with a 1:1 aspect ratio for square posts, 4:5 for vertical, or 16:9 for horizontal. Aim for a resolution of 1080×1080 pixels for peak quality.
- Facebook: Use PNG format for graphics and JPEG for photos. The ideal size is 1200×630 pixels for timeline images, while profile pictures should be 180×180 pixels.
- Twitter: Export your images as JPEG or PNG files with a 16:9 aspect ratio. The recommended size is 1200×675 pixels for in-stream photos.
- LinkedIn: Save your images as JPEGs with a 1.91:1 aspect ratio. For shared images, use 1200×627 pixels.
When exporting, always use the highest quality settings possible without exceeding file size limits.
This approach guarantees your edited photos maintain their clarity and impact across all social media platforms.
Frequently Asked Questions
How Do I Choose the Best Photo Editing App for My Smartphone?
To choose the best photo editing app, you'll want to contemplate your skill level, desired features, and budget. Read reviews, try free versions, and compare options. Look for user-friendly interfaces and tools that match your editing style.
Can I Edit RAW Files on My Smartphone?
Yes, you can edit RAW files on your smartphone. Many advanced photo editing apps now support RAW processing. You'll need a compatible device and app, but it's possible to make professional-level adjustments right on your phone.
How Do I Achieve Consistent Editing Styles Across Multiple Photos?
To achieve consistent editing styles, you'll want to create and save presets. Apply the same adjustments to multiple photos, use similar filters, and stick to a specific color palette. Practice and refine your technique for cohesive results.
What Are the Legal Considerations When Editing Photos of People?
When editing photos of people, you'll need to take into account privacy rights and consent. Don't distort someone's appearance without permission. Be aware of copyright laws, especially if you're using the images commercially. Always respect people's image and likeness.
How Can I Create Custom Presets for Faster Editing Workflows?
You can create custom presets by adjusting settings like exposure, contrast, and saturation to your liking. Save these as a preset in your editing app. You'll then apply them quickly to future photos for consistent, efficient editing.
In Summary
You've now got a powerful set of tools to elevate your social media photos. Remember, it's not about applying every trick, but choosing the right techniques for each image. Practice these tips regularly, and you'll soon develop an eye for what works best. Don't be afraid to experiment and find your unique style. With time, you'll be creating scroll-stopping, professional-looking photos that'll make your social media profiles shine.


Leave a Reply