
To achieve perfect mobile product flatlay lighting, start with a clean, neutral background and position your camera parallel to the surface. Use natural light or invest in a ring light and portable LEDs for consistent illumination. Place your main light source at a 45-degree angle to create depth, and use reflectors to fill shadows. Experiment with different angles and intensities to highlight product features. Pay attention to color temperature and white balance for accurate representation. Capture texture by adjusting light direction and using macro lenses for details. Don't forget to edit your shots for final touches. There's much more to explore in mastering this art.
Understanding Flatlay Photography Basics
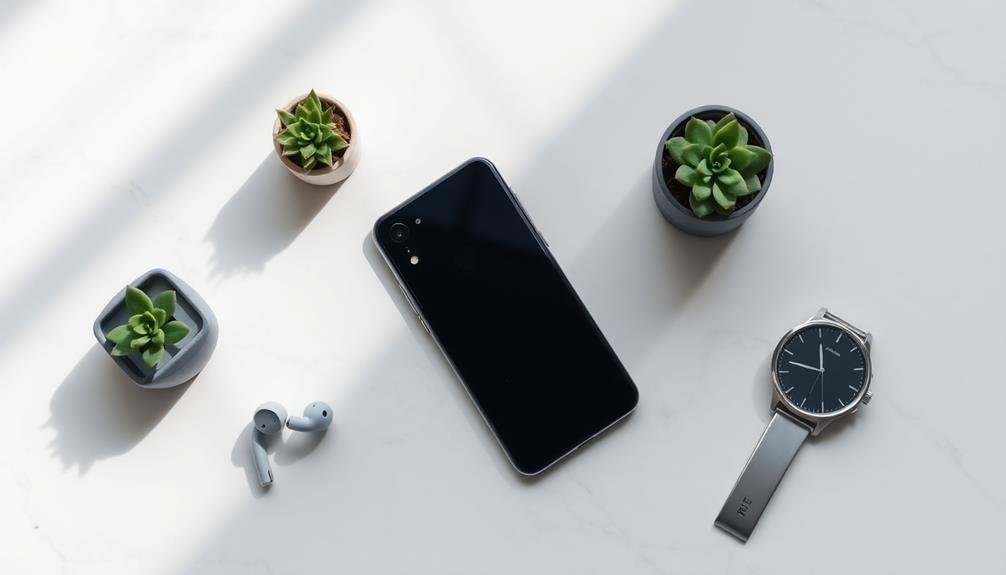
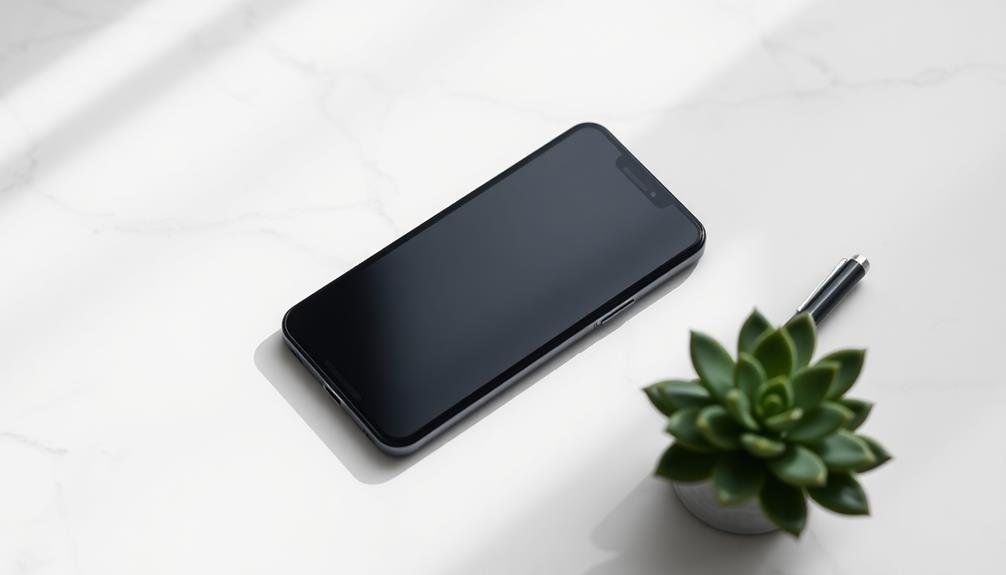
Flatlay photography is all about capturing objects from directly above, creating a visually appealing composition on a flat surface. It's a popular technique for showcasing products, especially in e-commerce and social media marketing. To master flatlay photography, you'll need to understand a few key principles.
First, focus on your background. Choose a neutral or complementary surface that won't distract from your main subject. Clean, simple backgrounds like white poster board or textured fabrics work well.
Next, consider your composition. Arrange your items thoughtfully, using the rule of thirds or creating visual balance. Don't be afraid to experiment with negative space and asymmetry.
Pay attention to color coordination. Select items that complement each other or create an intentional contrast. Use props sparingly to add context without overwhelming the main subject.
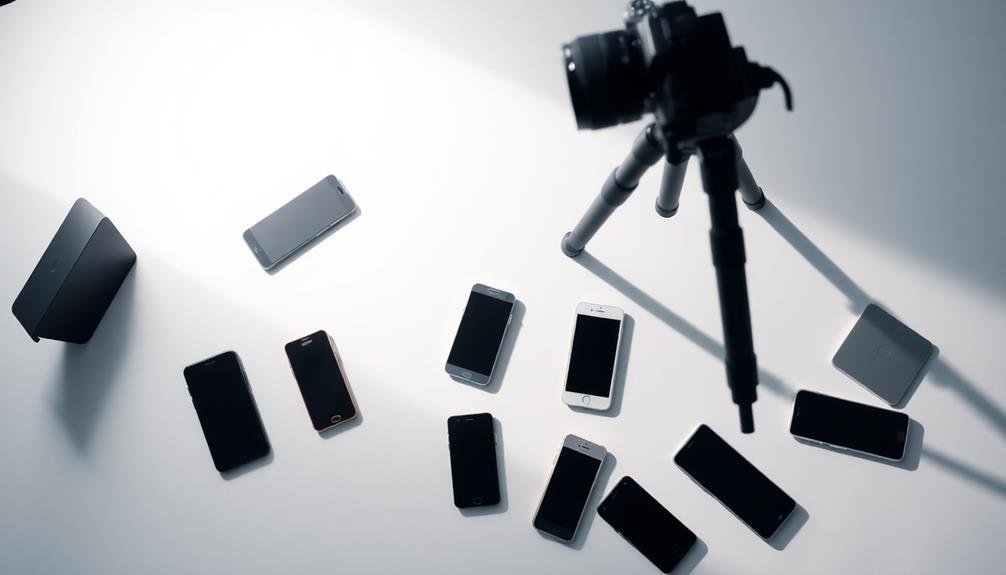
When shooting, position your camera directly above the scene, ensuring it's parallel to the surface. This might require a stepladder or tripod with a horizontal arm.
Lastly, be mindful of shadows. Soft, diffused lighting will help minimize harsh shadows and create a clean, professional look. Natural light from a window often works best, but you can also use artificial lighting solutions for consistent results.
Choosing the Right Background
When choosing a background for your flatlay, you'll need to decide between neutral and bold options. Your choice will greatly impact the overall look and feel of your product photography.
Consider the texture and material of the background, as these elements can add depth and interest to your images while complementing or contrasting with your products.
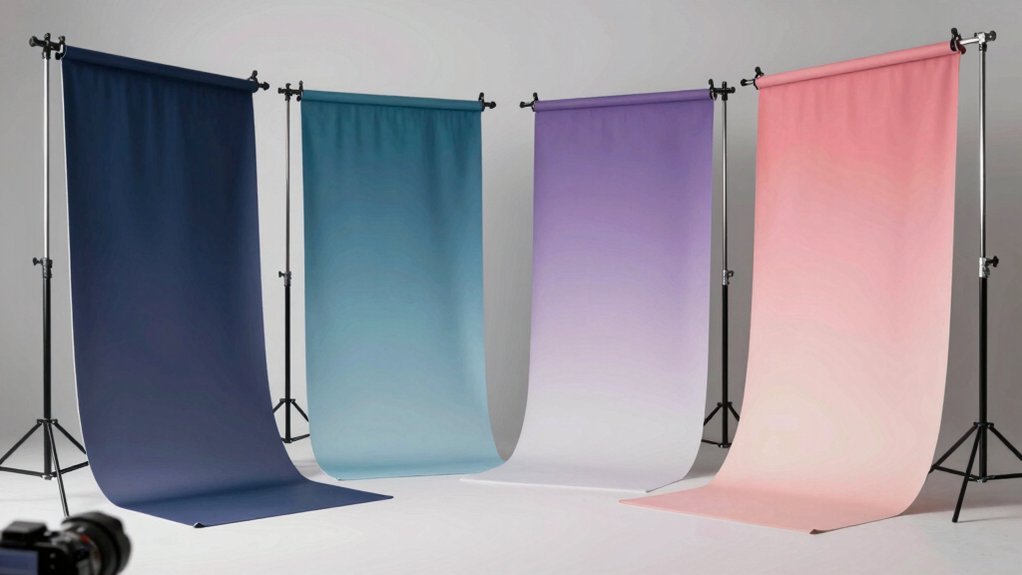
Neutral vs. Bold Backgrounds
The choice between neutral and bold backgrounds can greatly impact the overall look and feel of your mobile product flatlay. Neutral backgrounds, such as white, beige, or light gray, provide a clean and versatile canvas that allows your product to take center stage. They're ideal for showcasing intricate details and maintaining a professional, minimalist aesthetic. Neutral tones also work well for e-commerce photography, as they don't distract from the product's features.
On the other hand, bold backgrounds can add personality and create a striking contrast with your product. Vibrant colors, patterns, or textures can help your flatlay stand out on social media feeds and grab viewers' attention. When using bold backgrounds, make sure they complement your product's colors and don't overshadow its key features.
Consider your brand's identity and target audience when deciding between neutral and bold options.
For versatility, you can use interchangeable backgrounds or backdrops. This allows you to switch between neutral and bold options depending on your specific needs or marketing campaigns.
Remember that lighting will interact differently with various background colors and textures, so adjust your setup accordingly to achieve the best results.
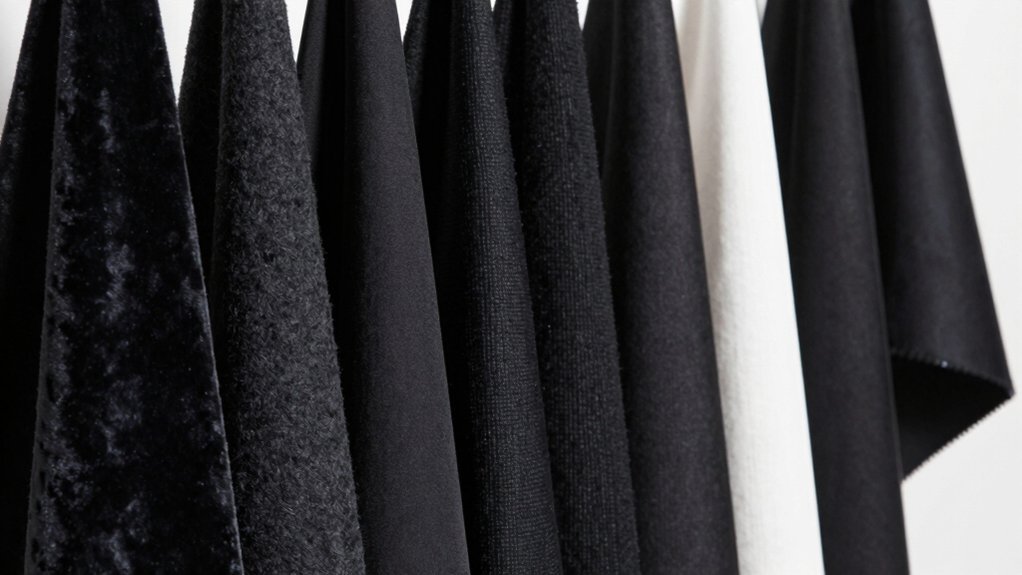
Texture and Material Selection
How does the background's texture and material affect your mobile product flatlay? The right choice can elevate your image, creating depth and interest while complementing your product.
When selecting a background, consider how it interacts with light and shadows, as well as how it enhances or detracts from your mobile device.
To choose the perfect texture and material for your flatlay background:
- Assess contrast: Opt for textures that provide a subtle contrast to your product. Smooth surfaces work well with textured devices, while rougher backgrounds can enhance sleek, glossy phones.
- Consider reflectivity: Matte materials reduce glare and unwanted reflections, making them ideal for most product shots. However, glossy surfaces can create interesting effects when used strategically.
- Think about scale: Fine textures work best for smaller products, while larger patterns or textures suit bigger devices or multiple items in the frame.
- Test light interaction: Different materials absorb or reflect light uniquely. Experiment with various options to see how they affect the overall mood and lighting of your image.
Essential Lighting Equipment
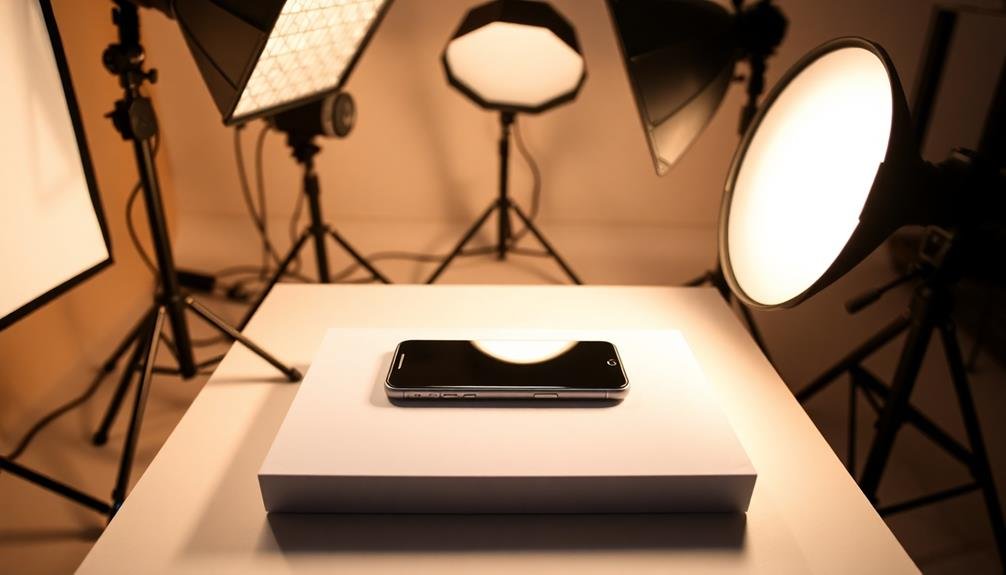
Lighting equipment forms the backbone of any successful mobile product flatlay shoot. To achieve professional-looking results, you'll need a few key items.
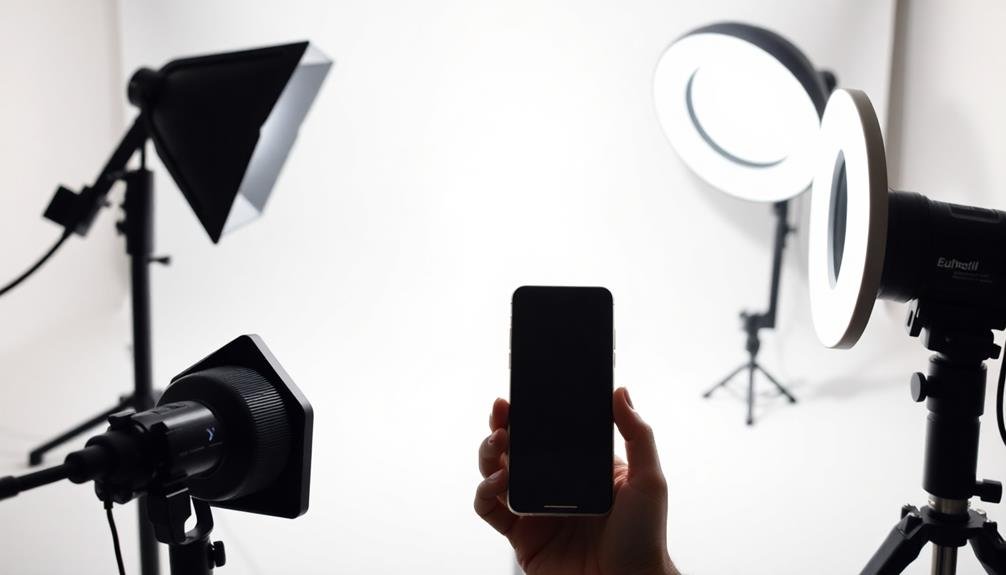
First, invest in a quality ring light. It's versatile, easy to use, and provides even illumination for your products. Look for one with adjustable brightness and color temperature settings to fine-tune your lighting.
Next, consider adding a set of small, portable LED lights. These can be placed strategically around your flatlay to highlight specific areas or create depth. Opt for lights with diffusers to soften harsh shadows.
Don't forget about natural light. A large window can be your best friend for flatlay photography. Use a white foam board or reflector to bounce light back onto your subject, filling in shadows.
For more control, grab a few clamps and mini tripods. These will help you position your lights exactly where you need them.
Natural vs. Artificial Light

When setting up your mobile product flatlay, you'll need to decide between natural and artificial light sources.
Both options have their strengths and weaknesses, with natural light offering a soft, authentic look and artificial light providing consistent illumination regardless of time or weather.
You can also combine these light sources to achieve the perfect balance for your product shots, maximizing the benefits of each while minimizing their drawbacks.
Pros and Cons
Choosing between natural and artificial light for mobile product flatlay photography involves weighing several factors.
Natural light offers a soft, flattering quality that's hard to replicate artificially. It's free and readily available, making it an excellent choice for beginners. However, it's unpredictable and changes throughout the day, which can be challenging for consistency.
Artificial light, on the other hand, provides complete control over your lighting setup. You can adjust the intensity, direction, and color temperature to achieve your desired look. It's consistent and available at any time, day or night. However, it requires an initial investment in equipment and some technical know-how to use effectively.
Consider these pros and cons when deciding:
- Cost: Natural light is free, while artificial lighting equipment can be expensive.
- Consistency: Artificial light offers reliable results, whereas natural light varies.
- Flexibility: You can shoot anytime with artificial light, but natural light limits your schedule.
- Learning curve: Natural light is easier for beginners, while artificial light requires more skill.
Ultimately, your choice depends on your specific needs, budget, and the look you're aiming to achieve in your mobile product flatlay photography.
Best Use Cases
Each lighting approach shines in specific scenarios for mobile product flatlay photography.
Natural light excels when you're shooting lifestyle-oriented products like food, clothing, or cosmetics. It's ideal for creating a soft, authentic ambiance that resonates with viewers. Use natural light when you want to convey a sense of everyday use or showcase products in their natural environment.
Artificial light, on the other hand, is your go-to for tech gadgets, jewelry, or any items with reflective surfaces. It offers precise control over shadows and highlights, allowing you to accentuate product features and textures. Opt for artificial lighting when you need consistency across a product line or when shooting in locations with limited natural light.
For e-commerce photography, artificial light guarantees uniform product representation. It's also essential for creating high-contrast images that pop on small mobile screens.
Natural light works best for social media content, where a more relaxed, lifestyle-oriented approach engages followers. When shooting time-sensitive items like fresh produce or flowers, natural light captures their ephemeral beauty most effectively.
Ultimately, your choice depends on your product, target audience, and the mood you want to convey in your mobile flatlay shots.
Combining Light Sources
While natural and artificial light sources each have their strengths, combining them can elevate your mobile product flatlay photography to new heights. By blending these light sources, you'll achieve a balanced, professional look that enhances your product's best features.
Start by positioning your setup near a window for soft, natural light, then supplement with artificial lighting to fill in shadows and add dimension.
When combining light sources, consider these key points:
- Color temperature: Verify your artificial light matches the color temperature of natural light to avoid unwanted color casts.
- Light intensity: Adjust the power of your artificial lights to complement, not overpower, the natural light.
- Direction: Use artificial lights to create highlights and shadows that natural light alone can't achieve.
- Diffusion: Soften harsh artificial light with diffusers to mimic the gentle quality of natural light.
Experiment with different combinations to find the perfect balance for your specific product and desired mood.
You'll often find that a mix of 60% natural light and 40% artificial light creates a pleasing, professional result. Remember to adjust your camera's white balance to account for the combined light sources, verifying accurate color representation in your final images.
Setting Up Your Lighting Source
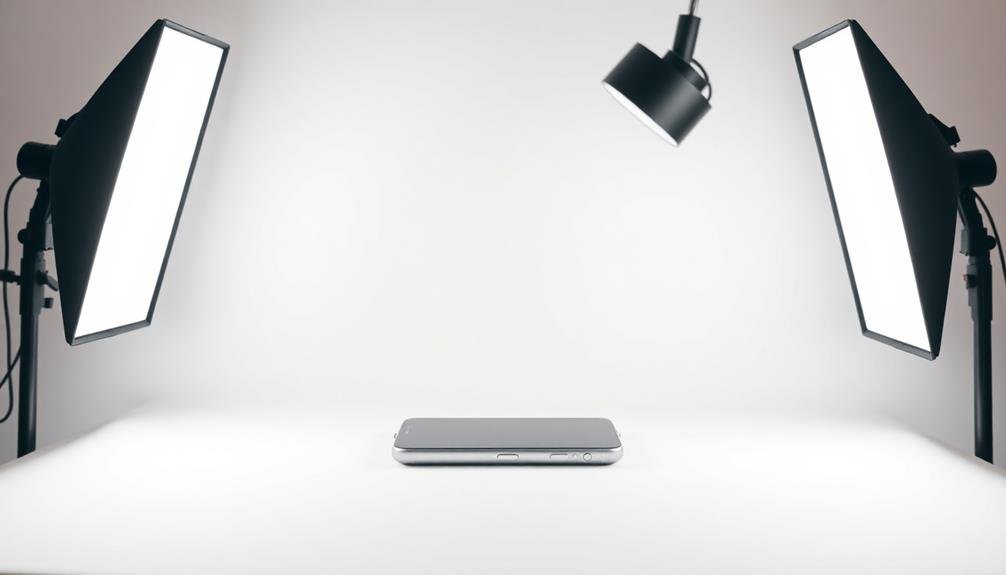
Now that you've chosen your lighting source, it's time to set it up correctly. Begin by positioning your light at a 45-degree angle to your product. This angle helps create depth and texture while minimizing harsh shadows. If you're using natural light, place your setup near a window, but avoid direct sunlight, which can cause excessive contrast.
For artificial lighting, start with your main light source on one side of your product. If you're using multiple lights, position the secondary light on the opposite side to fill in shadows. Adjust the height of your lights to control the shadow intensity; higher placement creates softer shadows, while lower placement results in more dramatic effects.
Use diffusers to soften harsh light and reduce glare on reflective surfaces. You can create a DIY diffuser using translucent white fabric or parchment paper. Experiment with the distance between your light source and the product to find the best balance of illumination and shadow.
Remember to assess the background when setting up your lights. Make sure it's evenly lit to avoid distracting shadows or bright spots that could detract from your product.
Adjusting Light Intensity and Direction

Getting the light intensity and direction just right is essential for creating stunning mobile product flatlays. Once you've set up your lighting source, it's time to fine-tune its position and strength. Start by placing your light at a 45-degree angle to your product, then adjust as needed.
Remember, softer light often produces better results for most products, so don't be afraid to diffuse your light source with a white sheet or photography diffuser.
To achieve the perfect lighting for your mobile product flatlay:
- Experiment with distance: Move your light source closer for stronger shadows or further away for a softer effect.
- Use reflectors: Bounce light back onto your product to fill in shadows and create a more balanced image.
- Try different angles: Adjust the height and position of your light to highlight specific features of your product.
- Control intensity: If your light is too bright, use dimmer switches or add layers of diffusion material to soften it.
Pay attention to how light interacts with your product's surfaces. Glossy items may require softer lighting to avoid harsh reflections, while matte products can handle more direct light.
Don't hesitate to take test shots and make small adjustments until you achieve the desired effect.
Handling Shadows and Reflections
When it comes to mobile product flatlays, mastering the art of shadow and reflection control can elevate your images from amateur to professional.
To manage shadows, start by identifying their source and direction. Use diffusers or reflectors to soften harsh shadows, creating a more balanced look. For products with glossy surfaces, be mindful of unwanted reflections. Adjust your lighting or use black foam boards to block reflections.
To add depth, consider incorporating intentional shadows. Place your product slightly raised on a clear stand to create a subtle, natural shadow underneath.
For a cleaner look, eliminate shadows entirely by using a light tent or multiple light sources from different angles.
When dealing with reflective products like jewelry or electronics, use a polarizing filter on your camera or editing software to reduce glare.
Experiment with different angles to find the sweet spot where reflections enhance rather than detract from your subject.
Composition Techniques for Flatlays

When composing your flatlay, consider applying the Rule of Thirds to create a balanced and visually appealing layout.
You'll want to make effective use of negative space, allowing your product to breathe and stand out within the frame.
Don't forget to pay attention to color harmony, ensuring that the colors in your composition complement or contrast in a way that enhances the overall aesthetic appeal.
Rule of Thirds
The rule of thirds serves as a cornerstone of flatlay composition. It's a simple yet powerful technique that can elevate your mobile product photography from amateur to professional. Imagine dividing your frame into a 3×3 grid, creating nine equal sections. The key points of interest in your image should align with the intersections or along these lines.
To effectively use the rule of thirds in your flatlays:
- Place your main product at one of the intersecting points.
- Align supporting elements along the grid lines.
- Use negative space in the opposite sections to create balance.
- Experiment with off-center compositions for visual interest.
When applying this rule, you'll find that your images become more dynamic and engaging. It naturally guides the viewer's eye through the composition, creating a sense of flow and harmony.
Negative Space Utilization
Mastering negative space is essential for creating impactful flatlay compositions. It's the empty area around your product that can make or break your image. To effectively use negative space, start by placing your main product off-center. This creates an imbalance that draws the viewer's eye to the subject while allowing the surrounding area to breathe.
Don't be afraid to leave large portions of your frame empty. This minimalist approach can create a sense of calm and focus attention on your product. You can also use negative space to guide the viewer's gaze by strategically placing smaller props or elements that lead to your main subject.
Experiment with different backgrounds to enhance your negative space. A clean, solid-colored surface can provide a stark contrast, while a subtly textured background can add depth without overwhelming the composition. Remember, the goal is to create a harmonious balance between your product and the empty space around it.
When lighting your flatlay, consider how shadows interact with negative space. Soft, diffused lighting can create gentle shadows that add dimension without cluttering the composition.
Ultimately, effective use of negative space will elevate your product and create a more visually appealing and professional-looking flatlay.
Color Harmony Basics
Moving from the concept of space to the domain of color, we encounter another fundamental aspect of flatlay composition. Color harmony is essential for creating visually appealing and cohesive mobile product flatlays. It's not just about using colors you like; it's about understanding how different hues interact and complement each other.
To achieve color harmony in your flatlays, consider these basic principles:
- Monochromatic: Use various shades and tints of a single color for a sophisticated, unified look.
- Complementary: Pair colors opposite each other on the color wheel for high contrast and visual interest.
- Analogous: Choose colors adjacent to each other on the color wheel for a harmonious, natural feel.
- Triadic: Select three evenly spaced colors on the color wheel for a vibrant, balanced composition.
When applying these principles, remember that your product should remain the focal point. Use background colors and props that enhance, not overpower, your main subject.
Don't be afraid to experiment with different color combinations, but always keep your brand identity in mind. By mastering color harmony, you'll create flatlays that not only showcase your product effectively but also evoke the desired emotional response from your audience.
Color Temperature and White Balance

When it comes to flatlay photography, color temperature and white balance play crucial roles in achieving professional-looking product images.
Color temperature refers to the warmth or coolness of light, measured in Kelvin (K). Lower temperatures (2000-3000K) produce warm, orange tones, while higher temperatures (5000-6500K) create cooler, blue tones.
To maintain consistent colors in your flatlays, you'll need to adjust your camera's white balance. This setting tells your camera what "true white" looks like under different lighting conditions. Most smartphones offer preset white balance options like daylight, cloudy, or tungsten.
For more precise control, use a gray card or white balance tool to set a custom white balance.
When shooting, aim for a neutral color temperature around 5000K, which closely mimics natural daylight. If you're using artificial lighting, choose bulbs with a color rendering index (CRI) of 90 or higher to guarantee accurate color reproduction.
Using Light Modifiers Effectively
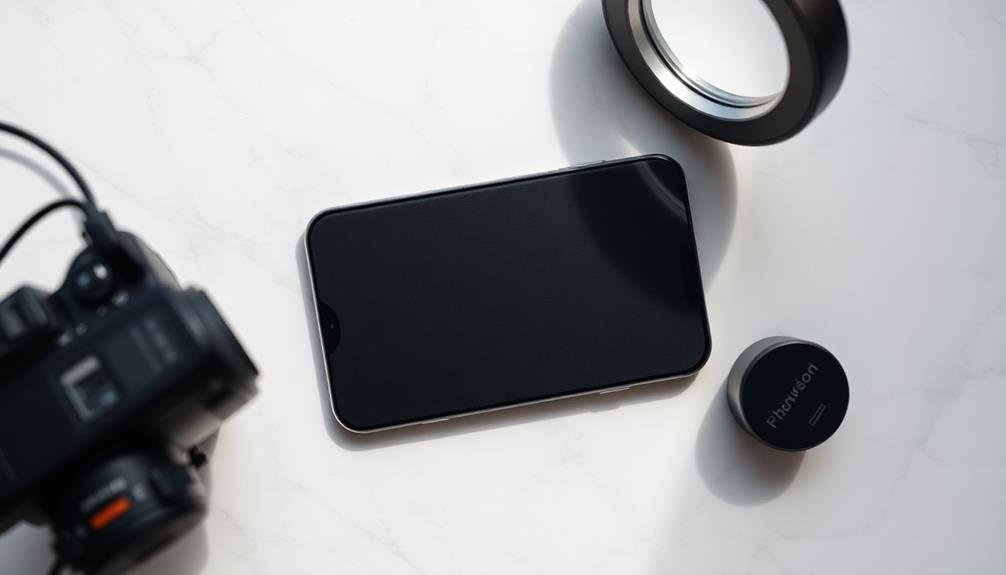
Light modifiers are key tools for shaping and controlling the quality of light in your flatlay photography. They help you manipulate shadows, reduce harsh contrasts, and create the perfect illumination for your mobile product shots.
When using light modifiers, consider the size of your product and the mood you want to convey.
For effective use of light modifiers in flatlay photography:
- Diffusers: Place these between your light source and the product to soften harsh shadows and create a more even light distribution. They're ideal for minimizing glare on reflective surfaces.
- Reflectors: Use white, silver, or gold reflectors to bounce light back onto your product, filling in shadows and adding highlights where needed. They're particularly useful for creating a balanced lighting setup.
- Flags: These black cards or panels block unwanted light, helping you control spill and create intentional shadow areas. They're great for adding depth and dimension to your flatlays.
- Grids: Attach these to your light source to direct and control the spread of light, preventing it from spilling onto areas you don't want illuminated. They're perfect for creating focused, dramatic lighting effects.
Capturing Texture and Detail
Texture and detail are essential elements in mobile product flatlay photography that can make or break your images. To capture these effectively, start by making sure your lighting setup emphasizes the product's surface qualities. Position your light source at a low angle to create shadows that highlight texture. Experiment with different angles to find the sweet spot that best reveals the product's characteristics.
Use a macro lens or get close to your subject to showcase intricate details. Make certain your camera's focus is sharp on the most important areas. If your phone has a manual focus option, use it to fine-tune your shot.
Don't forget to clean your lens and the product itself to avoid unwanted dust or smudges. For shiny or reflective objects, consider using a polarizing filter to reduce glare and enhance texture visibility. Soft, diffused light often works best for capturing detail without harsh shadows.
If you're shooting fabrics or clothing, gently arrange them to show off their texture naturally. Remember, post-processing can help enhance texture and detail, but it's always best to capture as much as possible in-camera for the highest quality results.
Editing Tools for Mobile Flatlays

Having captured your mobile product flatlay, it's time to enhance your images with powerful editing tools. Your smartphone likely has built-in editing features, but consider downloading specialized apps for more advanced options. These tools can help you adjust exposure, contrast, and color balance, guaranteeing your flatlay looks its best.
When editing your mobile flatlays, focus on these key areas:
- Brightness and contrast: Adjust these to make your products stand out and guarantee all details are visible.
- Color temperature: Tweak the warmth or coolness of your image to create the desired mood.
- Sharpness and clarity: Enhance the texture and details of your products without overdoing it.
- Cropping and straightening: Fine-tune your composition and guarantee your flatlay is perfectly aligned.
Don't forget to maintain consistency across your images if you're creating a series. Develop a signature editing style that complements your brand aesthetic.
Experiment with presets or create your own to streamline your workflow. Remember, subtle adjustments often yield the best results, so resist the temptation to over-edit your flatlays.
Troubleshooting Common Lighting Issues

Even seasoned photographers encounter lighting challenges when creating mobile product flatlays.
Let's address some common issues and their solutions.
If you're dealing with harsh shadows, try diffusing your light source. Use a white sheet or translucent paper to soften the light.
For uneven lighting, employ reflectors to bounce light into darker areas. White foam boards or aluminum foil can work wonders.
Color casts can ruin your flatlay's aesthetic. To combat this, adjust your white balance settings or use a gray card for accurate color reproduction.
If you're struggling with glare on shiny objects, experiment with different angles or use polarizing filters.
When working with mixed lighting sources, stick to one type (natural or artificial) for consistency.
If that's not possible, use color correction gels on your artificial lights to match natural light.
Low light situations can lead to grainy images. Increase your ISO cautiously, use a longer exposure time, or introduce additional light sources.
Experimenting With Creative Lighting Effects

Once you've mastered basic lighting techniques, you can explore creative effects to make your product flatlays stand out.
Try using colored gels to add a vibrant atmosphere, or experiment with light painting for unique, eye-catching results.
Don't forget to play with dramatic shadows, which can add depth and intrigue to your compositions.
Colored Gels Technique
Colored gels offer a world of creative possibilities for your mobile product flatlay photography.
These thin, transparent sheets of colored plastic can dramatically alter the mood and atmosphere of your shots. By placing gels over your light sources, you'll create unique color casts that can complement or contrast with your product's colors.
To get started with colored gels, follow these steps:
- Choose your gels: Select colors that align with your brand or product's aesthetic. Start with primary colors and expand your collection as needed.
- Attach gels to your light source: Use clothespins or tape to secure the gel over your LED panel or other light source.
- Experiment with placement: Try different angles and distances to achieve varied effects. Mixing multiple colored lights can create interesting shadows and highlights.
- Balance with white light: Use a white light source alongside your gelled lights to maintain some natural tones in your image.
When using colored gels, remember that less is often more. Subtle color casts can be more effective than overpowering hues.
Don't be afraid to mix and layer gels to create custom colors. With practice, you'll develop a keen eye for using colored gels to enhance your mobile product flatlay photography.
Light Painting Method
Light painting offers another exciting avenue for creative lighting in mobile product flatlay photography. This technique involves using a handheld light source to selectively illuminate parts of your product during a long exposure.
To try light painting, you'll need a dark room and a tripod for your smartphone.
Start by setting up your flatlay composition as usual. Switch your camera app to manual mode and set a long exposure time, typically between 10-30 seconds. Once you're ready, hit the shutter button and use a small flashlight or even your phone's flashlight to "paint" light onto specific areas of your product.
You can create various effects by moving the light source in different patterns or changing its distance from the subject. Try sweeping motions for soft, ethereal glows or quick flicks for sharp highlights.
Experiment with colored lights or gels for added dimension.
Dramatic Shadow Play
Through dramatic shadow play, you can add depth and intrigue to your mobile product flatlays. This technique involves strategically manipulating light and shadows to create visually striking compositions. By experimenting with different light sources and angles, you'll be able to craft unique, eye-catching images that stand out on social media platforms.
To master dramatic shadow play in your mobile product flatlays, follow these key steps:
- Choose a strong, directional light source: Use a small LED light, desk lamp, or even your phone's flashlight to cast bold shadows.
- Position your light at a low angle: Place it close to the surface to create long, dramatic shadows that stretch across your composition.
- Experiment with object placement: Arrange your products and props to cast interesting shadow patterns and shapes.
- Play with negative space: Leave areas of your frame empty to allow shadows to become a focal point of your image.
Don't be afraid to get creative with your lighting setup. Try using multiple light sources, colored gels, or even cutout shapes to cast unique shadow patterns.
Frequently Asked Questions
How Do I Create a Flatlay for Oversized or Oddly-Shaped Products?
For oversized or oddly-shaped products, you'll need a larger backdrop and creative positioning. Try using a wide-angle lens, step back, or shoot from above. Utilize props to balance the composition and highlight the product's unique features.
What's the Best Way to Photograph Highly Reflective or Transparent Items?
To photograph reflective or transparent items, you'll want to use diffused lighting and a light tent. Position your lights at angles to minimize glare, and experiment with black or white backgrounds to enhance contrast and visibility.
Can I Achieve Professional-Quality Flatlays Using Only a Smartphone Camera?
Yes, you can achieve professional-quality flatlays with just a smartphone camera. You'll need to focus on composition, lighting, and editing. Use natural light, invest in a tripod, and experiment with various apps to enhance your photos.
How Do I Maintain Consistency Across Multiple Product Flatlays for a Cohesive Look?
To maintain consistency across product flatlays, you'll want to use the same lighting setup, background, and styling elements. Keep your camera settings consistent, shoot from the same angle, and edit your photos with a uniform style.
Are There Any Legal Considerations When Using Props in Product Flatlays?
You should be aware of potential copyright issues with props. Always obtain permission or use royalty-free items. Be cautious with branded products, and guarantee you're not misrepresenting your product's features or contents through prop usage.
In Summary
You've now got the tools to create stunning mobile product flatlays. Remember, practice makes perfect. Don't be afraid to experiment with different backgrounds, lighting setups, and editing techniques. As you refine your skills, you'll develop your unique style. Keep pushing your creative boundaries, and soon you'll be capturing eye-catching flatlays that'll make your products shine. With patience and persistence, you'll master the art of flatlay photography.
Leave a Reply