
To achieve pro results when editing iPhone RAW photos, start by capturing files effectively with proper exposure and composition. Master exposure adjustments and white balance settings to enhance overall image quality. Focus on shadows and highlights to reveal hidden details, and utilize color grading techniques for stunning visuals. Apply sharpening selectively to key areas while reducing noise for crisp, clean images. Leverage masking and targeted adjustments for precise edits, and explore HDR capabilities for dynamic range. Finally, export your masterpiece with ideal settings for its intended use. Dive deeper to access the full potential of your iPhone RAW editing skills.
Capture RAW Files Effectively

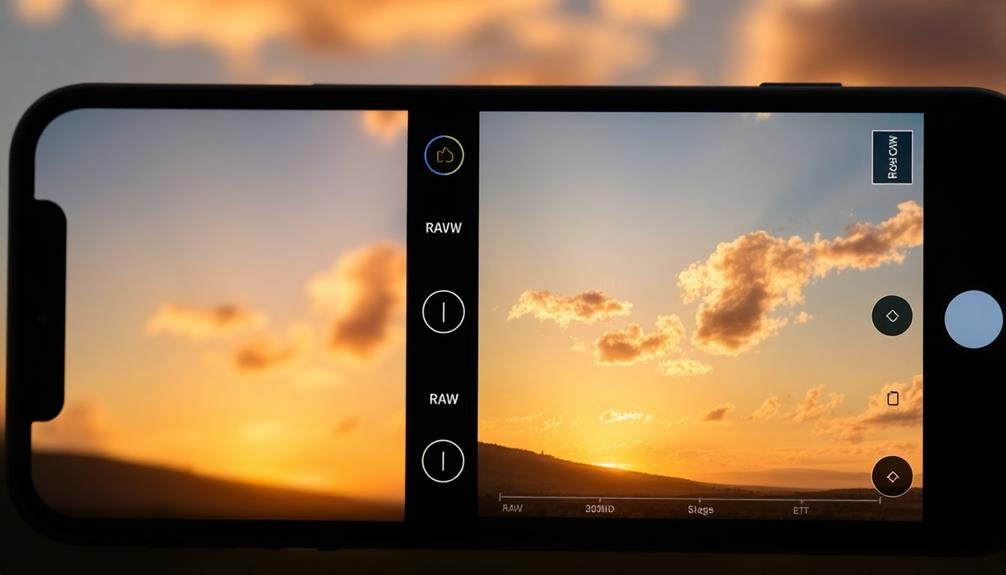
Mastering the art of capturing RAW files is essential for iPhone photography enthusiasts. To capture RAW files effectively, you'll need to enable the RAW setting in your iPhone's camera app or use a third-party app that supports RAW capture. Once enabled, focus on proper exposure and composition to maximize the potential of your RAW files.
When shooting in RAW, pay attention to your camera's histogram to ascertain you're capturing the full dynamic range of the scene. Avoid overexposing highlights or underexposing shadows, as RAW files offer more flexibility in post-processing. Use manual controls to adjust ISO, shutter speed, and aperture for best results.
Consider using a tripod or stabilizing your iPhone to minimize camera shake, especially in low-light situations. This will help you capture sharper images with less noise. Additionally, shoot in burst mode when capturing fast-moving subjects to increase your chances of getting a perfect shot.
Remember that RAW files take up more storage space than JPEGs, so verify you have enough free space on your device. Regularly transfer your RAW files to a computer or cloud storage for editing and backup purposes.
Master Exposure Adjustments
The art of exposure adjustment is fundamental to enhancing RAW images on your iPhone. When working with RAW files, you'll have much more latitude to adjust exposure without degrading image quality.
Start by evaluating the overall brightness of your image and determine if it needs to be lighter or darker. Use the exposure slider to make broad adjustments, then fine-tune with highlights and shadows. Boost shadows to reveal detail in darker areas, but be careful not to introduce too much noise. Recover blown-out highlights by reducing their intensity.
The blacks and whites sliders can help you set the darkest and brightest points in your image, enhancing contrast.
Don't forget about local adjustments. Use selective editing tools to adjust exposure in specific areas of your photo. This can help balance uneven lighting or draw attention to your subject. Experiment with the brilliance slider to add depth and dimension to your image.
Always check your histogram to verify you're not clipping highlights or shadows. Remember, it's better to slightly underexpose when shooting RAW, as it's easier to recover shadow detail than blown-out highlights.
With practice, you'll develop an eye for perfect exposure adjustments.
Perfect White Balance Settings
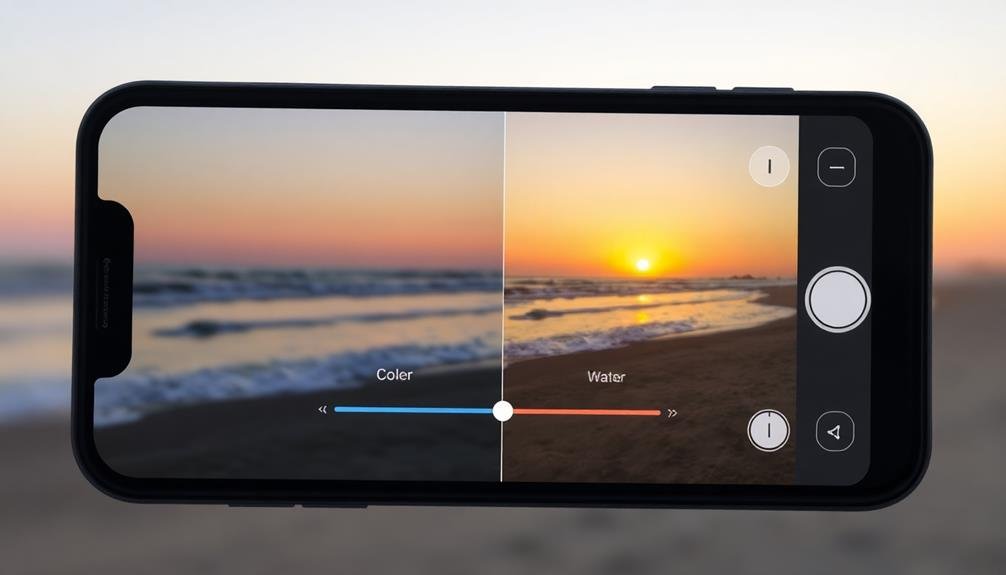
With exposure adjustments fine-tuned, it's time to focus on achieving accurate colors through white balance settings. Your iPhone's RAW editor offers precise control over white balance, allowing you to correct color casts and create a natural-looking image.
Start by evaluating the overall color temperature of your photo. If it appears too warm (yellowish) or cool (bluish), adjust the temperature slider accordingly. Move it to the left for cooler tones or to the right for warmer ones.
Next, fine-tune the tint to address any green or magenta color casts. For more accurate results, use the eyedropper tool to select a neutral gray or white area in your image. This will automatically set the white balance based on that reference point.
If your photo contains mixed lighting sources, consider using local adjustments to correct specific areas separately. Don't be afraid to experiment with creative white balance choices. Slightly warming a sunset scene can enhance its golden glow, while cooling a snowy landscape can emphasize its chilly atmosphere.
Always keep an eye on skin tones, ensuring they remain natural and pleasing throughout your edits.
Enhance Shadows and Highlights

When working with RAW photos on your iPhone, you'll want to focus on enhancing both shadows and highlights for a well-balanced image.
Start by selectively recovering shadow details, bringing out hidden textures and depth in darker areas.
Then, carefully adjust the highlights to prevent overexposure and maintain detail in brighter portions of your photo, ensuring a harmonious overall look.
Selective Shadow Recovery
Selective shadow recovery is a powerful technique that lets you bring out hidden details in your RAW iPhone photos. Unlike global shadow adjustments, this method allows you to target specific areas of your image, maintaining contrast and preserving highlights where needed.
To apply selective shadow recovery, start by identifying the areas you want to enhance. Use the brush or gradient tool in your editing app to create a mask over these regions. Adjust the brush size and feathering to guarantee smooth shifts between edited and unedited areas.
Once you've created your mask, increase the exposure and shadows sliders for the selected area. Be careful not to overdo it, as excessive shadow recovery can introduce noise and reduce image quality. Fine-tune the contrast and clarity to bring out textures and details within the recovered shadows.
Don't forget to take into account the overall balance of your image. Sometimes, leaving some areas in shadow can create depth and drama.
Experiment with different levels of recovery in various parts of your photo to achieve the most compelling result. Remember, selective shadow recovery is about enhancing your image's storytelling potential, not simply brightening every dark area.
Balanced Highlight Adjustment
In light of the importance of balanced exposure, mastering highlight adjustment is crucial for enhancing your iPhone RAW photos. When working with RAW files, you'll have more leeway to recover blown-out highlights without compromising image quality.
Start by reducing the overall exposure slightly, then use the highlights slider to bring back detail in the brightest areas of your image. As you adjust highlights, pay close attention to the histogram to verify you're not clipping any data. Aim for a balanced distribution across the graph.
If you find that lowering highlights creates a flat-looking image, compensate by increasing contrast or clarity slightly. Don't be afraid to use local adjustments to target specific areas of your photo that need highlight recovery.
Remember that highlight adjustment isn't just about reducing brightness. Sometimes, you'll want to boost highlights to create a more dramatic effect or to emphasize certain elements in your composition.
Experiment with different levels of highlight adjustment, and always consider how it affects the overall mood and balance of your image. By mastering this technique, you'll be able to create more dynamic and professional-looking photos directly from your iPhone.
Harness Color Grading Techniques
Color grading techniques can transform your RAW iPhone photos from ordinary to extraordinary. When editing your RAW files, focus on creating a cohesive color palette that enhances the mood and atmosphere of your image.
Start by adjusting the overall temperature and tint to set the base tone. Then, fine-tune individual color channels using the HSL (Hue, Saturation, Luminance) sliders.
Experiment with split toning to add subtle color casts to your highlights and shadows. This technique can create a cinematic look or emphasize the time of day in your photo.
Don't shy away from using color curves to precisely adjust specific color ranges and create custom looks. Consider developing your own preset or filter to maintain a consistent style across your photos.
However, remember that each image is unique, so always make adjustments based on the specific photo you're working on.
Pay attention to skin tones when color grading portraits. Aim for natural-looking results by keeping skin tones in the orange-yellow range and avoiding overly saturated or unnatural hues.
Sharpen Images With Precision

Sharpening your iPhone RAW images isn't a one-size-fits-all process.
You'll achieve the best results by using selective sharpening techniques, focusing on key areas of your photo rather than applying a blanket effect.
Selective Sharpening Techniques
When it comes to enhancing your iPhone RAW images, selective sharpening techniques can make a world of difference. Instead of applying sharpness uniformly across your photo, you'll focus on specific areas to create a more natural and impactful result.
Start by identifying the key focal points in your image. These are typically the areas where you want to draw the viewer's attention. Use masking tools to isolate these regions, then apply sharpening adjustments with precision. You can adjust the intensity, radius, and detail to fine-tune the effect.
For portraits, concentrate on sharpening the eyes, hair, and clothing textures while leaving skin smooth. In landscapes, sharpen rocky formations and foliage, but avoid over-sharpening the sky or water.
| Subject | Areas to Sharpen | Areas to Avoid |
|---|---|---|
| Portrait | Eyes, Hair, Clothing | Skin, Background |
| Landscape | Rocks, Trees, Details | Sky, Water |
| Wildlife | Fur, Feathers, Eyes | Blurred Background |
Remember to zoom in while sharpening to guarantee you're not introducing unwanted artifacts. By selectively sharpening key elements, you'll create more depth and dimension in your iPhone RAW images, elevating them to a professional level.
Masking for Targeted Adjustments
Masking in RAW editing takes selective sharpening to the next level, allowing you to apply adjustments with surgical precision.
With masking, you'll create a virtual layer that reveals or conceals specific areas of your image, giving you unparalleled control over your edits.
To start masking, use the brush tool to paint over the areas you want to adjust. You can fine-tune the brush size, hardness, and opacity to achieve the perfect selection.
For complex subjects, try using the gradient or radial mask tools to create smooth shifts between edited and unedited areas.
Once you've created your mask, you can apply a wide range of adjustments exclusively to the selected area. This includes sharpening, exposure, contrast, saturation, and more.
Don't be afraid to experiment with multiple masks on a single image to target different elements separately.
Pay close attention to edges when masking. Use the feather tool to soften mask boundaries and create natural-looking shifts.
For intricate subjects like hair or foliage, try using the color or luminance range masking options to automatically select specific tones or brightness levels.
Utilize Noise Reduction Tools

Noise reduction tools are often overlooked but vital in RAW editing for iPhone photos. They're essential for improving image quality, especially in low-light situations where digital noise becomes more prominent. When you're editing RAW files, you'll have more control over noise reduction than with JPEGs.
Start by identifying the type of noise in your image: luminance (brightness) or chrominance (color). Most editing apps offer separate sliders for each.
Begin with a conservative approach, applying just enough reduction to clean up the image without losing detail. You'll want to strike a balance between noise removal and preserving sharpness.
Pay special attention to areas with smooth gradients, like skies or skin tones, as noise is often more noticeable there. Use local adjustments to target specific areas that need more aggressive noise reduction.
Don't forget to zoom in to 100% to assess the results accurately.
Experiment with different noise reduction techniques, such as AI-powered tools or frequency separation methods, which can offer more refined results.
Apply Selective Editing Techniques
In contrast to global adjustments, selective editing techniques allow you to target specific areas of your iPhone RAW photos for precise enhancements.
These tools give you greater control over your image's final look, helping you create professional-quality results.
Start by using the brush tool to paint adjustments onto specific parts of your photo. You can adjust exposure, saturation, sharpness, and other parameters for selected areas. This is particularly useful for brightening shadows, enhancing details, or reducing highlights in specific regions.
Next, explore the gradient tool to apply smooth shifts between edited and unedited areas. It's perfect for adjusting skies or creating subtle vignettes.
Don't forget about the radial filter, which allows you to make circular or oval-shaped adjustments. Use it to draw attention to your subject or create a soft, dreamy effect around the edges.
Masking is another powerful selective editing technique. You can create complex masks based on luminance, color, or subject detection to apply edits with incredible precision.
Experiment with these tools to refine your edits and achieve a polished, professional look in your iPhone RAW photos.
Leverage HDR Capabilities
How can you take full advantage of your iPhone's HDR capabilities when editing RAW photos? Start by enabling the HDR feature in your camera settings. When shooting, your iPhone will capture multiple exposures, which you can later merge in editing.
In post-processing, use apps like Lightroom Mobile or Snapseed to access these separate exposures. To leverage HDR effectively, begin by adjusting the highlights and shadows. Pull down the highlights to recover detail in bright areas, and lift the shadows to reveal information in darker regions.
Next, fine-tune the contrast and clarity to enhance the overall dynamic range. Don't forget to adjust the white balance to guarantee accurate colors across all exposure levels.
Experiment with tone mapping to create a balanced, natural-looking image. Be careful not to overdo HDR effects, as this can lead to unrealistic results. Instead, aim for a subtle enhancement that maintains the photo's authenticity.
Export for Optimal Quality

Once you've finished editing your RAW iPhone photos, exporting them correctly is essential for maintaining the highest quality. To guarantee your images retain their full potential, choose the right file format and settings.
For maximum quality, export your edited RAW files as uncompressed TIFF or PNG formats. These lossless options preserve all the detail and color information you've painstakingly edited.
If file size is a concern, consider using high-quality JPEG compression. Aim for a quality setting of 90-95% to balance file size and image quality.
When exporting, pay attention to color space settings. For web use, sRGB is the safest choice, while Adobe RGB or ProPhoto RGB are better for print purposes.
Don't forget to resize your images appropriately for their intended use. For social media, smaller sizes are sufficient, but keep larger versions for printing or archiving.
Enable metadata embedding to preserve your copyright information and camera settings. Finally, use descriptive file names to organize your exports effectively.
Frequently Asked Questions
Can I Edit RAW Photos on Older Iphone Models?
Yes, you can edit RAW photos on older iPhone models, but it depends on which model you have. Generally, iPhones from the 6s and later support RAW editing. You'll need a third-party app to capture and edit RAW files.
How Much Storage Space Do RAW Files Typically Consume?
You'll find that RAW files are considerably larger than JPEGs. They typically consume 20-30 MB per image, compared to 1-5 MB for JPEGs. Consider this when managing your device's storage and plan accordingly.
Are There Any Third-Party RAW Editing Apps Better Than Apple's Native Options?
Yes, there are third-party RAW editing apps that outperform Apple's native options. You'll find apps like Lightroom, Snapseed, and Darkroom offering more advanced features, precise controls, and professional-grade editing capabilities for your RAW files on your iPhone.
Can I Apply Presets to RAW Files for Faster Editing?
Yes, you can apply presets to RAW files for faster editing. Many apps offer preset options that you can use as a starting point. You'll save time while still having the flexibility to fine-tune your edits afterwards.
How Do RAW Edits Affect Battery Life on Iphones?
Raw edits can drain your iPhone's battery faster due to increased processing power required. You'll notice quicker battery depletion when editing multiple raw files. It's best to keep your phone charged or use a power bank while editing.
In Summary
You've now got the tools to transform your iPhone RAW photos into stunning professional-grade images. Don't be afraid to experiment with these techniques and find your unique editing style. Remember, practice makes perfect. As you continue to refine your skills, you'll develop an intuitive sense for what works best. Keep pushing your creative boundaries, and soon you'll be creating breathtaking photos that rival those of seasoned professionals. Happy editing!


Leave a Reply