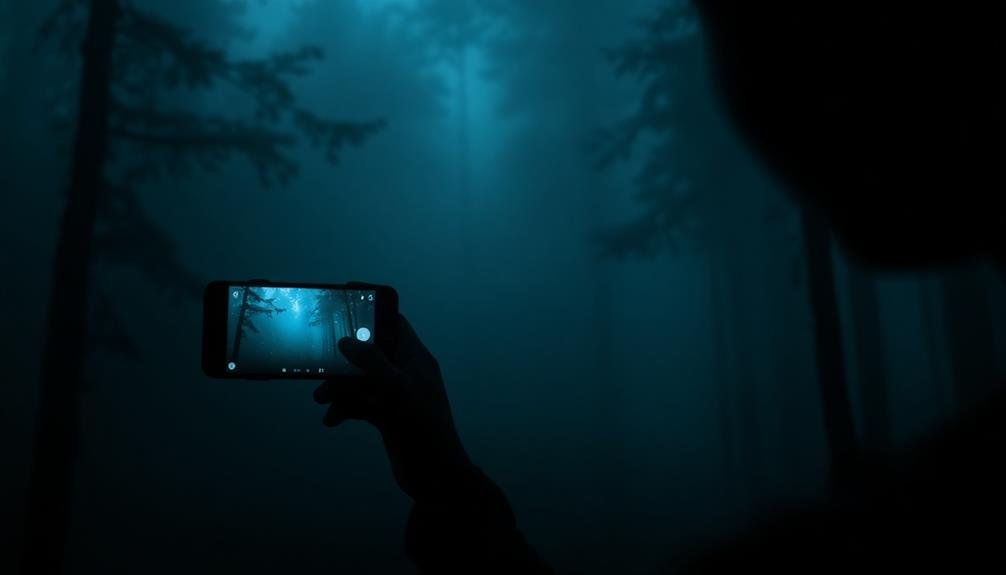
Transform your mobile photos into moody masterpieces with these 10 atmospheric editing tricks. Embrace shadows and darkness to add depth and mystery. Master low-key lighting techniques for dramatic contrasts. Desaturate colors for a somber effect, and add grain for vintage vibes. Experiment with color grading to set the mood. Manipulate highlights and contrast to create striking visuals. Utilize vignettes to draw focus and leverage selective blur for depth. Enhance atmosphere with overlay textures, and compose your shots strategically. These techniques will elevate your mobile photography, turning ordinary scenes into enchanting, emotion-filled images. Discover how to release your creative potential and capture the perfect mood.
Embrace Shadows and Darkness
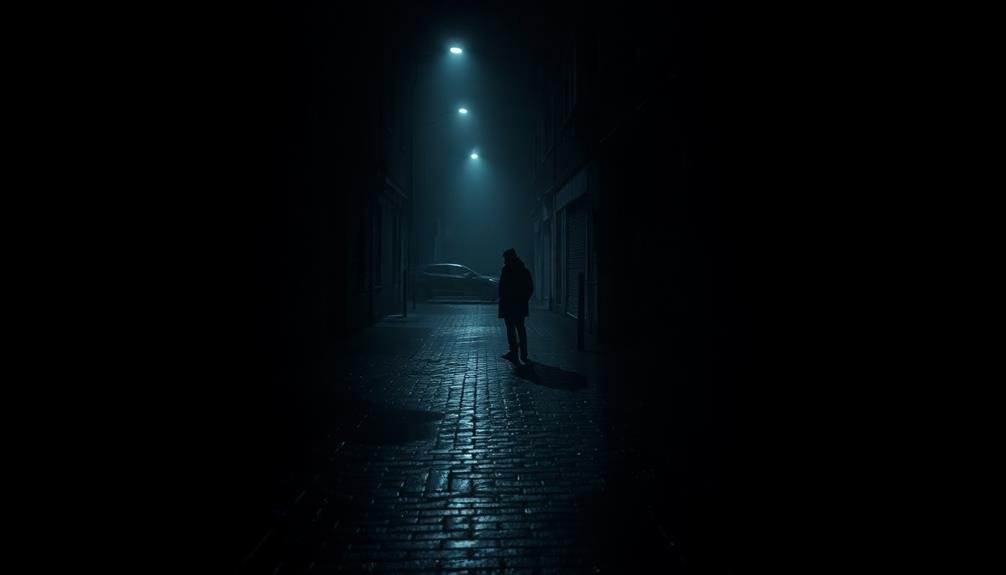
Shadows are your secret weapon in creating moody mobile photos. They add depth, mystery, and atmosphere to your images, transforming ordinary scenes into enchanting visual stories.
To harness their power, start by seeking out locations with interesting light and shadow play. Look for areas where light is filtered through objects or where strong contrasts exist between illuminated and shaded areas.
When editing, don't be afraid to embrace the darkness. Lower the overall exposure of your image to enhance the moody feel. Use the shadows slider to deepen the dark areas, but be careful not to crush the blacks entirely. Maintain some detail in the shadows for a more nuanced effect.
Experiment with selective darkening using brush tools or gradient filters to draw attention to specific areas of your photo. Consider lowering the highlights to prevent bright spots from distracting from the mood. Adjust the contrast to enhance the interplay between light and dark.
Master Low-Key Lighting Techniques

To master low-key lighting techniques, you'll need to emphasize shadows and contrast in your mobile photos.
You can achieve this by adjusting exposure settings to darken the overall image while highlighting specific areas.
Experiment with creating dramatic lighting effects by using directional light sources and manipulating your phone's built-in editing tools to enhance the moody atmosphere.
Emphasize Shadows and Contrast
Immerse yourself in the domain of low-key lighting to create moody, dramatic images that captivate viewers. To emphasize shadows and contrast, start by reducing your photo's overall exposure. This will darken the image, allowing you to bring out specific elements through selective brightening.
Use your mobile editing app's adjustment tools to increase contrast, which will deepen the shadows and make highlights pop. Experiment with the blacks and shadows sliders to fine-tune the dark areas of your image. Don't be afraid to push these adjustments further than you normally would – bold edits often yield striking results in low-key photography.
Next, focus on enhancing the lightest parts of your image. Boost highlights and whites to create a stark contrast against the deep shadows. This interplay between light and dark is what gives low-key images their dramatic flair.
Consider using the dodge and burn tools to selectively lighten or darken specific areas. This targeted approach allows you to guide the viewer's eye to key elements in your composition.
Create Dramatic Lighting Effects
With a mastery of low-key lighting techniques, you'll release the power to create truly dramatic lighting effects in your mobile photography. Low-key lighting emphasizes shadows and contrast, resulting in moody, atmospheric images. To achieve this effect, start by finding or creating a scene with a single, strong light source and deep shadows.
In your mobile editing app, reduce the overall exposure of your image, then increase the contrast. This will deepen the shadows and make highlights pop. Next, adjust the blacks and shadows sliders to fine-tune the dark areas. You'll want to maintain some detail in the shadows while still creating a sense of mystery.
Use the dodge and burn tools to selectively lighten or darken specific areas of your image. This can help guide the viewer's eye and enhance the dramatic effect. Pay special attention to highlights on the subject's face or important objects in the scene.
Experiment with color temperature and tinting to add atmosphere. Cooler tones can create a sense of isolation, while warmer tones might evoke intimacy.
Desaturate for Dramatic Effect
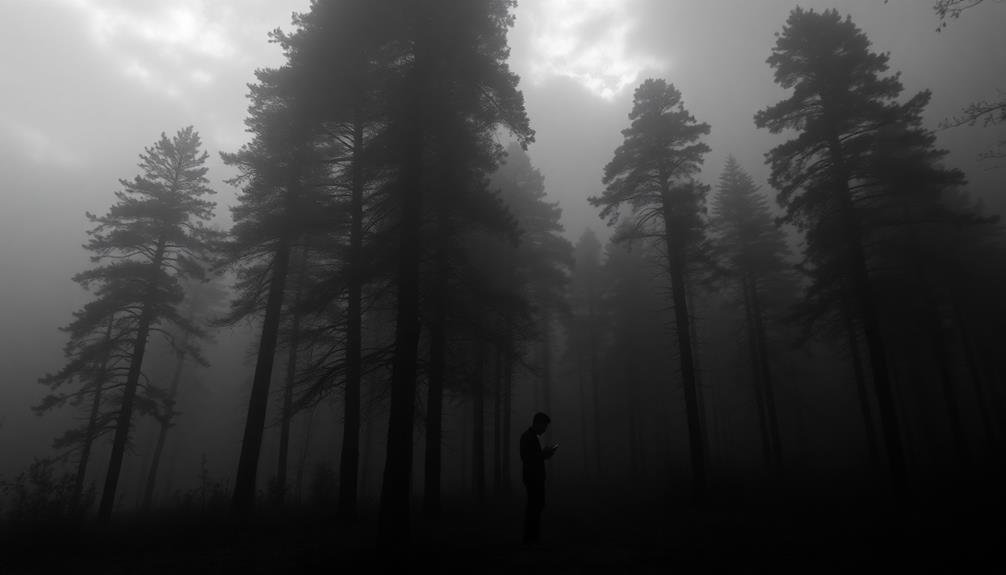
You can create a moody atmosphere in your photos by desaturating the colors.
Reducing saturation adds depth to your images and subtly enhances contrast.
Muted Tones Create Depth
Beneath the vibrant surface of most photos lies a world of muted tones waiting to be released. By embracing these subdued hues, you'll create depth and atmosphere in your images.
Start by lowering the saturation of your photo, but don't go completely grayscale. Instead, aim for a middle ground where colors are present but muted.
Next, adjust the contrast to enhance the subtle differences between tones. This will help define shapes and textures within the image. Pay attention to the shadows and highlights, using them to guide the viewer's eye through the composition.
Experiment with selective color adjustments to emphasize certain elements. For example, you might slightly boost the blues in a moody landscape or the warm tones in a portrait. This technique adds complexity to your muted palette.
Don't forget about the power of vignettes. A subtle darkening around the edges can draw focus to the center of your image and enhance the overall mood.
Enhance Contrast Subtly
Subtle contrast enhancement can transform an ordinary photo into a striking visual masterpiece. To achieve this effect, start by adjusting the shadows and highlights in your image. Increase the shadows slightly to bring out details in darker areas, while gently reducing highlights to prevent overexposure.
Next, fine-tune the overall contrast by making small adjustments to the contrast slider. Be careful not to overdo it, as excessive contrast can make your image look harsh and unnatural. Instead, aim for a balanced look that enhances the depth and dimension of your photo.
Consider using selective contrast adjustment tools to target specific areas of your image. This technique allows you to add depth to certain elements without affecting the entire photo.
To further enhance the moody atmosphere, experiment with the clarity or structure settings. These tools can add definition to textures and edges, creating a more dramatic look.
Add Grain for Vintage Vibes
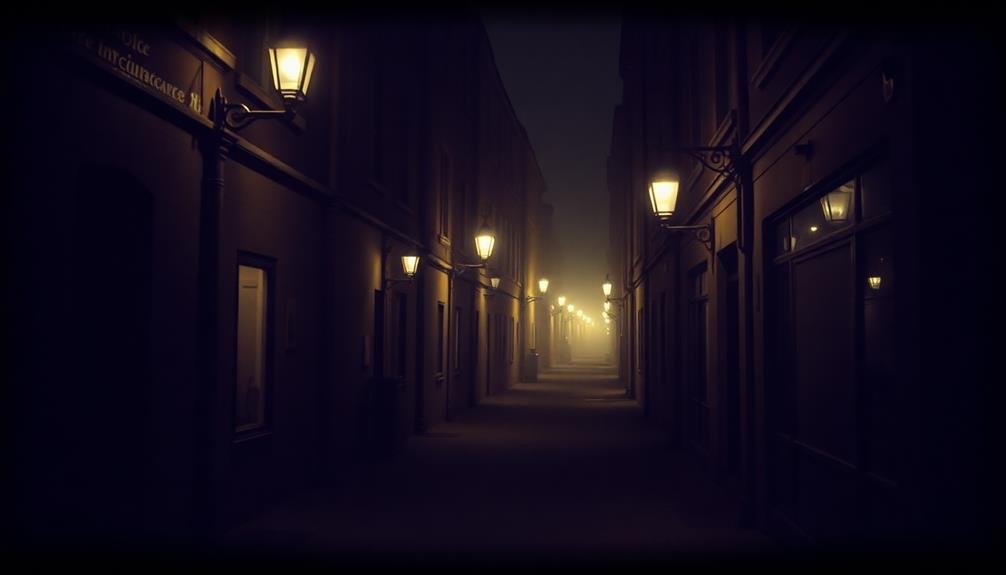
One of the easiest ways to add a nostalgic touch to your photos is by introducing grain. This technique mimics the look of film photography, instantly giving your images a vintage feel. Most mobile editing apps offer grain or noise filters, allowing you to adjust the intensity to your liking.
When adding grain, start with a subtle amount and gradually increase it until you achieve the desired effect. Too much grain can make your image look overly noisy and detract from its quality.
Pay attention to how the grain interacts with different areas of your photo, especially in shadows and highlights.
For a more authentic vintage look, combine grain with other editing techniques. Try slightly desaturating your colors, adding a warm color cast, or applying a subtle vignette. These elements work together to create a cohesive, nostalgic aesthetic.
Remember that grain can also help mask minor imperfections in your image, such as digital noise from low-light shots.
However, don't rely on it to fix poorly exposed photos. Instead, use grain as a creative tool to enhance the mood and atmosphere of your well-composed images.
Experiment With Color Grading
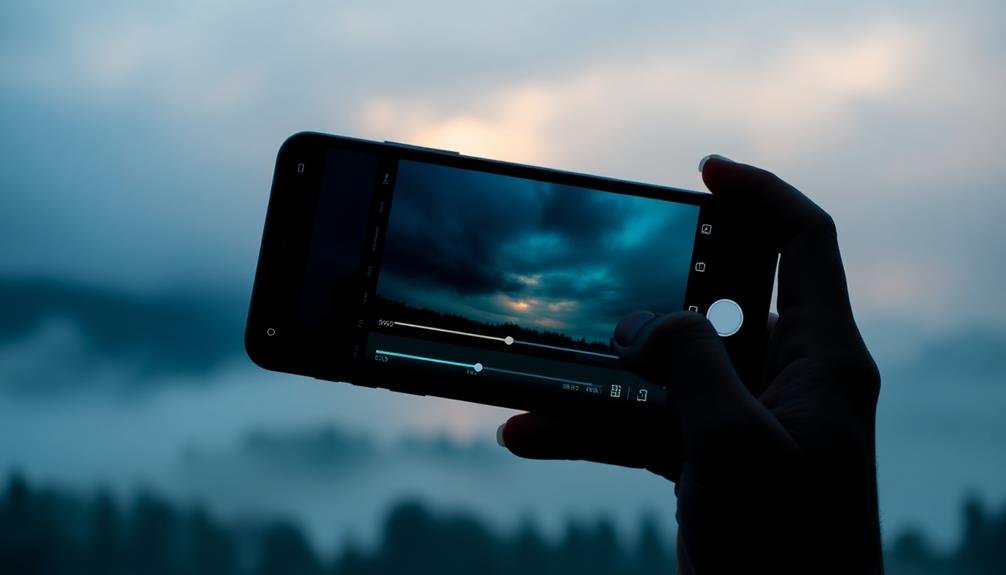
While grain can add vintage charm, color grading takes your mobile editing to the next level. It's a powerful technique that allows you to manipulate the colors in your image, creating a specific mood or atmosphere. With color grading, you can transform an ordinary photo into a cinematic masterpiece.
To experiment with color grading on your mobile device, try these techniques:
- Adjust the highlights and shadows separately
- Play with the temperature and tint sliders
- Use split toning to add different colors to highlights and shadows
- Apply a LUT (Look-Up Table) for a pre-made color grade
Start by subtly shifting the overall color balance of your image. Then, fine-tune individual color channels to achieve your desired look.
Don't be afraid to push the boundaries – sometimes, unexpected color combinations can yield stunning results.
Remember that color grading is subjective, so trust your instincts. What matters most is creating a cohesive look that enhances your photo's mood.
With practice, you'll develop your own signature style that sets your images apart. Experiment with different apps and techniques to find what works best for you and your creative vision.
Create Atmospheric Mist and Fog
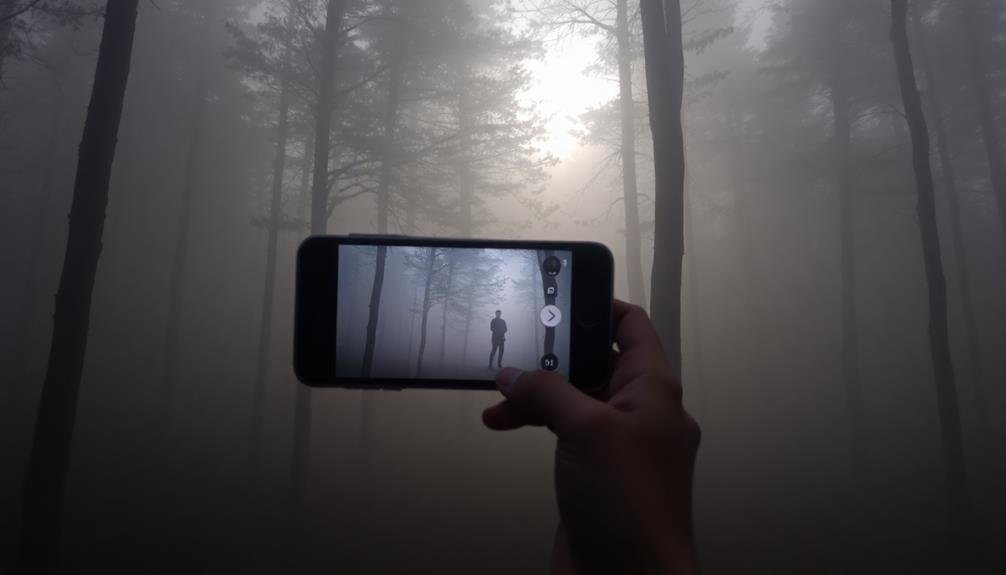
A veil of mist can transform an ordinary scene into a moody, ethereal masterpiece. To create this effect in your mobile photos, you'll need to master a few simple techniques.
Start by using a gradient tool to add a soft, white layer over your image. Adjust the opacity to control the intensity of the fog effect. For a more realistic look, concentrate the mist in the background and lower areas of your photo.
Next, experiment with the dehaze tool in reverse. Instead of removing haze, increase it slightly to enhance the misty atmosphere. Don't overdo it, though—subtlety is key.
To add depth, use selective blurring on distant objects to mimic how fog obscures details. For a moody touch, adjust the temperature of your image slightly cooler. This creates a chilly, early morning feel.
Finally, enhance the contrast in specific areas to make certain elements pop through the mist. Focus on foreground objects or silhouettes to create a sense of mystery and depth.
With these techniques, you'll be able to transform even the sunniest day into a hauntingly beautiful, fog-filled scene.
Manipulate Highlights and Contrast
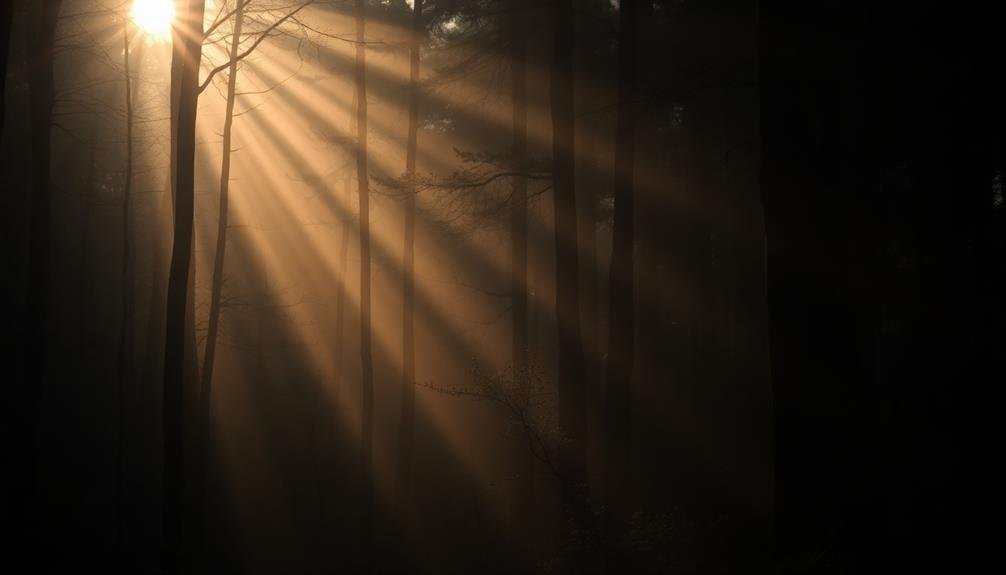
To create moody images, you'll want to master the art of manipulating highlights and contrast.
Start by adjusting your photo's exposure to capture a more dramatic atmosphere, then selectively enhance shadows to add depth and intrigue.
Adjust Exposure for Drama
Adjusting exposure is one of the most powerful ways to create dramatic, moody images.
By manipulating the overall brightness of your photo, you can instantly transform its atmosphere and evoke different emotions.
When aiming for a moody aesthetic, you'll often want to reduce the exposure, creating darker, more mysterious scenes.
To adjust exposure for drama, follow these steps:
- Open your photo editing app and locate the exposure adjustment tool.
- Decrease the exposure gradually, watching how it affects the image's mood.
- Pay attention to the shadows and highlights, ensuring you don't lose important details.
- Fine-tune the adjustment until you achieve the desired dramatic effect.
Enhance Shadows Selectively
Many mobile editing apps offer powerful tools for enhancing shadows selectively, allowing you to manipulate highlights and contrast with precision.
To create a moody atmosphere, focus on deepening shadows in specific areas of your photo. Use brush tools or gradient filters to target shadows, gradually increasing their intensity for a dramatic effect.
Don't overdo it, though. Subtlety is key. Aim to maintain detail in the darkest areas while still creating depth and dimension. Experiment with adjusting the blacks and shadows sliders to fine-tune the overall tonal range.
As you enhance shadows, pay attention to how they interact with highlights. Boost contrast selectively to create a striking interplay between light and dark. This technique can emphasize textures, add depth, and guide the viewer's eye to key elements in your image.
Consider using masking tools to protect certain areas from shadow adjustments. This allows you to maintain brightness in specific regions while darkening others, creating a fascinating balance of light and shadow that enhances the mood of your photo.
Create Dramatic Light Contrasts
While enhancing shadows sets the stage for a moody atmosphere, creating dramatic light contrasts takes your photo to the next level. To achieve this effect, you'll need to manipulate highlights and contrast in your mobile editing app.
Start by increasing the overall contrast to make the light and dark areas more distinct. Then, focus on boosting the highlights to create a striking difference between the brightest and darkest parts of your image.
Use the following techniques to create dramatic light contrasts:
- Adjust the highlights slider to intensify bright areas without overexposing them.
- Increase the whites to make light sources pop and add an ethereal glow.
- Reduce shadows slightly to deepen the darker areas and create more depth.
- Fine-tune the contrast slider for a balance between light and dark elements.
Remember to use these adjustments sparingly, as too much contrast can make your photo look unnatural.
Experiment with different combinations to find the perfect balance that enhances your image's mood without sacrificing detail. Pay attention to how the light interacts with your subject and use these editing techniques to emphasize the most impactful areas of your photo.
Utilize Vignettes Effectively

Vignettes can transform your photos from ordinary to enchanting with just a few taps. This subtle darkening of the edges draws the viewer's eye to the center of the image, creating a moody and intimate atmosphere.
To utilize vignettes effectively, start by applying a gentle effect and gradually increase its intensity until you achieve the desired look.
Consider the subject and composition of your photo when adding a vignette. For portraits, a soft vignette can enhance the subject's prominence and create a dreamy effect. In landscape shots, a darker vignette can add drama and depth, especially when combined with a stormy sky or misty scenery.
Experiment with different vignette shapes to complement your image. Circular vignettes work well for centered subjects, while oval or rectangular shapes can emphasize horizontal or vertical compositions.
Don't be afraid to adjust the vignette's position to highlight specific areas of interest.
Leverage Selective Blur Tools
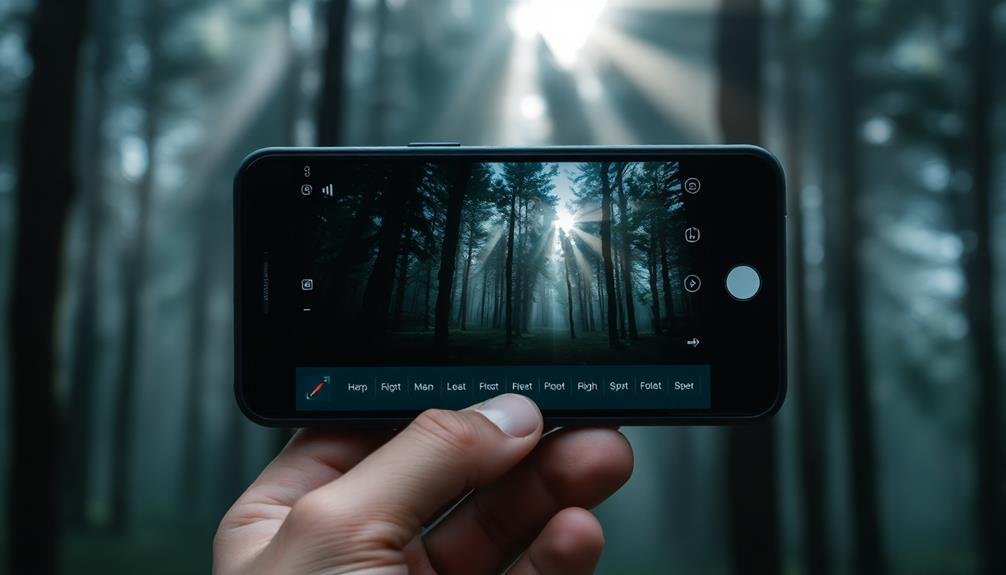
Selective blur tools are your secret weapon for creating depth and focus in your mobile photos. These tools allow you to blur specific areas of your image, drawing attention to your subject and adding a dreamy, atmospheric quality to your shots.
When used skillfully, selective blur can transform an ordinary photo into a moody masterpiece.
To leverage selective blur tools effectively:
- Identify your focal point: Choose the area you want to keep sharp and in focus.
- Apply blur gradually: Start with a subtle effect and build up slowly for a natural look.
- Use radial or linear blur: Radial blur works well for portraits, while linear blur enhances landscapes.
- Pay attention to edges: Refine the shift between blurred and focused areas for a seamless effect.
Experiment with different blur intensities and shapes to achieve your desired mood. You can create a tilt-shift effect by blurring the top and bottom of a cityscape, or add mystery to a portrait by blurring the background.
Don't be afraid to combine selective blur with other editing techniques like color grading or vignettes for even more atmospheric results.
Enhance Mood With Overlay Textures
Overlay textures are a powerful tool for adding depth and atmosphere to your mobile photos. They can transform a plain image into a moody masterpiece by introducing subtle layers of visual interest. To get started, experiment with different texture types like film grain, dust, or light leaks.
When applying textures, consider the following:
| Texture Type | Effect | Best Used For |
|---|---|---|
| Film Grain | Vintage | Nostalgic shots |
| Dust | Gritty | Urban scenes |
| Light Leaks | Dreamy | Portraits |
| Scratches | Worn | Retro themes |
Don't overdo it; subtlety is key. Adjust the opacity of your texture overlay to blend seamlessly with your original image. You'll want to complement, not overpower, the subject.
Try combining multiple textures for a more complex effect. Layer a light grain over a subtle light leak to create depth and dimension. Remember to match the texture's mood with your photo's overall tone. A grungy texture might clash with a serene landscape, while a soft, misty overlay could enhance it beautifully.
Experiment with blending modes to see how textures interact with your image's colors and shadows. This can dramatically alter the mood and feel of your final edit.
Frequently Asked Questions
What Mobile Apps Are Best for Moody Photo Editing?
You'll find several great apps for moody photo editing. Try VSCO for its film-like filters, Snapseed for precise adjustments, Lightroom Mobile for extensive editing, and Enlight for creative effects. Experiment with these to achieve your desired atmosphere.
How Can I Achieve a Cinematic Look in My Mobile Photos?
To achieve a cinematic look, you'll want to focus on composition and color grading. Use wide aspect ratios, frame your shots carefully, and experiment with film-inspired presets. Don't forget to adjust contrast and add subtle vignettes.
Are There Presets Available for Creating Moody Atmospheres Quickly?
Yes, you'll find plenty of presets for moody atmospheres. Look for apps like VSCO, Lightroom Mobile, or Snapseed. They offer pre-made filters and presets you can apply instantly to create dramatic, atmospheric looks for your photos.
How Do I Maintain Image Quality When Applying Heavy Edits?
You'll maintain image quality with heavy edits by shooting in RAW, using high-quality apps, and applying adjustments gradually. Don't overdo it with filters, and always work on a copy of your original file to preserve details.
Can These Techniques Be Applied to Both Portraits and Landscapes?
Yes, you can apply these techniques to both portraits and landscapes. You'll find they're versatile enough to enhance various subjects. Just remember to adjust your approach slightly for each, as people and scenery often require different treatment.
In Summary
You've now got the tools to transform your ordinary photos into moody masterpieces. Don't be afraid to experiment and push boundaries. Remember, there's no one-size-fits-all approach to creating atmospheric images. Trust your instincts and let your creativity flow. With practice, you'll develop your unique style and capture stunning, emotive shots that tell powerful stories. So grab your phone, start editing, and watch as your photos come alive with newfound depth and drama.



Leave a Reply