Reducing noise in dark phone photos is essential for improving image quality and clarity. When you take photos in low light, your phone's camera sensor struggles to capture enough light, resulting in grainy specks or color variations. By minimizing this noise, you'll enhance overall photo quality, preserve fine details, and achieve more professional-looking results. Noise reduction techniques can help you maintain color accuracy, increase dynamic range, and reduce digital artifacts. This process is especially important when optimizing images for social media, where visual appeal is key. With the right approach, you can transform your dark, noisy photos into stunning, shareable images that truly capture the moment.
Understanding Image Noise

Image noise creeps into your photos when you're shooting in low-light conditions, especially with smartphone cameras. This unwanted visual distortion appears as grainy specks or random color variations throughout the image, diminishing its overall quality and sharpness.
Noise occurs due to your camera's sensor struggling to capture enough light. As you increase the ISO sensitivity to compensate for darkness, you're also amplifying the electrical signals from the sensor, including any imperfections or interference. This results in two main types of noise: luminance noise (brightness variations) and chrominance noise (color inconsistencies).
Understanding noise helps you combat it effectively. You'll notice it's more prevalent in darker areas of your photos and becomes more pronounced as you increase exposure time or ISO settings.
Smaller sensors, like those in smartphones, are particularly susceptible to noise due to their limited light-gathering capabilities.
Preserving Image Details

When reducing noise in dark phone photos, you'll want to focus on preserving important image details.
Retaining fine textures is essential, as these contribute to the overall sharpness and clarity of your image.
You should also prioritize maintaining color accuracy, ensuring that your noise reduction efforts don't result in washed-out or distorted hues.
Retaining Fine Textures
Preserving fine textures and intricate details poses a significant challenge when reducing noise in dark phone photos. As you apply noise reduction techniques, you'll need to strike a delicate balance between smoothing out graininess and maintaining the subtle nuances that give your image depth and character.
To retain fine textures, you'll want to use selective noise reduction methods. These target specific areas of the image, allowing you to preserve details in high-contrast regions while smoothing out noise in flat, uniform areas. You can also employ edge-aware algorithms that detect and protect sharp edges and fine lines.
Here's a table comparing different noise reduction approaches and their impact on fine textures:
| Method | Texture Retention | Noise Reduction |
|---|---|---|
| Global NR | Low | High |
| Selective NR | High | Moderate |
| Edge-Aware NR | Very High | Moderate |
| AI-Based NR | High | High |
Maintaining Color Accuracy
While retaining fine textures is important, maintaining color accuracy is equally vital when reducing noise in dark phone photos. As you reduce noise, you'll want to confirm that the colors in your image remain true to the original scene. This can be challenging, as noise reduction algorithms often struggle to differentiate between noise and subtle color variations.
To preserve color accuracy, you should use noise reduction techniques that target luminance noise rather than color noise. This approach helps maintain the original hue and saturation of your image. You can also adjust the color noise reduction strength separately from luminance noise reduction in many editing tools.
It's essential to work with RAW files when possible, as they contain more color information than compressed formats like JPEG. You'll have more flexibility to fine-tune colors during the noise reduction process.
Additionally, consider using selective noise reduction, applying different levels of reduction to various parts of the image based on their color characteristics. This method allows you to preserve important color details in specific areas while aggressively reducing noise in others.
Enhancing Overall Photo Quality
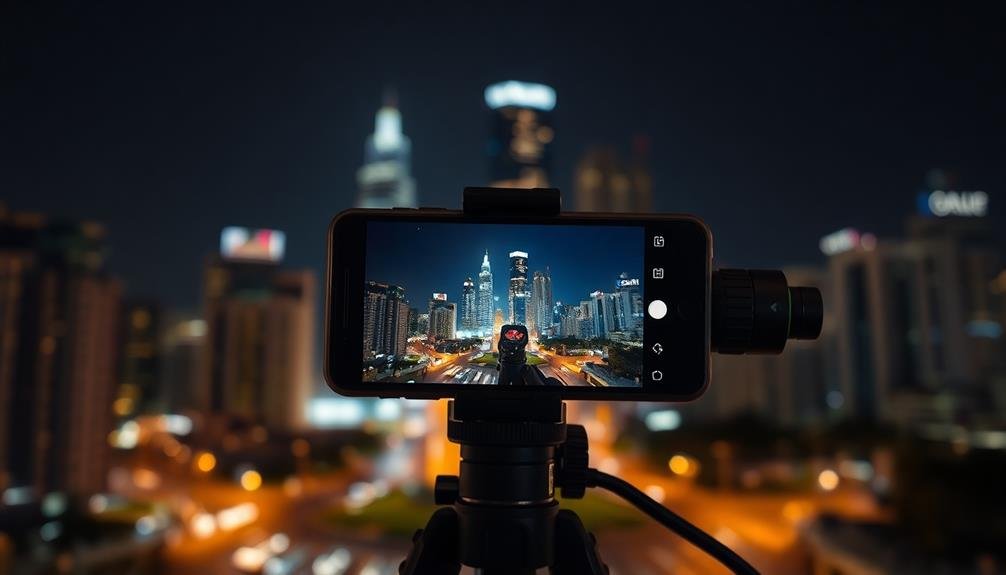
Enhancing overall photo quality in dark conditions goes beyond just noise reduction. You'll want to focus on multiple aspects to achieve the best results. Start by adjusting your camera settings, such as increasing the ISO and using a slower shutter speed. However, be cautious not to overexpose the image.
Next, consider using manual focus or tapping on your subject to guarantee sharpness. Many phones now offer night mode or similar features, which can greatly improve low-light photography. Don't forget to stabilize your device, either by using a tripod or leaning against a stable surface.
Post-processing can also make a considerable difference. Here's a quick guide to common adjustments:
| Adjustment | Purpose | Low-Light Tip | Impact |
|---|---|---|---|
| Exposure | Brighten | Increase carefully | High |
| Contrast | Define edges | Boost slightly | Medium |
| Shadows | Reveal details | Lift gently | High |
| Highlights | Prevent blowouts | Reduce if needed | Medium |
Improving Color Accuracy

Color accuracy presents a significant challenge in low-light phone photography. When you're shooting in dark conditions, your phone's camera struggles to capture accurate colors, often resulting in washed-out or distorted hues. To improve color accuracy, you'll need to focus on several key aspects of your photography process.
First, adjust your phone's white balance settings. Many camera apps allow you to manually set the white balance, helping you compensate for different light sources and their color temperatures. You can also use the HDR (High Dynamic Range) mode, which combines multiple exposures to create a more balanced image with better color representation.
Don't forget about post-processing. Use editing apps to fine-tune color saturation, temperature, and tint. Be careful not to overdo it, as excessive editing can lead to unnatural-looking results.
Consider using a color calibration card in your shots to establish a reference point for accurate colors during editing.
Lastly, invest in a small portable light source. Adding controlled lighting to your scene can dramatically improve color accuracy by providing consistent illumination and reducing the need for your phone's camera to compensate for low light conditions.
Increasing Dynamic Range
Increasing your phone's dynamic range can greatly improve the quality of low-light photos.
You'll notice enhanced shadow detail, revealing textures and objects that were previously lost in darkness.
At the same time, you'll capture more realistic scenes by retaining highlight information, preventing bright areas from becoming overexposed and washed out.
Improved Shadow Detail
While capturing details in dark areas of a photo can be challenging, modern smartphone cameras have made significant strides in improving shadow detail. You'll notice that newer phones can reveal intricate textures and subtle color variations in shadowy regions that were once lost to darkness.
This improvement is achieved through advanced image processing algorithms and enhanced sensor capabilities. When you take a photo, your phone's camera now captures a wider range of light intensities, allowing it to retain more information in both highlights and shadows.
You'll find that you can now see details in dark corners of rooms or under trees that were previously just black blobs.
To make the most of this feature, you should experiment with your phone's HDR (High Dynamic Range) mode. It'll help you balance exposure across your entire image, bringing out shadow details without overexposing brighter areas.
You can also try adjusting your phone's exposure compensation before shooting, slightly overexposing to lift shadows. Remember, though, that pushing shadow details too far can introduce noise, so aim for a natural-looking balance in your photos.
Enhanced Highlight Retention
Over the past few years, smartphone cameras have made remarkable progress in retaining highlight details. When you're shooting in low-light conditions, you'll often encounter high-contrast scenes with bright areas alongside deep shadows. Enhanced highlight retention helps you capture more information in these bright areas, preventing them from appearing as featureless white blobs in your photos.
This improvement is achieved through advanced HDR (High Dynamic Range) processing and computational photography techniques. Your phone's camera now takes multiple exposures in quick succession, then combines them to create a final image with a wider dynamic range.
You'll notice that bright windows, street lights, or neon signs in nighttime shots now retain more detail and color information.
To make the most of this feature, you should enable HDR mode when shooting in challenging lighting conditions. Some phones even offer an "Auto HDR" option, which automatically detects when it's needed.
More Realistic Scenes
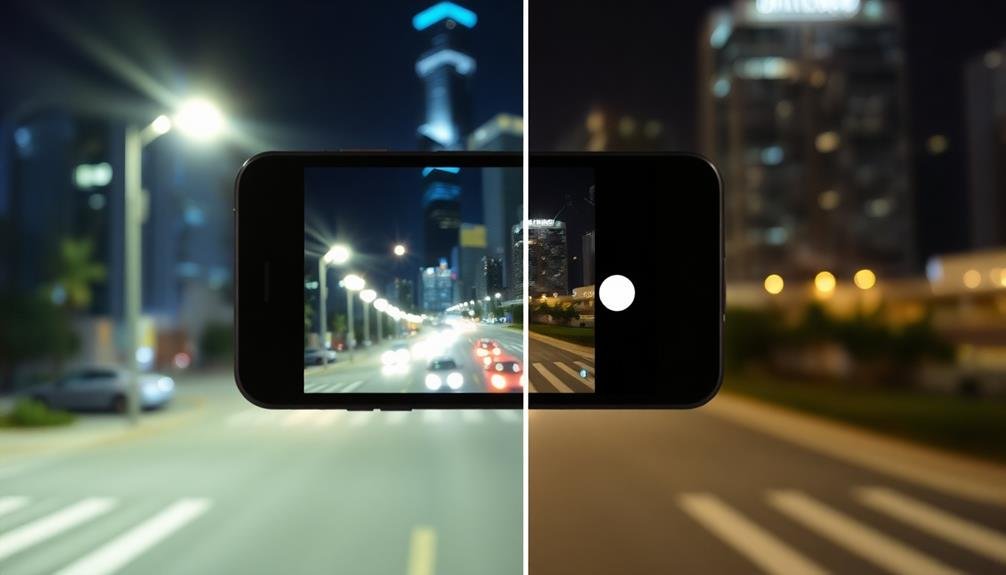
Dynamic range has become a game-changer in smartphone photography, especially for low-light scenes. When you're capturing dark photos, you'll often find that your phone struggles to balance the brightest and darkest areas. This is where improved dynamic range steps in, allowing you to capture more detail across the entire spectrum of light.
With enhanced dynamic range, you'll notice that shadows retain more information without becoming pitch black. At the same time, highlights won't appear as washed out or overexposed. This results in images that look more true to life, closely resembling what your eyes actually see.
You'll appreciate the difference when photographing scenes with high contrast, like city streets at night or dimly lit interiors. Your phone's camera will be able to capture the glow of streetlights without losing the details in darker areas.
Skin tones will appear more natural, and textures will be more pronounced, even in challenging lighting conditions.
Sharpening Fine Details

After reducing noise, sharpening fine details can bring your dark phone photos to life. You'll notice a significant improvement in the clarity and crispness of your images.
Start by adjusting the sharpness slider in your photo editing app, but be careful not to overdo it. Too much sharpening can create unsightly artifacts and make your photo look unnatural.
Focus on enhancing specific areas of your image, such as textures, edges, and intricate patterns. You'll be amazed at how much detail you can reveal in what initially appeared to be a dark, murky photo.
Use a mask or brush tool to apply sharpening selectively, concentrating on the most important elements of your composition.
When sharpening fine details, you'll experience:
- A sense of accomplishment as hidden textures emerge
- Excitement as your photo transforms from dull to vibrant
- Pride in your ability to salvage a seemingly hopeless image
Remember to zoom in and check your work at 100% magnification. This will help you spot any areas that need further adjustment or where you may have applied too much sharpening.
With practice, you'll develop an eye for balancing noise reduction and detail enhancement, creating stunning low-light photos that truly capture the essence of the moment.
Boosting Low-Light Performance

To boost your phone's low-light performance, you'll need to focus on two key areas: amplifying sensor sensitivity and extending exposure time.
By increasing your camera's ISO setting, you can make the sensor more responsive to available light, capturing brighter images in dim conditions.
You can also lengthen the exposure time, allowing more light to reach the sensor, but be aware that this may require a steady hand or a tripod to prevent motion blur.
Amplifying Sensor Sensitivity
Smartphone sensors are the unsung heroes in low-light photography. They're responsible for capturing light and converting it into digital information. To amplify sensor sensitivity, manufacturers employ various techniques to make the most of available light.
One method is to increase the sensor's physical size, allowing it to gather more light. You'll find larger sensors in high-end smartphones, resulting in better low-light performance.
Another approach is to use back-illuminated sensors, which move wiring behind the light-sensitive layer, increasing light capture efficiency.
Pixel binning is a popular technique where multiple pixels are combined into one larger "super pixel." This process increases light sensitivity at the cost of resolution. You'll often see this feature marketed as "quad-pixel" or "nona-pixel" technology.
Consider these emotional benefits of improved sensor sensitivity:
- Capture precious moments in dimly lit environments
- Preserve memories without harsh flash lighting
- Feel confident taking photos in any lighting condition
Extending Exposure Time
One of the most effective ways to boost low-light performance in smartphone photography is by extending exposure time. When you increase the duration your camera's sensor is exposed to light, you allow it to gather more photons, resulting in brighter, clearer images in low-light conditions.
Most modern smartphones offer a "Night Mode" or similar feature that automatically extends exposure time when it detects low-light scenes.
To use extended exposure effectively, you'll need to keep your phone steady. Any movement during a longer exposure can result in motion blur. Consider using a tripod or propping your phone against a stable surface.
Some phones employ computational photography techniques to counteract slight hand movements, allowing for handheld long exposures.
Be aware that extending exposure time isn't always ideal for moving subjects, as it can cause motion blur or ghosting effects. For static scenes, however, it's an excellent technique to capture more detail and reduce noise in dark environments.
Experiment with different exposure times to find the right balance between brightness and sharpness for your specific low-light situation.
Reducing Digital Artifacts
In addition to addressing noise, reducing digital artifacts is essential for improving the quality of dark phone photos. Digital artifacts are unwanted visual distortions that can appear in your images, especially in low-light conditions. These artifacts can manifest as blocky patterns, color banding, or strange pixelation that detracts from the overall image quality.
To reduce digital artifacts, you'll need to focus on several key areas. First, guarantee you're using the highest possible image quality settings on your phone. This means shooting in RAW format if available, as it preserves more data and gives you greater flexibility in post-processing.
Second, avoid excessive digital zoom, which can introduce artifacts by interpolating pixels. Instead, move closer to your subject or use optical zoom if your phone has it.
Consider the emotional impact of reducing digital artifacts:
- Relief: You'll feel a sense of accomplishment when your photos look cleaner and more professional.
- Confidence: You'll be proud to share your improved images with friends and family.
- Inspiration: Clearer, artifact-free photos will motivate you to capture more low-light scenes.
Achieving Professional-Looking Results
Four key strategies can help you achieve professional-looking results when taking dark phone photos.
First, stabilize your phone using a tripod or by resting it on a stable surface. This reduces camera shake, resulting in sharper images.
Second, manually adjust your camera settings. Lower the ISO to minimize noise, and use a slower shutter speed to capture more light.
Third, use the HDR (High Dynamic Range) mode if available. This feature takes multiple exposures and combines them, balancing highlights and shadows for a more balanced image.
Optimizing for Social Media
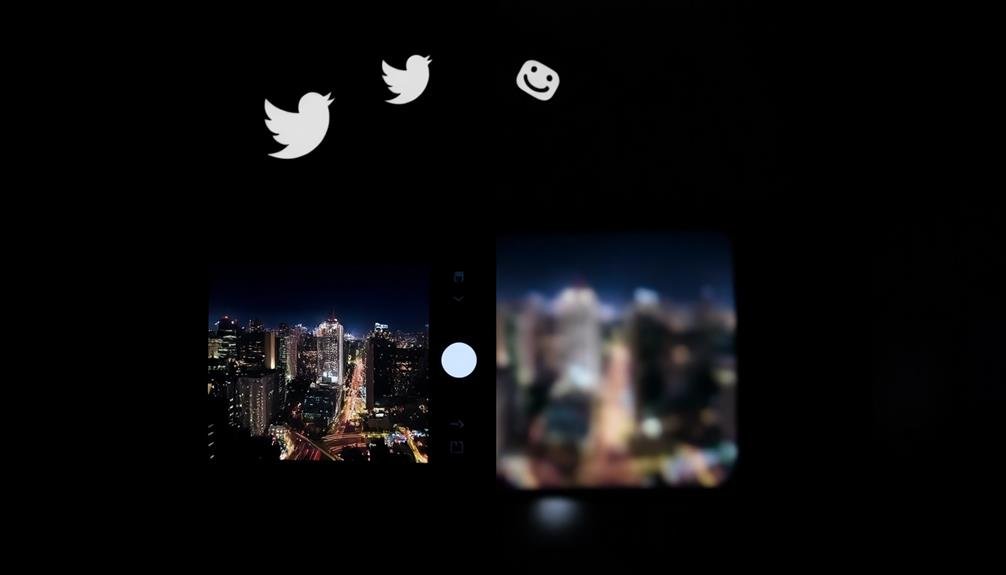
When optimizing dark phone photos for social media, three key considerations can make a significant difference.
First, focus on image size and resolution. Most platforms compress large images, so aim for a balance between quality and file size.
Second, consider the platform-specific aspect ratios. Instagram prefers square images, while Twitter and Facebook accommodate various formats. Adjust your photos accordingly to prevent unwanted cropping.
Lastly, pay attention to color accuracy and contrast. Social media feeds are often viewed on mobile devices, so make sure your photos stand out without appearing oversaturated. Use editing tools to enhance shadows and highlights, making your images pop without looking artificial.
Remember, social media is about evoking emotion and connection. When optimizing your dark phone photos, work to:
- Capture the mood and atmosphere of the moment
- Highlight interesting details that might be missed in brighter shots
- Create a sense of mystery or intrigue through strategic use of shadows
Extending Smartphone Camera Capabilities

How can you push your smartphone's camera beyond its default capabilities? Start by exploring third-party camera apps that offer manual controls. These apps allow you to adjust settings like ISO, shutter speed, and white balance, giving you more creative control over your shots.
Next, consider investing in external lenses that attach to your phone. Wide-angle, macro, and telephoto lenses can greatly expand your shooting options.
Don't overlook the power of add-on accessories. A sturdy tripod can help you capture sharp images in low light, while a gimbal stabilizer enables smooth video footage. For better lighting, try using a portable LED panel or a clip-on ring light. If you're serious about mobile photography, look into external microphones for improved audio quality in videos.
To enhance your post-processing capabilities, experiment with advanced editing apps. These tools often offer features like selective adjustments, curve manipulation, and noise reduction algorithms that surpass your phone's built-in options.
Frequently Asked Questions
How Does Noise Reduction Affect Battery Life When Taking Photos?
You'll find that noise reduction can affect your battery life when taking photos. It's a power-intensive process that uses more energy to analyze and adjust each image, potentially draining your battery faster during photo sessions.
Can Noise Reduction Be Applied to Videos Taken in Low Light?
Yes, you can apply noise reduction to low-light videos. It'll help improve image quality by reducing graininess and unwanted artifacts. Many modern smartphones and video editing software offer this feature, allowing you to enhance your dim-lighting footage.
Are There Privacy Concerns With Ai-Powered Noise Reduction Algorithms?
You should be aware of potential privacy risks with AI noise reduction. It could potentially reconstruct hidden details or enhance sensitive information in images. Always review your photos after processing and be cautious about sharing them publicly.
How Does Noise Reduction Impact File Size and Storage Requirements?
When you reduce noise in photos, you'll typically decrease file sizes. Cleaner images compress better, saving storage space. However, some advanced noise reduction techniques may actually increase file sizes slightly due to added processing data.
Can Excessive Noise Reduction Make Photos Look Unnatural or Overly Processed?
Yes, excessive noise reduction can make your photos look unnatural. You'll notice a loss of detail and texture, giving images a plastic-like appearance. It's best to strike a balance between reducing noise and preserving the photo's natural qualities.
In Summary
You've learned why reducing noise in dark phone photos is essential. It's not just about cleaner images; it's about preserving details, enhancing quality, and improving colors. By tackling noise, you'll achieve more professional results and expand your smartphone's capabilities. Remember, whether you're sharing on social media or printing your photos, noise reduction can make a significant difference. Keep experimenting with different techniques to find what works best for your photography style.


Leave a Reply