To capture stunning panoramas with your phone, start by mastering your device's panorama mode and stabilizing techniques. Choose scenes with expansive views and interesting elements, and lock your exposure and focus for consistency. Perfect your sweep technique by moving smoothly from the hips, maintaining a steady pace and consistent overlap between frames. When editing, adjust exposure, contrast, and colors to enhance impact. Avoid common mistakes like uneven horizons or moving subjects that can distort your image. With practice and attention to detail, you'll create breathtaking panoramas that showcase your surroundings in all their wide-angle glory. The world of panoramic photography is full of creative possibilities waiting to be explored.
Understanding Smartphone Panorama Mode

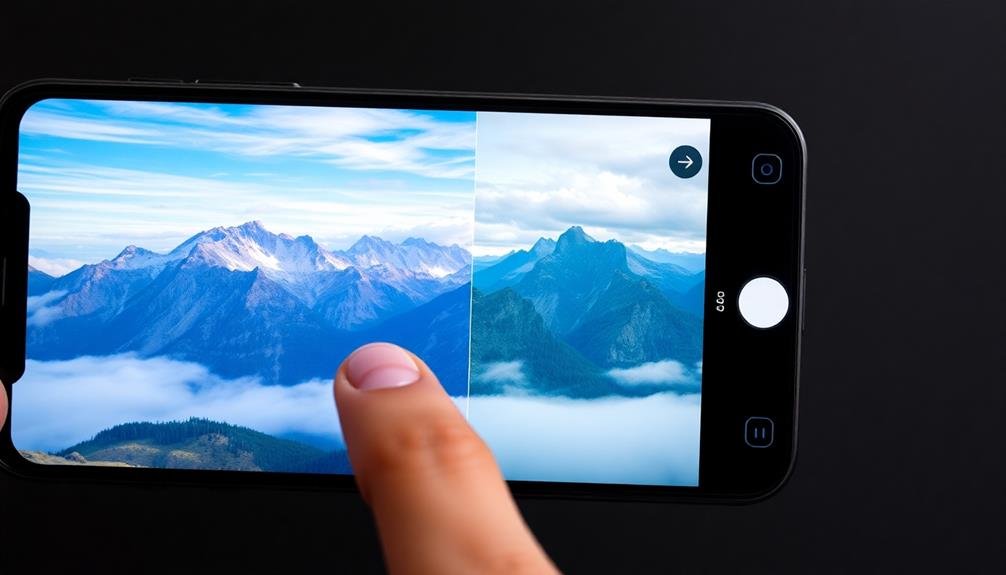
Three key features define smartphone panorama mode: wide field of view, automatic stitching, and guided capture. This mode allows you to create expansive images that go beyond your phone's standard camera frame. By sweeping your device across a scene, you'll capture a series of overlapping photos that are then combined into a single, wide image.
When you activate panorama mode, you'll see on-screen guides to help you move your phone steadily. Follow these guides carefully to guarantee smooth shifts between frames. As you pan, your phone's software is working to align and blend each new section with the previous ones, creating a seamless final image.
Most smartphones offer both horizontal and vertical panorama options. Horizontal panoramas are ideal for landscapes, while vertical panoramas work well for tall structures or waterfalls. Some advanced devices even allow for 360-degree panoramas, capturing the entire surrounding area.
Remember that panorama mode isn't just for wide vistas. You can use it creatively in tight spaces to exaggerate perspective or capture large groups in small rooms. Experiment with different subjects to discover unique applications for this versatile feature.
Stabilizing Your Phone

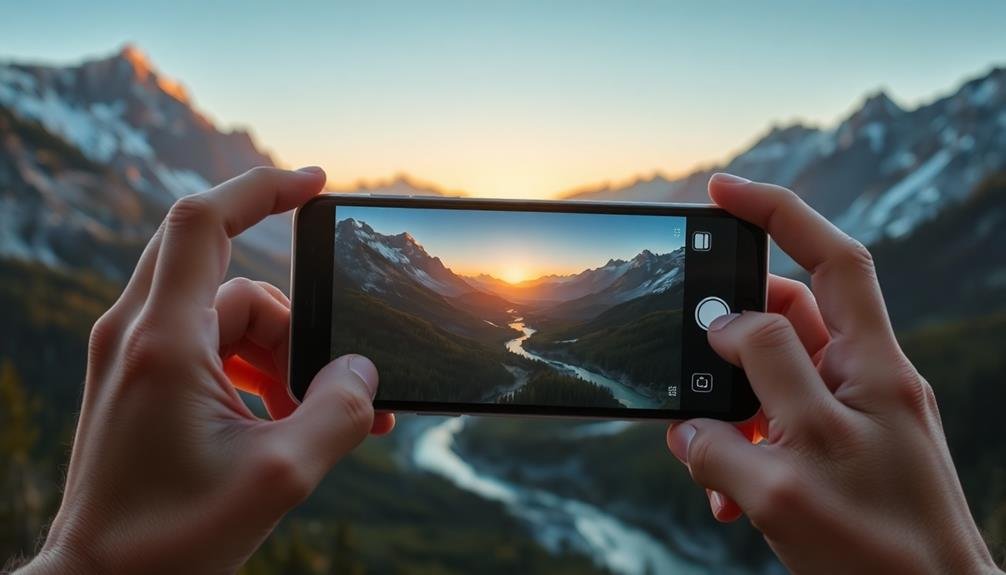
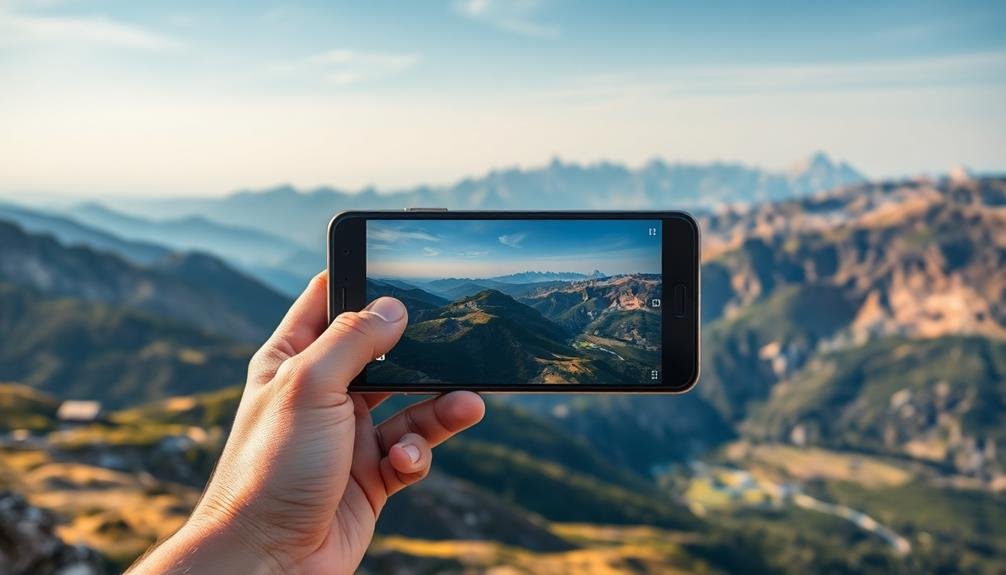
Once you've mastered the basics of panorama mode, it's vital to focus on stabilizing your phone. Steady hands are fundamental for capturing sharp, seamless panoramas. Start by holding your phone with both hands, keeping your elbows close to your body for added support. This stance helps minimize camera shake and guarantees smoother panning.
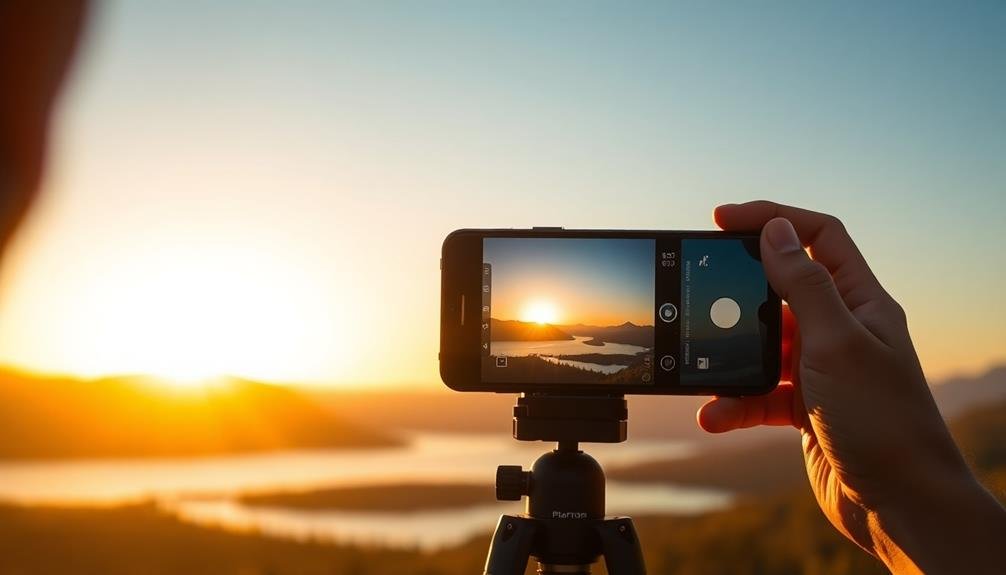
If you're struggling to maintain stability, consider using a tripod or monopod. These accessories provide a solid base for your phone, allowing for more consistent movement and reducing the risk of unwanted vertical shifts. Many smartphone tripods are compact and portable, making them ideal for on-the-go photography.
When a tripod isn't available, look for stable surfaces in your environment. Rest your phone on a wall, fence, or sturdy object to create a makeshift support. This technique can be particularly useful in low-light situations where longer exposure times are necessary.
Remember to move your body smoothly as you pan, pivoting from your hips rather than your arms. This method helps maintain a consistent height and angle throughout the panorama.
Choosing the Right Scene
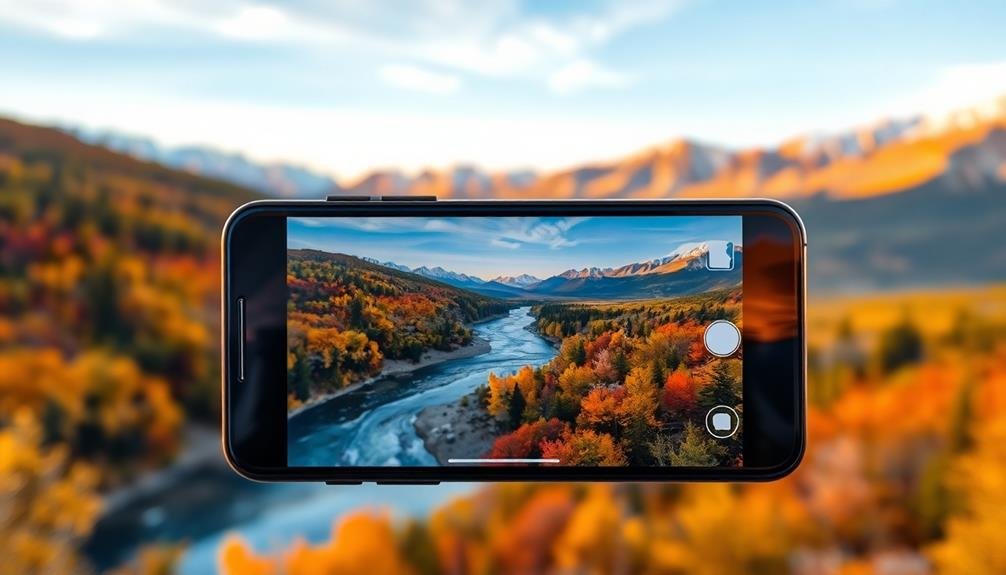
Selecting an appropriate scene is essential for creating fascinating panoramas. Look for expansive vistas with interesting elements throughout the frame. Landscapes with mountains, lakes, or cityscapes often make excellent subjects. Avoid scenes with too much movement, as this can cause stitching errors in your final image.
Consider the lighting conditions when choosing your scene. Early morning or late afternoon light can add warmth and depth to your panoramas. Avoid harsh midday sun, which can create unflattering shadows and blown-out highlights. If you're shooting indoors, make certain there's enough light to capture detail throughout the scene.
Pay attention to the composition of your panorama. Look for leading lines or natural frames that can guide the viewer's eye across the image. Include foreground elements to add depth and interest. Be mindful of any distracting elements that might detract from the overall impact of your panorama.
Don't limit yourself to horizontal panoramas. Vertical panoramas can be just as striking, especially when capturing tall structures or natural features. Experiment with different angles and perspectives to find the most compelling view of your chosen scene.
Mastering Exposure and Focus
To create stunning panoramas, you'll need to master exposure and focus techniques.
Start by locking your camera's exposure and focus settings to maintain consistency across all images in your panoramic sequence.
If you're shooting a scene with challenging lighting conditions, consider using HDR (High Dynamic Range) techniques to capture a well-balanced panorama with details in both highlights and shadows.
Lock Exposure and Focus
When creating panoramas, locking your exposure and focus is essential for achieving seamless results. Start by tapping on the screen to set your focus and exposure on a well-lit area of your scene. Then, use your phone's camera app to lock these settings. On most devices, you'll hold your finger on the screen until you see an "AE/AF Lock" indicator.
Once locked, your camera won't adjust as you pan, ensuring consistent brightness and sharpness across the entire panorama. This technique prevents jarring shifts between sections of your image.
| Benefit | Exposure Lock | Focus Lock |
|---|---|---|
| Consistency | Uniform brightness | Sharp throughout |
| Prevents | Banding effects | Blurry sections |
| Improves | Overall quality | Image details |
| Enables | Smoother blending | Crisp panoramas |
Remember to reset your lock when you've finished capturing your panorama. This allows your camera to readjust for your next shot. If you're shooting in challenging lighting conditions, consider using HDR mode in combination with locked settings for even better results. Practice this technique to elevate your panoramic photography and create stunning, professional-looking images with your smartphone.
HDR for Balanced Lighting
High Dynamic Range (HDR) can be a game-changer for panoramic photography in challenging lighting conditions. When you're capturing a wide scene with varying light levels, HDR helps balance exposure across the entire image. Most modern smartphones offer an HDR mode, which you should enable for your panoramas.
HDR works by taking multiple shots at different exposures and combining them into a single image. This technique preserves details in both bright and dark areas, resulting in a more balanced panorama. When using HDR for panoramas, move your phone slowly and steadily to allow the camera to capture multiple exposures for each section of the scene.
Be aware that HDR may not always be the best choice, especially in scenes with moving subjects or when you want to maintain high contrast. Experiment with HDR on and off to see which produces the best results for your specific panorama.
In situations with extreme lighting differences, such as shooting towards the sun, HDR can help prevent overexposed skies or underexposed foregrounds. Remember to review your panorama after capture to verify the HDR effect has produced the desired outcome.
Perfecting Your Sweep Technique
To capture stunning panoramas, you'll need to master your sweep technique.
Start by maintaining a steady hand and smooth motion as you pan across the scene, ensuring consistent overlap between each shot.
Choose a pivot point, typically your body's center, to rotate around, which helps minimize parallax errors and creates a more seamless final image.
Steady Hand, Smooth Motion
A steady hand and smooth motion are essential for capturing stunning panoramas. To achieve this, start by gripping your phone firmly with both hands. Keep your elbows tucked close to your body for added stability.
As you sweep, pivot from your waist rather than moving your arms, which helps maintain a consistent level and reduces shakiness. Practice a slow, controlled motion as you pan across the scene. Imagine you're painting a smooth line with your phone.
Don't rush; take your time to guarantee each part of the panorama is captured clearly. If your phone has a gridline feature, enable it to help you maintain a straight horizon line throughout the sweep.
For extra stability, consider using a tripod or monopod with a smartphone adapter. These tools can notably reduce camera shake and improve the overall quality of your panoramas.
If you don't have a tripod, try leaning against a stable surface like a wall or tree for added support. Remember to breathe steadily and avoid holding your breath, as this can cause subtle movements that affect image quality.
Maintain Consistent Overlap
When capturing panoramas, maintaining consistent overlap between frames is essential for seamless stitching. Aim for a 30-40% overlap between each shot to guarantee your phone has enough information to blend the images smoothly. As you sweep, move at a steady pace and pay attention to the on-screen guides that many camera apps provide.
To achieve consistent overlap, imagine dividing your scene into vertical sections. As you pan, wait for about a third of the previous frame to leave the viewfinder before capturing the next shot. This technique helps prevent gaps or misalignments in your final panorama.
If your phone doesn't have built-in panorama mode, you can still create stunning wide-angle shots by taking individual photos and stitching them later. In this case, use visual markers in the scene to gauge your overlap. Look for distinct objects or features that appear in multiple frames to serve as reference points.
Choose Pivot Point
For ideal panoramic shots, selecting the right pivot point is essential. This pivot point is the spot around which you'll rotate your phone as you capture the panorama. Choose a position that allows you to see the entire scene without obstructions. Typically, this means finding a spot with a clear view from left to right.
When you've found your pivot point, plant your feet firmly and keep them in place throughout the sweep. Rotate your body from the hips, keeping your arms close to your torso for stability. As you turn, imagine you're the tripod, with your body as the base and your arms as the head.
To maintain a level horizon, pick a spot in the distance as a reference point. Keep this point at the same height in your viewfinder as you pan.
If you're struggling with steadiness, try using a physical object like a railing or post as your pivot point. Rest your phone against it and slide it along as you capture the panorama.
Editing Panoramas for Impact
Once you've captured your stunning panoramic shot, editing is where the magic really happens. Start by adjusting the basic elements: exposure, contrast, and saturation. Brighten underexposed areas and tone down overly bright spots to balance the overall image.
Use the crop tool to refine the composition, removing any distracting elements at the edges. Consider straightening the horizon if it's slightly off-kilter. Many editing apps offer a specific tool for this purpose.
Next, enhance the colors to make your panorama pop. Boost the vibrancy of blue skies or green landscapes, but be careful not to oversaturate.
Apply selective adjustments to different parts of the image. Darken skies to create drama or lighten shadows in foreground elements. Use the dehaze tool to add clarity and depth to distant objects.
If your panorama includes people or moving objects, check for any stitching errors and use the clone or healing tool to fix them.
Avoiding Common Panorama Mistakes
Three common mistakes can ruin an otherwise perfect panorama.
First, failing to maintain a consistent horizon line can result in a wavy or distorted image. To avoid this, keep your phone level and move it smoothly across the scene. Use your phone's built-in level or grid feature to help maintain a straight horizon.
Second, moving too quickly can cause blurring or gaps in your panorama. Take your time and move steadily, allowing your phone's camera to capture each segment clearly. If your app has a guide arrow, follow it closely to guarantee proper overlap between shots.
Lastly, ignoring proper exposure can lead to uneven lighting across your panorama. Before you start, tap on the brightest area of your scene to set the exposure. This will help prevent overexposed highlights or underexposed shadows in parts of your image.
Additionally, watch out for moving subjects, as they can appear multiple times or become distorted in your final panorama. If possible, choose scenes with minimal movement or time your shot to avoid moving objects.
Frequently Asked Questions
Can I Create Vertical Panoramas With My Smartphone?
Yes, you can create vertical panoramas with your smartphone. Simply turn your device sideways and sweep it up or down instead of horizontally. Many modern smartphones have this feature built into their camera apps. Give it a try!
How Do I Stitch Multiple Panoramas Together for a 360-Degree View?
To stitch multiple panoramas for a 360-degree view, you'll need specialized software. Try apps like PTGui or Hugin. Capture overlapping images, import them into the software, align key points, and let it blend the panoramas seamlessly.
What's the Best Way to Include People in Panoramic Shots?
To include people in panoramic shots, you'll want to position them near the center of the frame. Have them stay still as you pan, or ask them to move along with your camera's motion for a fun, repeated effect.
Are There Any Third-Party Panorama Apps Better Than Built-In Smartphone Options?
Yes, there are excellent third-party panorama apps. You'll find options like Panorama 360, DMD Panorama, and Google Street View offering advanced features, better stitching, and higher resolution than your phone's built-in app. Try them for improved results.
How Can I Create Panoramas in Low-Light or Nighttime Conditions?
To create low-light or nighttime panoramas, you'll need to use a tripod for stability. Set your phone to manual mode, increase ISO, and slow down shutter speed. Use night mode if available, and consider HDR for better results.
In Summary
You've now got the tools to take breathtaking panoramas with your smartphone. Remember to keep your phone steady, choose inspiring scenes, and perfect your sweep technique. Don't forget to experiment with exposure and focus for the best results. With practice, you'll avoid common mistakes and capture stunning wide-angle shots. Finally, enhance your panoramas with thoughtful editing. Now get out there and start creating epic panoramic views that'll wow your audience!


Leave a Reply