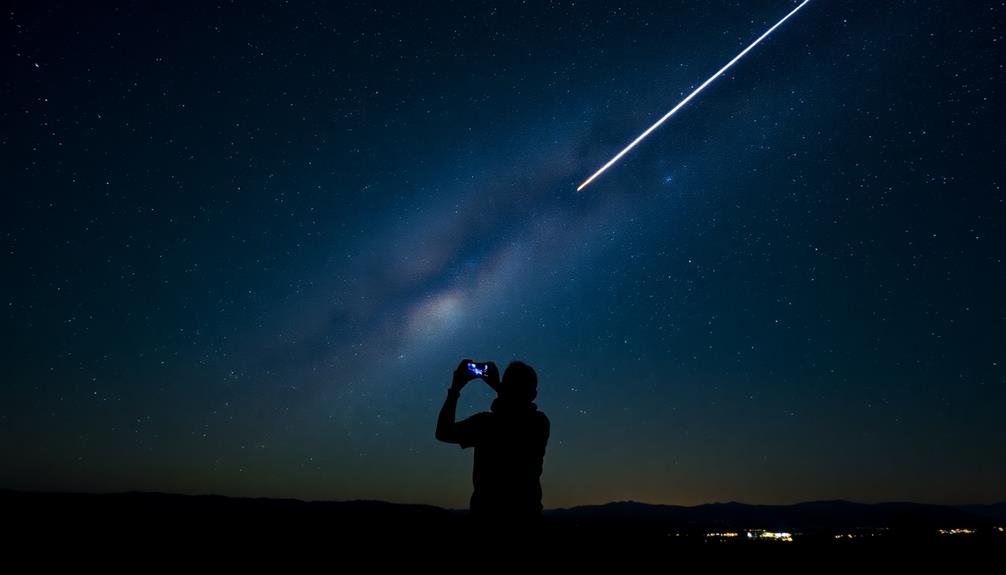
To capture stunning starry night photos with your smartphone, start by finding a dark location away from light pollution. Use your phone's manual or "pro" mode to control settings like ISO (start at 800-3200), shutter speed (15-30 seconds), and focus (set to infinity). Stabilize your phone with a tripod or steady surface, and enable the timer to avoid camera shake. Apps like Stellarium or PhotoPills can help you plan your shoot and identify celestial objects. Don't forget to experiment with long exposures for star trails or time-lapse techniques. With practice and the right techniques, you'll be amazed at what your phone can capture in the night sky.
Understanding Night Sky Photography Basics

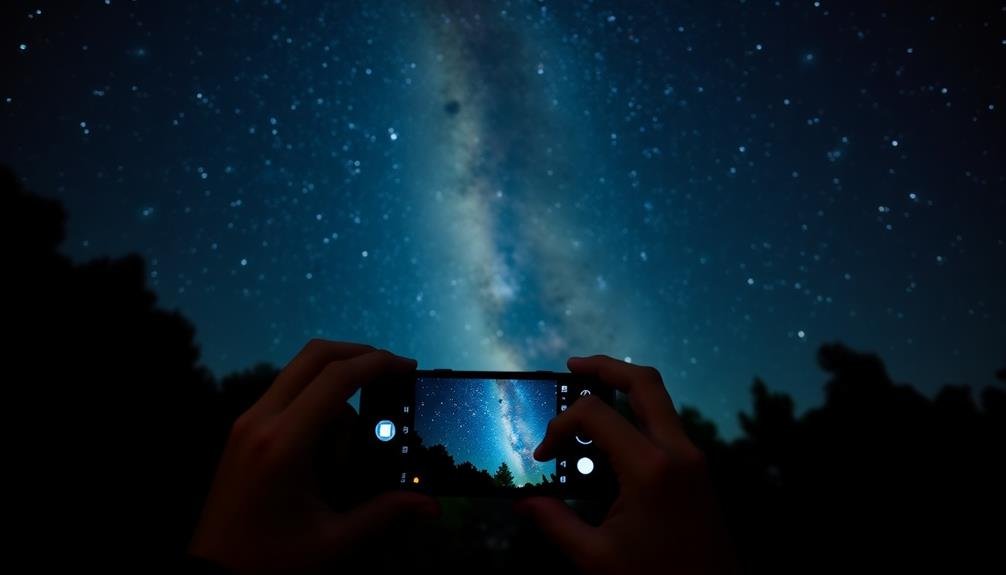
Capturing the night sky with your phone requires understanding a few fundamental principles. First, you'll need to find a dark location away from light pollution. This allows you to see and photograph more stars.
Next, stability is essential. Use a tripod or prop your phone against a stable surface to avoid camera shake during long exposures.
Familiarize yourself with your phone's manual or "pro" mode. This gives you control over key settings like ISO, shutter speed, and focus. For star photography, you'll typically want a high ISO (1600-3200), a wide aperture (lowest f-number), and a long exposure time (15-30 seconds). However, these settings may vary depending on your specific phone and conditions.
Learn to focus manually by tapping on a bright star or distant light source. Auto-focus often struggles in low light.
Consider downloading a specialized night sky photography app for additional features and control. Finally, be patient and experiment. Night sky photography takes practice, so don't get discouraged if your first attempts aren't perfect.
With time and experience, you'll learn to capture stunning starry images with your phone.
Selecting the Right Location

Now that you've grasped the basics, let's focus on where to take your nighttime photos. Finding the right location is vital for capturing stunning starry skies with your phone. Look for areas with minimal light pollution, typically far from cities and towns. Dark sky reserves and national parks are excellent choices.
Check light pollution maps online to find the darkest spots near you.
Consider the landscape elements that can enhance your composition. Mountains, lakes, or interesting foreground objects can add depth and interest to your night sky shots. Scout locations during daylight hours to familiarize yourself with the terrain and identify potential hazards.
Timing is also important. Plan your shoot around the lunar cycle; a new moon offers the darkest skies for star photography. Check weather forecasts for clear nights, and be aware of seasonal changes in star positions. Apps like Stellarium can help you predict star and Milky Way locations.
Lastly, confirm you have permission to access the location at night and inform someone of your plans for safety. Pack essentials like a headlamp, warm clothing, and extra batteries for your extended nighttime shoot.
Checking Weather and Moon Phases
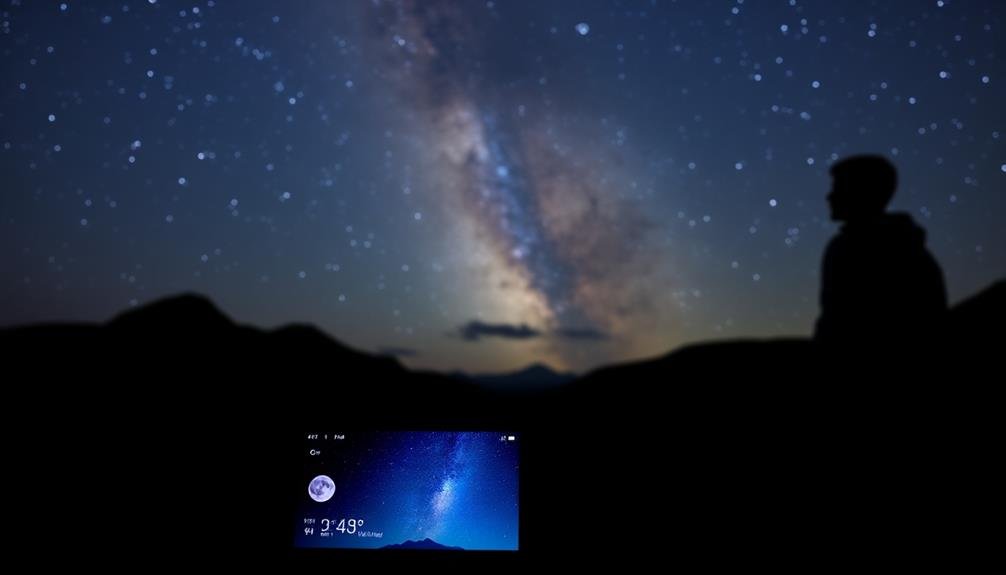
The weather and moon phases play essential roles in successful nighttime phone photography. When planning your stargazing session, check reliable weather forecasts for clear skies and low humidity.
Clouds, even thin ones, can obscure stars and diminish the quality of your shots. Low humidity reduces atmospheric distortion, allowing for crisper images.
Take into account the moon's phase and position in the sky. A full moon can wash out fainter stars, while a new moon provides the darkest skies for capturing the Milky Way and other celestial objects.
Use moon phase calendars and astronomy apps to plan your shoots around favorable lunar conditions.
Here are key factors to keep in mind:
- Cloud cover: Aim for 0-10% cloud coverage
- Humidity: Look for relative humidity below 50%
- Moon phase: New moon to quarter moon is ideal for most stargazing
Don't forget to check for light pollution in your chosen location. Dark sky maps can help you find areas with minimal artificial light interference.
Essential Apps for Stargazing

While understanding weather conditions and moon phases is essential, having the right apps on your phone can greatly enhance your stargazing experience. These apps can help you identify celestial objects, plan your stargazing sessions, and even control your telescope.
Here are some must-have apps for stargazing enthusiasts:
| App Name | Purpose | Platform |
|---|---|---|
| Stellarium | Sky mapping | iOS, Android |
| SkySafari | Object identification | iOS, Android |
| Night Sky | Augmented reality | iOS |
| Star Walk 2 | Constellation finder | iOS, Android |
| PhotoPills | Astrophotography planning | iOS, Android |
| SkyView Lite | Star and planet locator | iOS, Android |
These apps use your phone's GPS and sensors to provide real-time information about the night sky. They'll help you locate specific stars, planets, and constellations, making it easier to capture stunning photos. Some even offer detailed information about celestial objects and upcoming astronomical events.
Don't forget to enable your phone's red light filter or use a red light app to preserve your night vision while using these apps. With these tools at your fingertips, you'll be well-equipped to explore and photograph the wonders of the night sky.
Manual Mode Camera Settings

In order to capture stunning nighttime photos of stars and celestial objects, you'll need to master your phone's manual camera settings. Start by setting your ISO to a high value, typically between 1600 and 3200, to increase your camera's light sensitivity.
Next, adjust your shutter speed to a longer exposure time, around 15 to 30 seconds, allowing more light to reach the sensor. Set your focus to infinity to guarantee the distant stars appear sharp. If your phone allows, use a wider aperture (lower f-number) to let in more light. White balance should be set to "daylight" or a cooler temperature to maintain the natural colors of the night sky.
To enhance your success, remember these key points:
- Use a tripod or stable surface to eliminate camera shake
- Enable your phone's timer or use a remote shutter to avoid touching the device
- Experiment with different settings to find the best combination for your specific phone and conditions
ISO Sensitivity for Star Shots
When capturing stars with your phone, you'll need to increase the ISO sensitivity to detect more light.
Higher ISO settings will reveal more stars, but you'll have to balance this with the increased noise that comes with higher sensitivity.
For most smartphones, try starting with an ISO between 800 and 3200, adjusting based on your specific model's capabilities and the darkness of your location.
Higher ISO, More Stars
Most smartphone photographers shy away from high ISO settings, fearing excessive noise in their images.
However, when it comes to capturing stars, you'll need to push your ISO higher than usual. The night sky is dark, and your phone's sensor needs all the light it can get to reveal those distant celestial objects.
By increasing your ISO, you're fundamentally making your phone's sensor more sensitive to light. This allows you to capture more stars and even faint nebulae that might otherwise be invisible.
While it's true that higher ISO can introduce noise, modern smartphones have improved noise reduction algorithms that help mitigate this issue.
When shooting stars with your phone, consider these tips:
- Start with ISO 1600 and gradually increase if needed
- Use a longer exposure time to compensate for lower ISO
- Experiment with different ISO values to find the sweet spot
Balancing Noise and Detail
As you venture into higher ISO settings for star photography, you'll encounter a delicate balance between capturing more celestial detail and managing digital noise. Higher ISO values allow your phone's camera to detect fainter stars, but they also introduce unwanted graininess to your images.
To find the sweet spot, start with ISO 1600 and gradually increase it while monitoring the results. Pay attention to how many stars become visible and assess the overall image quality. You'll likely find that ISO 3200 or 6400 yields the best results on most modern smartphones.
However, don't be afraid to push it further if your phone can handle it. Some high-end devices perform well even at ISO 12800.
To mitigate noise, use noise reduction features in your camera app or post-processing software. These tools can help smooth out grainy areas while preserving star details.
Experiment with different noise reduction levels to find what works best for your specific phone and shooting conditions. Remember, a slightly noisy image with more visible stars is often preferable to a clean but star-sparse shot.
Trust your artistic judgment and find the balance that suits your style.
ISO Range Recommendations
Now that we've explored the balance between detail and noise, let's focus on specific ISO recommendations for star photography with your phone.
Most modern smartphones offer ISO ranges from 50 to 6400 or higher. For stargazing photos, you'll generally want to use higher ISO settings to capture more light. However, the exact range will depend on your phone's capabilities and the darkness of your location.
As a starting point, try these ISO ranges:
- 800-1600: For darker skies with minimal light pollution
- 1600-3200: For moderately dark skies or when capturing dimmer stars
- 3200-6400: For challenging conditions or capturing the Milky Way
Begin with the lower end of these ranges and gradually increase the ISO if needed.
Remember, higher ISOs will introduce more noise, so find the sweet spot that captures enough stars without compromising image quality.
If your phone has a "night mode" or similar feature, it might automatically adjust the ISO for you.
Experiment with both manual and automatic settings to determine which produces the best results for your specific phone and shooting conditions.
Shutter Speed for Celestial Objects
When capturing celestial objects with your phone, shutter speed plays a vital role.
You'll need to experiment with long exposures to capture the faint light of stars, while also considering how to capture planetary movement without creating unwanted star trails.
Finding the right balance will allow you to freeze celestial objects in place or intentionally show their motion across the night sky.
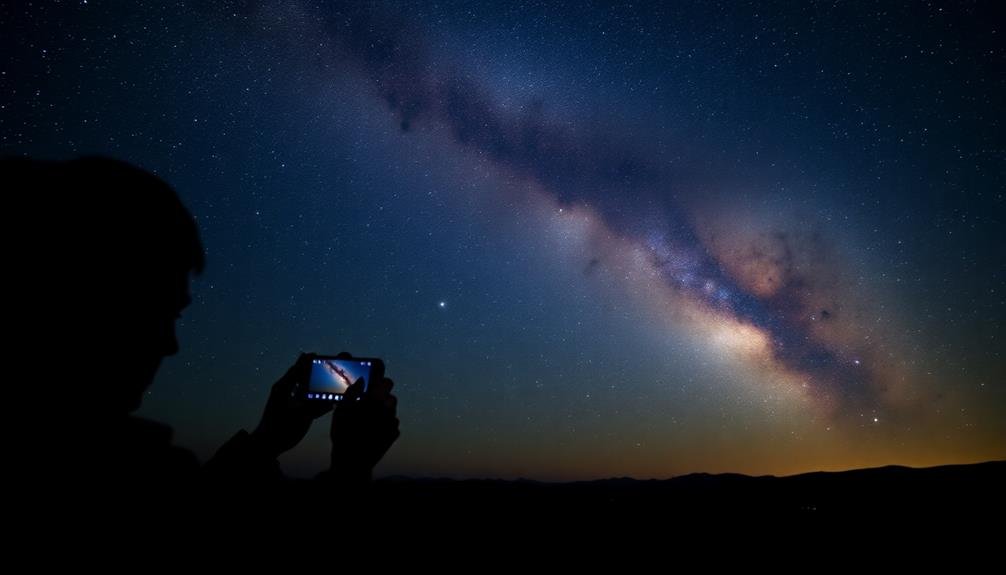
Long Exposures for Stars
To capture stunning images of stars and celestial objects, you'll need to master long exposure techniques. Long exposures allow more light to reach your phone's sensor, revealing the faint glow of distant stars and creating mesmerizing star trails.
Start by setting your phone's camera to manual or pro mode, which gives you control over shutter speed and ISO. For pinpoint stars, use the "500 rule": divide 500 by your lens's focal length to determine the maximum exposure time before stars begin to trail. For example, with a 28mm equivalent lens, your maximum exposure would be about 18 seconds.
To create star trails, aim for exposures of 30 seconds or longer.
Here are some tips for successful long exposures:
- Use a tripod or stable surface to keep your phone steady
- Activate your phone's timer or use a remote shutter to avoid camera shake
- Experiment with different ISO settings to balance light sensitivity and noise
Capturing Planetary Movement
While long exposures are great for capturing stars, photographing planets requires a different approach. Planets move faster across the night sky than stars, so you'll need to use shorter exposure times to avoid blurring. For most smartphones, try starting with a shutter speed of 1/15 to 1/30 of a second.
To capture planetary movement, you'll want to take multiple shots over time. Set up your phone on a tripod and use a timer or remote shutter to minimize camera shake. Take a series of photos at regular intervals, such as every 15 minutes, over the course of several hours. This will allow you to create a timelapse or composite image showing the planet's path across the sky.
When photographing bright planets like Venus or Jupiter, you may need to lower your ISO to prevent overexposure. Experiment with ISO settings between 100 and 400.
For dimmer planets like Mars or Saturn, you might need to increase your ISO to 800 or higher. Remember to use manual focus and set it to infinity to guarantee sharp images of distant celestial objects.
Avoiding Star Trails
Star trails can often be an unwanted effect in nighttime photography, especially when you're aiming to capture crisp images of celestial objects. To avoid this, you'll need to use faster shutter speeds. The key is finding the right balance between exposure time and star movement.
A good rule of thumb is the "500 Rule." Divide 500 by your lens's focal length to determine the maximum exposure time in seconds before stars start to trail. For example, with a 24mm lens, your maximum exposure would be about 20 seconds (500 ÷ 24 = 20.8).
To compensate for shorter exposure times, you'll need to:
- Increase your ISO setting
- Use a wider aperture (lower f-number)
- Choose a camera or phone with good low-light performance
Focusing Techniques in Dark Environments
Although focusing your phone's camera in dark environments can be challenging, mastering this skill is essential for capturing stunning nighttime images. In the absence of sufficient light, your phone's autofocus may struggle to lock onto subjects. To overcome this, switch to manual focus mode if your camera app offers it. You'll have more control over the focus point, ensuring sharp star images.
Another effective technique is to use the infinity focus setting. This setting adjusts your lens to focus on distant objects, ideal for capturing stars. If your phone doesn't have an infinity focus option, try focusing on the brightest star or planet visible. Alternatively, you can use a bright, distant light source on Earth to set your focus.
For more precise focusing, use the digital zoom feature. Zoom in on a bright star, then manually adjust the focus until the star appears as a sharp point of light. Once you've achieved focus, zoom back out to compose your shot.
Remember to disable any focus-assist lights, as they can interfere with your night vision and the overall image quality. With practice, you'll become proficient at focusing in low-light conditions, resulting in crisp, detailed starry night photos.
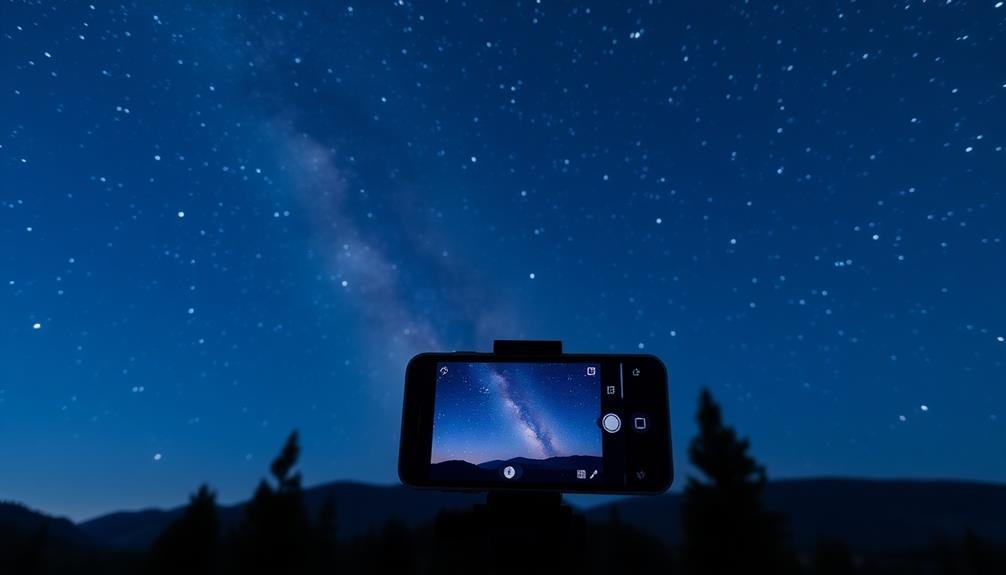
Using Tripods and Stabilization Methods
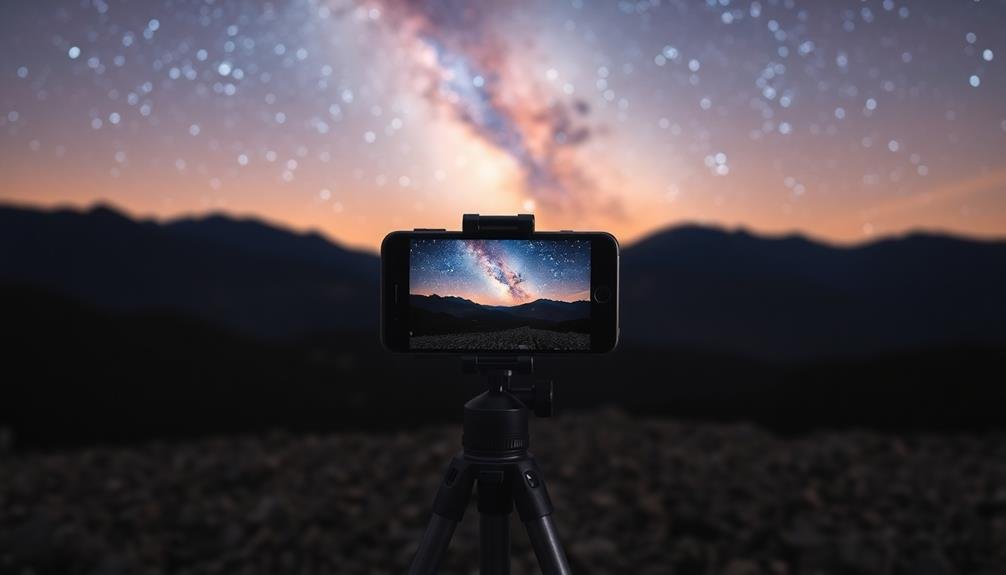
Stabilization is essential for capturing sharp nighttime photos with your phone. While dedicated cameras have built-in stabilization systems, most smartphones rely on software-based solutions that aren't as effective in low light. That's where tripods and other stabilization methods come in handy.
A tripod is your best friend for long-exposure shots of the night sky. It'll keep your phone steady, allowing you to use longer shutter speeds without introducing blur.
When choosing a tripod for your phone, consider these options:
- Lightweight travel tripods with adjustable legs
- Flexible mini-tripods that can wrap around objects
- Phone-specific tripods with built-in mounts
If you don't have a tripod, there are still ways to stabilize your phone. Try propping it against a stable surface like a rock or tree, or use a makeshift support like a bag of rice.
Some photographers even use their car's hood or roof as a stable platform.
Remember to use your phone's self-timer or a remote shutter release to avoid camera shake when pressing the capture button.
With these stabilization techniques, you'll be well on your way to capturing stunning starry night photos.
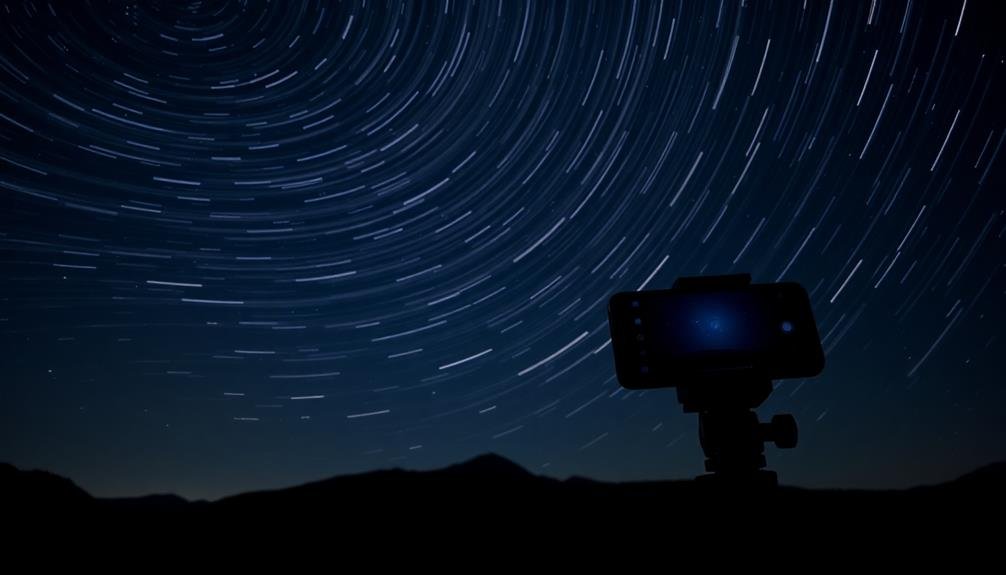
Capturing Star Trails With Smartphones

With the right techniques, you can capture stunning star trails using your smartphone. To start, you'll need a camera app that allows for manual control and long exposures. Set your phone to its highest ISO setting and the longest shutter speed available, typically 30 seconds.
Position your phone on a stable tripod, pointing at the night sky. Choose a composition that includes a stationary foreground element for added interest. Focus manually on a bright star or distant light source. Take multiple consecutive exposures, ideally for at least an hour.
To create the final image, you'll need to stack these exposures using a specialized app or computer software. Apps like StarStaX or Sequator can automatically align and blend your images, creating smooth star trails.
Remember to shoot in RAW format if possible, as it allows for better post-processing. Keep your phone's screen brightness low to preserve your night vision, and use a remote shutter or timer to avoid camera shake.
Time-Lapse Techniques for Starry Nights
Time-lapse photography can transform your starry night shots into stunning visual journeys.
You'll need to set up your smartphone on a stable tripod and use a dedicated time-lapse app to capture a series of images over several hours.
Once you've collected your footage, you can edit it using mobile video editing apps to enhance colors, adjust exposure, and create smooth shifts between frames.
Setting up Time-Lapse
Capturing the slow dance of stars across the night sky requires mastery of time-lapse techniques. To set up a time-lapse on your smartphone, you'll need a sturdy tripod, a reliable time-lapse app, and patience.
Start by finding a dark location away from light pollution and secure your phone to the tripod. Open your chosen time-lapse app and adjust the settings. You'll want to set a long interval between shots, typically 15-30 seconds, to capture star movement. Determine the duration of your time-lapse; for star trails, aim for at least an hour.
Enable manual focus and set it to infinity to keep the stars sharp. Before starting your time-lapse, consider these essential tips:
- Use airplane mode to prevent interruptions
- Disable auto-brightness and set screen brightness to minimum
- Confirm your phone's battery is fully charged or use a power bank
Once you've configured your settings, start the time-lapse and let your phone work its magic. Remember, longer durations will result in more dramatic star trails.
After the capture is complete, your app will compile the images into a stunning video showcasing the celestial movement.
Editing Starry Night Footage
Once you've captured your starry night time-lapse, it's time to transform that raw footage into a stunning visual masterpiece. Start by importing your images into a video editing software like Adobe Premiere Pro or DaVinci Resolve. Adjust the frame rate to achieve your desired playback speed; 24-30 fps typically works well for star trails.
Next, color-correct your footage to enhance the night sky's beauty. Boost contrast and adjust white balance to bring out the stars' natural colors. Consider using a noise reduction filter to minimize graininess in darker areas.
To create smooth star trails, try using the "Echo" effect or frame blending techniques. This will help connect the stars' movement across frames, resulting in fluid, unbroken trails.
For a more dynamic look, experiment with subtle zooms or pans using keyframes. This can add depth and movement to your time-lapse, drawing viewers' attention to specific celestial features.
Post-Processing Astrophotography on Phones

Post-processing wizardry can transform your raw astrophotography shots into stunning celestial masterpieces. With the right apps and techniques, you can enhance your starry night images directly on your phone.
Start by downloading a powerful editing app like Snapseed, Adobe Lightroom Mobile, or Pixlr. These apps offer advanced tools for adjusting exposure, contrast, and color balance.
Begin by reducing noise and enhancing sharpness to bring out the stars' clarity. Adjust the white balance to correct any color casts and create a more natural night sky appearance. Increase contrast to make stars pop against the dark background, but be careful not to overdo it.
Use selective editing to brighten specific areas without affecting the entire image.
For more advanced editing, consider:
- Stacking multiple exposures to reduce noise and increase detail
- Creating star trails by blending a series of long-exposure shots
- Adding a subtle glow effect to enhance the Milky Way's appearance
Overcoming Common Nighttime Photography Challenges
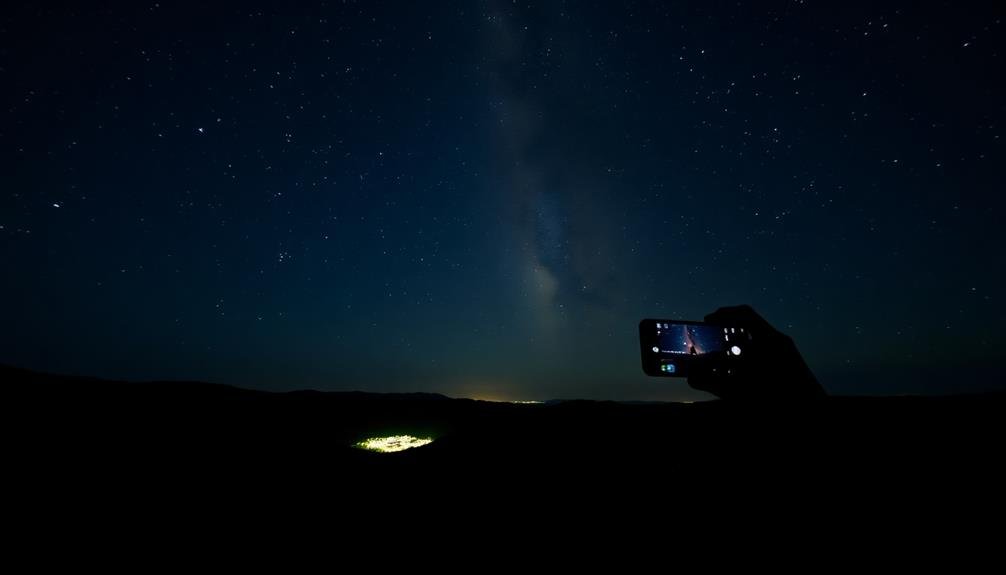
While post-processing can work wonders, it's even better to start with high-quality nighttime photos. To overcome common challenges in nighttime phone photography, you'll need to address several key issues.
First, tackle camera shake by using a tripod or stabilizing your phone against a solid surface. If you don't have a tripod, try propping your phone against a rock or tree.
Next, combat noise by lowering your ISO settings as much as possible while still capturing enough light. Use your phone's manual mode to adjust exposure time, allowing more light to reach the sensor. To prevent star trails, follow the "500 rule": divide 500 by your lens's focal length to determine the maximum exposure time in seconds.
Deal with focusing issues by manually focusing on a bright star or distant light source. Use your phone's focus peaking feature if available.
To reduce light pollution, find a dark sky location away from city lights or use light pollution filters.
Frequently Asked Questions
Can I Use Filters for Night Sky Photography on My Smartphone?
Yes, you can use filters for night sky photography on your smartphone. They'll help reduce light pollution and enhance celestial details. Consider using clip-on filters or specialized apps that offer digital filter effects for your night sky shots.
How Do I Protect My Phone From Condensation During Long Exposures?
You can protect your phone from condensation during long exposures by using a silica gel packet or hand warmers. Keep your device in a ziplock bag when not in use, and avoid sudden temperature changes. Wipe off any moisture immediately.
Are There Specific Phone Models Best Suited for Astrophotography?
You'll find that many flagship phones excel at astrophotography. Look for models with large sensors, wide apertures, and manual controls. Google Pixel, iPhone Pro, and Samsung Galaxy S series are popular choices for capturing stunning night sky shots.
What's the Ideal Focal Length for Capturing the Milky Way?
You'll want to use a wide-angle lens with a focal length between 14-24mm for capturing the Milky Way. This range allows you to frame the galaxy's expanse while minimizing star trails. Don't forget to use a tripod!
How Can I Reduce Noise in Nighttime Phone Photos Without Post-Processing?
To reduce noise in nighttime phone photos without post-processing, you'll want to use a lower ISO, longer exposure time, and a tripod. Don't forget to enable your phone's night mode if available. Clean your lens thoroughly before shooting.
In Summary
You're now equipped to capture stunning night sky images with your smartphone. Remember to experiment with settings, be patient, and practice often. Don't forget to enjoy the stargazing experience while you're out there. With these techniques, you'll be able to preserve and share the beauty of the cosmos through your phone's lens. Keep pushing your creativity and exploring new ways to photograph the night sky. Happy shooting!


Leave a Reply