
To master RAW image stacking on your phone, start by selecting a camera app with manual controls and RAW capture. Enable RAW mode and use a tripod or stable surface for shooting. Employ burst mode to capture multiple exposures quickly. In post-processing, align your images and adjust exposure and white balance. Remove noise through stacking algorithms and enhance details with careful sharpening. Choose compatible stacking software for your device and export your results in high quality. Share your stunning stacked images on social media platforms, optimizing for each. By following these tips, you'll be well on your way to creating professional-quality photos with your smartphone.
Choose the Right Camera App
Frequently, the success of RAW image stacking begins with selecting the right camera app. Your phone's default camera app may not offer RAW capture capabilities, so you'll need to explore third-party options.
Look for apps that support manual controls and RAW file formats like DNG or Adobe's DNG. Popular choices include ProCamera, Halide, and Adobe Lightroom Mobile. These apps give you full control over exposure settings, allowing you to capture consistent images for stacking.
Confirm the app you choose offers burst mode or interval shooting, as this feature is essential for capturing multiple frames quickly. Check if the app allows you to lock focus and exposure settings between shots. This consistency is important for successful image stacking.
Some advanced apps even offer built-in alignment and stacking features, streamlining your workflow. Consider the app's user interface and ease of use. You'll want something intuitive that doesn't slow you down during shoots.
Look for apps with good reviews and regular updates to guarantee compatibility with your phone's latest features. Finally, test a few options to find the one that best suits your shooting style and produces the highest quality RAW files for stacking.
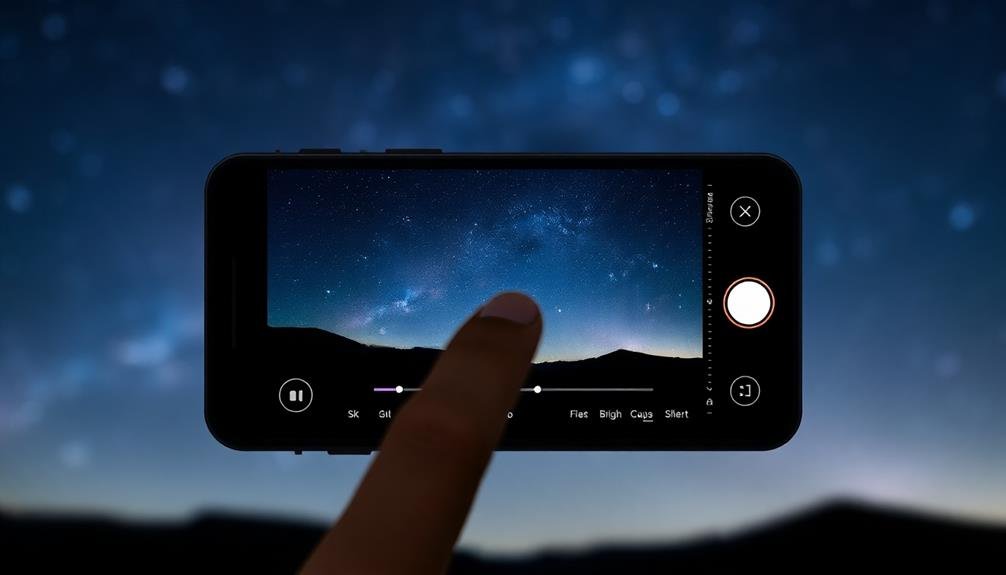
Enable RAW Capture Mode

Once you've found this setting, toggle it on.
Keep in mind that RAW files are considerably larger than standard JPEG images, so verify you have enough storage space on your device. Some apps may require you to manually select RAW mode before each shot, while others will remember your preference.
When shooting in RAW, you'll notice that the images may appear less vibrant on your phone's screen.
Don't worry – this is normal. RAW files contain unprocessed data, giving you more control over the final image during editing.
As you prepare to take your series of images for stacking, make certain RAW mode remains enabled for each shot.
This consistency is essential for achieving the best results when combining multiple exposures later in your image stacking workflow.
Steady Your Phone While Shooting
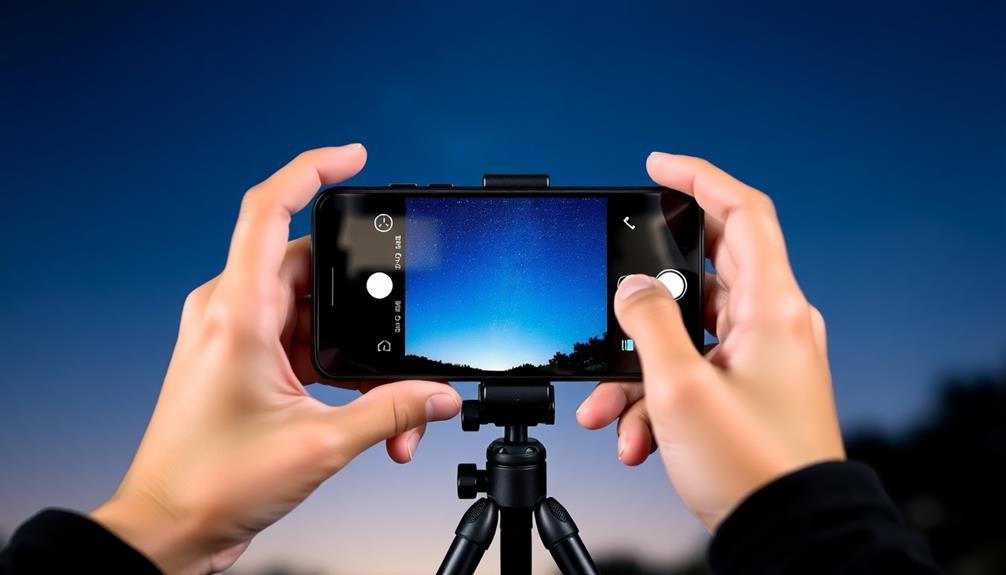
Stability is the cornerstone of successful image stacking. When you're capturing multiple RAW images for stacking, even the slightest movement can ruin your final result. To guarantee your phone remains steady, start by finding a stable surface or using a tripod. If you don't have a tripod, prop your phone against a fixed object or use a makeshift stand.
Once you've secured your phone, avoid touching it during the capture process. Instead, use your phone's timer function or a remote shutter release. This eliminates the risk of introducing shake when pressing the shutter button.
If you're shooting handheld, adopt a stable stance and use both hands to hold your phone. Tuck your elbows into your body for added stability.
Pay attention to your breathing, too. Take a deep breath and exhale slowly as you capture each image. This helps minimize body movement that could affect your phone's position.
In low-light situations, where longer exposure times are necessary, stability becomes even more critical. Consider using a phone clamp or a specialized phone photography grip to enhance your control and reduce camera shake.
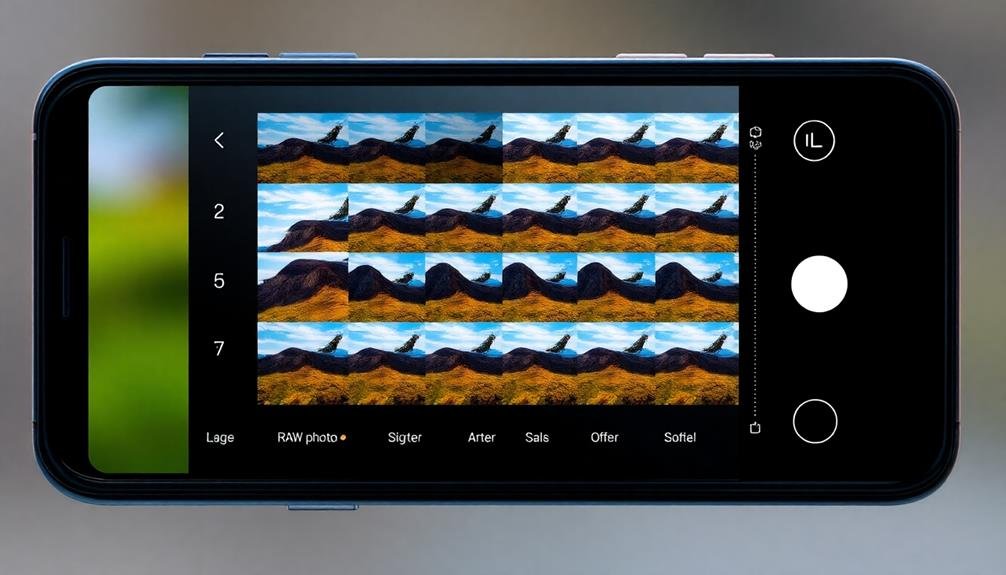
Use Burst Mode for Stacking
Burst mode is your secret weapon for successful RAW image stacking.
You'll capture multiple exposures quickly, allowing you to choose the sharpest frames for your stack.
Capture Multiple Exposures Quickly
Capturing multiple exposures in rapid succession is essential for successful image stacking. You'll want to take as many shots as possible in a short time frame to minimize movement between frames. Most smartphones offer a burst mode feature, which allows you to capture multiple images by holding down the shutter button. This technique is perfect for image stacking, as it guarantees you have plenty of frames to work with.
When using burst mode, keep these tips in mind:
| Setting | Recommendation | Reason |
|---|---|---|
| ISO | Low | Reduces noise |
| Shutter Speed | Fast | Minimizes blur |
| Focus | Manual | Maintains consistency |
Remember to hold your phone as steady as possible during the burst. If available, use a tripod or rest your phone on a stable surface. This will help reduce any unwanted movement between shots. Additionally, consider using a remote shutter release or timer to further minimize camera shake. By capturing multiple exposures quickly and efficiently, you'll have a solid foundation for creating stunning stacked images with improved detail, reduced noise, and enhanced dynamic range.
Minimize Camera Shake
While capturing multiple exposures quickly is important, it's equally essential to keep your camera steady throughout the process. Camera shake can ruin your stacking efforts, resulting in blurry or misaligned images.
To minimize shake, use your phone's burst mode feature. This allows you to capture a series of photos in rapid succession with a single tap, reducing the risk of movement between shots.
When using burst mode for image stacking, follow these tips:
- Find a stable surface or use a tripod to mount your phone
- Set your phone's timer to give yourself time to steady your hand
- Hold your breath while the burst captures images to reduce body movement
- Use a remote shutter release or your phone's voice command feature
Align Images in Post-Processing
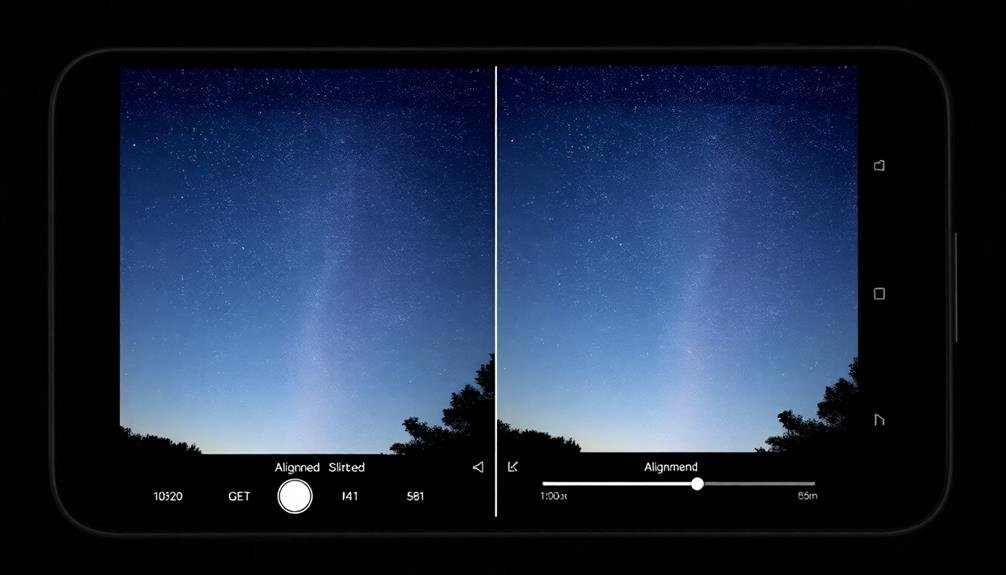
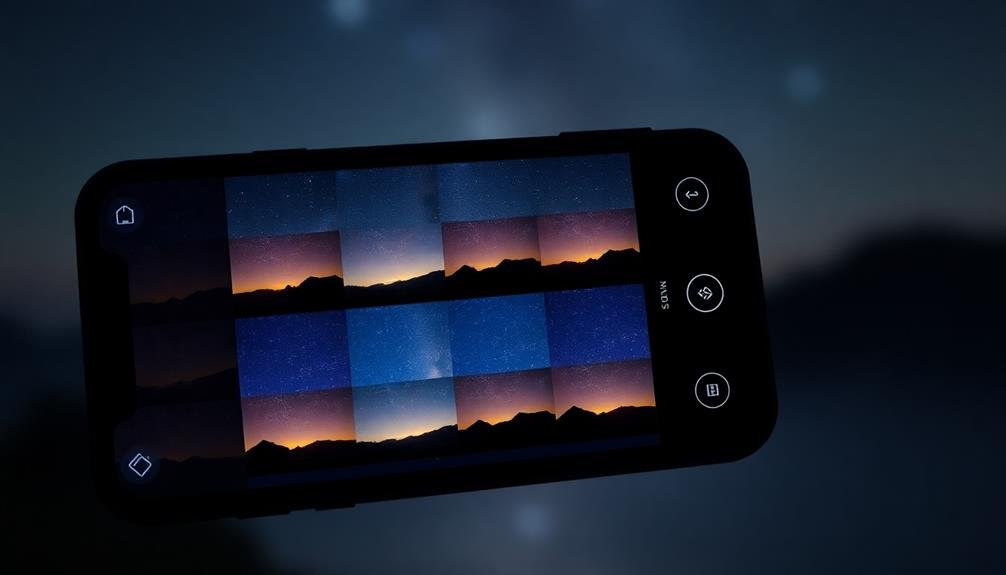
Once you've captured your series of RAW images, the next vital step is aligning them in post-processing. This process guarantees that all your images are perfectly lined up, compensating for any slight movements between shots. Most image stacking software offers automatic alignment tools, but you can also manually adjust if needed.
When aligning your images, pay attention to key elements in your frame. Look for sharp edges, distinct patterns, or prominent features that should remain consistent across all shots. If you're working with night sky images, stars make excellent reference points for alignment.
Here's a quick guide to common alignment issues and solutions:
| Issue | Cause | Solution |
|---|---|---|
| Rotation | Camera twist | Use rotation tool |
| Offset | Slight movement | Apply translation |
| Scale difference | Zoom change | Adjust scaling |
After alignment, review your images at 100% zoom to verify accuracy. Pay special attention to the edges of your frame, as misalignment is often most noticeable there. If you spot any discrepancies, don't hesitate to make manual adjustments. Remember, precise alignment is essential for achieving sharp, noise-free results in your final stacked image.
Select Optimal Stacking Software

When selecting ideal stacking software, you'll want to compare popular options like DeepSkyStacker, Sequator, and Starry Sky Stacker.
Consider each program's features, including alignment algorithms, noise reduction capabilities, and output formats.
Check the software's compatibility with your operating system and make sure it can handle your camera's RAW file format.
Compare Popular Stacking Apps
Choosing the right stacking software can make or break your RAW image stacking workflow. When comparing popular stacking apps for your phone, you'll want to take into account factors like user interface, processing speed, and advanced features.
Some of the most widely used apps include Snapseed, Adobe Lightroom Mobile, and PhotoPills.
Snapseed offers a user-friendly interface and basic stacking capabilities, making it ideal for beginners. Lightroom Mobile provides more advanced editing tools and seamless integration with desktop software, but it requires a subscription. PhotoPills stands out for its planning features and star-stacking capabilities, perfect for astrophotography enthusiasts.
When evaluating these apps, take into account the following criteria:
- Compatibility with your phone's operating system
- RAW file support and processing capabilities
- Alignment and blending algorithms
- Export options and file formats
Don't forget to read user reviews and try free trials when available. By comparing these popular stacking apps, you'll be able to find the one that best suits your needs and helps you achieve stunning results with your RAW image stacks.
Consider Software Features
After comparing popular stacking apps, it's time to focus on specific software features that can enhance your RAW image stacking process. Look for apps that offer manual alignment options, allowing you to fine-tune the positioning of each frame. Noise reduction capabilities are vital, as they help minimize unwanted artifacts in your final image.
Consider apps with advanced blending modes, which can intelligently combine the best parts of each exposure. Exposure bracketing support is fundamental for capturing a wide dynamic range. Don't overlook the importance of RAW file compatibility, making sure your app can handle various camera formats.
| Feature | Benefit |
|---|---|
| Manual Alignment | Precise control over frame positioning |
| Noise Reduction | Cleaner, sharper final images |
| Advanced Blending | ideal combination of multiple exposures |
| Exposure Bracketing | Expanded dynamic range |
| RAW Compatibility | Support for various camera formats |
Choose software that offers batch processing to save time when working with multiple sets of images. Look for apps with intuitive interfaces and responsive performance on your device. By prioritizing these features, you'll guarantee a smoother and more efficient RAW image stacking experience on your phone.
Check Compatibility Requirements
Compatibility requirements are essential when selecting the ideal stacking software for your device. You'll need to verify that the app you choose works seamlessly with your phone's operating system and hardware capabilities. Check the app's description in your device's app store for specific requirements, such as minimum OS version and RAM.
Consider the file formats supported by the stacking software. Most RAW image stacking apps work with common formats like DNG, but some may have limitations. Verify that the app can handle your camera's specific RAW format to avoid disappointment later.
When evaluating compatibility, pay attention to these key factors:
- Processor requirements: Some apps may need newer chipsets for peak performance.
- Storage space: Stacking software often requires significant free space for processing.
- Camera API support: Verify the app can access your phone's full camera capabilities.
- GPU acceleration: Check if the app can utilize your device's graphics processor for faster results.
Don't forget to read user reviews and forums to gauge real-world compatibility experiences. This can help you identify potential issues specific to your device model or OS version before committing to a particular stacking software.
Adjust Exposure and White Balance
Once you've aligned and stacked your RAW images, it's time to fine-tune the exposure and white balance.
Start by adjusting the overall exposure of your stacked image. You'll likely find that the combined image is brighter than individual shots, so you may need to reduce the exposure slightly. Use the histogram as a guide to guarantee you're not clipping highlights or shadows.
Next, focus on white balance. The stacking process can sometimes affect color temperature, so you'll want to fine-tune this. Use the white balance eyedropper tool to select a neutral gray area in your image, or manually adjust the temperature and tint sliders until the colors look natural.
Don't forget to tweak individual color channels. You might need to reduce saturation in certain areas or boost others to achieve a balanced look.
Pay special attention to skin tones if your image includes people.
Remove Noise Through Stacking
One of the most powerful benefits of RAW image stacking is its ability to dramatically reduce noise. When you stack multiple RAW images, you're fundamentally combining data from several exposures, which helps to average out random noise patterns. This technique is particularly effective in low-light situations or when using higher ISO settings.
To remove noise through stacking, you'll need to capture multiple RAW images of the same scene. Here's a basic process to follow:
- Capture a series of RAW images (ideally 8-16) while keeping your phone as still as possible.
- Import these images into a stacking software on your phone or computer.
- Align the images to correct for any minor movements between shots.
- Blend the aligned images using an average or median algorithm.
As you stack more images, you'll notice a significant reduction in noise, especially in shadow areas. This process also helps to preserve detail and color information that might be lost when using traditional noise reduction methods.
Enhance Details With Sharpening
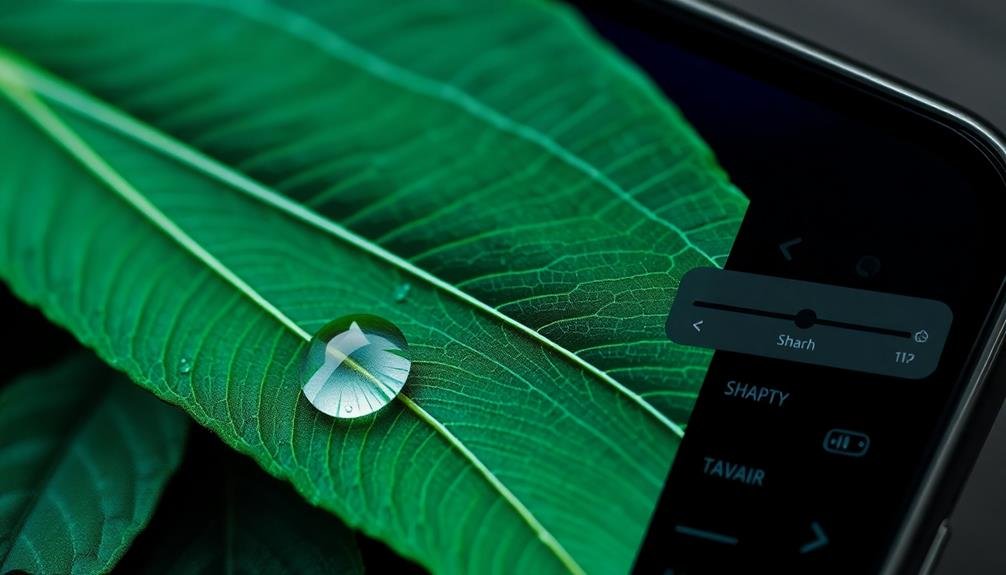
Sharpening is a powerful tool in RAW image stacking that can bring out fine details and textures in your photos. When you're working with stacked images, you'll often find that the overall image appears slightly soft due to the averaging effect of combining multiple exposures. This is where sharpening comes in handy.
Start by applying a small amount of sharpening to your stacked image. You can use your phone's built-in editing tools or a third-party app that offers more advanced sharpening options. Focus on enhancing edge contrast and fine details without introducing artifacts or noise.
Be careful not to over-sharpen, as this can lead to an unnatural, crunchy look. Instead, aim for a subtle enhancement that brings out the best in your image without drawing attention to the sharpening itself.
For best results, sharpen your image at its final output size. If you plan to print or display your photo at a specific resolution, resize it first, then apply sharpening. This guarantees that the sharpening effect is optimized for the final viewing conditions.
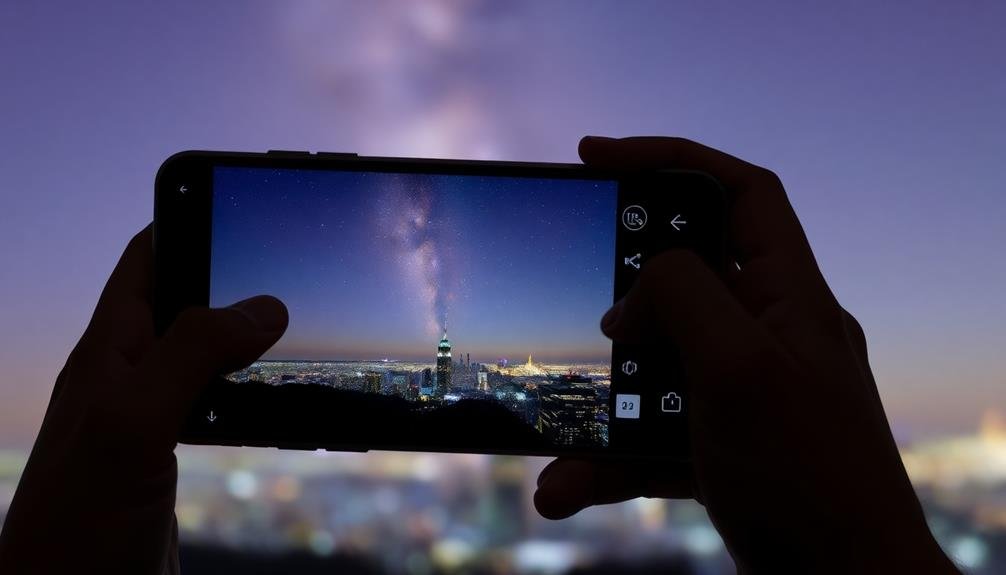
Export and Share Final Results
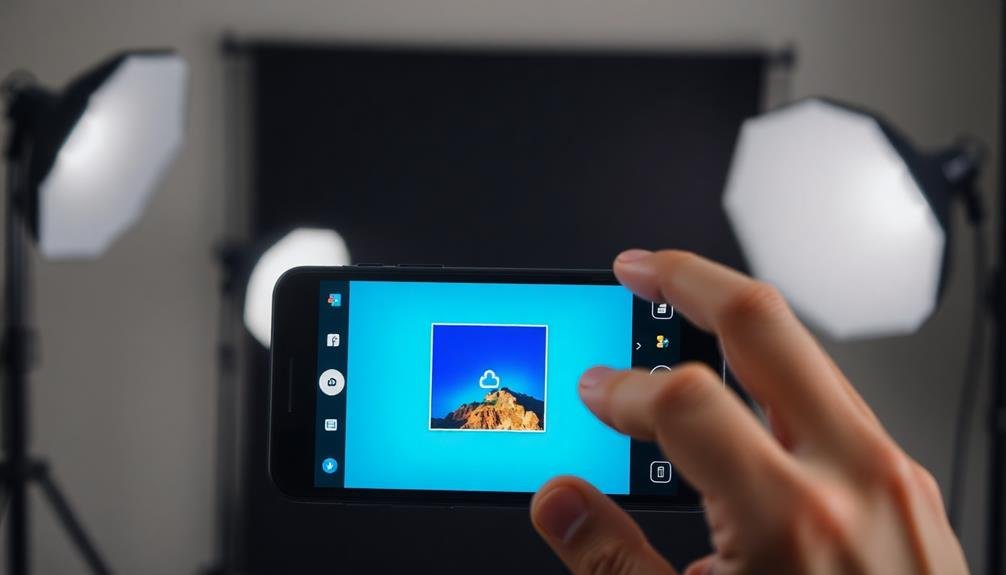
Once you've perfected your stacked image, it's time to showcase your work.
Save your final result in multiple formats, including high-quality JPEGs for easy sharing and TIFFs for archival purposes.
Share your stunning composite on popular social media platforms like Instagram, Flickr, or 500px to gain exposure and connect with other photography enthusiasts.
Save in Multiple Formats
After stacking and processing your RAW images, it's important to save your final results in multiple formats. This approach guarantees compatibility across different devices and platforms while preserving the quality of your work.
Start by saving a high-resolution JPEG file for easy sharing and viewing. Next, export a TIFF file to maintain maximum image quality and allow for further editing if needed.
Don't forget to save your work in the native format of the stacking app you're using. This allows you to revisit and adjust your edits later. Finally, consider saving a web-optimized version for quick online sharing or portfolio display.
When saving your stacked images, keep these tips in mind:
- Use descriptive file names for easy organization
- Include relevant metadata, such as camera settings and location
- Create separate folders for different projects or subjects
- Implement a consistent naming convention across all formats
Share on Social Platforms
With your stacked images saved in multiple formats, you're ready to showcase your work to the world. Social media platforms offer excellent opportunities to share your RAW image stacking results with a wide audience. Start by choosing the best-suited platform for your photography style. Instagram and Pinterest are ideal for visually-driven content, while Twitter and Facebook allow for more detailed descriptions.
Before posting, consider resizing your images to fit each platform's best dimensions. This guarantees your stacked photos look their best across different devices. When sharing, use relevant hashtags to increase visibility and reach fellow photography enthusiasts. Don't forget to mention that you've used RAW image stacking techniques, as this can spark interest and encourage engagement.
If you're looking to build a following, maintain a consistent posting schedule and interact with other users' content. Consider creating a series or theme for your stacked images to keep your audience engaged.
Frequently Asked Questions
Can RAW Image Stacking Improve Low-Light Photography on Smartphones?
Yes, RAW image stacking can considerably improve your low-light photography on smartphones. You'll capture multiple exposures, align them, and combine them to reduce noise, increase detail, and enhance dynamic range. It's a powerful technique for better night shots.
How Many Images Should Be Stacked for Optimal Results?
You'll typically want to stack 8-16 RAW images for best results. However, it's not one-size-fits-all. Experiment with different numbers, as scene complexity, available light, and your phone's capabilities can affect the ideal stack count.
Does RAW Stacking Work With All Smartphone Camera Sensors?
RAW stacking doesn't work with all smartphone camera sensors. You'll need a phone that supports RAW capture and an app that allows stacking. High-end devices typically offer this feature, but many mid-range and budget phones don't.
Can You Stack RAW Images From Different Phone Models?
You can't reliably stack RAW images from different phone models. Each model uses unique sensors and processing, leading to incompatible data. It's best to stick with RAW files from the same device for consistent results.
What's the Difference Between HDR and RAW Image Stacking?
You'll find HDR combines multiple exposures into one image, enhancing dynamic range. Raw image stacking, however, blends several raw files to reduce noise and improve detail. Both techniques aim to create a higher quality final image.
In Summary
You've now mastered the art of raw image stacking on your phone. With these tips, you'll capture stunning, low-noise photos that rival those from high-end cameras. Don't be afraid to experiment with different techniques and settings. Remember, practice makes perfect. As you continue to refine your skills, you'll discover new ways to push your smartphone's camera to its limits. So get out there, start shooting, and create some amazing stacked images!

Leave a Reply