
To capture stunning photo reflections with your smartphone, start by seeking out reflective surfaces like water, glass, and puddles. Experiment with camera angles to maximize mirror effects and create symmetry. In urban settings, use buildings and windows for unique compositions. Master exposure control to balance light and dark areas, and don't forget to edit your shots to enhance clarity and contrast. Try low-light scenes for dramatic results, and play with symmetry to elevate your images. Whether you're shooting serene lakes or city streets, these tips will help you transform ordinary scenes into extraordinary reflections. Dive deeper to reveal even more creative possibilities.
Find Reflective Surfaces

Numerous reflective surfaces can transform your mobile photography. Water bodies like lakes, puddles, and even small fountains offer classic reflective opportunities. Look for calm water on a windless day to capture mirror-like reflections.
Glass windows and shiny buildings in urban settings can create interesting distortions and abstract compositions. Don't overlook everyday objects like sunglasses, car hoods, or polished metal surfaces for unique reflective shots.
When you're out shooting, scan your environment for reflective potential. Experiment with different angles to find the most intriguing reflections. Try getting low to the ground for puddle shots or positioning yourself at various distances from reflective buildings.
Remember that the time of day can dramatically affect reflections, so revisit locations at different times for varied results.
To enhance your reflective shots, use your phone's HDR mode to capture a wider range of tones. Clean your lens regularly to guarantee crisp reflections. If you're shooting water reflections, a polarizing filter can help reduce glare and enhance colors.
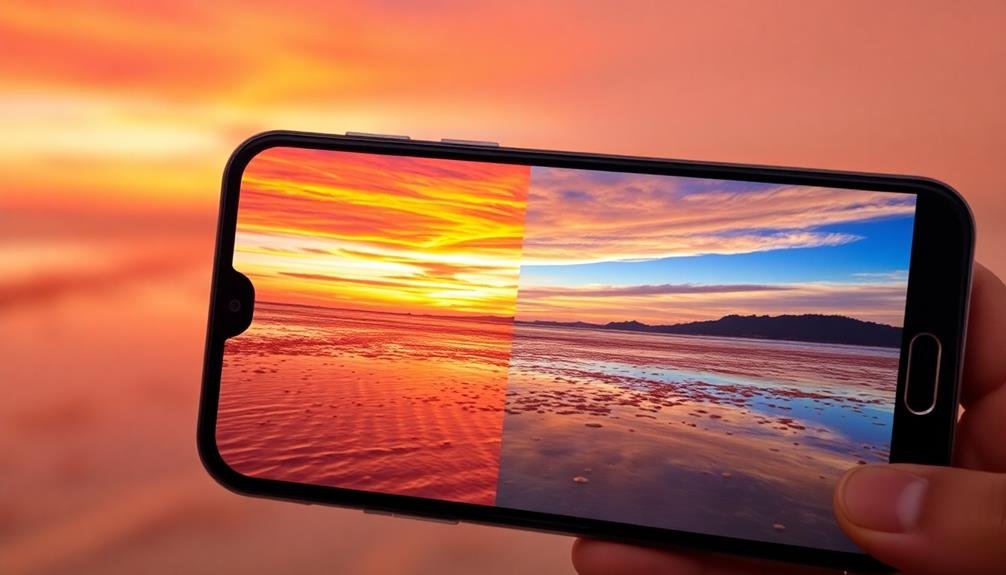
Use Water for Mirror Effects
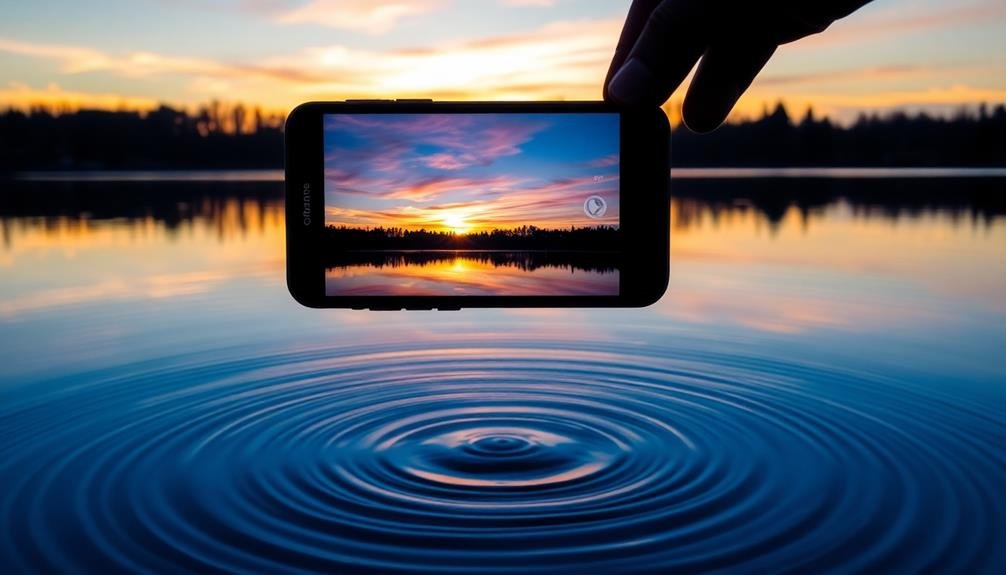
To create stunning mirror effects in your mobile photos, seek out calm bodies of water like lakes or puddles.
You'll need to carefully position your camera angle to capture both the subject and its reflection.
Don't be afraid to play with different compositions, such as placing the horizon line in the middle or focusing solely on the reflection itself.
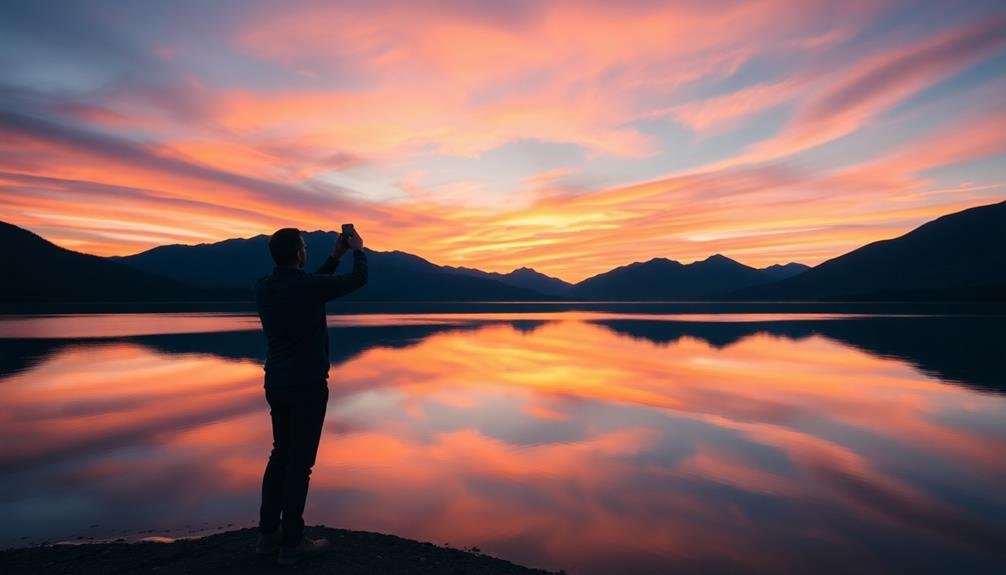
Find Still Water Surfaces
In search of striking compositions, don't overlook the reflective potential of still water surfaces. These natural mirrors can transform ordinary scenes into engaging symmetrical images. Look for calm lakes, placid ponds, or even puddles after rain to create stunning reflections.
When scouting locations, prioritize areas with minimal wind and wave action. Early mornings and evenings often provide the stillest conditions, coinciding with golden hour lighting for added visual impact.
Consider visiting popular landmarks or scenic spots during off-peak hours to capture their reflections in nearby water bodies without crowds.
Urban environments offer unexpected opportunities too. Fountains, reflecting pools, and even wet pavements can serve as impromptu mirrors for cityscapes and architecture. Don't limit yourself to large bodies of water; small, contained surfaces like birdbaths or puddles can yield interesting close-up reflections.
Experiment with different angles and perspectives. Get low to the ground for more dramatic effects, or try shooting from a higher vantage point to capture a broader reflection.
Remember to focus on the actual subject rather than its reflection for maximum sharpness. With practice, you'll develop an eye for spotting reflective surfaces and creating compelling mirror-like compositions in your mobile photography.
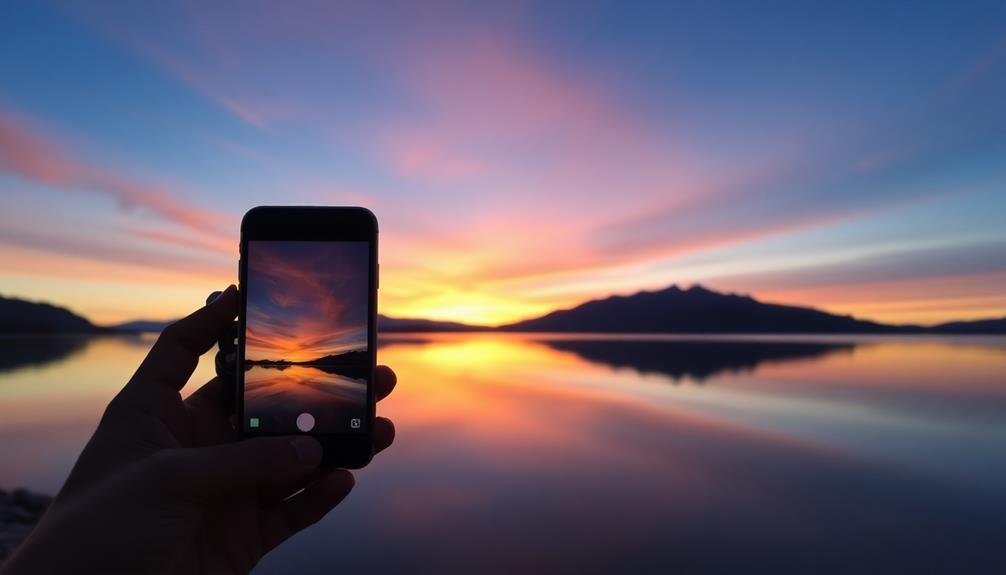
Adjust Camera Angle Carefully
Mastering the art of reflections in mobile photography requires careful attention to your camera angle. When you're capturing reflections in water, even slight adjustments can dramatically change your composition.
Start by positioning your phone parallel to the water's surface to maximize the mirror effect. This technique works best when you're close to the ground, so don't be afraid to crouch or lie down for the perfect shot.
Experiment with different heights to find the ideal balance between the reflection and the actual subject. You'll notice that lowering your camera increases the prominence of the reflection, while raising it emphasizes the subject itself.
Try tilting your phone slightly upward or downward to fine-tune the composition. This can help you eliminate unwanted elements or create a more dynamic image.
Remember that the angle of your camera affects the depth of field. A lower angle often produces a shallower depth of field, which can add a dreamy quality to your reflection shots.
As you adjust your position, pay attention to how the light interacts with the water's surface. Early morning or late afternoon light can create stunning, long reflections that add drama to your images.
Experiment With Compositions
Water's reflective surface offers a playground for creative mobile photographers. You'll find endless opportunities to capture stunning mirror-like images using puddles, lakes, or even a glass of water.
To make the most of these reflections, position your phone at a low angle, almost parallel to the water's surface. This technique will maximize the reflective area in your frame and create a symmetrical composition.
When experimenting with water reflections, consider these tips:
- Look for still water: Calm surfaces provide the clearest reflections, so seek out tranquil ponds or puddles after rain.
- Use the rule of thirds: Place the horizon line along the upper or lower third of your frame to create a balanced composition.
- Play with partial reflections: Capture only part of the subject's reflection for a more intriguing and abstract image.
Don't limit yourself to natural water sources; get creative with man-made reflective surfaces like polished floors, sunglasses, or car hoods.
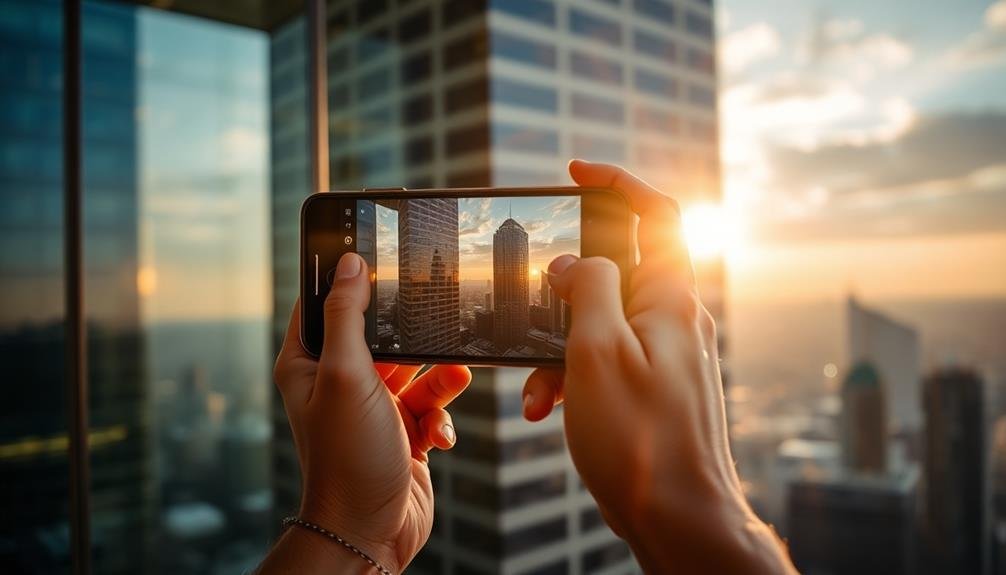
Capture Urban Reflections

While exploring urban landscapes, you'll find countless opportunities to capture stunning reflections that add depth and intrigue to your mobile photography. Glass buildings, puddles, and polished surfaces offer perfect canvases for creating mirror-like images. To make the most of these reflections, look for symmetry and interesting contrasts between the reflected objects and their surroundings.
When shooting reflections in buildings, position yourself at an angle that captures both the reflection and the original subject. This creates a layered effect, adding complexity to your composition.
For puddle reflections, get low to the ground and experiment with different angles to find the most engaging view. Don't forget to adjust your exposure to balance the brightness of the sky with the darker reflective surface.
Try using HDR mode to capture a wider range of tones in high-contrast scenes. Clean your phone's lens regularly to guarantee sharp, clear reflections.
In post-processing, enhance the contrast and saturation to make your reflections pop. Finally, be patient and observant – the best urban reflections often appear unexpectedly, so always be ready to capture that perfect moment.
Experiment With Puddle Photography

Puddles offer a unique opportunity to capture stunning reflections and add a creative twist to your mobile photography. After rainfall, seek out puddles in urban areas or nature settings to experiment with this technique. Position your smartphone camera close to the water's surface to capture both the reflection and the surrounding environment.
You'll want to focus on the reflection itself, which will create an intriguing, mirror-like image.
To make the most of puddle photography, consider these tips:
- Look for still water: Calm puddles provide the clearest reflections, so choose ones with minimal ripples or movement.
- Experiment with angles: Try shooting from different heights and perspectives to find the most compelling composition.
- Use editing tools: Enhance contrast and adjust colors in post-processing to make your reflection pop.
Don't be afraid to get low or even lay on the ground to achieve the perfect shot. Remember that puddles are temporary, so act quickly when you spot a good opportunity.
Leverage Glass and Windows
Glass and windows offer a wealth of creative possibilities for mobile photographers. They can serve as natural reflectors, frames, or even subjects themselves. When shooting through glass, place your phone's lens close to the surface to minimize reflections and glare.
You'll often capture intriguing compositions by focusing on reflections in storefront windows or glass buildings, creating a layered effect that combines interior and exterior elements. To enhance reflections, try shooting at night or in low-light conditions when the contrast between reflected and real objects is more pronounced.
Experiment with different angles to find the most interesting compositions. Don't forget to clean the glass surface before shooting to avoid unwanted smudges or dirt in your images.
Windows can also act as natural frames for your subjects. Position your subject behind a window and focus on them through the glass for a unique perspective. Play with depth of field by adjusting your camera's focus point.
You can create abstract images by capturing closeups of condensation or raindrops on glass surfaces. Finally, try using glass objects like prisms or marbles as makeshift lenses to add creative distortions to your mobile photos.
Play With Symmetry
Symmetry can elevate your mobile photography from ordinary to extraordinary.
You'll find endless opportunities for mirror-like compositions, whether you're splitting your frame vertically or horizontally.
Experiment with balanced framing techniques to create visually striking images that draw the viewer's eye and add a sense of harmony to your shots.
Mirror-Like Compositions
In light of the endless possibilities for creative compositions, mirror-like images stand out as delightful visual treats. These symmetrical shots create a sense of balance and harmony that's instantly engaging. To achieve this effect, you'll need to find reflective surfaces like still water, glass buildings, or polished floors. Position your smartphone's camera so that the subject is perfectly aligned with its reflection, creating a seamless mirror image.
When shooting mirror-like compositions, keep these tips in mind:
- Look for calm water bodies, such as lakes or puddles, for natural reflections.
- Use the grid feature on your camera app to guarantee precise alignment.
- Experiment with partial reflections to add intrigue to your image.
Don't be afraid to get creative with your mirror-like shots. Try capturing reflections in unexpected places, like car hoods or sunglasses. You can also play with the angle of your shot to create unique perspectives.
Vertical vs. Horizontal Splits
Building on the concept of mirror-like compositions, let's explore another powerful technique for creating visually striking images: vertical and horizontal splits. This approach involves dividing your frame into two distinct halves, either top-bottom or left-right, to create a sense of balance and symmetry.
For vertical splits, position your subject in the center of the frame, with contrasting elements on either side. This works well for architectural shots or landscapes with distinct left-right features.
Horizontal splits, on the other hand, divide the image into top and bottom sections. They're perfect for capturing reflections in water or highlighting dramatic skies above a landscape.
When shooting, use your phone's grid feature to guarantee precise alignment. Experiment with different ratios – a 50/50 split isn't always necessary. Sometimes, a 60/40 or 70/30 division can create more visual interest.
Pay attention to color, texture, and pattern contrasts between the two halves to enhance the impact.
Don't limit yourself to nature scenes. Urban environments offer plenty of opportunities for creative splits, such as contrasting old and new architecture or juxtaposing human elements against structural backgrounds.
Balanced Framing Techniques
After mastering splits, it's time to explore the art of balanced framing techniques. Symmetry in photography creates a sense of harmony and visual balance that's instantly appealing to the eye. When capturing reflections, symmetry can elevate your shots from ordinary to extraordinary. To achieve this, position your subject in the center of the frame, ensuring equal space on both sides.
Look for naturally occurring symmetrical scenes, such as:
- Reflections in still water bodies
- Architectural elements like arches or doorways
- Man-made structures with repetitive patterns
Use your phone's grid feature to align elements precisely. The rule of thirds grid can help you center your subject accurately. For perfect symmetry, try placing the horizon line exactly in the middle of the frame.
Don't be afraid to break symmetry slightly for added interest. A small asymmetrical element can create a focal point and prevent your image from appearing too static.
Experiment with different angles and perspectives to find the most visually striking composition. Remember, balanced framing isn't just about perfect symmetry; it's about creating a harmonious and visually pleasing arrangement of elements within your frame.
Adjust Camera Angle
Through experimentation with camera angles, you'll discover new perspectives that can greatly enhance your mobile photos. Don't settle for eye-level shots; instead, try shooting from low or high angles to create unique compositions.
Get down on the ground for a worm's eye view, capturing subjects against the sky or emphasizing foreground elements. Alternatively, climb to a higher vantage point for a bird's eye view, revealing patterns and layouts not visible from ground level.
Tilting your phone can add dynamism to your images. A slight tilt can create a sense of motion or unease, while more extreme angles can produce abstract compositions.
When photographing reflections, adjust your angle to capture the most interesting parts of both the reflected and real-world elements. Don't forget to experiment with diagonal lines, which can lead the viewer's eye through the frame.
For portraits, try shooting from slightly below eye level to make your subject appear more powerful, or from above to create a more vulnerable look.
Control Exposure for Reflections

When photographing reflective surfaces, you'll need to carefully control your exposure.
Start by adjusting the brightness and contrast settings on your phone's camera app to balance the light and dark areas of the scene.
For more precise control, utilize your camera's exposure compensation feature to fine-tune the overall exposure and capture the perfect reflection.
Adjust Brightness and Contrast
Many mobile photographers struggle with capturing reflective surfaces accurately. Adjusting brightness and contrast can greatly improve your reflection photos, enhancing their visual impact and clarity.
When working with reflections, you'll often need to compensate for the difference in light between the reflected image and its surroundings.
To adjust brightness and contrast effectively:
- Use your phone's built-in editing tools or a third-party app to fine-tune these settings after taking the photo.
- Increase brightness slightly to bring out details in darker areas of the reflection without overexposing the brighter parts.
- Boost contrast moderately to add depth and definition to the reflected image, making it stand out from its background.
Remember that small adjustments can make a big difference. Start with subtle changes and gradually increase them until you achieve the desired effect.
Pay attention to the overall balance of the image, ensuring that the reflection remains the focal point without overpowering the rest of the composition.
Use Exposure Compensation Settings
Exposure compensation is a powerful tool for capturing stunning reflections in mobile photography. It allows you to adjust the overall brightness of your image, which is essential when dealing with reflective surfaces. To use this feature, look for the +/- icon in your camera app's settings or manual mode.
When photographing reflections, you'll often encounter high-contrast scenes. The sky might be bright while the reflection is darker. In these cases, try underexposing slightly (-0.3 to -1.0) to preserve details in the highlights. This technique also enhances the colors and depth of the reflection.
Conversely, if your reflection appears too dark, increase the exposure compensation (+0.3 to +1.0) to bring out hidden details. Be careful not to overexpose, as this can wash out the image and lose important highlights.
Experiment with different exposure levels to find the perfect balance. Take multiple shots at various compensation settings, then compare them later.
Edit for Enhanced Reflections
Reflections can transform an ordinary photo into a mesmerizing masterpiece. When editing your reflection shots, you'll want to enhance the mirror-like quality while maintaining a natural look. Start by adjusting the contrast to make the reflection more distinct from its surroundings.
Then, fine-tune the highlights and shadows to bring out details in both the reflected image and the reflective surface.
To further elevate your reflection photos, try these editing techniques:
- Use selective adjustments to brighten the reflection area without overexposing the rest of the image.
- Apply a subtle vignette to draw the viewer's eye towards the center of the reflection.
- Experiment with black and white conversion to create a dramatic, timeless look.
Don't be afraid to crop your image to perfect the symmetry between the real subject and its reflection.
If you're working with water reflections, consider using the dehaze tool to reduce any fog or mist that might be obscuring the mirrored image.
Master Low-Light Reflective Scenes
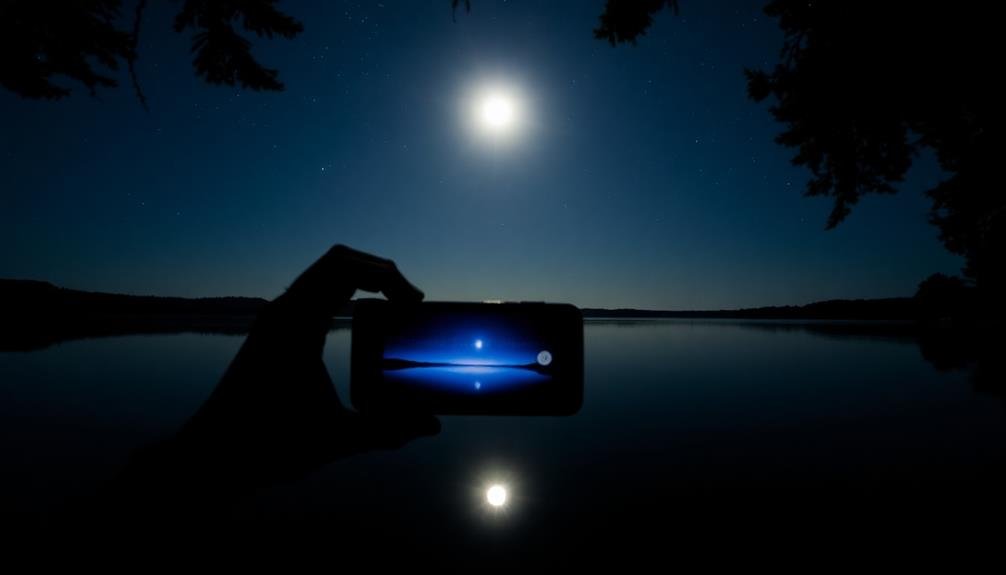
Capturing reflections in low-light conditions presents a unique set of challenges for mobile photographers. To master these scenes, you'll need to employ specific techniques and adjust your camera settings.
First, stabilize your phone using a tripod or by resting it on a stable surface. This is essential for avoiding blur in low-light situations.
Next, manually adjust your camera's exposure settings. Increase the ISO cautiously, as higher values can introduce noise. Experiment with slower shutter speeds to allow more light in, but be mindful of potential motion blur.
Use your phone's night mode if available, as it can greatly improve low-light performance.
When composing your shot, look for sources of light that create interesting reflections, such as street lamps or neon signs. These can add depth and drama to your image.
Focus on the reflected subject rather than the reflection itself for sharper results. If your phone has a wide-aperture or portrait mode, use it to create a shallow depth of field, emphasizing the reflection.
Frequently Asked Questions
How Do I Protect My Phone While Taking Photos Near Water?
To protect your phone near water, you'll want to use a waterproof case or pouch. Don't forget to secure it with a lanyard or strap. Keep your device away from splashes and never submerge it unless it's waterproof-rated.
Can I Create Artificial Reflections for Photography if None Are Available?
Yes, you can create artificial reflections for photography. Try using a mirror, glass surface, or even a smartphone screen. You'll place these objects strategically to reflect your subject. Experiment with angles and lighting for the best results.
What's the Best Time of Day to Capture Stunning Reflections?
You'll find the best reflections during the "golden hours" – just after sunrise or before sunset. The low-angle light creates long shadows and warm tones, enhancing reflections on water, glass, or wet surfaces. Don't forget overcast days, too!
Are There Any Apps Specifically Designed for Reflection Photography?
You'll find several apps tailored for reflection photography. Try Reflections, MirrorLab, or Reflect. These apps offer tools to enhance and create reflections, even when there's no natural mirror surface. They're great for experimenting with creative reflection effects.
How Can I Prevent My Own Reflection From Appearing in Glass Shots?
To prevent your reflection in glass shots, you'll want to shoot at an angle, use a polarizing filter, or create a DIY shield. You can also try adjusting your position or waiting for different lighting conditions.
In Summary
You've now got the tools to create enchanting reflection photos with your mobile device. Don't be afraid to experiment and push your creativity. Remember, it's all about finding unique perspectives and playing with light. With practice, you'll develop an eye for spotting reflective opportunities everywhere. Keep these tips in mind, but most importantly, have fun exploring this fascinating aspect of mobile photography. Your stunning reflections await!


Leave a Reply