
To perfect your selfie game, start with ideal lighting by using soft, diffused daylight or artificial options like ring lights. Position your phone slightly above eye level for flattering angles. Experiment with skin smoothing effects, but avoid overdoing it. Enhance your eyes with filters that complement your eye color. Master digital contouring techniques to sculpt your features subtly. Don't forget color correction adjustments for accurate skin tones. Try teeth whitening features for a brighter smile. Boost hair volume with styling tricks. Explore face slimming options for a refined look. These beauty mode tricks will transform your selfies, but there's even more to discover about elevating your photo game.
Optimal Lighting Techniques
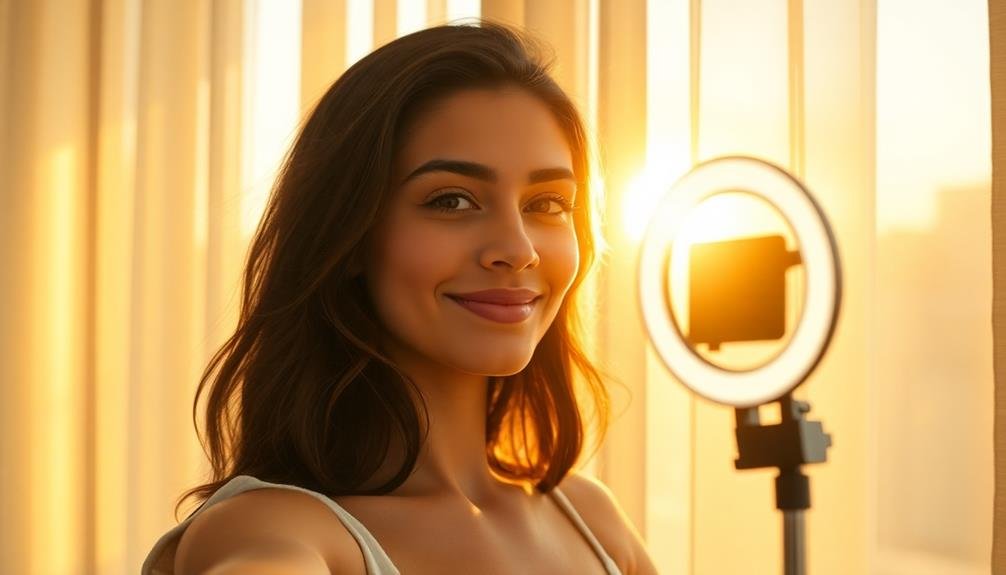
When it comes to ideal lighting for selfies, natural light reigns supreme. You'll find that soft, diffused daylight flatters your features and minimizes harsh shadows. Position yourself near a window, but avoid direct sunlight, which can create unflattering contrasts.
If natural light isn't available, don't worry. You can still achieve great results with artificial lighting. Invest in a ring light or a small LED panel for consistent, even illumination. These tools help eliminate shadows and create a soft glow on your face.
Experiment with different angles to find your best light. Holding your phone slightly above eye level can help define your jawline and minimize the appearance of a double chin. For a moody effect, try side lighting to create interesting shadows and depth.
Color temperature matters too. Warm light (2700-3000K) adds a cozy, flattering glow, while cooler light (5000-6500K) provides a crisp, clean look.
Many beauty mode apps allow you to adjust these settings, so play around to find what works best for your skin tone and desired aesthetic.
Perfect Angle Positioning
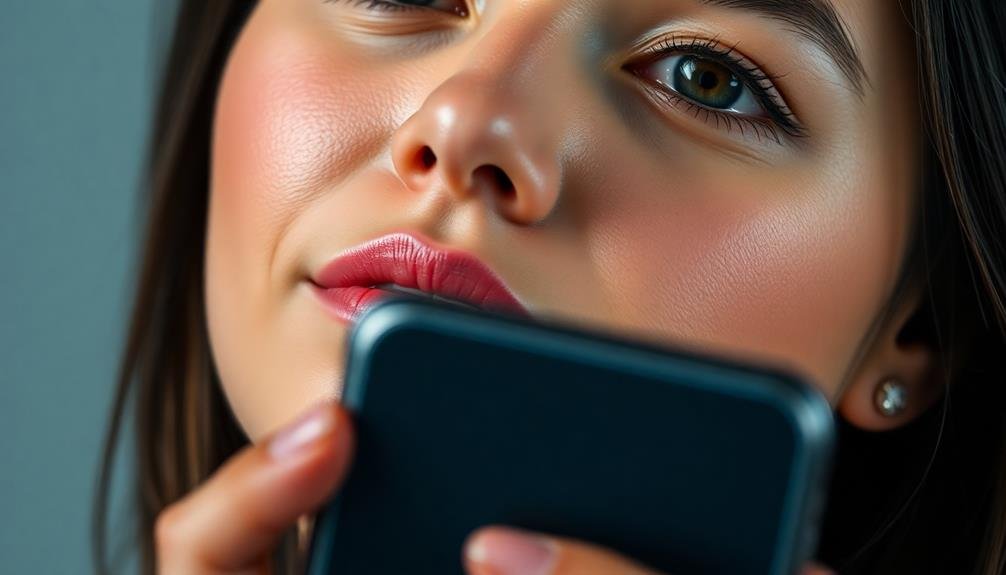
The perfect angle can make or break your selfie. To achieve the most flattering look, hold your phone slightly above eye level and tilt it downward. This angle helps define your jawline and reduces the appearance of a double chin.
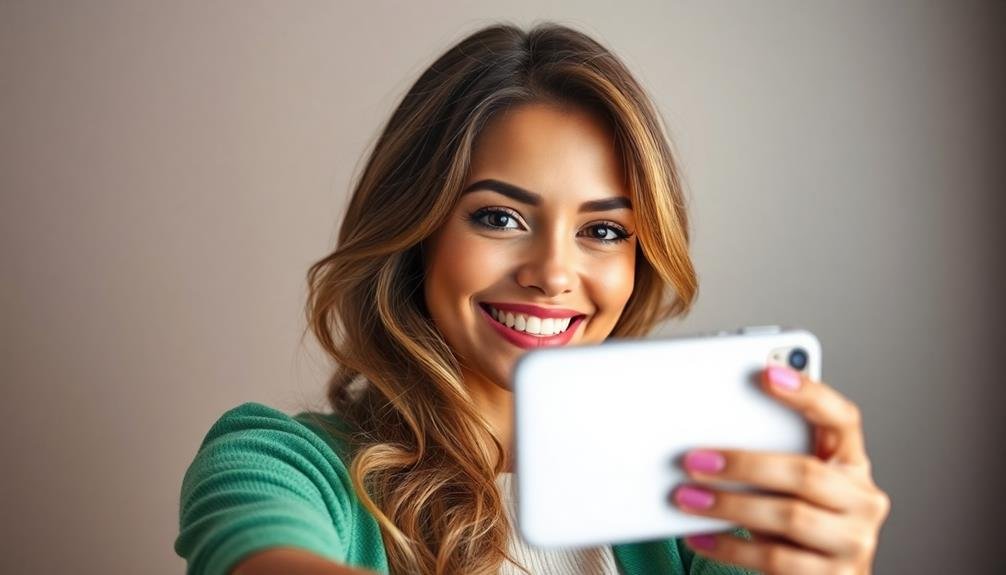
Experiment with turning your face at different angles to find your best side. For group selfies, position yourself slightly to the side and closer to the camera. This prevents distortion and guarantees everyone fits in the frame.
When taking full-body shots, angle the camera downward from chest height to create a slimming effect.
Here are some key tips for perfect angle positioning:
- Tilt your chin down slightly to avoid unflattering upward angles
- Turn your face about three-quarters to the side for a more sculpted look
- Angle the camera from above to make your eyes appear larger
- Position the phone diagonally across your face to create visual interest
- Use the "golden angle" (about 45 degrees) for a balanced, natural look
Skin Smoothing Effects

Skin smoothing effects can transform your selfies from ordinary to flawless. Most modern smartphones come with built-in beauty modes that offer various levels of skin smoothing. Start by experimenting with these native features to find the right balance for your complexion.
If you're looking for more control, consider downloading specialized apps like Facetune or AirBrush. These tools allow you to target specific areas of your face, adjusting smoothness, brightness, and texture. Be cautious not to overdo it, as excessive smoothing can make your skin look unnatural and plastic-like.
For a more subtle approach, try adjusting your phone's HDR settings. This can help balance out skin tones and reduce the appearance of blemishes without applying a heavy filter.
Lighting also plays an important role in skin smoothness. Opt for soft, diffused light to minimize shadows and create an even skin tone.
Don't forget about skincare basics. A well-moisturized face will naturally appear smoother in photos. Consider using a primer or BB cream before taking selfies to create a smooth canvas for your skin.
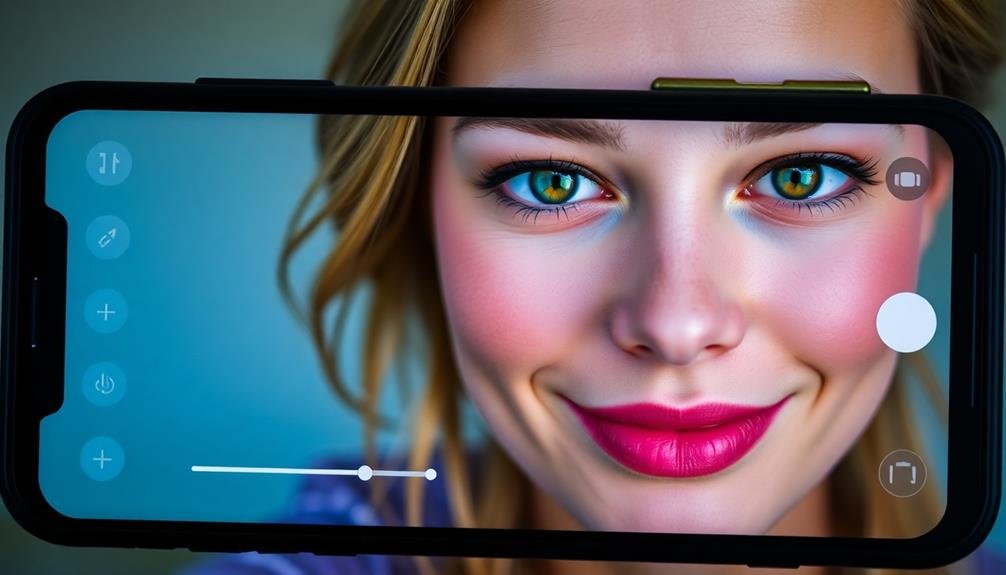
Eye Enhancement Filters
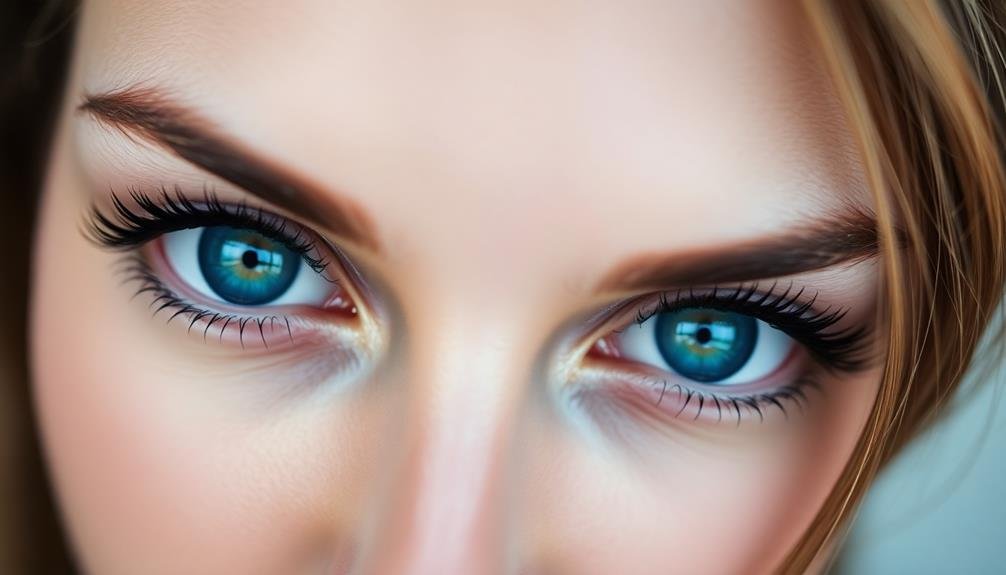
Moving from skin to eyes, let's explore how to make your gaze enchanting in selfies. Eye enhancement filters can transform your look, making your eyes appear larger, brighter, and more alluring. These filters often work by adjusting the size, color, and contrast of your eyes, as well as adding subtle highlights to create a sparkle effect.
To make the most of eye enhancement filters, you'll want to:
- Look directly at the camera for maximum impact
- Experiment with different filter intensities
- Choose a filter that complements your eye color
- Guarantee proper lighting to avoid unnatural effects
- Combine with subtle makeup for a seamless look
When using these filters, it's essential to strike a balance between enhancement and maintaining a natural appearance. Overdoing it can result in an artificial look that detracts from your selfie.
Start with minimal adjustments and gradually increase the intensity until you achieve your desired effect. Remember, the goal is to accentuate your natural beauty, not to create an entirely different look.
Contouring With Digital Tools

You can now sculpt your facial features digitally using contouring tools in beauty apps.
These apps offer a range of options to enhance your cheekbones, jawline, and nose, mimicking the effects of makeup contouring.
Digital Contouring Basics
Mastery of digital contouring can transform your selfies from ordinary to extraordinary. By strategically manipulating light and shadow, you'll enhance your facial features and create a more sculpted appearance.
Start by identifying your face shape and the areas you want to accentuate or minimize. Use your preferred photo editing app to apply darker shades along the sides of your nose, under your cheekbones, and along your jawline to create depth. Then, add highlights to the bridge of your nose, center of your forehead, and tops of your cheekbones to bring these areas forward.
- Choose a contouring shade slightly darker than your natural skin tone
- Blend seamlessly for a natural look
- Experiment with intensity levels to find your perfect balance
- Use a soft brush tool for subtle application
- Remember to adjust based on different lighting conditions
As you practice, you'll develop an eye for where to place contours and highlights to flatter your unique features.
Don't be afraid to experiment with different techniques and intensities. The key is to enhance your natural beauty while maintaining a realistic appearance.
With time and practice, you'll master the art of digital contouring and elevate your selfie game to new heights.
Popular Contouring Apps
Gone are the days of relying solely on makeup skills for perfect contouring. Digital tools now offer a quick and easy way to enhance your facial features. Let's explore some popular contouring apps that can elevate your selfie game.
Here's a comparison of top contouring apps:
| App Name | Features | Ease of Use | Price |
|---|---|---|---|
| Facetune | Advanced editing, Realistic effects | Moderate | $3.99 |
| AirBrush | Natural contouring, Skin smoothing | Easy | Free (In-app purchases) |
| Perfect365 | Makeup presets, Custom looks | Easy | Free (In-app purchases) |
| YouCam Makeup | AR makeup try-on, Extensive options | Moderate | Free (In-app purchases) |
When using these apps, start with subtle adjustments to maintain a natural look. Focus on enhancing your cheekbones, jawline, and nose. Don't forget to blend the contoured areas seamlessly with your skin tone. Experiment with different presets and custom options to find your perfect look. Remember, the goal is to enhance your features, not completely alter them. With practice, you'll master the art of digital contouring and take your selfies to the next level.
Enhancing Facial Features
Digital contouring tools have revolutionized the way we enhance facial features in selfies. These apps allow you to sculpt and define your face with just a few taps, creating a polished look that rivals professional makeup.
You'll find a variety of options to highlight cheekbones, slim the nose, and define the jawline. When using digital contouring tools, start by selecting the feature you want to enhance. Most apps offer preset options for common enhancements, but you can also customize the intensity and placement.
Remember to blend the edges for a natural look, and don't overdo it – subtle changes often yield the best results.
Here are some key facial features you can enhance with digital contouring:
- Cheekbones: Add definition and lift
- Nose: Slim and straighten
- Jawline: Sharpen and contour
- Forehead: Reshape and minimize
- Eyes: Enlarge and brighten
Experiment with different techniques to find what works best for your face shape. You can even save your favorite settings as presets for quick application in future selfies.
With practice, you'll master the art of digital contouring, creating stunning selfies that highlight your best features effortlessly.
Background Blur Mastery
Elevate your selfies by harnessing the power of background blur. This technique draws attention to your face while creating a professional, polished look. Most smartphone cameras now offer portrait mode, which automatically blurs the background. Experiment with different levels of blur to find the perfect balance.
For manual control, tap on your face to focus and adjust the exposure. Then, slide the depth-of-field bar to increase or decrease the blur intensity. Position yourself strategically, keeping some distance between you and the background to enhance the blur effect.
Consider your surroundings when using background blur. Opt for simple, uncluttered backgrounds to avoid distracting elements. Natural settings like parks or beaches work well, as do plain walls or textured surfaces.
If your device lacks a built-in blur feature, try third-party apps like Snapseed or Facetune. These allow you to selectively blur areas of your image post-capture. Remember to keep the blur natural-looking; avoid over-blurring, which can make your selfie appear artificial.
Master background blur to create eye-catching, professional-looking selfies that showcase your best features while minimizing distractions.
Color Correction Adjustments
With the right color correction adjustments, you can transform an ordinary selfie into a stunning portrait. Color correction allows you to fine-tune the overall tone and mood of your image, enhancing your natural beauty and creating a more polished look.
Start by adjusting the white balance to guarantee accurate skin tones and eliminate any unwanted color casts. Next, tweak the exposure to brighten or darken your image as needed, paying close attention to highlight and shadow details.
Use the following color correction techniques to elevate your selfies:
- Boost vibrancy to make colors pop without oversaturating
- Apply a subtle warm or cool filter to set the desired mood
- Adjust individual color channels to perfect skin tones
- Utilize selective color adjustments to enhance specific features
- Experiment with split-toning for a unique, artistic effect
Don't forget to fine-tune contrast and clarity to add depth and dimension to your selfie.
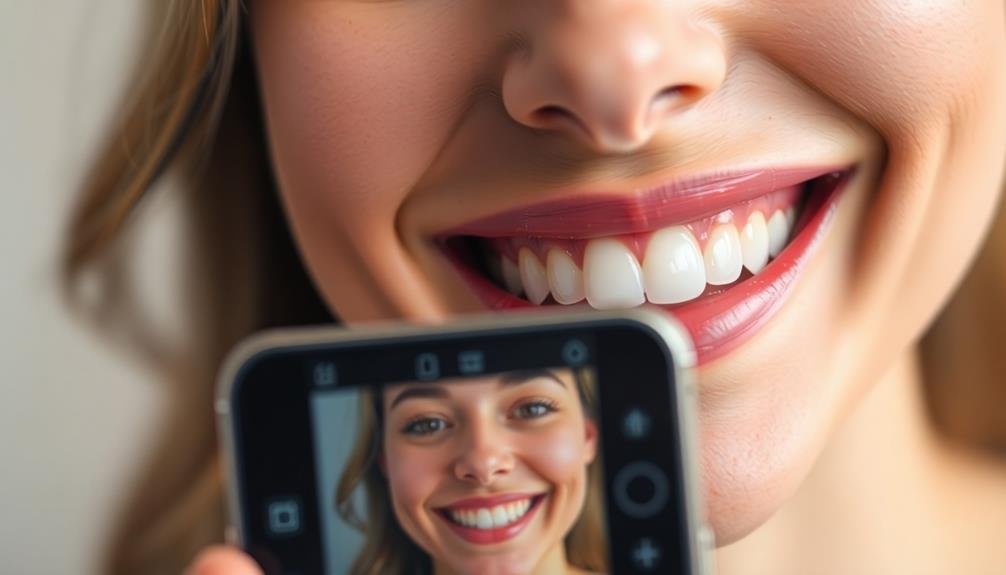
Teeth Whitening Features
You'll find teeth whitening features in most beauty mode apps, offering instant digital smile enhancement.
These tools allow you to brighten your teeth with just a tap, creating a more radiant smile in your selfies.
You can usually adjust the whiteness levels to achieve a natural-looking result that complements your overall appearance.
Instant Digital Smile Enhancement
A radiant smile can transform your selfie from ordinary to extraordinary. With instant digital smile enhancement features, you'll have the power to perfect your pearly whites in seconds. These tools go beyond basic teeth whitening, offering a range of options to elevate your grin.
Most beauty apps now include sophisticated smile enhancement features. You'll find sliders to adjust tooth brightness, shape, and even alignment. Some apps allow you to target specific teeth, giving you precise control over your smile's appearance.
Don't overdo it, though – aim for a natural look that enhances your genuine smile.
To make the most of these features, try:
- Adjusting brightness gradually for a subtle effect
- Smoothing out any visible imperfections or stains
- Slightly widening your smile for a more inviting look
- Enhancing the contrast between your teeth and lips
- Experimenting with different presets to find your ideal smile
Adjusting Whiteness Levels
Teeth whitening features in beauty apps have become increasingly sophisticated, allowing you to fine-tune your smile's brightness with precision. These tools offer a range of whiteness levels, from subtle enhancements to dazzling Hollywood smiles. To achieve a natural look, start with the lowest setting and gradually increase it until you're satisfied with the result.
When adjusting whiteness levels, pay attention to the overall harmony of your face. Your teeth shouldn't appear unnaturally bright compared to your skin tone or the whites of your eyes. Consider the lighting in your selfie as well; brighter environments may require less whitening, while dimmer settings might benefit from a slightly higher level.
Be cautious not to overdo it, as excessively white teeth can look artificial and detract from your natural beauty. Aim for a shade that's noticeably brighter but still believable. Remember, the goal is to enhance your smile, not create an obvious filter effect.
If you're unsure, ask a friend for their opinion on what looks most natural. With practice, you'll develop an eye for the perfect whiteness level that complements your unique features and selfie style.
Hair Volume Boosting Tricks
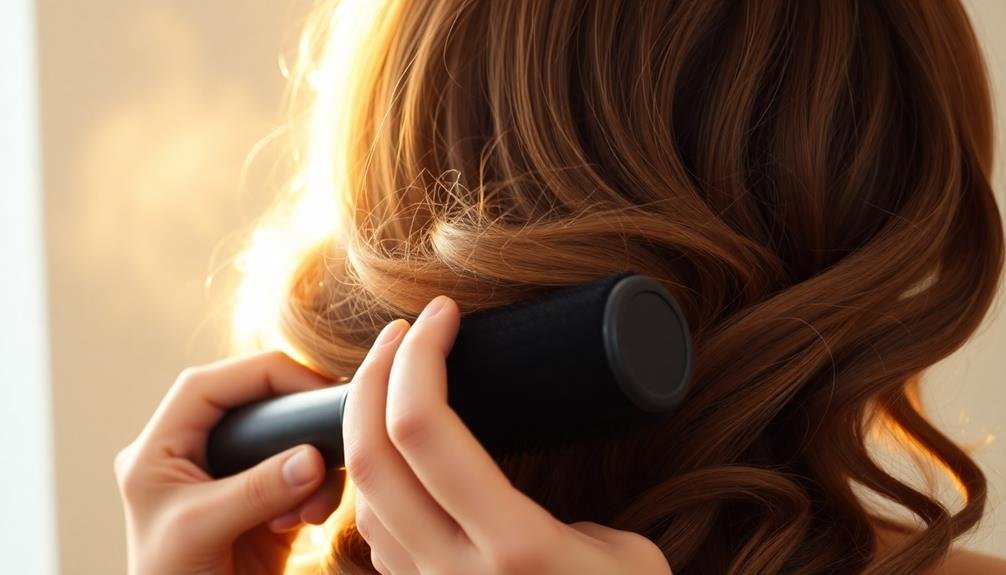
Volumizing techniques can transform flat, lifeless hair into a luscious mane for your selfies. To achieve that coveted fullness, start by flipping your head upside down and blow-drying your hair from the roots. This simple trick creates instant lift and volume.
Don't forget to use a volumizing mousse or spray before styling to add extra body and hold.
For a quick fix, try teasing the crown of your hair with a fine-toothed comb. Gently backcomb small sections near the roots, then smooth over the top layer for a natural look.
If you're short on time, dry shampoo can be your secret weapon. Spray it at the roots, wait a few minutes, then massage it in for instant volume and texture.
Here are five more hair volume boosting tricks for stunning selfies:
- Use hot rollers or velcro rollers for long-lasting volume
- Try a zigzag parting to create the illusion of fuller hair
- Clip small sections of hair up while they cool after styling
- Opt for layered haircuts to add natural movement and volume
- Experiment with hair extensions or clip-ins for instant fullness
Face Slimming Options
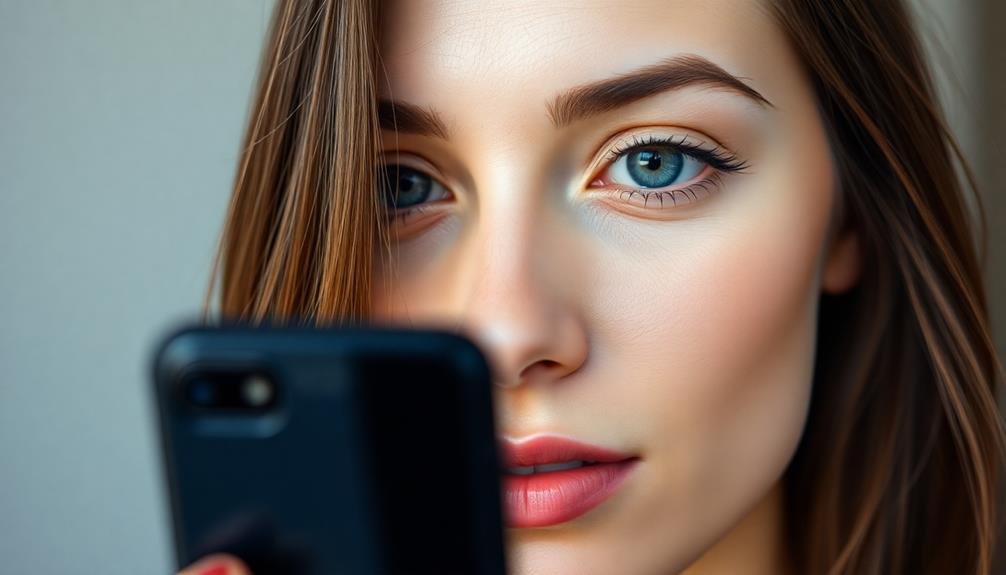
While voluminous hair can frame your face beautifully, you might also want to explore options for slimming your facial features in selfies. Many beauty apps offer face-slimming filters that can subtly refine your jawline and cheekbones. Look for options that allow you to adjust the intensity for a natural look.
Positioning your camera slightly above eye level can create the illusion of a slimmer face. Tilt your chin down slightly and angle your face to find your best side. This technique elongates your neck and defines your jawline.
Makeup can also play a significant role in face slimming. Contour your cheekbones and jawline with a matte bronzer or contour powder a shade or two darker than your skin tone. Blend well for a seamless finish. Highlight the center of your face to create dimension and draw attention to your features.
Lastly, don't underestimate the power of facial expressions. A slight smile or a "fish face" can accentuate your cheekbones and create a slimmer appearance. Practice different expressions to find what works best for you, and remember that confidence is the ultimate face-slimming trick.
Frequently Asked Questions
How Can I Make My Beauty Mode Selfies Look More Natural?
To make your beauty mode selfies look more natural, you'll want to dial back the filters. Stick to subtle enhancements, use soft lighting, and capture your genuine expressions. Don't overdo skin smoothing or eye enlargement features.
Are There Any Beauty Mode Features That Work Well for Group Photos?
You'll find group-friendly beauty mode features like skin smoothing and face slimming work well for everyone. Try adjusting brightness and contrast to enhance the overall look. Don't forget to use wide-angle mode for larger groups.
Can Beauty Mode Help Conceal Specific Skin Concerns Like Acne or Scars?
Yes, beauty mode can help conceal skin concerns like acne or scars. You'll find features that smooth skin texture, blur imperfections, and even out skin tone. However, don't overdo it, as natural-looking results are often more appealing.
What Are the Best Beauty Mode Apps for Different Smartphone Operating Systems?
You'll find great beauty mode apps for both Android and iOS. On Android, try Facetune2 or B612. For iOS, check out Meitu or YouCam Perfect. Both platforms offer Snapchat and Instagram, which have built-in beauty filters.
How Can I Create a Signature Beauty Mode Look for My Social Media?
You'll create a signature beauty mode look by consistently using specific filters, lighting, and poses. Experiment with different effects, find what flatters you most, and stick to it. Don't forget to highlight your unique features!
In Summary
You've now got the tools to take your selfies to the next level. Remember, it's all about enhancing your natural beauty, not creating an unrecognizable version of yourself. Experiment with these tricks, but don't overdo it. The best selfies strike a balance between polished and authentic. Keep practicing, and you'll soon master the art of the perfect beauty mode selfie. Now go ahead, snap that pic, and show the world your best self!


Leave a Reply