
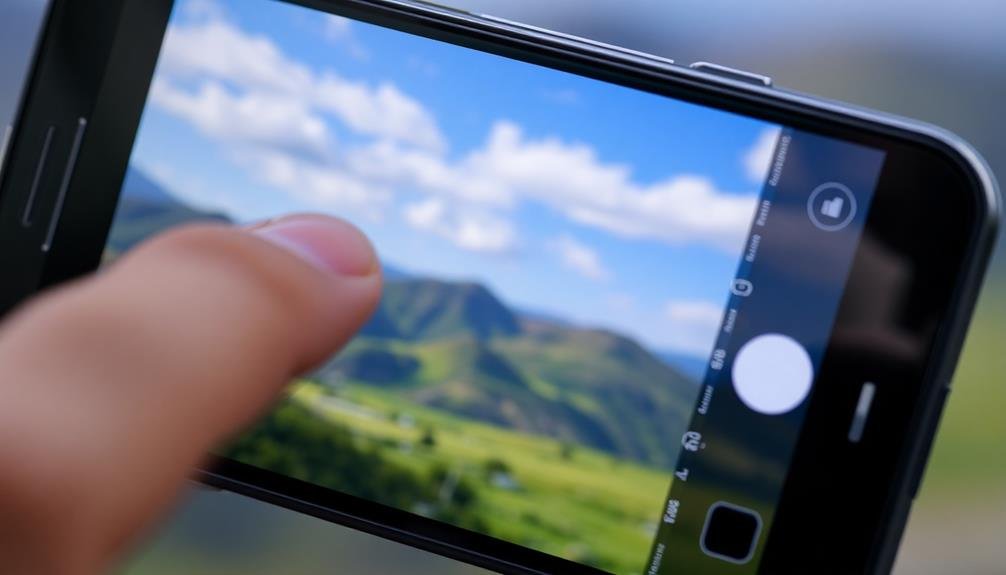
To master the camera exposure triangle on your mobile, you'll need to understand ISO, shutter speed, and aperture. ISO controls light sensitivity, shutter speed affects motion blur, and aperture influences depth of field. While most smartphones have fixed apertures, you can still adjust ISO and shutter speed manually. Experiment with different combinations to achieve desired effects in various lighting conditions. Practice capturing scenes in bright daylight, shade, and low-light situations to improve your skills. Remember to keep ISO low when possible to reduce noise, and use a steady hand for slower shutter speeds. By exploring these elements, you'll reveal your smartphone's full photographic potential.
Understanding the Exposure Triangle
Almost every photographer has encountered the exposure triangle at some point. It's a fundamental concept in photography that helps you control the amount of light entering your camera. The exposure triangle consists of three key elements: aperture, shutter speed, and ISO. These components work together to create a properly exposed image.
Aperture refers to the size of the lens opening, which affects the depth of field and the amount of light entering the camera. A wider aperture (smaller f-number) allows more light in and creates a shallower depth of field, while a narrower aperture (larger f-number) lets in less light and produces a deeper depth of field.
Shutter speed controls how long the camera's sensor is exposed to light. Faster shutter speeds freeze motion, while slower speeds can create motion blur.
ISO determines the sensor's sensitivity to light. Higher ISO values increase sensitivity but can introduce noise.
ISO: Light Sensitivity Explained
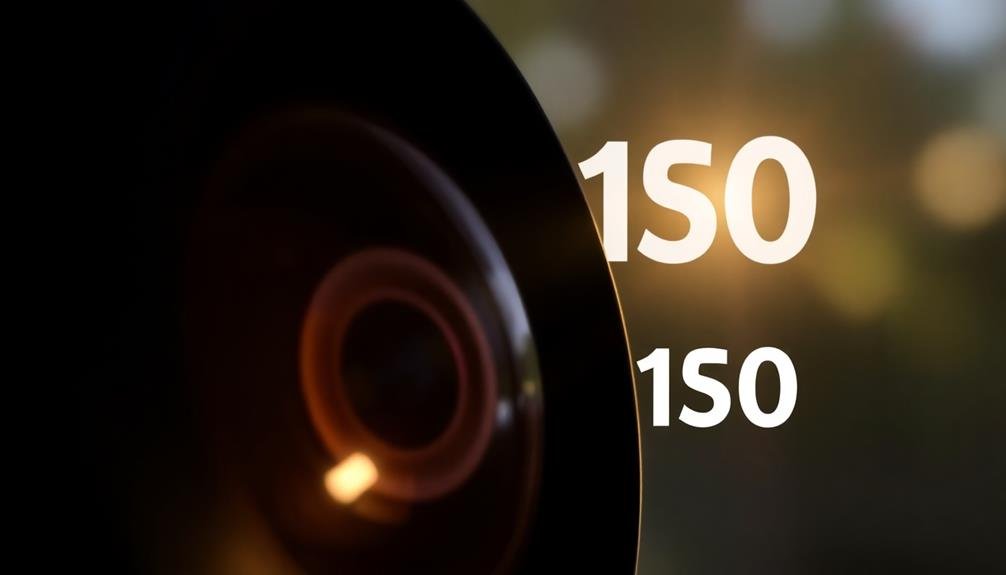
ISO is a vital element of the exposure triangle that controls your camera's light sensitivity.
You'll encounter ISO numbers ranging from low values like 100 to high values like 6400, with higher numbers increasing sensitivity but potentially introducing more image noise.
Understanding ISO's impact on image quality is essential, even in mobile photography where automatic settings often handle ISO adjustments for you.
Understanding ISO Numbers
When diving into the world of photography, you'll quickly encounter ISO, an important component of the exposure triangle. ISO numbers represent your camera's sensitivity to light, with lower numbers indicating less sensitivity and higher numbers signifying increased sensitivity. Understanding these numbers is vital for achieving the best exposure in various lighting conditions.
ISO values typically range from 100 to 6400 on most mobile devices, though some may offer extended ranges. As you increase the ISO, you'll notice changes in your images:
- Brightness: Higher ISO values brighten your image, allowing you to shoot in low-light situations without compromising shutter speed or aperture.
- Noise: Increased ISO introduces more digital noise, resulting in grainier images.
- Detail: Lower ISO settings generally produce sharper, more detailed images.
- Dynamic range: As ISO increases, your camera's ability to capture a wide range of tones may decrease.
When selecting an ISO value, consider the available light and your desired outcome. In bright conditions, stick to lower ISOs for crisp, noise-free images.
In dimly lit environments, don't hesitate to raise the ISO to maintain proper exposure, balancing it with acceptable noise levels.
Effects on Image Quality
Light sensitivity plays an essential role in determining your image quality when adjusting ISO settings. As you increase ISO, your camera's sensor becomes more sensitive to light, allowing you to capture images in darker environments.
However, this increased sensitivity comes at a cost to image quality. Higher ISO values introduce digital noise, which appears as grainy or speckled patterns in your photos, especially noticeable in darker areas. This noise can reduce sharpness and detail, making your images look less crisp and clear. Colors may also become less vibrant and accurate at higher ISO settings.
On the other hand, lower ISO values produce cleaner, more detailed images with better color reproduction. You'll notice smoother changes between tones and less visible noise.
However, these benefits come with the need for more light or longer exposure times, which may not always be practical. To maintain ideal image quality, aim to use the lowest ISO setting possible for your shooting conditions.
If you must increase ISO, be aware of your camera's limitations and the trade-offs you're making. Modern smartphones often have impressive noise reduction capabilities, but they can't completely eliminate the effects of high ISO on image quality.
ISO in Mobile Photography
Smartphones have revolutionized the way we approach ISO in photography. Unlike traditional cameras, your mobile device automatically adjusts ISO based on lighting conditions. However, understanding and controlling ISO can greatly improve your mobile photography skills.
ISO in mobile photography refers to your camera sensor's sensitivity to light. A higher ISO allows you to capture brighter images in low-light situations, but it can introduce digital noise. Most smartphone cameras offer ISO ranges from 50 to 3200, with some high-end models reaching up to 6400.
To make the most of ISO in mobile photography:
- Use lower ISO values (50-200) in well-lit environments for crisp, noise-free images.
- Experiment with higher ISO settings (400-1600) in low-light situations to avoid blur.
- Utilize your phone's night mode or AI-enhanced features for better low-light performance.
- Consider using third-party camera apps that offer manual ISO control for more creative freedom.
Shutter Speed on Mobile Devices
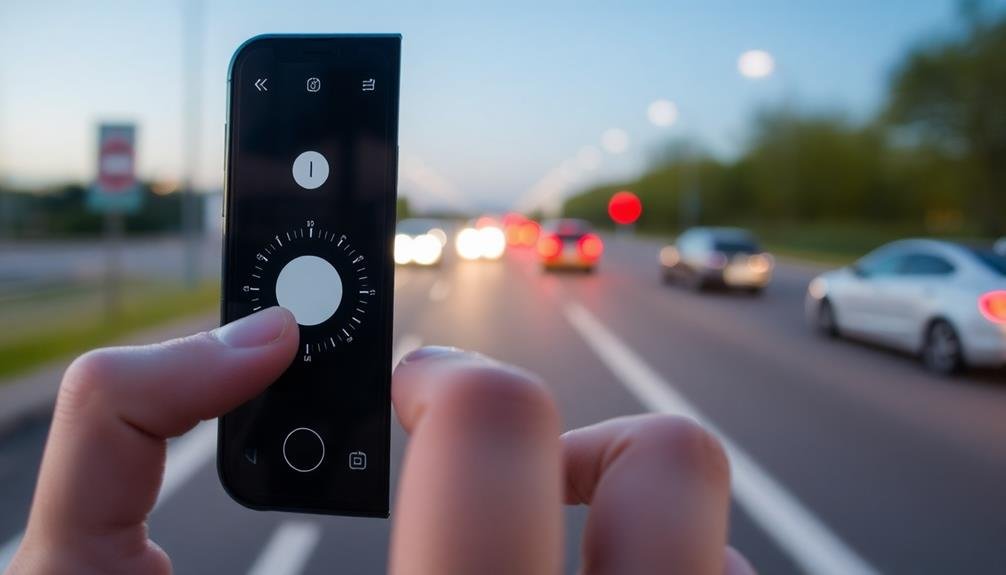
Flexibility in mobile photography has come a long way, with many modern smartphones now offering manual control over shutter speed. This feature allows you to adjust the duration your camera's sensor is exposed to light, giving you more creative control over your images.
Shutter speed affects two main aspects of your photos: motion blur and exposure. Faster shutter speeds freeze action, while slower speeds create motion blur. You'll need to balance these effects with your desired exposure level.
Here's a quick guide to shutter speed effects:
| Shutter Speed | Effect on Motion | Best For |
|---|---|---|
| 1/1000s | Freezes fast action | Sports, wildlife |
| 1/250s | Stops most movement | Street photography |
| 1/60s | Slight blur possible | General use |
| 1/15s | Noticeable blur | Intentional motion |
| 1s+ | Significant blur | Light trails, waterfalls |
To adjust shutter speed on your mobile device, look for the "S" or "Tv" mode in your camera app. Remember, slower shutter speeds require a steady hand or tripod to avoid camera shake. Experiment with different settings to achieve your desired results and enhance your mobile photography skills.
Aperture in Smartphone Cameras
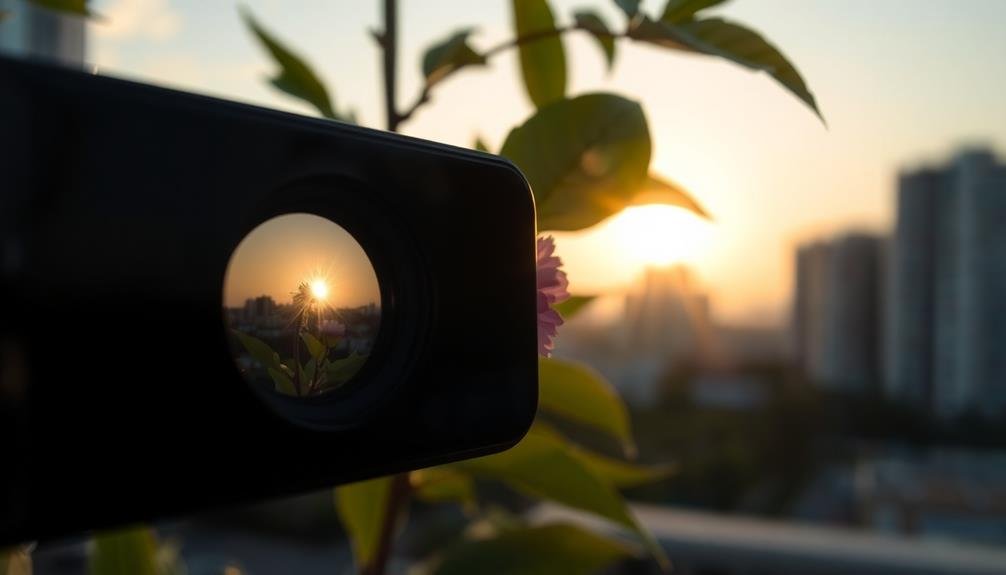
The concept of aperture in smartphone cameras has evolved considerably in recent years. Unlike traditional cameras with adjustable apertures, most smartphones have fixed apertures. However, manufacturers have introduced innovative solutions to mimic the effects of variable apertures.
Some high-end smartphones now feature dual aperture systems, allowing you to switch between two f-stop values. This gives you more control over depth of field and low-light performance. Additionally, computational photography techniques have made it possible to simulate different aperture settings through software.
To understand aperture in smartphone cameras, consider these key points:
- Fixed apertures are typically wider (e.g., f/1.8 or f/2.0) to allow more light in.
- Dual aperture systems offer limited but useful flexibility.
- Software-based aperture simulation can create bokeh effects.
- Aperture size affects depth of field and low-light performance.
While you can't physically change the aperture on most smartphones, you can still achieve similar effects through various camera modes and settings.
Portrait mode, for instance, uses software to create a shallow depth of field, mimicking the effect of a wide aperture. By understanding these limitations and features, you can make the most of your smartphone's camera capabilities.
Balancing the Three Elements
While smartphone cameras have their unique characteristics, understanding how to balance aperture, shutter speed, and ISO is key to mastering exposure in any camera. These three elements work together to control the amount of light reaching the sensor and determine the final look of your image.
Start by setting your desired aperture, which affects depth of field. On smartphones, this is often fixed, but some models offer adjustable apertures.
Next, choose your shutter speed based on the subject's motion. For static scenes, you can use slower speeds, while fast-moving subjects require quicker speeds to freeze action.
Finally, adjust your ISO to achieve proper exposure. Keep it as low as possible to minimize noise, but don't hesitate to increase it in low-light situations.
Remember, these elements are interconnected. If you change one, you'll need to adjust the others to maintain the same exposure.
Experiment with different combinations to achieve your desired effect. For example, use a slower shutter speed and lower ISO for light trails, or a faster shutter speed and higher ISO for sports photography.
With practice, you'll develop an intuitive understanding of how to balance these elements for ideal results in any shooting scenario.
Common Mobile Exposure Challenges
Mobile photographers face unique exposure challenges due to the limitations of smartphone cameras.
These constraints can make it difficult to achieve the perfect exposure in various lighting conditions. However, understanding these challenges and learning how to overcome them will greatly improve your mobile photography skills.
Here are four common exposure challenges you'll encounter when shooting with your smartphone:
- Limited dynamic range: Smartphone sensors struggle to capture details in both bright highlights and dark shadows simultaneously.
- Fixed aperture: Unlike DSLR cameras, most smartphones have a fixed aperture, limiting your control over depth of field and light intake.
- Small sensor size: Smaller sensors in mobile devices are less sensitive to light, making it challenging to shoot in low-light conditions without introducing noise.
- Automatic exposure compensation: Smartphone cameras often overcompensate for bright or dark scenes, resulting in under or overexposed images.
To tackle these challenges, you'll need to rely on alternative techniques.
Use HDR mode for high-contrast scenes, adjust exposure compensation manually, and experiment with third-party camera apps that offer more control over your device's camera settings.
Additionally, consider using external lighting or reflectors to enhance your shots in challenging lighting situations.
Practice Exercises for Better Results
To improve your mobile photography skills, you'll need to actively experiment with different exposure settings.
Try adjusting ISO, shutter speed, and aperture (if available) to see how they affect your images.
Capture various lighting scenarios, from bright sunlight to low-light environments, to understand how your camera responds and how to achieve the best results in each situation.
Experiment With Exposure Settings
After learning the fundamentals of the exposure triangle, it's time to put your knowledge into practice. Experimenting with exposure settings on your mobile device will help you develop a deeper understanding of how ISO, shutter speed, and aperture work together to create the perfect shot.
Start by choosing a subject and setting up your composition. Then, try adjusting one element of the exposure triangle while keeping the others constant.
Here are four exercises to help you experiment with exposure settings:
- ISO challenge: Capture the same scene at different ISO levels, from the lowest to the highest your phone allows. Compare the results to see how noise and image quality change.
- Shutter speed exploration: Photograph moving subjects using various shutter speeds. Notice how motion blur changes as you adjust the settings.
- Aperture effects: If your phone has a portrait mode or adjustable aperture, take photos of the same subject with different f-stops to observe changes in depth of field.
- Exposure compensation: Use your phone's exposure compensation feature to intentionally over or underexpose images, then analyze the results.
Capture Varied Lighting Scenarios
Frequently, mastering exposure in diverse lighting conditions poses a significant challenge for mobile photographers. To improve your skills, practice capturing scenes in various lighting scenarios.
Start with bright daylight, adjusting your exposure settings to prevent overexposure. Then, move to shaded areas or overcast conditions, where you'll need to increase exposure to maintain detail.
Next, tackle low-light situations like indoor settings or twilight hours. Here, you'll likely need to increase ISO and decrease shutter speed, balancing these adjustments to minimize noise and motion blur.
Don't forget to experiment with artificial lighting, such as street lamps or neon signs, which can create unique exposure challenges.
Try capturing high-contrast scenes, like a sunset or a subject backlit by a window. Use exposure compensation or manual mode to properly expose both highlights and shadows.
Practice HDR techniques to expand your camera's dynamic range. Finally, attempt night photography, pushing your mobile camera to its limits. You'll need to use longer exposures and higher ISOs, so a steady hand or tripod is essential.
Frequently Asked Questions
Can I Use External Lenses to Enhance My Mobile Camera's Exposure Capabilities?
You can't directly enhance exposure with external lenses, but they can improve your phone's overall image quality. They'll give you more control over focal length and depth of field, indirectly affecting your exposure choices.
How Does HDR Mode Affect the Exposure Triangle on Smartphones?
HDR mode on your smartphone automatically captures multiple exposures, combining them to enhance dynamic range. It doesn't directly affect the exposure triangle, but it can help you achieve well-balanced images in challenging lighting conditions without manual adjustments.
Are There Apps That Provide More Manual Control Over Exposure Settings?
Yes, you'll find many apps offering manual control over exposure settings. Options like ProCam, VSCO, and Lightroom Mobile let you adjust ISO, shutter speed, and aperture. They're great for fine-tuning your smartphone photography and enhancing creative control.
Does Using Flash Impact the Exposure Triangle on Mobile Devices?
Yes, using flash impacts your mobile device's exposure triangle. It adds light, allowing you to adjust aperture, shutter speed, and ISO differently. You'll need to balance these settings with the flash's intensity for ideal exposure.
How Do Computational Photography Techniques Influence Traditional Exposure Principles on Smartphones?
Computational photography revolutionizes how you capture images on smartphones. It blends multiple exposures, enhances dynamic range, and reduces noise. You'll find traditional exposure principles are still relevant, but they're augmented by AI-driven algorithms for better results.
In Summary
You've now got the tools to master the exposure triangle on your mobile device. Remember, it's all about balance: ISO, shutter speed, and aperture work together to create the perfect shot. Don't be afraid to experiment with different settings. As you practice, you'll develop an intuitive feel for adjusting these elements. Keep challenging yourself with various lighting conditions and subjects. Soon, you'll be capturing stunning images that rival those taken with professional cameras.


Leave a Reply