To sharpen your mobile shots, start by cleaning your camera lens with a microfiber cloth. Steady your smartphone using both hands and a stable stance. Tap the screen to focus on your subject, and adjust exposure compensation for ideal brightness. Use HDR mode in challenging lighting conditions, and avoid digital zoom to maintain image quality. Explore manual focus options for precise control, and leverage burst mode for moving subjects. Don't forget post-processing techniques to enhance sharpness. By mastering these quick focus fixes, you'll greatly improve your mobile photography skills. Dive deeper to access even more pro-level techniques for stunning smartphone shots.
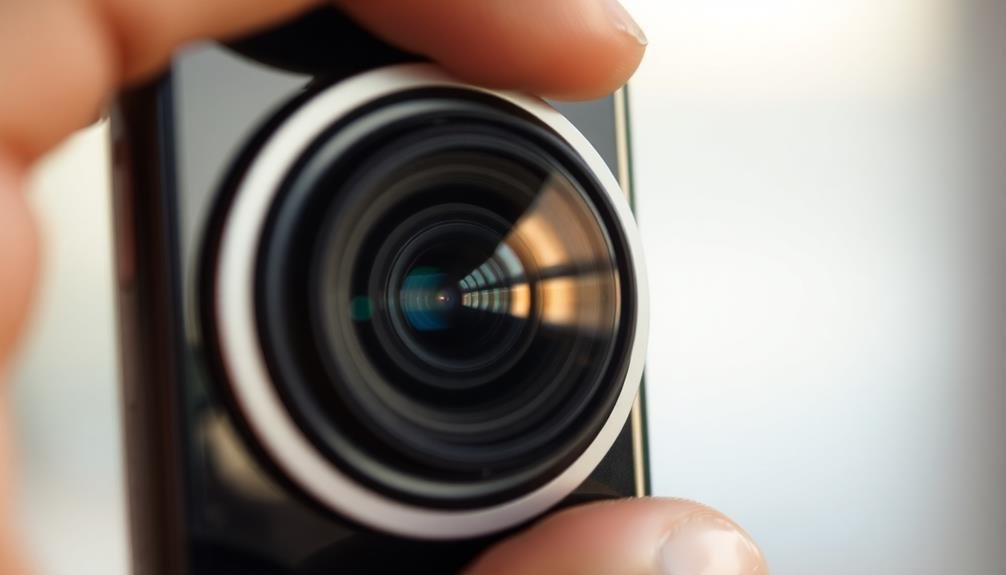
Clean Your Camera Lens
Although it may seem obvious, cleaning your camera lens is often overlooked when troubleshooting focus issues. Your smartphone's camera lens is exposed to various elements throughout the day, accumulating dirt, dust, fingerprints, and oils. These contaminants can greatly impact image quality, causing blurry or hazy photos.
To clean your lens effectively, start by using a microfiber cloth specifically designed for optical surfaces. Gently wipe the lens in a circular motion, removing any visible debris. For stubborn smudges, lightly dampen the cloth with distilled water or a lens cleaning solution. Be careful not to use excessive liquid, as it could seep into the phone's internal components.
If you don't have a microfiber cloth handy, your shirt or other fabric can work in a pinch, but be cautious of rough materials that might scratch the lens. Avoid using tissues or paper towels, as they can leave lint or scratches on the surface.
Make it a habit to clean your lens regularly, especially before important photo opportunities. A quick wipe can make a considerable difference in your mobile photography results, ensuring crisp, clear images every time you snap a shot.
Steady Your Smartphone
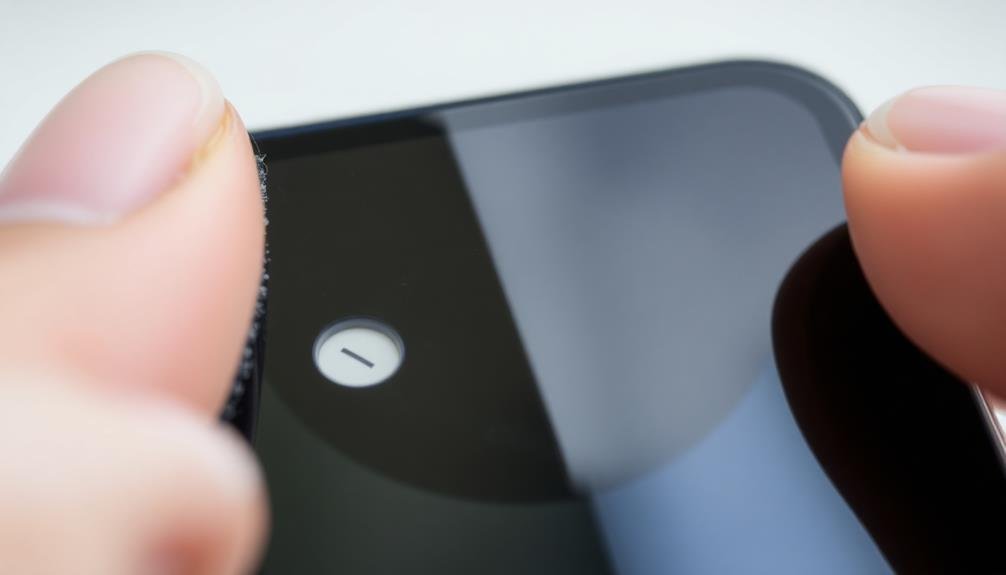
With a clean lens, you're ready to tackle another common cause of blurry photos: camera shake. Even slight movements can result in fuzzy images, especially in low-light conditions.
To steady your smartphone, start by adopting a stable stance. Plant your feet shoulder-width apart and tuck your elbows into your body.
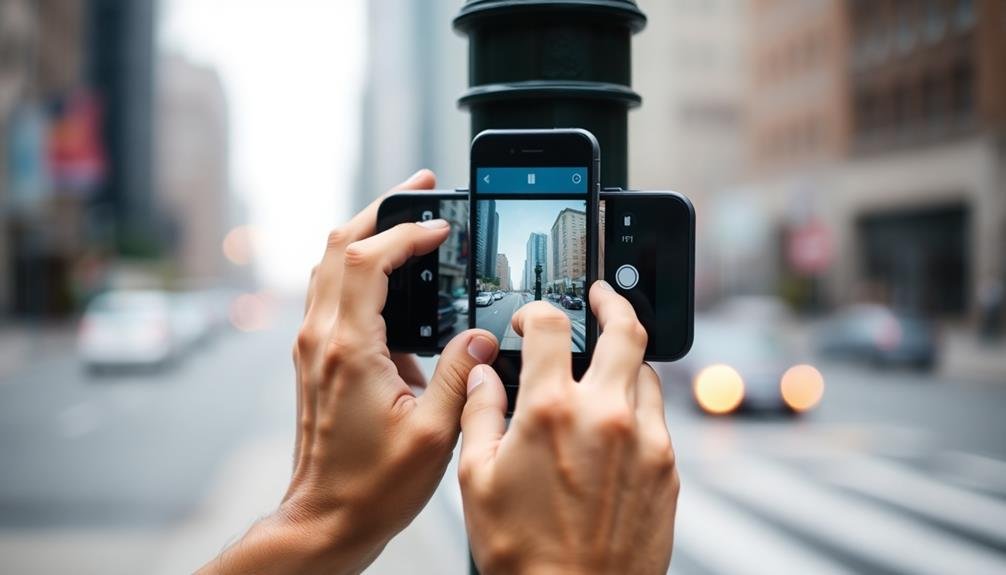
Hold your phone with both hands, gripping it firmly but not tensely. Use your thumbs to operate the shutter button or tap the screen. If possible, lean against a wall or sturdy object for added stability. For even better results, try using a small tripod or smartphone mount.
When shooting, take advantage of your phone's built-in stabilization features. Many smartphones offer optical image stabilization (OIS) or electronic image stabilization (EIS). Enable these in your camera settings for smoother shots.
Additionally, use your phone's timer function or a remote shutter release to avoid the slight shake that occurs when tapping the screen.
In low light, consider using a night mode or long exposure setting if available. These modes often combine multiple shots to reduce blur and noise.
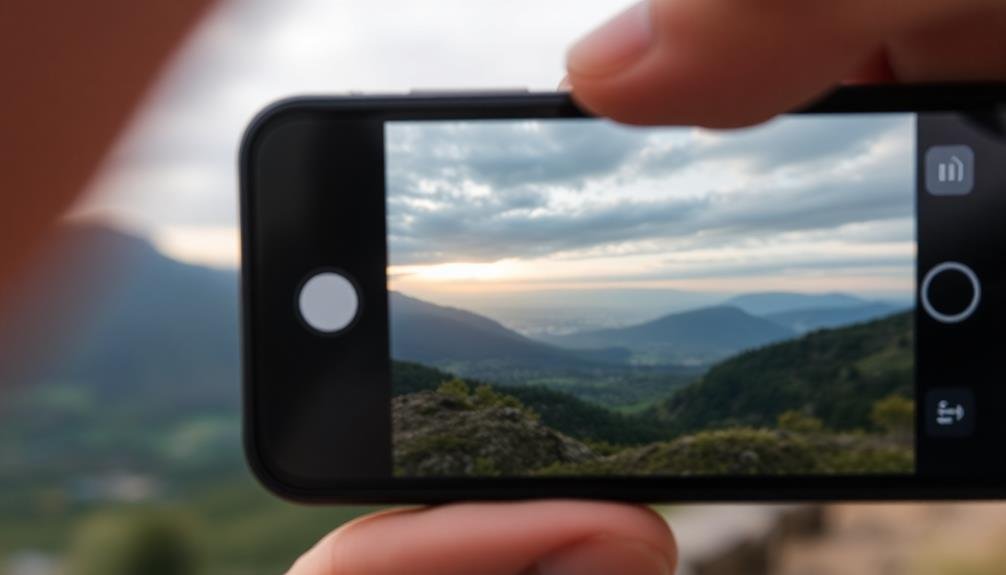
Tap to Focus

When capturing images on your smartphone, you'll often need to guide the camera's focus.
Tap the screen to select your subject precisely, ensuring the most important elements are sharp.
You can also adjust the focus area by dragging your finger, allowing you to fine-tune the focal point for ideal results.
Precise Subject Selection
Tap-to-focus is a game-changer for mobile photography. But for even more control, precise subject selection takes your focus game to the next level. Most smartphone cameras now offer advanced selection tools that let you pinpoint exactly what you want in focus.
To use this feature, open your camera app and look for an option like "Pro mode" or "Manual focus." Once activated, you'll see a focus reticle on your screen. Use your finger to drag this reticle over your desired subject. Some apps allow you to adjust the size of the focus area, giving you pinpoint accuracy.
For subjects with complex shapes, try using the "lasso" or "brush" tool if available. These let you trace around your subject, ensuring every detail is sharp. Remember, the smaller your focus area, the more dramatic the depth-of-field effect will be.
Don't forget to lock your focus once you've made your selection. This prevents the camera from readjusting if your subject moves slightly.
With practice, precise subject selection will become second nature, dramatically improving the quality of your mobile shots.
Adjusting Focus Area
Smartphones today offer a powerful tool for instant focus adjustments: tap-to-focus. This feature allows you to quickly shift focus to your desired subject by simply tapping on the screen. When you tap, you'll notice a yellow square or circle appear, indicating the new focus point.
To make the most of tap-to-focus:
- Tap on your main subject to guarantee it's sharp.
- Experiment with different focus points to change the image's mood.
- Use focus to draw attention to specific details in your composition.
Remember that focus isn't just about sharpness; it's about directing the viewer's eye. Consider these scenarios:
| Focus Point | Effect | Example |
|---|---|---|
| Foreground | Emphasizes nearby objects | Flower in a field |
| Midground | Balances the scene | Person in a crowd |
| Background | Highlights distant elements | Mountain landscape |
Don't be afraid to try multiple focus points before settling on your final shot. Some apps even allow you to adjust the size of the focus area, giving you more control over your image. By mastering tap-to-focus, you'll greatly improve your mobile photography, creating more intentional and impactful images.
Adjust Exposure Compensation
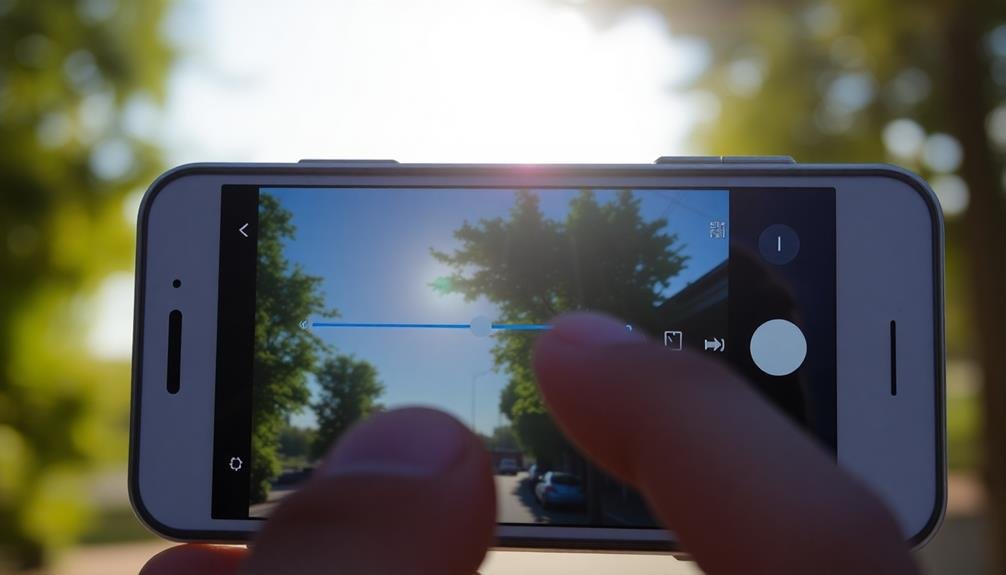
You'll find exposure compensation settings in most mobile camera apps, typically represented by a "+/-" icon.
To use this feature effectively, you'll need to recognize when a scene is over or underexposed, often indicated by washed-out highlights or dark shadows.
Once you've identified the issue, you can apply appropriate compensation values, usually in increments of 0.3 or 0.5, to brighten or darken your image as needed.
Understand Exposure Compensation Settings
Exposure compensation is a powerful tool that can greatly improve your mobile photography. It allows you to override your camera's automatic exposure settings, giving you more control over the brightness of your images. Understanding how to use exposure compensation effectively can help you capture well-balanced shots in challenging lighting conditions.
Most mobile cameras use a scale ranging from -2 to +2 EV (Exposure Value) for exposure compensation. Here's a quick guide to help you understand these settings:
| EV Value | Effect | Best Used For |
|---|---|---|
| -2 | Considerably darker | Very bright scenes, snow |
| -1 | Slightly darker | Bright subjects, backlit scenes |
| 0 | No change (default) | Well-lit, balanced scenes |
| +1 | Slightly brighter | Dark subjects, shadowy areas |
| +2 | Considerably brighter | Low light, night scenes |
To adjust exposure compensation, look for the +/- icon in your camera app. Sliding towards + will brighten your image, while sliding towards – will darken it. Remember, small adjustments can make a big difference. Experiment with different settings to find the right balance for your shot, and always check your results to confirm you've achieved the desired effect.
Recognize Overexposed/Underexposed Scenes
Mastery in mobile photography hinges on your ability to recognize and correct exposure issues. Overexposed scenes appear too bright, with washed-out details and a lack of contrast. You'll notice blown-out highlights, especially in bright areas like clouds or reflective surfaces.
Underexposed scenes, on the other hand, look too dark, with shadows that obscure details and create a gloomy atmosphere.
To identify these issues, pay attention to your phone's screen while composing shots. Look for areas that appear unnaturally bright or dark. Use your device's histogram feature if available; a graph skewed to the right indicates overexposure, while one leaning left suggests underexposure.
Once you've recognized the problem, adjust your exposure compensation. For overexposed scenes, reduce the exposure by sliding the brightness control down. This will darken the image, bringing back lost details in highlights.
For underexposed scenes, increase the exposure to brighten shadows and reveal hidden elements. Remember, subtle adjustments often yield the best results.
Don't hesitate to take multiple shots with different exposure settings to guarantee you capture the scene accurately.
Apply Appropriate Compensation Values
Applying appropriate compensation values is essential for achieving well-balanced mobile photos. Once you've identified an overexposed or underexposed scene, it's time to adjust your camera's exposure compensation. Most smartphone cameras allow you to do this by tapping on the screen and sliding a brightness control up or down.
For overexposed scenes, reduce the exposure by sliding the control downwards. This will darken the image, bringing back details in highlights that might've been washed out. Start with a -0.3 or -0.7 adjustment and increase if needed.
In underexposed situations, increase the exposure by sliding the control upwards. This brightens the image, revealing details in shadows. Begin with a +0.3 or +0.7 adjustment and fine-tune as necessary.
Use HDR Mode
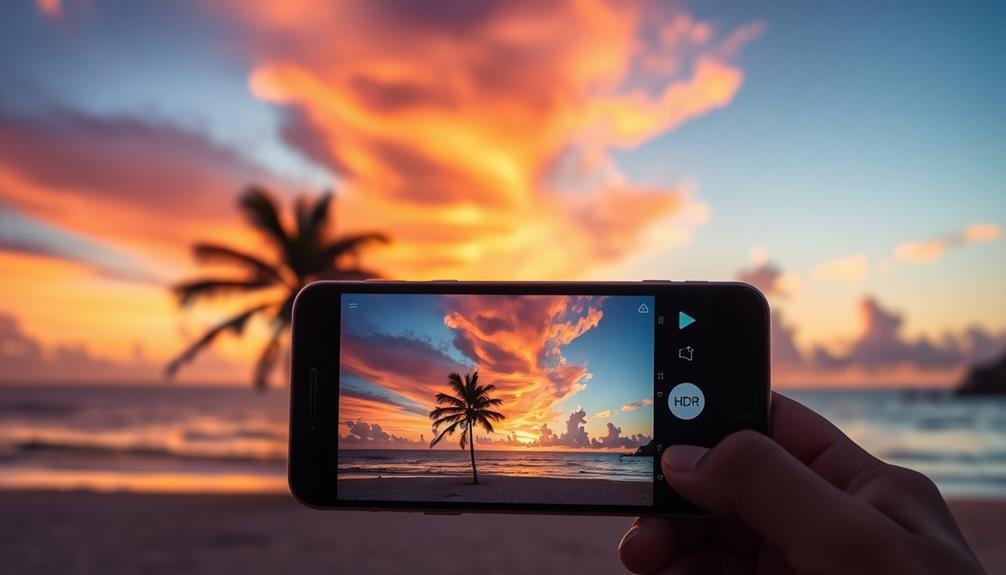
HDR mode can dramatically improve your mobile shots in challenging lighting conditions. When you're faced with high-contrast scenes, like a bright sky and dark foreground, HDR (High Dynamic Range) combines multiple exposures to create a well-balanced image. This feature is particularly useful for landscape and architectural photography.
To use HDR effectively, keep your phone steady or use a tripod to avoid blurring. HDR works best for static subjects, as moving objects can appear ghosted in the final image. Enable HDR mode in your camera app settings or look for an HDR icon on the main screen. Some phones offer auto HDR, which intelligently applies the effect when needed.
Be mindful that HDR processing takes slightly longer than a standard shot, so it's not ideal for fast-moving subjects or action scenes. In low light, HDR can sometimes introduce noise, so use it judiciously.
Experiment with HDR in various lighting situations to understand its impact on your photos. Remember, while HDR can enhance detail and balance exposure, it may also reduce contrast and create an unnatural look if overused. Always compare the HDR result with a standard shot to ascertain you've achieved the desired effect.
Avoid Digital Zoom
Digital zoom is a smartphone camera's Achilles' heel, often degrading image quality rather than enhancing it. When you use digital zoom, you're fundamentally cropping and enlarging a portion of the image, which results in pixelation and loss of detail. Instead, opt for optical zoom if your phone has it, or simply move closer to your subject.
To maintain image quality, you should:
- Use your feet to get closer to the subject
- Crop the image during post-processing instead of zooming
- Invest in clip-on lenses for your smartphone
- Learn to frame shots without relying on zoom
Here's a comparison of digital zoom effects on image quality:
| Zoom Level | Image Quality | Detail Retention | Pixelation | Recommended Use |
|---|---|---|---|---|
| 1x (No Zoom) | Excellent | High | None | All situations |
| 2x Digital | Fair | Moderate | Slight | Occasional use |
| 5x Digital | Poor | Low | Noticeable | Avoid if possible |
| 10x Digital | Very Poor | Very Low | Severe | Never use |
| Optical Zoom | Good | High | None | When available |
Explore Manual Focus Options
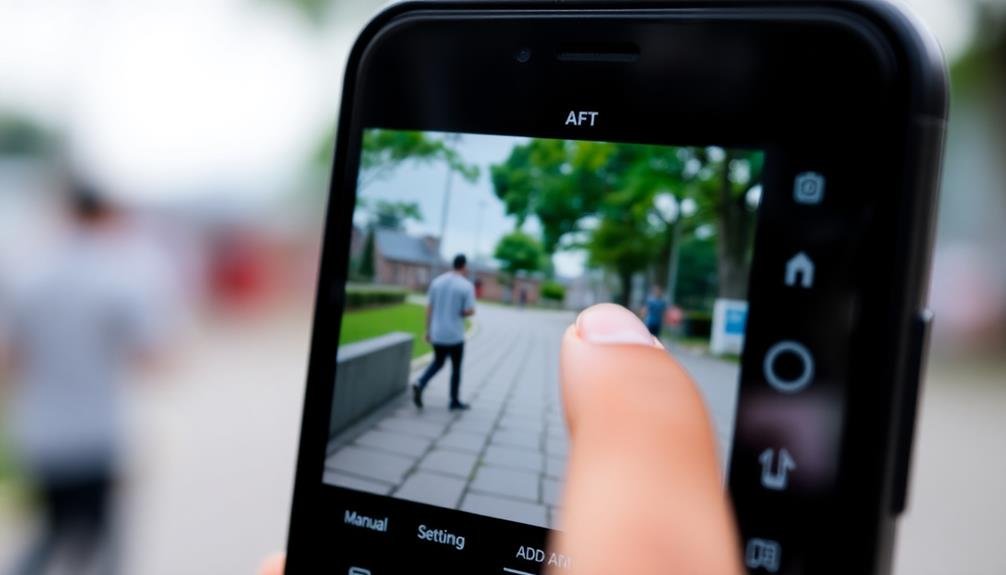
While avoiding digital zoom can improve your mobile shots, mastering manual focus takes your smartphone photography to the next level. Many modern smartphones offer manual focus options, allowing you to have precise control over what's in focus. To access this feature, look for a "Pro" or "Manual" mode in your camera app.
Once you've enabled manual focus, you'll typically see a slider or focus ring on your screen. Use this to adjust the focus point, moving it closer or farther away as needed. This is particularly useful for macro shots or when you want to create a shallow depth of field effect.
Some phones also offer focus peaking, which highlights the areas in focus with a colored outline. This tool helps you confirm that you've nailed the focus on your intended subject.
Don't be afraid to experiment with different focus points to create unique compositions.
Leverage Burst Mode
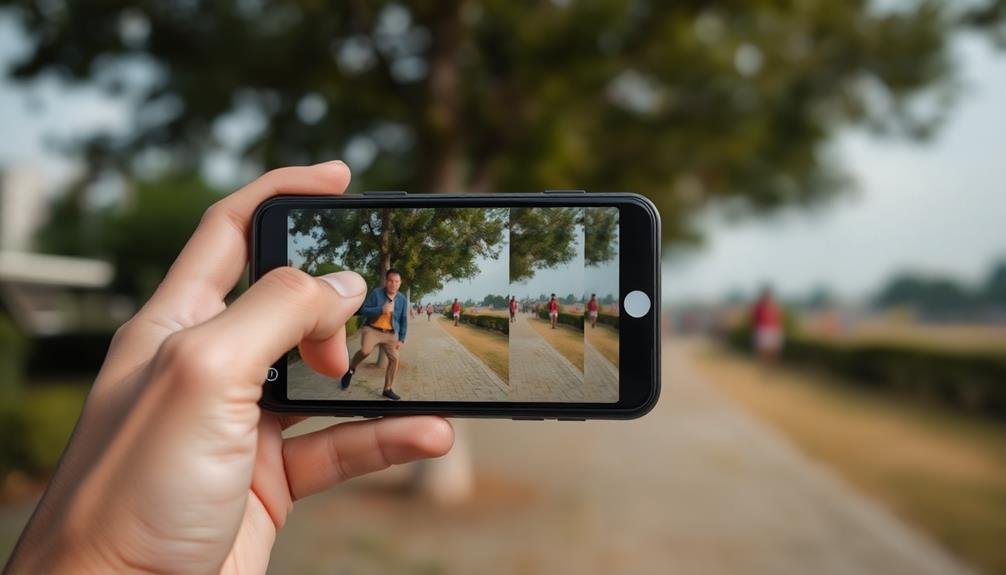
Burst mode is a powerful feature that can greatly enhance your chances of capturing the perfect shot. When you're dealing with moving subjects or unpredictable scenes, it's your secret weapon for ensuring crisp, focused images.
To use burst mode, simply hold down your phone's shutter button or volume key. Your camera will rapidly capture a series of photos in quick succession. This technique is particularly useful for action shots, group photos, or any situation where timing is essential.
After taking a burst, you can review the series and select the sharpest image. Look for the frame where your subject is most in focus and composed as desired. Many smartphones now offer AI-assisted selection, helping you identify the best shots from your burst.
Don't forget to enable HDR while using burst mode for even better results. This combination allows you to capture multiple exposures of fast-moving scenes, giving you more options to choose from.
Remember to clean up your photo library afterward, deleting unnecessary shots to save storage space. With practice, you'll find burst mode becoming an indispensable tool in your mobile photography arsenal.
Post-Processing Sharpening Techniques
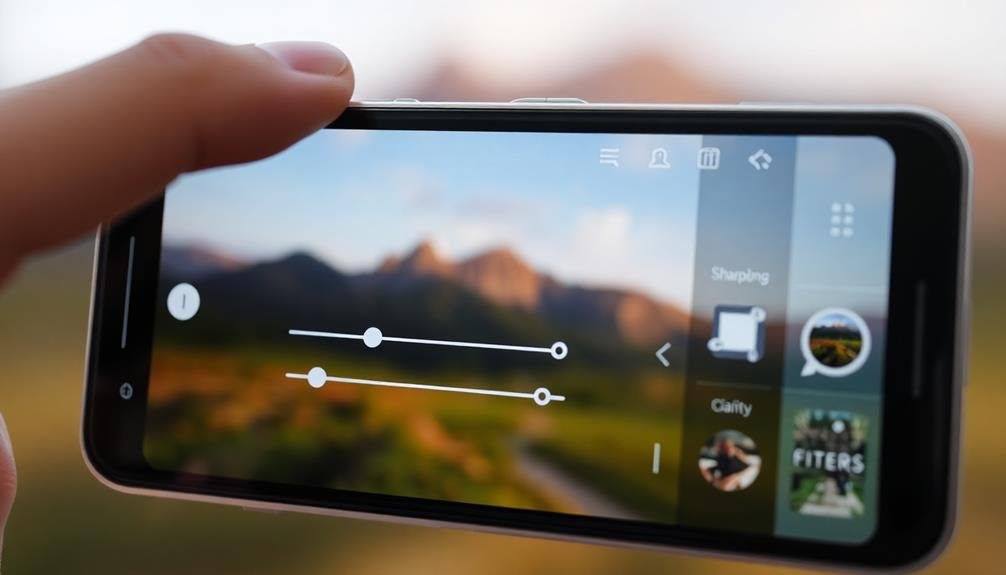
Even if you've taken the perfect shot, post-processing can elevate your mobile photography to new heights. Many mobile editing apps offer sharpening tools that can enhance your image's clarity and focus.
Start by adjusting the overall sharpness slightly, being careful not to overdo it and create unnatural-looking edges.
For more precise control, try selective sharpening. Focus on key areas of your image, such as the subject's eyes or important details, while leaving softer areas untouched. This technique can draw attention to your intended focal points without affecting the entire image.
Consider using other sharpening techniques to refine your photos:
- Clarity adjustment: Enhances mid-tone contrast for a crisp look
- Structure tool: Accentuates textures and fine details
- Unsharp mask: Provides more control over sharpening intensity and radius
- High-pass filter: Sharpens edges while preserving smooth areas
Frequently Asked Questions
How Does Lighting Affect Smartphone Camera Focus?
Lighting greatly impacts your smartphone's focus. In low light, your camera struggles to detect contrast, leading to blurry shots. Bright light helps your phone focus quickly and accurately. You'll get sharper images with good lighting conditions.
Can Phone Cases Interfere With Camera Focus?
Yes, phone cases can interfere with your camera's focus. Thick or poorly designed cases may block sensors, obstruct lenses, or create glare. You'll want to choose a case that's camera-friendly to guarantee you're getting the best shots possible.
What's the Best Focus Technique for Moving Subjects?
For moving subjects, you'll want to use continuous autofocus. Activate this mode on your phone's camera app, then tap and hold on your subject. Your camera will track and adjust focus as they move.
How Do Different Smartphone Camera Apps Compare for Focus Quality?
You'll find that camera apps vary in focus quality. Some offer advanced features like manual focus and focus peaking. Try popular options like ProCam, Camera+ 2, or Halide to see which gives you the sharpest results for your needs.
Are There Any Accessories That Can Improve Smartphone Camera Focus?
Yes, you can improve your smartphone's camera focus with accessories. Try clip-on macro lenses for close-ups, tripods for stability, or external LED lights for better illumination. Some phones even support attachable professional-grade lenses for enhanced focus and quality.
In Summary
You've now got a toolkit to sharpen your mobile photos. Remember, it's all about practice and experimentation. Don't be afraid to try different techniques and see what works best for you. With these tips, you'll be capturing crisp, clear images in no time. Keep exploring your phone's camera features and push your photography skills further. Soon, you'll be impressing everyone with your professional-looking mobile shots. Happy snapping!


Leave a Reply