
Master your phone's camera modes to capture stunning shots in any situation. Focus on composition techniques like the rule of thirds and leading lines to create visually appealing images. Experiment with lighting, using natural sources and golden hour for the best results. Don't forget to adjust exposure and focus for crisp, well-lit photos. Use editing apps to enhance your images, but keep adjustments subtle for a natural look. Pay attention to aspect ratios for different social platforms to guarantee your photos look their best when shared. With these expert tips, you'll be well on your way to creating social media-worthy content that stands out from the crowd.
Understanding Your Phone's Camera Modes

Most modern smartphones come packed with a variety of camera modes, each designed for specific shooting scenarios. To make the most of your phone's camera, it's crucial to understand these modes and when to use them.
Portrait mode is perfect for capturing stunning headshots with a blurred background, creating a professional-looking depth effect.
For sprawling landscapes or cityscapes, switch to panorama mode to capture wide, sweeping shots. Night mode excels in low-light conditions, allowing you to take clear photos without a flash.
If you're shooting fast-moving subjects like sports or wildlife, try burst mode to capture multiple frames in quick succession. For close-up shots of small objects, use macro mode to focus on intricate details.
HDR (High Dynamic Range) mode is ideal for scenes with high contrast, balancing bright and dark areas.
Don't forget about video modes, including time-lapse for condensing long periods into short clips, and slow-motion for dramatic action shots.
Experiment with these modes to discover which ones work best for your specific photography needs and style.
Mastering Exposure and Focus
Understanding camera modes is just the beginning. To truly elevate your phone photography, you'll need to master exposure and focus. These two elements are essential for creating sharp, well-lit images that stand out on social media.
Start by tapping on your phone's screen to set the focus point. This tells your camera what should be sharp in the image.
For exposure, most phones allow you to adjust brightness by sliding your finger up or down after tapping to focus. Experiment with different exposure levels to find the perfect balance between highlight and shadow details.
Don't be afraid to use exposure compensation when needed. If your subject is backlit, increase exposure to avoid silhouettes.
For high-contrast scenes, try using HDR mode to capture a wider range of tones.
For creative effects, try manual focus. This allows you to deliberately blur certain parts of the image, creating a sense of depth.
Some phones also offer focus peaking, which highlights in-focus areas, making it easier to nail your shot.
Composition Techniques for Stunning Shots

With composition, you can transform ordinary scenes into fascinating images. Start by applying the rule of thirds: mentally divide your frame into a 3×3 grid and place key elements along these lines or at their intersections. This creates a more balanced and visually appealing photo.
Use leading lines to draw the viewer's eye through the image. Roads, fences, or architectural features can guide attention to your main subject. Don't forget about framing – use natural elements like archways or tree branches to surround your subject and add depth.
Consider symmetry and patterns for striking visuals. Look for reflections in water or glass, or repeating shapes in urban environments. Experiment with different angles – get low, shoot from above, or try a Dutch angle for unique perspectives.
Here's a quick reference guide for composition techniques:
| Technique | Description | Best For |
|---|---|---|
| Rule of Thirds | Place subjects along grid lines | Landscapes, portraits |
| Leading Lines | Use lines to guide the eye | Urban scenes, roads |
| Framing | Surround subject with elements | Nature, architecture |
| Symmetry | Create mirror-like images | Reflections, buildings |
Lighting Hacks for Phone Photography

Mastering lighting is essential for elevating your phone photography.
You'll need to understand the differences between natural and artificial light sources, and how to harness the soft, warm glow of golden hour for stunning shots.
Don't be afraid to experiment with shadows, using them creatively to add depth and drama to your images.
Natural vs. Artificial Light
Although lighting can make or break a photo, you don't need expensive equipment to achieve stunning results with your phone camera. Understanding the differences between natural and artificial light can greatly improve your shots.
Natural light offers a soft, flattering glow that's ideal for portraits and landscapes. During the golden hour (just after sunrise or before sunset), you'll get warm, diffused light that adds depth to your images. Overcast days provide even lighting, perfect for capturing vibrant colors without harsh shadows.
However, midday sun can create unflattering shadows, so seek shade or use a reflector to soften the light.
Artificial light gives you more control but can be challenging. Avoid using your phone's flash, as it often creates harsh shadows and washes out subjects. Instead, experiment with nearby light sources like lamps or streetlights for unique effects.
For indoor shots, position your subject near a window to blend natural and artificial light. If you're shooting at night, look for interesting light sources like neon signs or holiday decorations to add atmosphere to your photos.
Golden Hour Photography
The golden hour is a photographer's secret weapon, offering unparalleled lighting conditions for stunning phone photos. This magical time occurs twice daily, just after sunrise and before sunset, when the sun casts a warm, golden glow across the landscape. To capture this enchanting light, you'll need to plan ahead and be ready to shoot quickly.
During the golden hour, shadows are longer and softer, creating depth and dimension in your images. The warm tones enhance skin tones and add a dreamy quality to landscapes. To make the most of this fleeting moment, position your subject facing the sun for a flattering, front-lit effect. Alternatively, try backlighting for a dramatic silhouette or halo effect.
Experiment with different angles and compositions to maximize the golden light. Use your phone's HDR mode to balance bright skies and darker foregrounds. Don't forget to adjust your white balance to capture the true warmth of the scene.
If you're shooting landscapes, try including foreground elements to add depth and interest. Remember, the golden hour is brief, so work efficiently and be prepared to adapt quickly as the light changes.
Manipulating Shadows Creatively
While golden hour offers naturally stunning lighting, you can create enchanting effects any time of day by manipulating shadows creatively. Start by identifying strong light sources and experimenting with their positioning relative to your subject. Try placing your subject near a window or using artificial light to cast interesting shadows.
Play with angles to elongate or shorten shadows, adding drama to your composition. Shooting from below can create towering silhouettes, while top-down angles can produce intriguing shadow patterns. Don't shy away from harsh midday sun; use it to your advantage by capturing sharp, high-contrast shadows.
Incorporate shadows as leading lines or framing elements to guide the viewer's eye. Experiment with partially obscuring your subject in shadow for a mysterious effect. Use shadow patterns from objects like blinds or plants to add texture and depth to otherwise plain surfaces.
Try backlighting your subject to create a halo effect or silhouette. For softer shadows, diffuse light with translucent materials like curtains or paper.
Editing Apps for Professional Results
You'll find a plethora of editing apps to elevate your phone photos to professional quality.
We'll explore some popular editing app recommendations that can transform your images.
You'll also learn essential editing techniques to enhance your photos, from adjusting exposure and contrast to fine-tuning colors and applying creative filters.
Popular Editing App Recommendations
Ready to take your phone photos to the next level? These popular editing apps will help you achieve professional-looking results with just a few taps. While there are numerous options available, we've narrowed down the list to some of the most user-friendly and feature-rich apps.
Adobe Lightroom Mobile is a powerful tool that offers advanced editing capabilities, including selective adjustments and presets.
Snapseed, developed by Google, provides a wide range of editing tools and filters, making it perfect for both beginners and experienced photographers.
VSCO is known for its film-like filters and minimalist interface, ideal for creating a cohesive aesthetic for your social media feed.
For those who prefer an all-in-one solution, try:
- Afterlight: Offers a variety of filters, textures, and overlays
- Enlight: Provides advanced tools for photo manipulation and artistic effects
- TouchRetouch: Specializes in object removal and blemish correction
- Facetune: Focuses on portrait retouching and enhancing facial features
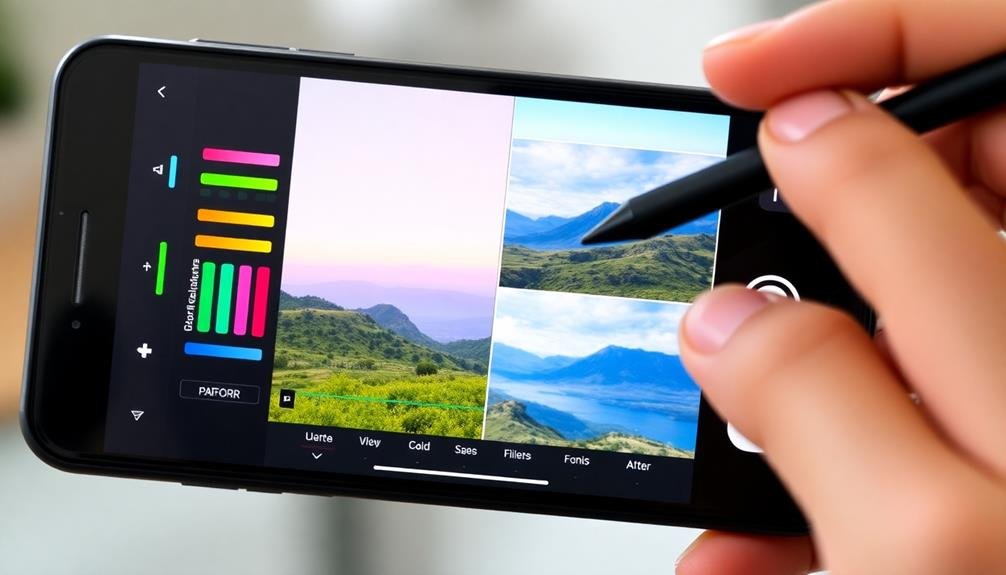
Essential Editing Techniques Explained
Armed with the right editing apps, it's time to master essential techniques that can transform your phone photos into professional-looking images. Start by adjusting exposure and contrast to enhance overall brightness and depth. Use the highlights and shadows tools to bring out details in both light and dark areas of your photo.
Next, focus on color correction. Adjust temperature to warm up or cool down the image, and tweak saturation to make colors pop without looking unnatural. Don't forget about white balance to guarantee accurate color representation.
Cropping is vital for composition. Use the rule of thirds grid to place key elements strategically within the frame. Remove distracting elements and straighten horizons for a cleaner look.
For portraits, utilize selective editing tools to soften skin, brighten eyes, and whiten teeth. Apply subtle vignettes to draw attention to your subject.
Lastly, experiment with filters, but use them sparingly. Adjust the filter's intensity to maintain a natural appearance.
Capturing Motion on Smartphones

How can you freeze action or create artistic blur with just your smartphone? It's easier than you might think. Your phone's camera has powerful capabilities for capturing motion when you know how to use them.
To freeze action, use your camera's burst mode. Hold down the shutter button to take multiple shots in quick succession, then choose the best one. For sharp images, guarantee there's plenty of light and your subject is well-lit. Alternatively, try your phone's "sport" or "action" mode if available.
For artistic blur, experiment with these techniques:
- Panning: Follow a moving subject with your camera, keeping it in focus while the background blurs.
- Slow shutter speed: Use a third-party app to manually control shutter speed, creating motion trails.
- Intentional camera movement: Move your phone during a longer exposure for abstract effects.
- Light painting: In dark environments, use long exposures to capture light trails from moving sources.
Remember to stabilize your phone for clearer results. Use a tripod or rest your elbows on a stable surface.
With practice, you'll master these techniques and add dynamic motion to your smartphone photography.
Portrait Mode Secrets Revealed

Release the full potential of your phone's portrait mode by mastering ideal lighting techniques.
You'll want to position your subject near a soft, diffused light source to create flattering shadows and highlights.
To enhance the depth effect, guide your subject to angle their body slightly and experiment with various poses that create separation between them and the background.
Optimal Lighting Techniques
When it comes to capturing stunning portraits with your phone, lighting is the secret sauce that can transform an ordinary snapshot into a masterpiece. To achieve ideal lighting for your portraits, consider the direction, quality, and intensity of light.
Natural light often produces the most flattering results, so try positioning your subject near a window or in open shade outdoors.
For indoor shots, experiment with different light sources to create the desired mood. You can use:
- Soft, diffused light from a lamp or softbox for a gentle, flattering effect
- Directional light to create dramatic shadows and highlight facial features
- Backlighting to create a dreamy, ethereal atmosphere
- Ring lights for even, shadowless illumination, perfect for close-up portraits
Don't be afraid to play with unconventional lighting techniques. Try using colored gels or fairy lights to add a creative touch to your portraits.
Remember to adjust your phone's exposure settings to compensate for different lighting conditions. In low-light situations, use your phone's night mode or a small portable LED light to brighten up your subject without compromising image quality.
Posing for Depth
Leveraging your phone's Portrait mode, you can create stunning images with a professional-looking depth of field. To maximize this effect, position your subject slightly off-center and guarantee there's ample space between them and the background. This separation enhances the blurred background effect, making your subject pop.
When posing people, encourage natural poses that create depth. Ask them to angle their body slightly, turn their shoulders, or place one foot in front of the other. These subtle adjustments add dimension to your shots. For group photos, arrange subjects at different distances from the camera to create layers of focus.
Use foreground elements to frame your subject and add depth. A branch, doorway, or nearby object can create interesting layers in your composition. Experiment with different angles, getting low or high to change perspective and emphasize depth.
| Pose | Effect | Example |
|---|---|---|
| Angled body | Slimming | Fashion shoot |
| Staggered group | Layered focus | Family portrait |
| Looking away | Candid feel | Street photography |
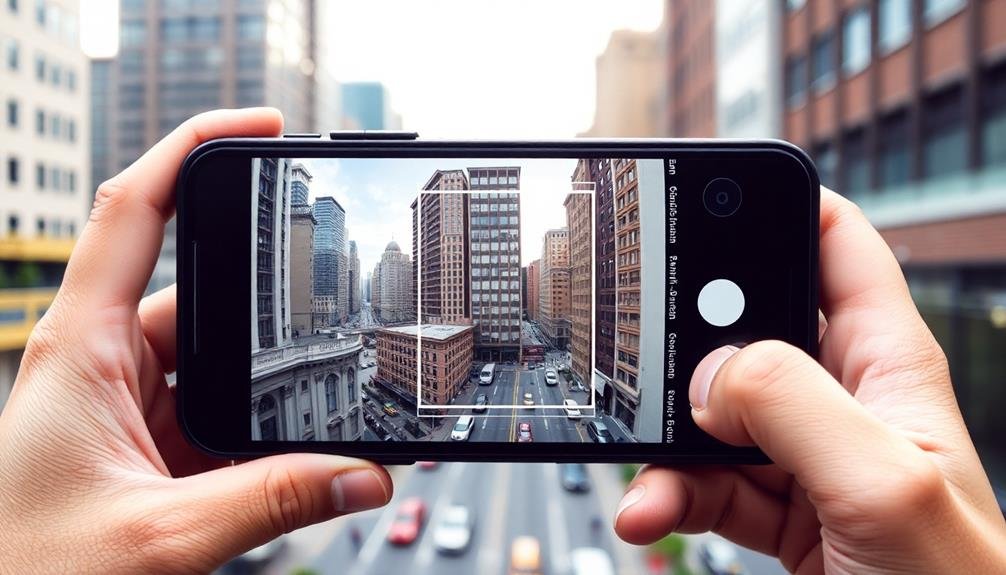
Landscape Photography on Mobile Devices
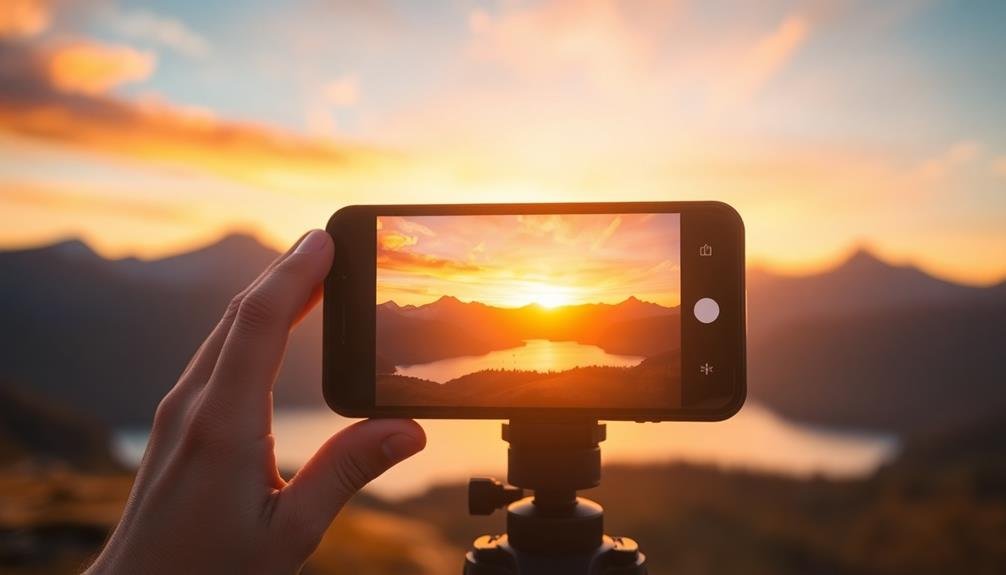
Mobile landscape photography has come a long way in recent years. With advancements in smartphone camera technology, you can now capture stunning vistas with just your phone. To make the most of your mobile device for landscape shots, focus on composition and lighting.
Use the rule of thirds to frame your shots, placing key elements along the grid lines. Experiment with different angles and perspectives to add depth and interest. Don't be afraid to get low or climb high for a unique viewpoint.
When it comes to lighting, aim for the golden hours – just after sunrise or before sunset – for warm, soft light that enhances landscapes. Use HDR mode to balance bright skies with darker foregrounds. For added stability, especially in low light, consider using a small tripod or leaning your phone against a stable surface.
Here are some additional tips to elevate your mobile landscape photography:
- Use leading lines to draw the viewer's eye into the scene
- Include foreground elements to create depth and scale
- Experiment with panorama mode for wide, sweeping vistas
- Edit your photos using mobile apps to enhance colors and contrast
With practice and these techniques, you'll be capturing breathtaking landscapes on your phone in no time.
Macro Photography With Phone Cameras
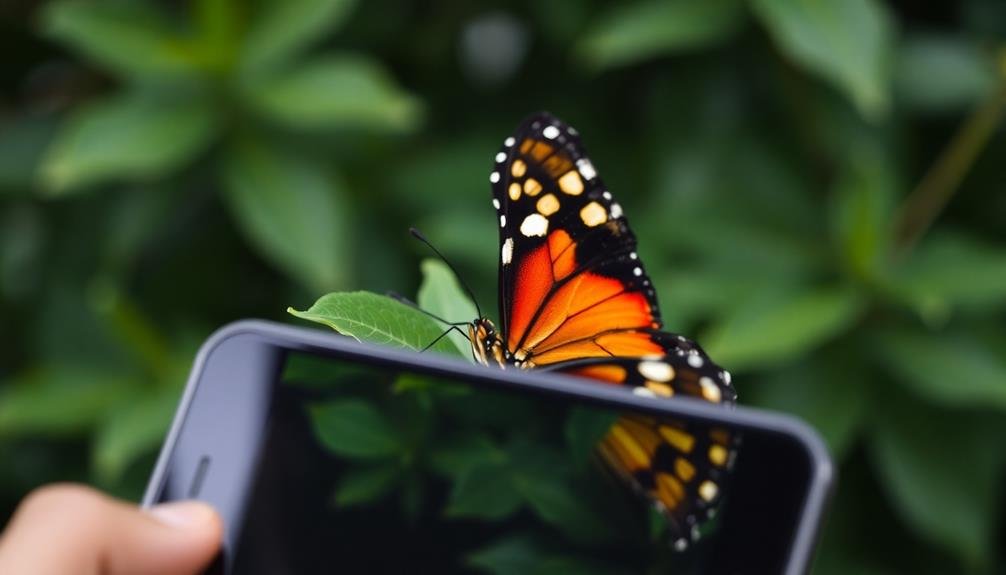
While landscapes offer expansive views, macro photography zooms in on the tiny details often overlooked. Your phone's camera can capture stunning close-ups with practice and the right techniques.
First, clean your lens to guarantee clarity. Get as close as possible to your subject without losing focus—most phones have a minimum focusing distance of about 3-4 inches.
Use the tap-to-focus feature to lock onto your subject, then adjust exposure by sliding your finger up or down. For even closer shots, consider a clip-on macro lens attachment. Natural light works best, so shoot outdoors or near windows. Avoid harsh shadows by using a white card or paper as a reflector.
Keep your phone steady to prevent blur—use a tripod or prop it against a stable surface. Enable your phone's grid feature to help with composition and framing. Experiment with different angles to find unique perspectives.
Post-processing can enhance your macro shots; try adjusting contrast, saturation, and sharpness. Remember, macro photography reveals intricate details, so look for interesting textures, patterns, and colors in everyday objects.
With these tips, you'll capture eye-catching macro images that stand out on social media.
Night Mode and Low-Light Shooting
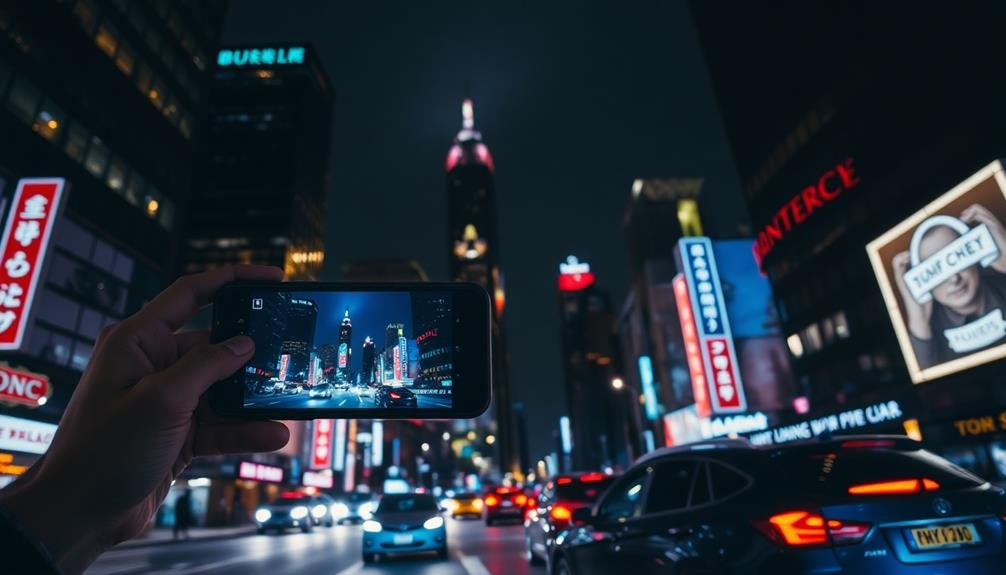
As darkness falls, capturing stunning photos becomes more challenging, but modern smartphones offer powerful tools for low-light photography. Night mode, a feature available on many recent devices, automatically adjusts settings to produce clearer, brighter images in dim conditions.
To make the most of your phone's low-light capabilities, follow these tips:
- Keep your phone steady: Use a tripod or rest your device on a stable surface to minimize camera shake.
- Embrace natural light sources: Incorporate streetlights, neon signs, or moonlight to add interest and depth to your shots.
- Experiment with manual controls: Adjust ISO, shutter speed, and focus to fine-tune your night photos.
- Clean your lens: Remove smudges and fingerprints to guarantee sharp, clear images.
When shooting in low light, be patient and take multiple shots. This increases your chances of capturing a sharp, well-exposed image.
Don't be afraid to use your phone's flash selectively, especially for close-up subjects. For more atmospheric shots, try using the flashlight from another phone to create unique lighting effects.
Aspect Ratios for Social Platforms
Understanding aspect ratios is key to ensuring your photos look their best across different social media platforms. Each platform has its preferred dimensions, and tailoring your images accordingly can boost engagement and visual appeal.
For Instagram, the classic square 1:1 ratio remains popular, but you can also use 4:5 for portrait orientation or 16:9 for landscape.
Facebook favors 1.91:1 for timeline posts, while cover photos work best at 16:9.
Twitter's ideal aspect ratio is 16:9 for in-stream photos, but 2:1 for shared images.
When shooting, consider your target platform. Use your phone's built-in grid to compose shots that'll work with multiple ratios.
For versatility, shoot wider than necessary, allowing room to crop later. Many phones now offer aspect ratio presets in the camera app – use these to visualize your final image.
Frequently Asked Questions
How Do I Protect My Phone's Camera Lens From Scratches and Damage?
You can protect your phone's camera lens by using a protective case with a raised edge around the lens. Apply a lens protector film, keep your phone in a separate pocket, and clean it gently with a microfiber cloth.
Can I Use External Lenses With My Smartphone Camera?
Yes, you can use external lenses with your smartphone camera. They clip or magnetically attach to your phone, enhancing its capabilities. You'll find options like wide-angle, macro, and fisheye lenses to expand your photography possibilities.
What's the Best Way to Clean My Phone's Camera Lens?
To clean your phone's camera lens, you'll want to use a soft, lint-free microfiber cloth. Gently wipe in a circular motion. For stubborn smudges, lightly dampen the cloth with distilled water. Avoid harsh chemicals or abrasive materials.
How Can I Stabilize My Phone for Long-Exposure Shots Without a Tripod?
You can stabilize your phone for long-exposure shots without a tripod by using everyday objects. Lean it against a wall, rest it on a table, or prop it up with books. You'll also want to use your phone's timer feature.
Are There Waterproof Cases That Allow Underwater Photography With Smartphones?
Yes, you'll find various waterproof cases for smartphones that enable underwater photography. They're designed to protect your device while allowing full touchscreen functionality. You can capture stunning underwater shots without worry, but always check the case's depth rating before diving.
In Summary
You're now equipped with expert tips to elevate your phone photography game. Remember, it's not just about the gear, but how you use it. Experiment with different modes, perfect your composition, and don't shy away from editing. Whether you're capturing landscapes, close-ups, or low-light scenes, your phone's camera is more powerful than you think. With practice and these techniques, you'll soon be sharing social-worthy shots that'll wow your followers.


Leave a Reply