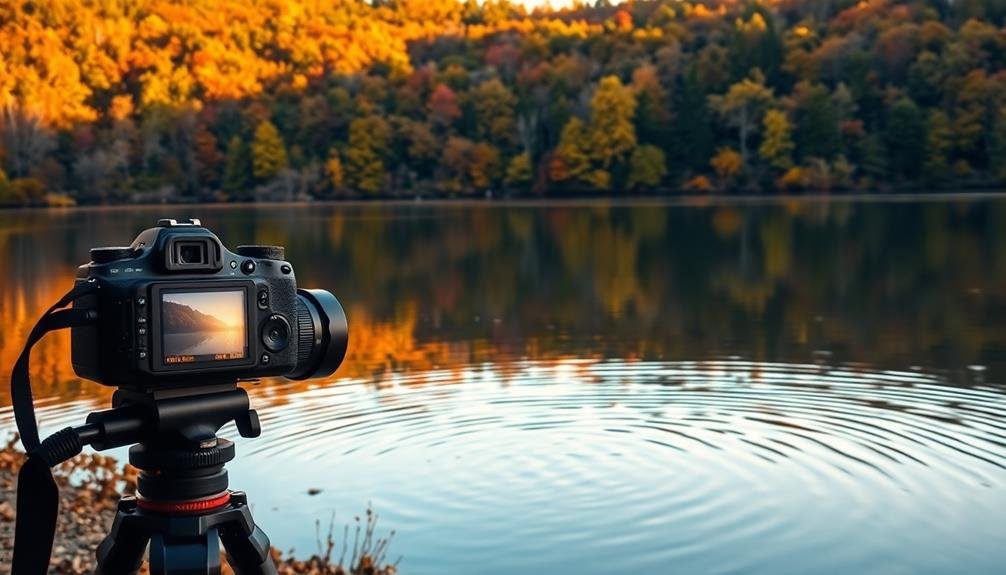
Camera settings are essential for reflection photos because they control how light interacts with your scene. You'll need to master aperture for depth of field, shutter speed for water movement, and ISO for low-light situations. White balance guarantees accurate colors, while focus modes keep reflections sharp. Manual mode gives you precise control, but auto modes can be helpful in certain situations. Burst mode captures fleeting moments in moving reflections, and night mode optimizes settings for evening shots. Macro settings allow you to capture intricate details in close-up reflections. By understanding these settings, you'll reveal the full potential of your reflection photography.
Aperture Control for Reflection Depth
Aperture control plays an essential role in capturing stunning reflection photos. When you're shooting reflections, you'll often want to achieve a balance between the reflected image and its surroundings. A smaller aperture (higher f-number) can help you increase the depth of field, ensuring both the reflection and the surrounding elements are in focus.
For instance, if you're photographing a mountain reflected in a lake, using an aperture of f/11 or f/16 will keep both the mountain and its reflection sharp. However, if you want to isolate the reflection and blur the background, opt for a wider aperture like f/2.8 or f/4.
Consider the lighting conditions when selecting your aperture. In low light, you might need to use a wider aperture to allow more light into the camera. Conversely, in bright conditions, a smaller aperture can help prevent overexposure.
Experiment with different apertures to see how they affect your reflection photos. You'll find that adjusting the aperture can dramatically change the mood and focus of your image, allowing you to create various artistic effects with reflections.
Shutter Speed and Water Reflections
Shutter speed is an essential element when capturing water reflections. It determines the appearance of the water's surface and the clarity of the reflection. Faster shutter speeds, typically 1/250th of a second or higher, freeze the water's motion, resulting in sharp, mirror-like reflections. This technique works well for calm bodies of water or when you want to capture crisp details in both the subject and its reflection.
On the other hand, slower shutter speeds, such as 1/30th of a second or longer, create a smooth, silky effect on the water's surface. This can add a dreamy, ethereal quality to your reflection photos. It's particularly effective for moving water, like streams or ocean waves. To achieve this look, you'll need to use a tripod to avoid camera shake.
Experiment with different shutter speeds to find the right balance between freezing motion and creating a smooth effect. You can also try using neutral density filters to allow for longer exposures in bright conditions.
Remember that the ideal shutter speed will depend on factors like the water's movement, lighting conditions, and your creative vision for the image.
ISO Sensitivity in Low Light
When capturing reflection photos in low light conditions, ISO sensitivity becomes essential. You'll need to balance image quality with the need for a faster shutter speed to avoid camera shake. Start with the lowest ISO possible for your camera that still allows for a suitable shutter speed. This will help maintain image quality and reduce noise.
As light levels decrease, you may need to increase your ISO. Modern cameras can often handle higher ISOs without significant quality loss, but be aware of your camera's limitations.
If you're using a tripod, you can keep the ISO lower and use longer exposures. However, for handheld shots or when capturing moving reflections, you'll need to raise the ISO to maintain a faster shutter speed.
Remember that higher ISOs can introduce digital noise, particularly in shadow areas. This can be especially noticeable in reflection photos, where smooth water surfaces may appear grainy.
If possible, shoot in RAW format to give yourself more flexibility in post-processing to reduce noise while preserving detail. Experiment with different ISO settings to find the right balance between exposure and image quality for your specific scene and camera.
White Balance for Color Accuracy
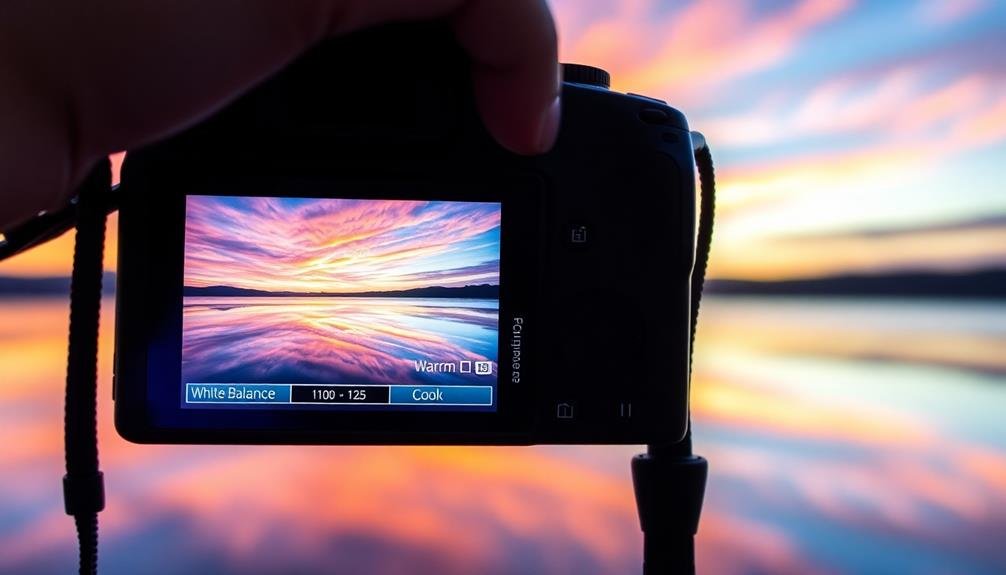
When shooting reflection photos, you'll need to pay close attention to white balance to guarantee color accuracy.
Proper white balance settings help neutralize unwanted color casts that can occur due to different lighting conditions, preserving the true tones of both the reflective surface and the reflected image.
You can adjust your camera's white balance manually or use presets to match the ambient light, guaranteeing that colors in your reflection photos appear natural and true-to-life.
Neutralizing Color Casts
Mastering white balance is essential for achieving accurate colors in reflection photos. When shooting reflections, you'll often encounter color casts from various light sources, which can distort the true colors of your subject. To neutralize these unwanted tints, you'll need to adjust your camera's white balance settings.
Start by identifying the dominant light source in your scene. Is it natural daylight, artificial indoor lighting, or a mix of both? Once you've determined this, you can select the appropriate white balance preset or manually set a custom white balance. Here's a quick guide to common white balance settings and their uses:
| Setting | Color Temperature | Best for |
|---|---|---|
| Auto | Variable | General use |
| Daylight | 5200K – 6000K | Outdoor scenes |
| Cloudy | 6000K – 7000K | Overcast days |
If you're still noticing color casts after adjusting white balance, try using a gray card or white balance filter. These tools can help you fine-tune your settings for more accurate color reproduction. Remember, you can always make minor adjustments in post-processing, but getting it right in-camera will save you time and preserve image quality.
Preserving Reflective Surface Tones
A mirror-like surface demands precise white balance for accurate color reproduction in reflection photography. You'll need to pay close attention to your camera's white balance settings to guarantee the reflective surfaces in your images maintain their true tones.
Start by using your camera's auto white balance feature, but be prepared to make manual adjustments if needed.
If you're shooting in RAW format, you'll have more flexibility to adjust white balance in post-processing. However, it's still vital to get it as close as possible in-camera. Use a gray card or white balance target to set a custom white balance for the most accurate results. This is especially important when shooting in mixed lighting conditions or when the reflective surface has a color cast of its own.
Remember that different reflective materials may require different white balance settings. Metal surfaces might need a cooler white balance, while water reflections may benefit from a warmer setting.
Experiment with your camera's preset white balance options, such as "cloudy" or "shade," to find the most natural-looking results for your specific scene and reflective surface.
Focus Modes for Sharp Reflections
Sharp reflections demand precise focus. When shooting reflection photos, you'll need to choose the right focus mode to capture crisp, clear images.
For stationary subjects, single-point autofocus is often your best bet. This mode allows you to select a specific focus point, typically on the reflection itself or the edge where the reflected object meets the reflective surface.
If you're dealing with moving subjects or changing compositions, continuous autofocus (AI Servo for Canon or AF-C for Nikon) can help track the subject and maintain focus.
For more complex scenes, you might want to try area or zone focusing, which uses multiple focus points to keep larger portions of the frame sharp.
Don't forget about manual focus, especially in tricky lighting conditions or when shooting through glass. It gives you complete control over the focal point.
When using manual focus, try focus peaking or live view magnification for precision.
Regardless of the mode you choose, always double-check your focus before taking the shot. A slightly misplaced focus can ruin an otherwise perfect reflection photo.
Exposure Compensation Techniques

When capturing reflection photos, you'll often encounter challenging lighting conditions.
To adjust for bright reflections, you'll need to use exposure compensation, typically reducing the exposure to prevent overblown highlights.
You can also use this technique to balance light and shadow, ensuring both the reflected subject and its mirror image are properly exposed.
Adjusting for Bright Reflections
Reflection photography's success often hinges on managing bright, shiny surfaces that can easily overwhelm your camera's sensor. To tackle this challenge, you'll need to adjust your settings to compensate for these intense reflections.
Start by reducing your camera's exposure compensation. Try setting it to -1 or -2 stops, which will help prevent highlights from blowing out.
You'll also want to use a narrower aperture (higher f-number) to control the amount of light entering the lens. This has the added benefit of increasing your depth of field, ensuring both the reflection and the subject remain sharp.
Consider using a polarizing filter to cut down on glare and enhance the reflection's colors. Rotate the filter until you achieve the desired effect.
If you're shooting in RAW, you'll have more flexibility to recover details in post-processing.
Don't forget about your ISO settings. Keep them as low as possible to minimize noise, especially in darker areas of the image.
Balancing Light and Shadow
Beyond managing bright reflections, mastering the balance between light and shadow is essential for compelling reflection photos. You'll need to use exposure compensation techniques to achieve the perfect balance. Start by evaluating your scene's dynamic range and adjusting your camera's exposure accordingly.
When shooting reflections, you'll often encounter high contrast scenes. To handle these, try bracketing your exposures. Take multiple shots at different exposure levels, then blend them in post-processing. This technique helps capture details in both highlights and shadows.
Another useful approach is using graduated neutral density filters. These allow you to darken specific parts of the frame, helping balance bright skies with darker foregrounds.
Here's a quick guide to exposure compensation techniques:
| Technique | Pros | Cons | Best For | Difficulty |
|---|---|---|---|---|
| Bracketing | Captures wide range | Time-consuming | High contrast | Medium |
| Grad ND Filters | In-camera solution | Limited flexibility | Landscape reflections | Easy |
| HDR | Preserves details | Can look unnatural | Extreme contrast | Hard |
| Spot Metering | Precise control | Requires practice | Tricky lighting | Medium |
| Exposure Lock | Quick adjustments | Limited range | Changing conditions | Easy |
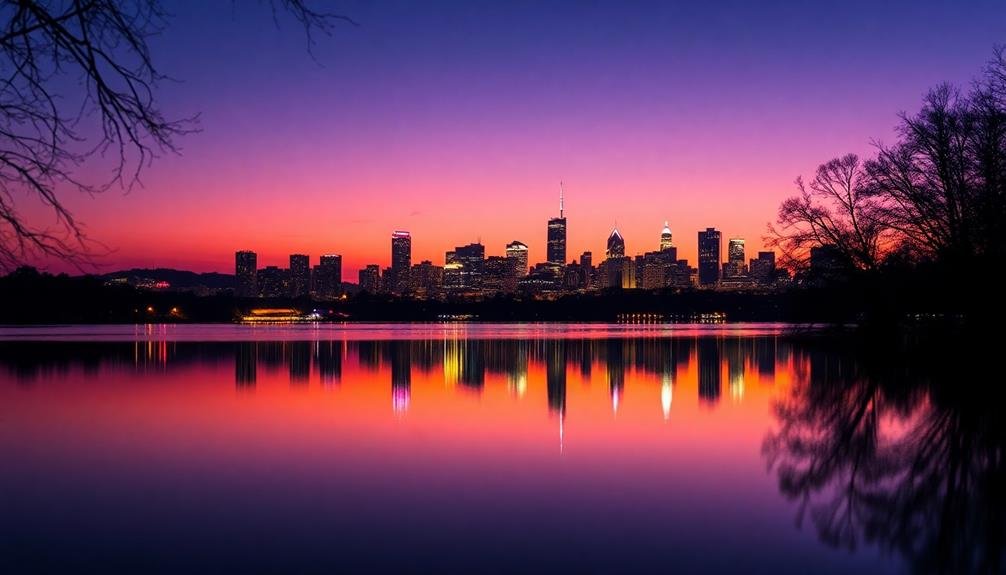
HDR Mode for Challenging Scenes
HDR mode can be your secret weapon for capturing stunning reflection photos in challenging lighting conditions. When you're faced with high contrast scenes, like a bright sky reflected in a dark lake, HDR (High Dynamic Range) can help you balance exposure across the entire image. This technique combines multiple shots taken at different exposures to create a single, well-exposed photo that retains detail in both highlights and shadows.
To make the most of HDR mode for reflection photos:
- Use a tripod to guarantee sharp, aligned images.
- Enable auto-bracketing on your camera if available.
- Shoot in RAW format for maximum editing flexibility.
- Experiment with different exposure values for ideal results.
Keep in mind that HDR isn't always necessary. In some cases, a single well-exposed shot might suffice. However, for scenes with extreme contrast, HDR can help you capture details that would otherwise be lost.
It's particularly useful for sunrise or sunset reflection shots, where the sky is much brighter than the water. By using HDR mode, you'll be able to preserve the vibrant colors of the sky while maintaining the clarity of the reflection below.
Gridlines for Composition Balance

Enable your camera's gridlines to improve the composition of your reflection photos.
You'll find the Rule of Thirds grid particularly useful for balancing elements in your frame.
For perfect symmetry in reflections, use the central gridline to align your subject and its mirror image.
Rule of Thirds
According to the rule of thirds, you'll want to divide your frame into a 3×3 grid and place key elements along these lines or at their intersections. This technique creates a more balanced and visually appealing composition for your reflection photos.
By positioning your subject or the reflection itself along these gridlines, you'll create a more dynamic image that draws the viewer's eye naturally through the frame.
When applying the rule of thirds to reflection photography, consider these key points:
- Place the horizon line along the upper or lower third of the frame
- Position the reflected subject at one of the grid's intersections
- Use the vertical lines to frame symmetrical elements in the scene
- Align leading lines with the grid to guide the viewer's gaze
Symmetry in Reflections
Utilizing symmetry in reflection photography can create stunning, balanced compositions that captivate viewers. To achieve this, you'll need to use your camera's gridlines effectively. Most modern cameras offer a grid overlay feature, which you can activate in your settings menu.
When composing your shot, align the horizon or main subject with the central horizontal line. This guarantees perfect symmetry between the real object and its reflection. Use the vertical lines to center your subject or to create intentional off-center compositions.
Here's a quick guide to using gridlines for symmetrical reflection photos:
| Grid Section | Top Third | Middle Third | Bottom Third |
|---|---|---|---|
| Left | Sky | Horizon | Reflection |
| Center | Subject | Focal Point | Mirror Image |
| Right | Landscape | Water Line | Water Detail |
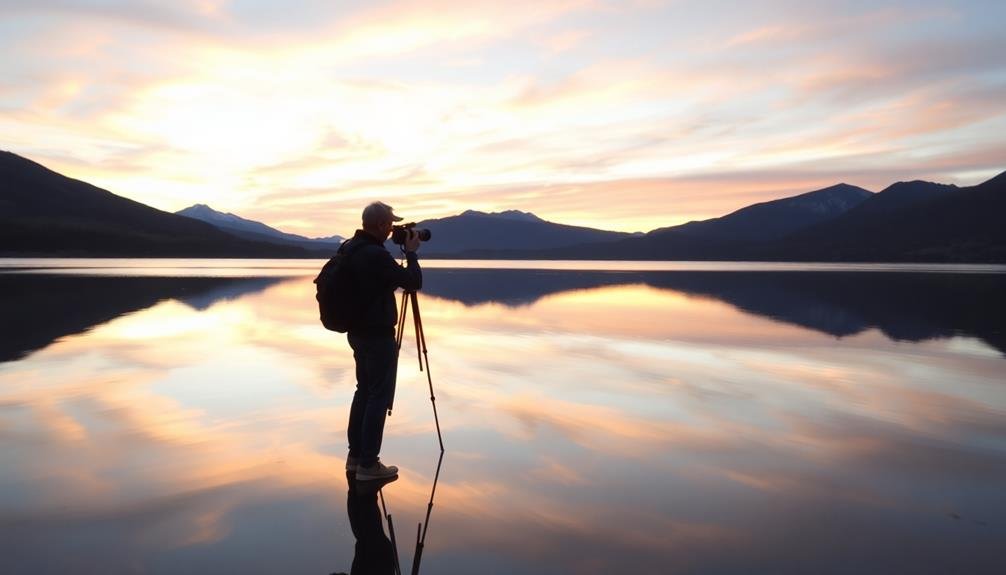
Manual Mode vs. Auto Mode
When capturing reflection photos, should you rely on your camera's auto mode or take control with manual settings? While auto mode can produce decent results in some situations, manual mode offers you greater control and precision for reflection photography.
In manual mode, you can:
- Adjust the aperture to control depth of field, ensuring both the subject and its reflection are in focus.
- Set the shutter speed to freeze motion or create a silky smooth effect on water surfaces.
- Fine-tune the ISO to balance image quality with light sensitivity.
- Customize white balance for accurate color representation in various lighting conditions.
Auto mode might struggle with reflections, often misinterpreting the scene and producing suboptimal results. It may focus on the wrong part of the image or incorrectly expose the shot.
By using manual mode, you'll have full control over these essential aspects. Manual mode does require more skill and practice, but it's worth the effort for reflection photography.
You'll be able to capture the exact mood and atmosphere you envision, whether it's a serene lake at sunset or a vibrant cityscape reflected in a puddle. With practice, you'll develop an intuitive understanding of how to adjust settings for stunning reflection photos.
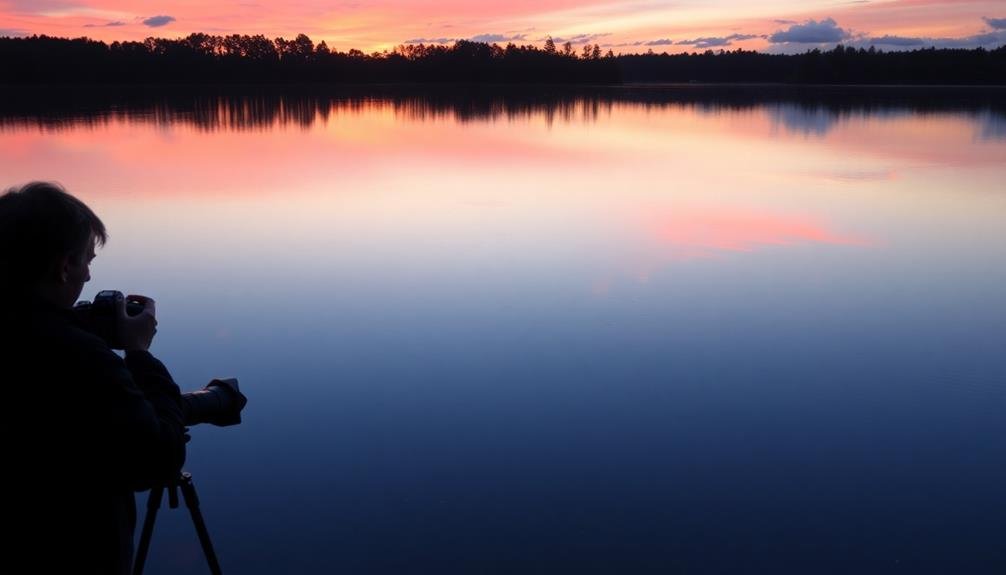
Burst Mode for Moving Reflections
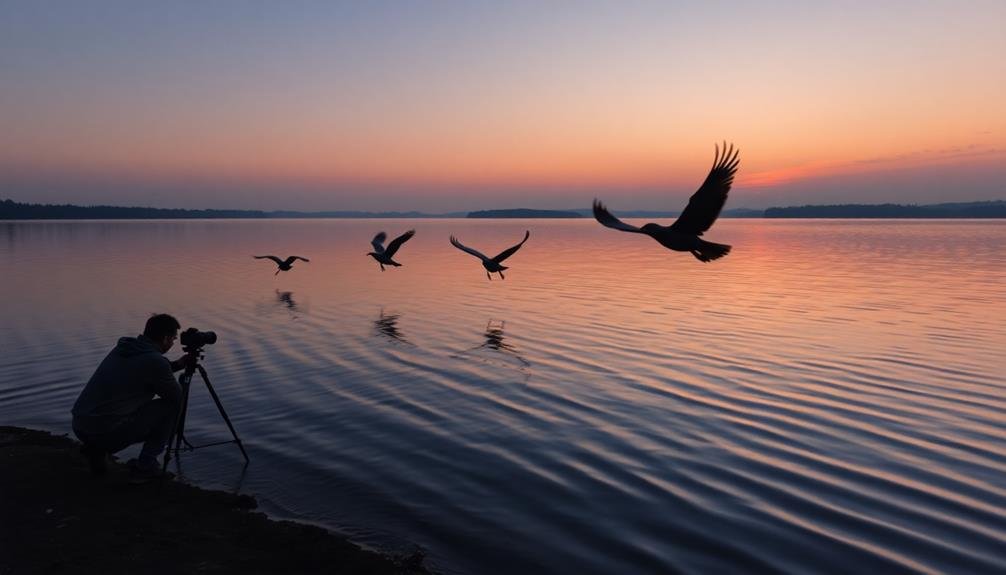
Burst mode often proves invaluable for capturing moving reflections. When you're shooting reflections on water or other moving surfaces, you'll want to use this feature to increase your chances of getting the perfect shot. By taking multiple photos in rapid succession, you're more likely to capture the exact moment when the reflection is at its most striking.
To use burst mode effectively, you'll need to set your camera to continuous shooting mode. This allows you to hold down the shutter button and take several photos per second. The exact number of frames per second will depend on your camera model, but even a few shots can make a difference.
When using burst mode for reflection photos, pay attention to your shutter speed. You'll want to use a faster shutter speed to freeze the motion of the water and create crisp reflections. However, if you're aiming for a more abstract or artistic look, you might experiment with slower shutter speeds to capture some motion blur in the reflection.
Remember to adjust your other settings accordingly when using burst mode. Confirm your aperture and ISO are set appropriately for the lighting conditions and the depth of field you desire in your reflection photos.
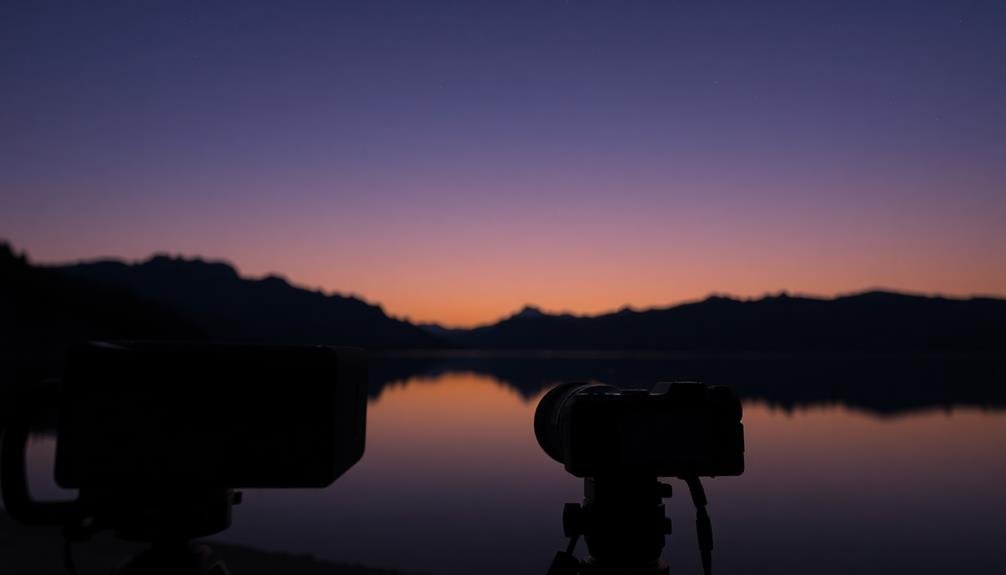
Night Mode for Evening Reflections
As the sun sets, night mode becomes your secret weapon for capturing stunning evening reflections. This feature optimizes your camera's settings for low-light conditions, allowing you to capture the magical interplay between artificial lights and reflective surfaces.
Night mode adjusts your camera's ISO, shutter speed, and aperture to guarantee you get clear, well-exposed images even in challenging lighting situations.
To make the most of night mode for evening reflections:
- Use a tripod to keep your camera steady during longer exposures
- Enable HDR (High Dynamic Range) to capture a wider range of tones
- Experiment with different white balance settings to capture the mood
- Focus manually on the reflection rather than relying on autofocus
Remember that night mode isn't just for pitch-black scenarios. It's particularly effective during the blue hour, that brief period after sunset when the sky takes on a deep blue hue.
This time offers a perfect balance between ambient light and artificial illumination, creating ideal conditions for reflection photography.
Don't be afraid to push your camera's capabilities in low light – you might be surprised by the results you can achieve with night mode.
Macro Settings for Close-up Reflections
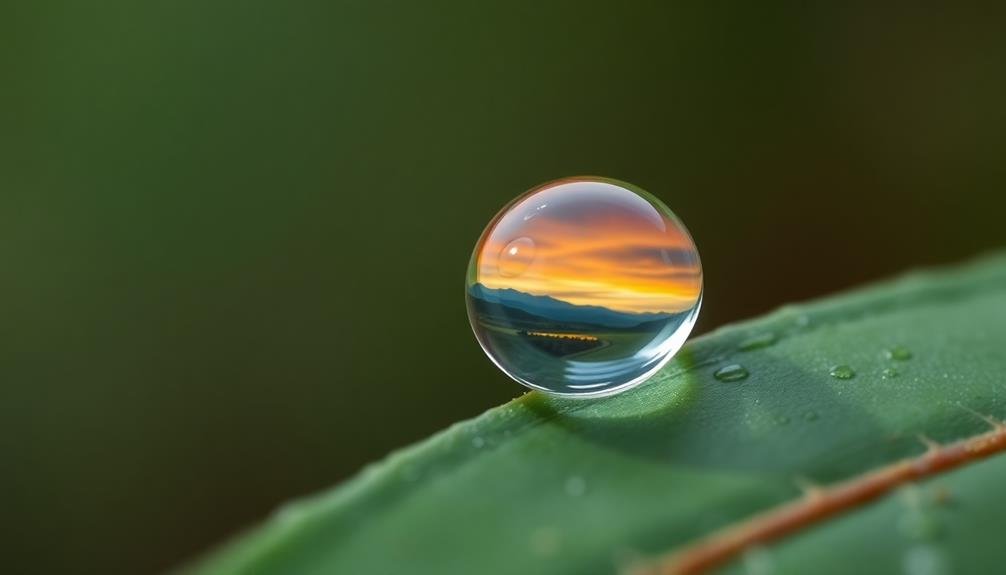
Macro settings open up a whole new world of reflection photography, allowing you to capture intricate details in close-up shots. When using macro mode for reflections, you'll want to focus on small subjects like water droplets, dewdrops, or tiny puddles. Set your camera to its macro mode, typically indicated by a flower icon, and get as close as possible to your subject without losing focus.
For the best results, use a narrow aperture (high f-number) to increase depth of field, ensuring both the reflection and the subject are sharp. A tripod is essential to prevent camera shake, as even the slightest movement can blur your image. Consider using a remote shutter release or your camera's self-timer to further reduce vibrations.
Here's a quick guide to macro reflection settings:
| Setting | Recommendation | Purpose |
|---|---|---|
| Mode | Macro | Enables close focusing |
| Aperture | f/8 to f/16 | Increases depth of field |
| ISO | 100-400 | Minimizes noise |
| Shutter Speed | 1/60 or slower | Allows proper exposure |
Experiment with different angles and lighting conditions to create unique and enthralling close-up reflection images. Don't forget to clean your lens regularly, as dust and smudges become more noticeable in macro photography.
Frequently Asked Questions
How Do Polarizing Filters Affect Reflection Photography?
Polarizing filters greatly impact your reflection photography. They'll reduce glare and unwanted reflections, allowing you to control how much reflection appears in your image. You can adjust the filter to enhance or minimize reflections as desired.
Can You Use Lens Hoods When Shooting Reflections?
You can use lens hoods when shooting reflections, but they might not always be helpful. They're great for reducing lens flare, but they can sometimes block desired reflections. Consider removing the hood if it's interfering with your shot.
What's the Best Time of Day for Capturing Reflections?
For capturing reflections, you'll find the best times are during the golden hours – just after sunrise or before sunset. You'll get softer light and longer shadows, creating stunning, dramatic reflections in water, glass, or other surfaces.
Are There Any Post-Processing Techniques Specific to Enhancing Reflection Photos?
You'll find several post-processing techniques to enhance reflection photos. Try adjusting contrast, boosting saturation, and using graduated filters. Don't forget to experiment with symmetry tools, selective sharpening, and color balance to make your reflections pop.
How Do Weather Conditions Impact the Quality of Reflections in Photographs?
Weather greatly affects your reflection photos. You'll get the best results on calm, still days. Overcast skies can enhance reflections, while wind disrupts water surfaces. Rain can create interesting effects, but you'll need to protect your gear.
In Summary
You've learned how essential camera settings are for capturing stunning reflection photos. By mastering aperture, shutter speed, ISO, white balance, and focus modes, you'll create depth, sharpness, and accuracy in your images. Don't forget to experiment with manual mode, burst mode, and night mode for different effects. Remember, practice makes perfect. Keep adjusting your settings and trying new techniques. Soon, you'll be capturing breathtaking reflections that'll make your photos stand out from the crowd.


Leave a Reply