To capture great campfire photos on your phone, start by turning off the flash and enabling HDR mode for better light balance. Frame your shot using the rule of thirds, placing the fire at intersecting points of a 3×3 grid. Experiment with angles and perspectives, shooting from low or including silhouettes for added interest. Use Night Mode or long exposure settings to gather more light and detail in low-light conditions. Don't forget to edit your photos to enhance the mood by adjusting warmth, contrast, and shadows. With these techniques, you'll be well on your way to creating stunning campfire images that truly capture the magic of the moment.
Capture the Glow
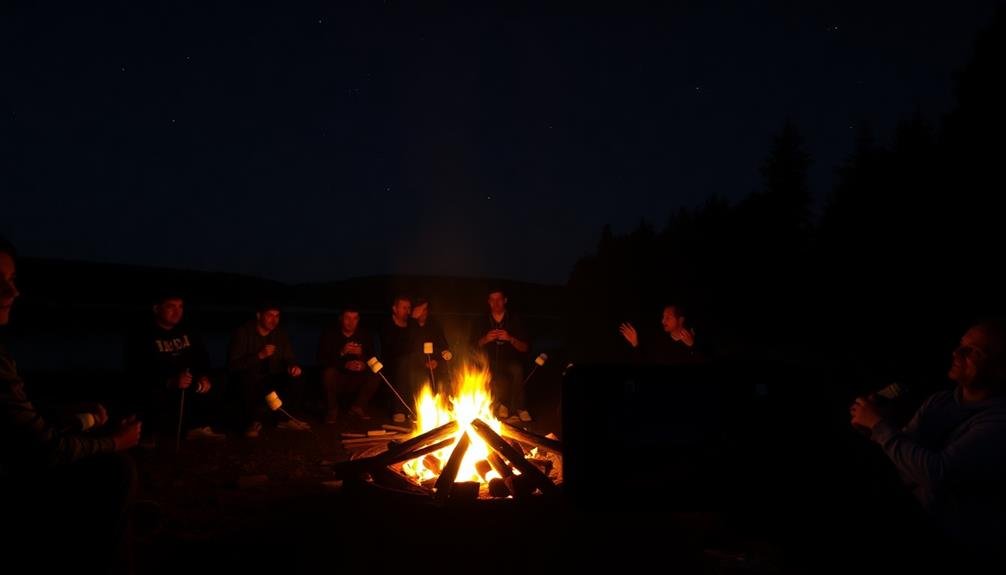
The warm, flickering light of a campfire creates a magical atmosphere that's perfect for photography. To capture this glow effectively on your phone, you'll need to adjust your camera settings and positioning.
Start by turning off your flash and enabling HDR mode if available. This will help balance the bright flames with the darker surroundings.
Position yourself close to the fire, but not so close that the flames overwhelm the frame. Experiment with different angles to find the most enchanting composition.
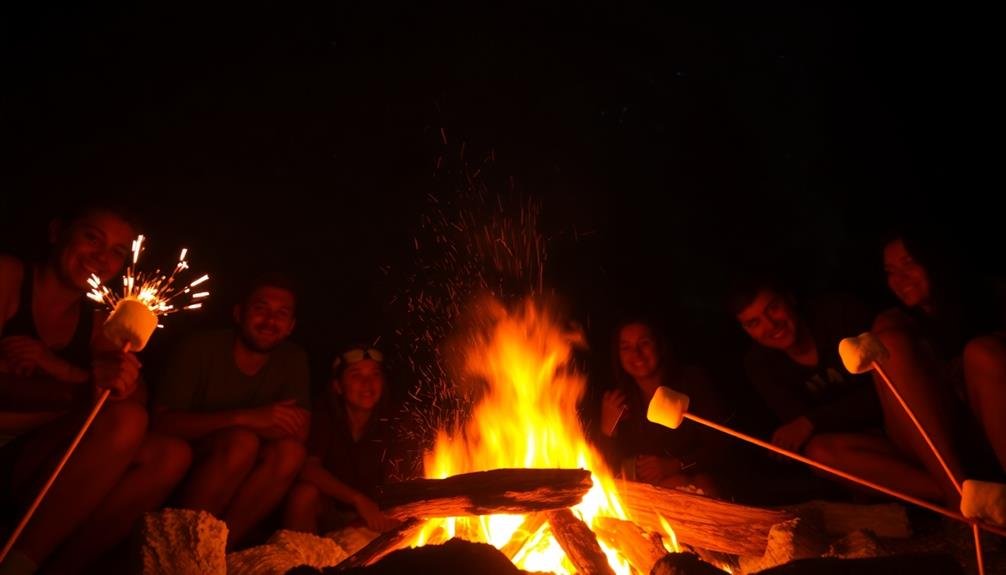
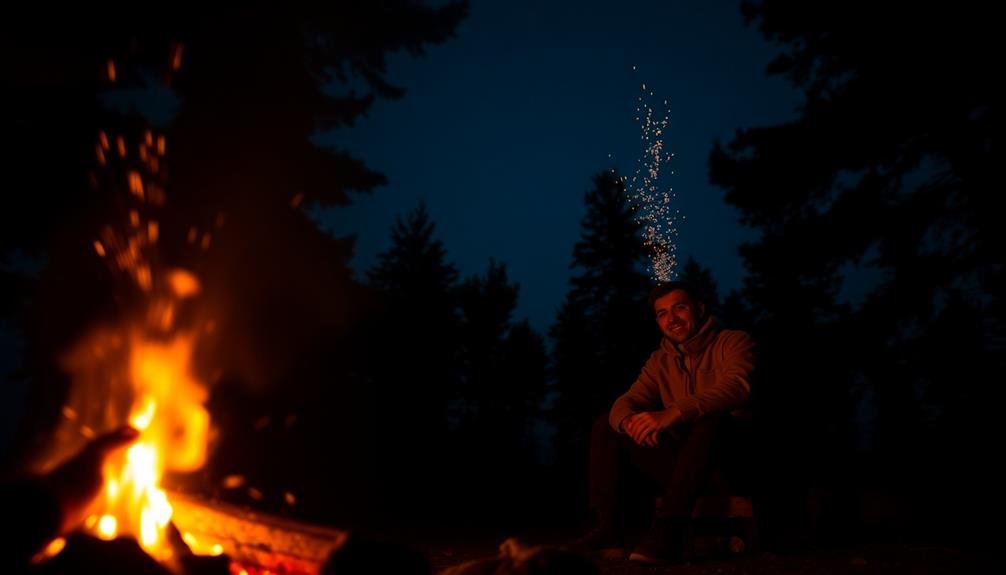
Try shooting from ground level for a unique perspective or include people sitting around the fire for added interest.
Focus on the flames themselves or use them as a light source to illuminate nearby objects or faces. To avoid blurry images, steady your phone against a solid surface or use a small tripod.
If your phone has a night mode or long exposure setting, use it to capture more detail in low light.
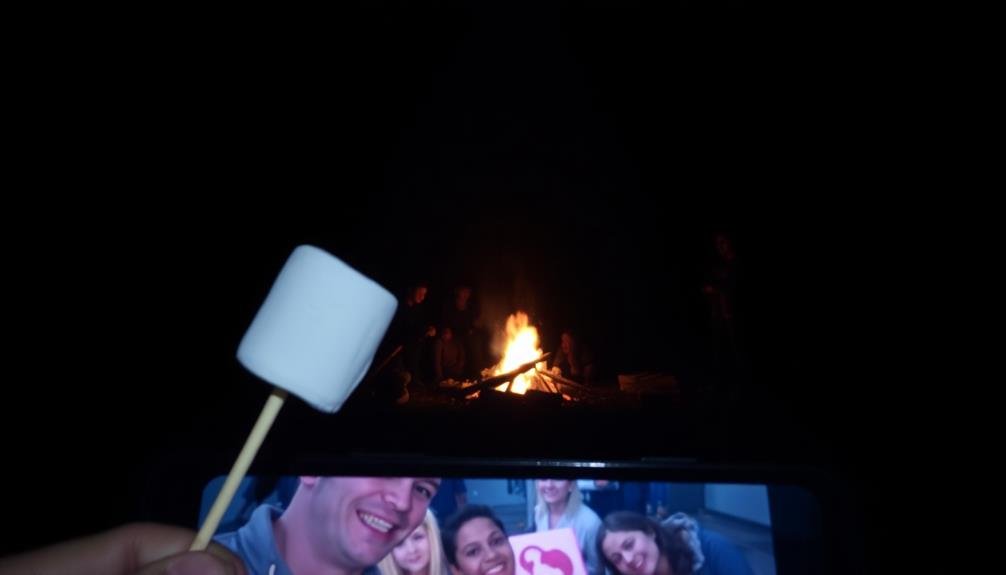
Don't forget to adjust your exposure manually by tapping on the screen and sliding the brightness up or down. This will help you find the perfect balance between the fire's glow and the surrounding darkness, resulting in stunning campfire photos.
Frame Your Shot
Framing your campfire shot can make the difference between an ordinary photo and a stunning composition. When setting up your frame, consider the rule of thirds. Imagine your screen divided into a 3×3 grid and place the fire at one of the intersecting points rather than dead center. This creates a more dynamic and visually appealing image.
Look for natural frames within your environment. Use nearby trees, tents, or other camping gear to create a border around the fire. This adds depth and context to your photo.
Don't forget to include people in your shots. Silhouettes of friends or family members gathered around the fire can add a human element and sense of scale.
Experiment with different angles. Get low to the ground for a unique perspective, or try shooting from above if you're in a safe position to do so.
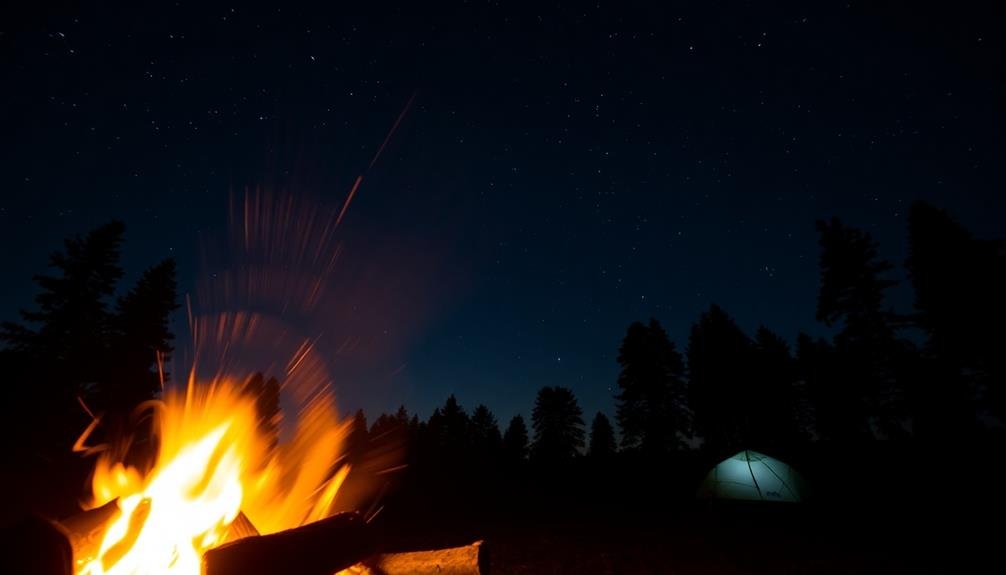
Pay attention to the background as well. A starry sky or distant mountains can enhance the overall mood of your campfire photo.
Use Night Mode
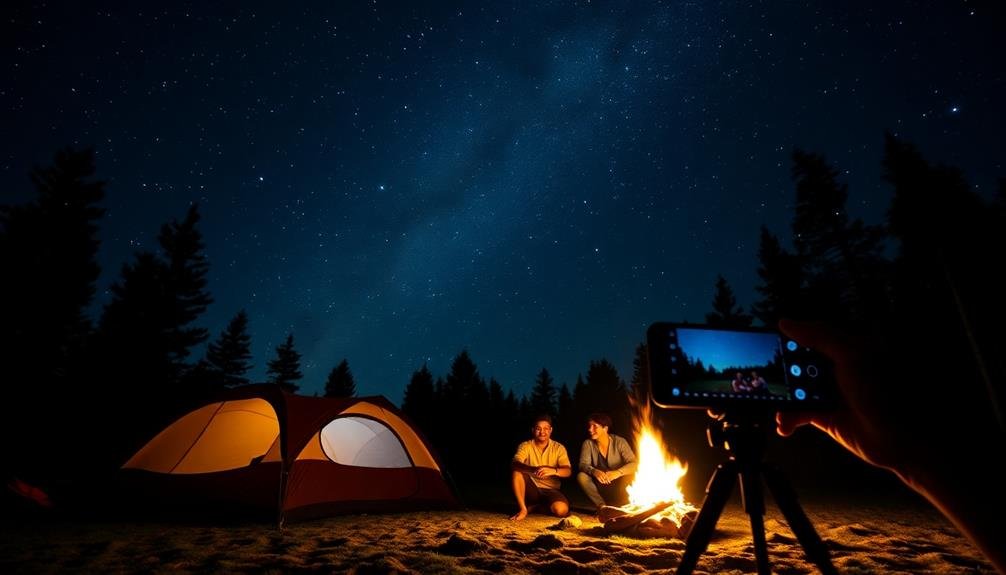
Many modern smartphones come equipped with a Night Mode feature, designed to capture stunning low-light images. When taking campfire photos, this mode can be a game-changer. It allows your phone's camera to gather more light, resulting in brighter, clearer images with less noise and better color accuracy.
To use Night Mode effectively, you'll need to hold your phone steady for a few seconds while it captures multiple exposures. If available, use a tripod or prop your phone against a stable surface to minimize camera shake. This will guarantee sharper images, especially in the darker areas surrounding the campfire.
Night Mode works best when there's some ambient light, so don't rely solely on the fire. Include other light sources like lanterns or moonlight to add depth to your scene. Experiment with different angles and compositions to capture the fire's glow on nearby objects or people's faces.
Remember that Night Mode isn't always the best choice. For capturing the fire's dynamic flames, you might prefer using your camera's standard mode with a faster shutter speed. Switch between modes to find the best results for each shot.
Experiment With Long Exposure
Creativity flourishes when you experiment with long exposure techniques for campfire photography. This method allows you to capture the mesmerizing dance of flames and sparks in a single, stunning image. To achieve this effect, you'll need to stabilize your phone using a tripod or by propping it against a stable surface.
Most modern smartphones offer built-in long exposure modes, but you can also use third-party apps for more control. Start with exposures between 1-4 seconds and adjust based on the fire's intensity and your desired effect. Remember to focus on the brightest part of the flames for the sharpest results.
Long exposure campfire photography opens up a world of creative possibilities:
- Capture light trails from moving sparks
- Create a dreamy, ethereal atmosphere
- Blend the fire with surrounding landscapes
- Experiment with intentional camera movement
As you practice, you'll develop an eye for composition and timing. Try including people or objects in the foreground to add depth and scale to your images.
Don't be afraid to play with different angles and perspectives – shoot from ground level or try an overhead view for unique results.
Edit for Mood
Post-processing plays an essential role in enhancing the mood of your campfire photos. After you've captured the shot, use editing apps to fine-tune the atmosphere.
Adjust the warmth to emphasize the cozy, golden glow of the fire. Increase the contrast slightly to make the flames pop against the dark surroundings. Don't overdo it, though; you want to maintain a natural look.
Experiment with the shadows and highlights. Lifting the shadows a bit can reveal more details in the surrounding area, while lowering the highlights can prevent the fire from appearing too bright.
Play with the saturation to bring out the rich oranges and reds of the flames, but be careful not to make it look artificial.
Consider using preset filters that complement campfire scenes, such as ones that add a vintage or film-like quality. These can help create a nostalgic or dreamy atmosphere.
If your photo includes people, adjust the skin tones to guarantee they look natural in the firelight.
Frequently Asked Questions
How Do I Protect My Phone From Heat Damage While Taking Campfire Photos?
To protect your phone from heat damage while taking campfire photos, keep it at a safe distance. Don't leave it too close to the fire. Use a tripod or prop it up on a stable surface away from direct heat.
Can I Use a Smartphone Lens Attachment for Better Campfire Photography?
Yes, you can use smartphone lens attachments to enhance your campfire photography. They'll help you capture wider angles or close-up details. Try a wide-angle lens for scenic shots or a macro lens for fire textures. Experiment to find what works best.
What's the Ideal Distance From the Fire for Capturing Clear Photos?
You'll want to experiment with different distances, but generally, 10-15 feet from the fire works well. It's close enough to capture details but far enough to avoid overexposure. Adjust based on your phone's camera capabilities.
How Do I Prevent Smoke From Ruining My Campfire Shots?
To prevent smoke from ruining your campfire shots, you'll want to position yourself upwind of the fire. Wait for breaks in the smoke, use a faster shutter speed, and try shooting from different angles to minimize smoke interference.
Are There Specific Apps Recommended for Enhancing Campfire Photos?
You'll find several apps great for enhancing campfire photos. Try Snapseed, VSCO, or Lightroom Mobile. They offer tools to adjust exposure, contrast, and color temperature. Don't forget to experiment with filters that complement the warm tones of fire.
In Summary
You've now got the tools to capture stunning campfire photos on your phone. Remember to focus on the warm glow, frame your shots creatively, and use night mode for better low-light results. Don't be afraid to experiment with long exposure techniques for unique effects. Finally, enhance the mood through thoughtful editing. With practice, you'll be able to preserve those cozy campfire memories in beautiful images that'll transport you back to those special moments.


Leave a Reply