
Reveal stunning smartphone photos with these five pro tricks for perfect exposure. First, leverage HDR mode for high-contrast scenes, combining multiple exposures. Next, master exposure compensation to adjust brightness before capturing. Tap to focus and expose, giving you precise control over light and sharpness. Use the AE/AF lock feature to maintain consistent settings across shots. Finally, embrace editing apps to fine-tune exposure and color balance post-capture. By applying these techniques, you'll elevate your smartphone photography to new heights. Dive deeper into each trick to truly master the art of smartphone exposure.
Leverage HDR Mode

With HDR mode, you can dramatically improve your smartphone photos' exposure range. HDR, or High Dynamic Range, combines multiple exposures of the same scene to capture details in both bright and dark areas. When you activate HDR, your phone takes several shots at different exposure levels and merges them into one well-balanced image.
Use HDR mode in high-contrast situations, like landscapes with bright skies and shadowy foregrounds, or backlit subjects. It's particularly effective for scenes with a wide range of light and dark areas that your camera's sensor can't capture in a single exposure.
However, HDR isn't suitable for all situations. Avoid using it for moving subjects, as it can create ghosting or blurring. Also, be cautious when photographing vibrant colors, as HDR might reduce their intensity.
To get the best results, keep your phone steady while shooting in HDR mode. Consider using a tripod or stabilizing your device against a solid surface.
Experiment with your phone's HDR settings, as some offer options like "Auto HDR" or adjustable HDR strength. By mastering HDR, you'll considerably enhance your smartphone photography skills.
Master Exposure Compensation

While HDR mode can greatly improve your photos' dynamic range, mastering exposure compensation gives you even more control over your smartphone images. This feature allows you to adjust the brightness of your photos before you take them, ensuring you capture the scene exactly as you envision it.
To use exposure compensation effectively, follow these steps:
- Locate the exposure slider in your camera app, usually indicated by a sun or +/- icon.
- Slide it up to increase brightness or down to decrease it, depending on your scene's lighting conditions.
- Take test shots and adjust until you achieve the desired exposure.
Remember, exposure compensation is particularly useful in challenging lighting situations. For backlit subjects, increase the exposure to reveal details in shadows. In bright scenes, decrease it to prevent overexposure and preserve highlights.
Don't be afraid to experiment with different settings to find what works best for each unique situation.
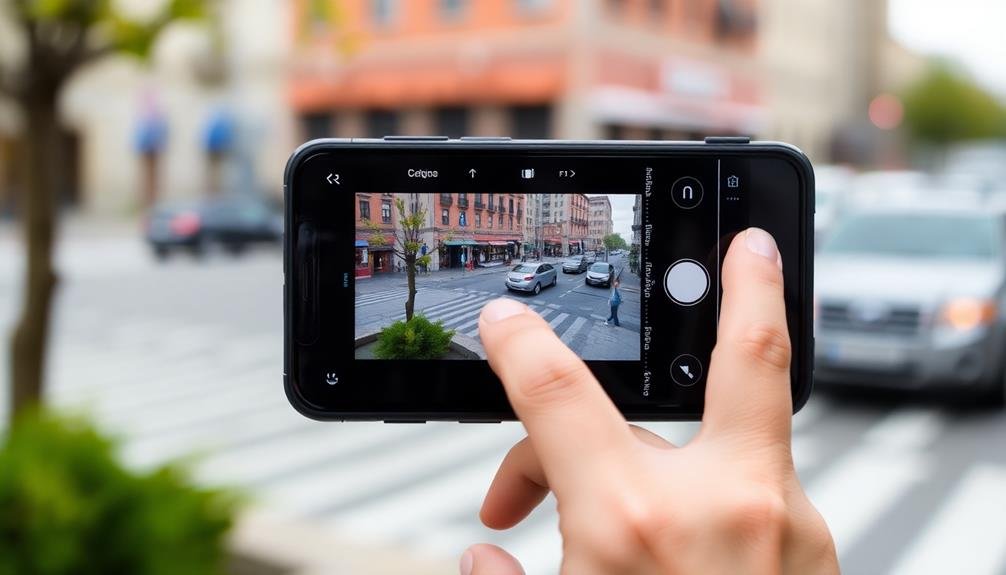
Tap to Focus and Expose

Smartphone cameras' tap-to-focus feature is a game-changer for precise exposure control. You'll find this tool invaluable for achieving the perfect balance of light in your photos. To use it, simply tap on the area of your screen where you want the camera to focus and adjust exposure. This action tells your camera which part of the scene should be properly exposed.
For more advanced control, you can tap and hold to lock the focus and exposure. Once locked, you can slide your finger up or down to fine-tune the brightness. This technique is especially useful in high-contrast scenes where you need to balance bright and dark areas.
Here's a quick guide to tapping techniques:
| Tap Type | Action | Result |
|---|---|---|
| Single Tap | Tap once | Focus and expose |
| Tap and Hold | Press and hold | Lock focus and exposure |
| Tap and Slide | Hold and move finger | Adjust brightness |
| Double Tap | Tap twice quickly | Reset to auto mode |
| Multi-point Tap | Tap multiple areas | Average exposure |
Use AE/AF Lock Feature

Building on the tap-to-focus technique, the AE/AF Lock feature takes exposure control to the next level. This tool allows you to lock both the auto-exposure (AE) and auto-focus (AF) settings, giving you more control over your smartphone photos.
To use it, simply tap and hold on your desired focus point until you see an "AE/AF Lock" indicator on screen. Once locked, you can recompose your shot without losing your chosen exposure and focus settings. This is particularly useful in high-contrast scenes or when your subject isn't centered.
Here are three key benefits of using AE/AF Lock:
- Consistent exposure across multiple shots
- Precise control over which part of the scene determines exposure
- Ability to capture challenging compositions without compromising exposure
To make the most of this feature, practice in various lighting conditions. Try locking exposure on a bright area, then recomposing to include darker elements.
Experiment with backlighting by locking on your subject's face, ensuring it's properly exposed even against a bright background. Remember, you can always tap elsewhere on the screen to release the lock and start over if needed.
Embrace Editing Apps
Editing apps are your secret weapon for taking smartphone photography to the next level. These powerful tools allow you to fine-tune exposure, contrast, and color balance after you've captured the image.
Popular apps like Snapseed, VSCO, and Lightroom Mobile offer a wide range of adjustments that can rescue underexposed or overexposed shots.
When editing for exposure, start by adjusting the overall brightness. Then, fine-tune highlights and shadows to bring out details in both light and dark areas.
Don't forget about the midtones, which can add depth to your image. Use the contrast slider to enhance the difference between light and dark areas, but be careful not to overdo it.
Many editing apps also offer selective adjustments, allowing you to brighten or darken specific parts of your photo. This feature is particularly useful for balancing exposure in high-contrast scenes.
Experiment with curves and levels for more precise control over tonal range.
Frequently Asked Questions
How Does Lighting Affect Smartphone Photo Exposure?
Lighting greatly impacts your smartphone photo exposure. It determines how much light reaches the camera sensor. Too little light creates dark, grainy images, while too much light leads to overexposed, washed-out photos. Adjust your camera settings accordingly.
What's the Best Time of Day for Outdoor Smartphone Photography?
You'll get the best outdoor smartphone photos during the "golden hours" – just after sunrise or before sunset. The soft, warm light creates stunning colors and shadows. Overcast days can also provide flattering, diffused light for your shots.
Can Smartphone Camera Lenses Impact Exposure Quality?
Yes, your smartphone's camera lens can greatly impact exposure quality. You'll notice better results with high-quality lenses that allow more light in. They'll help you capture clearer, well-exposed images in various lighting conditions.
How Do Different Shooting Modes Affect Exposure in Smartphone Cameras?
Different shooting modes markedly impact your smartphone camera's exposure. You'll find auto mode balances settings automatically, while manual mode lets you control exposure directly. Portrait mode often brightens faces, and night mode boosts exposure in low light.
Are There Specific Smartphone Models Known for Superior Exposure Capabilities?
You'll find excellent exposure capabilities in the latest iPhone Pro models, Google Pixel phones, and Samsung Galaxy S series. They're known for advanced computational photography, HDR processing, and low-light performance. Don't forget about Huawei's P-series for impressive exposure control too.
In Summary
You've now got five powerful tools to nail exposure in your smartphone photos. Don't be afraid to experiment with HDR, tweak exposure compensation, or tap to focus and expose. Remember to use AE/AF lock for tricky scenes, and don't shy away from editing apps to fine-tune your shots. With practice, you'll be capturing perfectly exposed images in no time. Keep shooting, and watch your photography skills soar to new heights!


Leave a Reply