
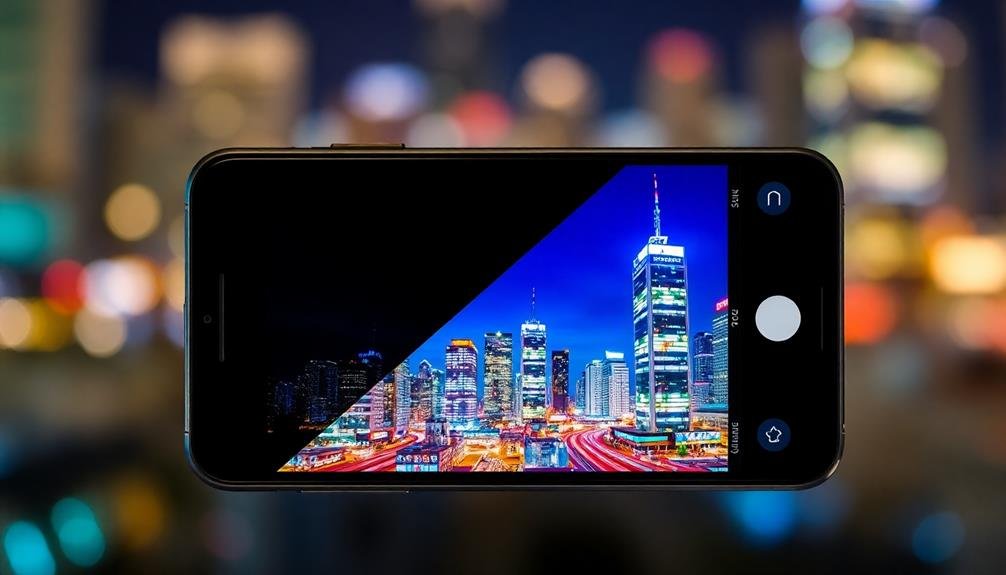
To capture stunning HDR night photos with your phone, start by stabilizing your device using a tripod or solid surface. Switch to manual mode and adjust ISO and shutter speed for ideal exposure. Focus on light sources and experiment with white balance to set the mood. Utilize leading lines and frame with foreground elements to create depth. Embrace reflections and shadows for added drama. Don't forget to post-process your images to enhance details and colors. By mastering these techniques, you'll elevate your night photography skills and capture breathtaking scenes. Discover more tricks to take your HDR night shots to the next level.
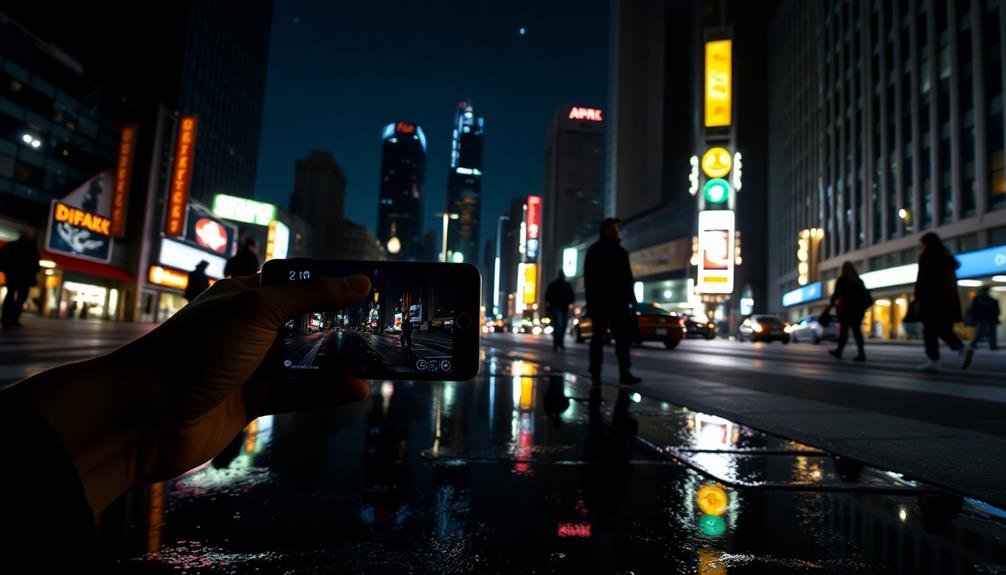
Stabilize Your Phone
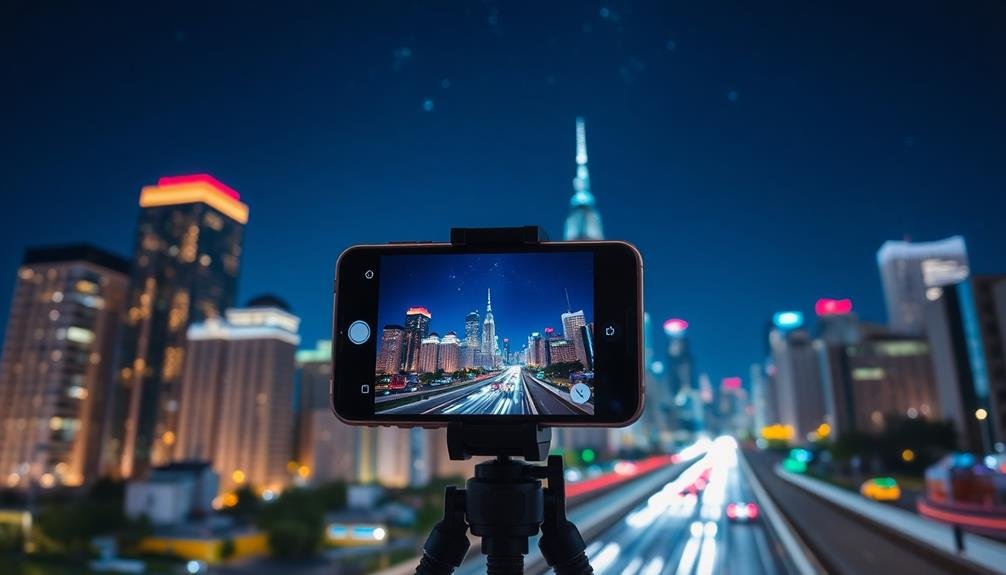
When it comes to capturing stunning HDR night photos, keeping your phone steady is essential. Even the slightest movement can result in blurry images, especially in low-light conditions.
To stabilize your phone, start by finding a solid surface to rest it on, like a table, ledge, or wall. If you're in an area without convenient surfaces, consider investing in a portable tripod designed for smartphones.
Another effective method is to use your body as a stabilizer. Tuck your elbows into your sides and hold your breath while taking the shot to minimize movement. You can also lean against a wall or sturdy object for added support.
If you're using a timer or voice command to trigger the shutter, this technique becomes even more effective.
Don't forget to enable your phone's built-in stabilization features if available. Many modern smartphones offer optical image stabilization (OIS) or electronic image stabilization (EIS) to help reduce camera shake.
Additionally, using the volume buttons on your phone or headphones as a shutter release can help prevent the movement caused by tapping the screen.
Use Manual Mode
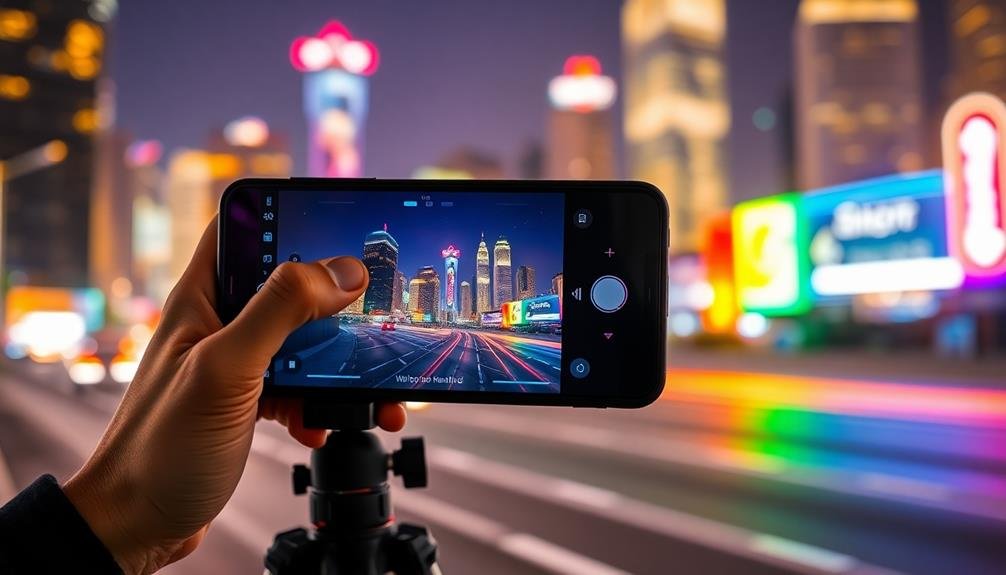
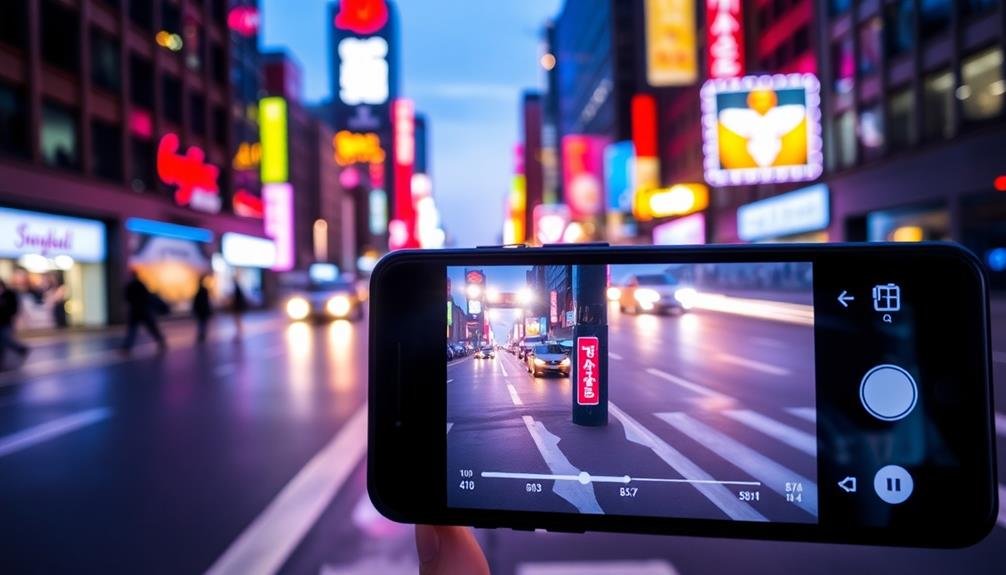
For truly stunning HDR night photos, you'll want to take control of your camera settings by switching to manual mode. Most modern smartphones offer this feature, allowing you to adjust ISO, shutter speed, and focus independently.
Start by setting a low ISO (100-400) to minimize noise in your images. Then, experiment with longer shutter speeds, typically between 1-30 seconds, to capture more light and create interesting effects like light trails.
When adjusting focus, tap on the brightest part of your scene to guarantee sharpness. If your phone supports it, use the focus peaking feature to highlight in-focus areas.
Don't forget to set your white balance manually to avoid color casts from artificial lighting.
To maximize dynamic range, try bracketing your exposures. Take multiple shots at different exposure levels, then combine them later using HDR software. This technique helps capture details in both highlights and shadows.
Remember to use a timer or remote shutter release to avoid camera shake when using slower shutter speeds.
With practice, manual mode will become second nature, allowing you to capture breathtaking HDR night photos that truly showcase your creativity and technical skills.
Adjust ISO and Shutter Speed
Adjusting ISO and shutter speed is essential for capturing stunning HDR night photos with your phone. ISO controls your camera's sensitivity to light, while shutter speed determines how long the sensor is exposed. For night photography, you'll generally want a higher ISO and slower shutter speed to capture more light.
Start by setting your ISO between 400-1600, depending on the available light. Higher ISOs can introduce noise, so find the right balance. For shutter speed, try 1/15 to 1 second, adjusting based on your subject's movement. Use a tripod or stable surface for longer exposures to avoid blur.
Here's a quick reference guide for ISO and shutter speed settings:
| Light Condition | ISO Range | Shutter Speed Range |
|---|---|---|
| City Lights | 400-800 | 1/15 – 1/4 sec |
| Moonlit Scene | 800-1600 | 1/4 – 1 sec |
| Starry Sky | 1600-3200 | 10 – 30 sec |
Experiment with these settings to find what works best for your specific scene. Remember, every phone camera is different, so you may need to adjust accordingly. With practice, you'll develop an intuition for the right combinations to achieve your desired HDR night photo results.
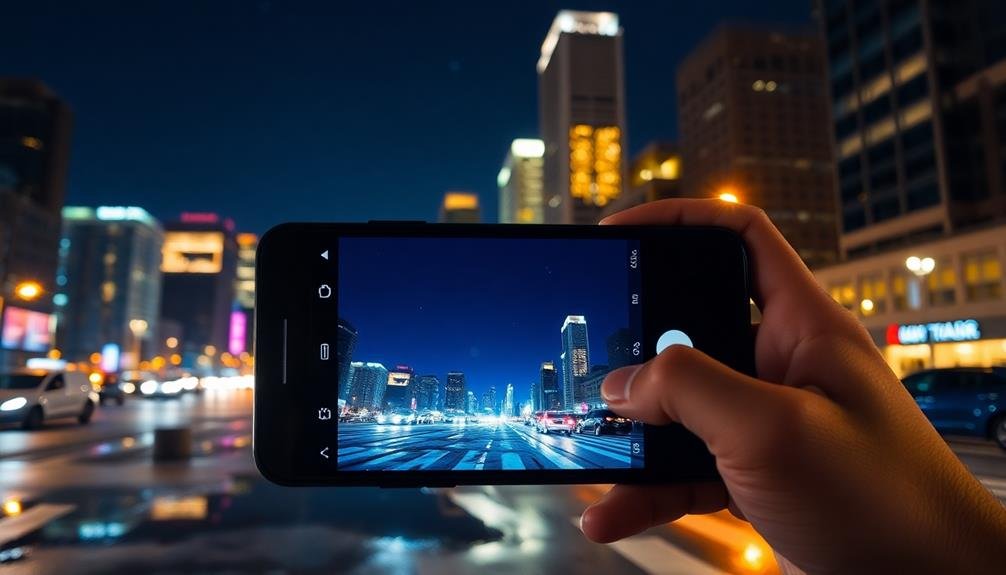
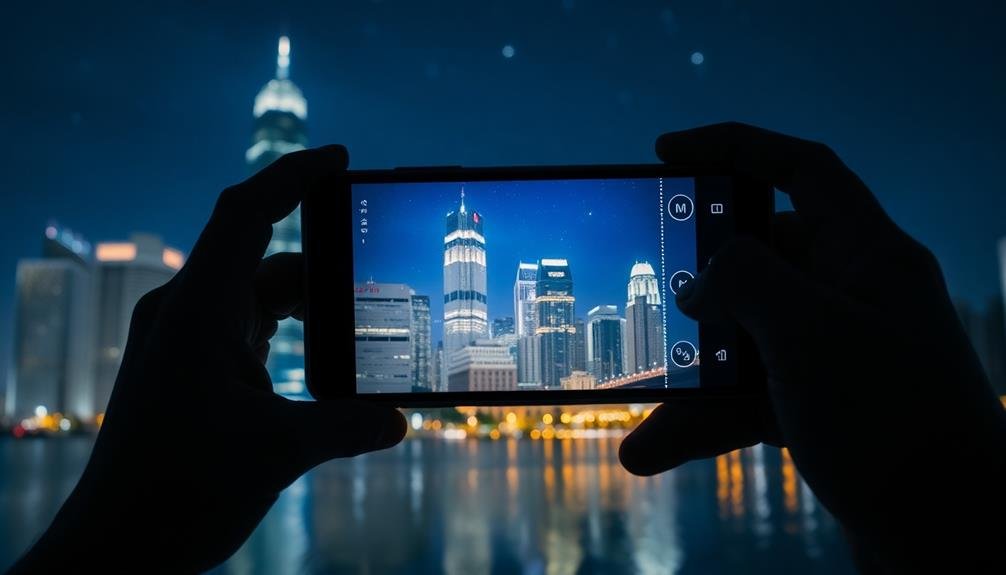
Focus on Light Sources
In HDR night photography, light sources play an essential role in creating enchanting images. When you're composing your shot, look for interesting light sources like street lamps, neon signs, or illuminated buildings. These elements can serve as focal points and add depth to your photo.
To capture the best HDR night shots, you'll want to focus on these light sources. Most phone cameras allow you to tap on the screen to set the focus point. Choose a prominent light source and tap on it to guarantee it's sharp and well-defined. This will help your camera calculate the best exposure settings for the scene.
Don't forget to experiment with different angles and perspectives. Sometimes, positioning yourself slightly off-center from a light source can create intriguing lens flares or starbursts. You can also try framing your shot to include multiple light sources, creating a balanced composition.
Remember that HDR works by combining multiple exposures, so it's vital to keep your phone steady. Use a tripod or brace yourself against a stable surface to avoid blurring.
Experiment With White Balance
While focusing on light sources is key, mastering white balance can take your HDR night photos to the next level. White balance affects the overall color temperature of your image, and experimenting with it can dramatically alter the mood and atmosphere of your night shots.
Start by trying your phone's auto white balance setting, which often works well in various lighting conditions. However, don't be afraid to manually adjust the white balance to achieve different effects. For warmer tones that emphasize the cozy glow of city lights, try a lower Kelvin setting. This can make your nighttime cityscape feel inviting and intimate.
Conversely, a higher Kelvin setting will produce cooler tones, which can enhance the ethereal quality of moonlit landscapes or create a futuristic vibe in urban scenes.
Remember that different light sources have distinct color temperatures. Streetlights, neon signs, and car headlights all contribute unique hues to your night photos. By adjusting your white balance, you can either neutralize these color casts or emphasize them for creative effect.
Don't hesitate to take multiple shots with different white balance settings to compare results and find the perfect balance for your HDR night photography.
Capture Multiple Exposures
How can you truly harness the power of HDR in your night photography? Capturing multiple exposures is the key. This technique involves taking several shots of the same scene at different exposure levels, then combining them to create a single, well-balanced image.
Start by setting your phone's camera to manual mode or using a third-party app that allows exposure bracketing. Take at least three shots: one underexposed, one properly exposed, and one overexposed. For best results, use a tripod or stabilize your phone to prevent movement between shots.
Once you've captured your exposures, use HDR merging software or a dedicated app to combine them. This process blends the best-lit areas from each exposure, resulting in a final image with enhanced dynamic range. You'll notice improved shadow detail, preserved highlights, and richer colors in your night photos.
Experiment with the number of exposures and the exposure values to find the perfect balance for each scene. Remember, the goal is to capture details in both the darkest shadows and brightest highlights, creating a stunning HDR night photo that truly showcases the scene's full range of light and color.
Utilize Leading Lines
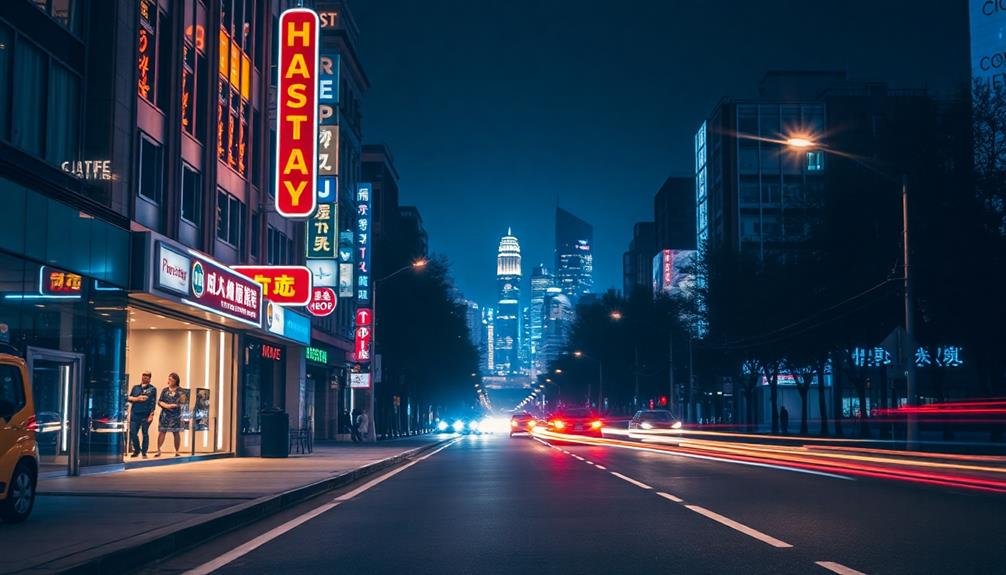
When shooting HDR night photos, look for natural lines in your environment to create compelling compositions.
You'll find these leading lines in city streets, building edges, or even in the patterns of lights themselves.
Find Natural Geometry
In the domain of night photography, natural geometry can be your secret weapon for creating enchanting HDR images. As you explore urban landscapes after dark, keep an eye out for shapes, patterns, and symmetry that naturally occur in your surroundings. These elements can add depth, structure, and visual interest to your HDR shots.
Look for triangles formed by street lamps, squares in building facades, or circles in fountains and roundabouts. Incorporate these shapes into your composition to guide the viewer's eye and create a sense of balance.
Don't forget about repeating patterns, like rows of windows or street lights, which can add rhythm to your image. When you've identified geometric elements, position yourself to maximize their impact.
Try different angles to emphasize these shapes, and use your phone's grid feature to align them perfectly. Remember, HDR works best when there's a mix of light and shadow, so use geometry to frame both bright and dark areas.
This contrast will help your HDR software create a more dynamic final image. By combining natural geometry with HDR techniques, you'll elevate your night photography to new levels of creativity and visual appeal.
Create Depth Perception
Creating depth perception in your HDR night photos can transform a flat image into an enchanting scene that draws viewers in. To achieve this effect, focus on utilizing leading lines in your compositions. Look for elements that naturally guide the eye from the foreground to the background, such as roads, sidewalks, or rows of streetlights.
When you spot potential leading lines, position yourself to maximize their impact. Try shooting from a low angle to emphasize the lines' convergence in the distance. Use the HDR mode on your phone to capture details in both the bright and dark areas along these lines. This will help maintain clarity throughout the image, enhancing the sense of depth.
Don't limit yourself to straight lines; curved paths or winding rivers can create an even more dynamic sense of depth. Experiment with different focal points along these lines to see how it affects the overall composition.
Remember to use the rule of thirds to place key elements off-center, further enhancing the photo's visual interest. By mastering the use of leading lines, you'll create HDR night photos that feel three-dimensional and immersive.
Guide Viewer's Eye
Leading lines serve as powerful tools to guide your viewer's eye through HDR night photos. These lines can be natural or man-made elements that create a path for the eye to follow, drawing attention to your main subject or points of interest.
In urban nightscapes, look for illuminated streets, bridges, or rows of streetlights that create strong linear patterns. Architectural features like staircases, railings, or building edges can also form effective leading lines.
When composing your shot, position these lines to start at the bottom or corners of your frame, guiding the eye inward. Experiment with different angles to find the most compelling arrangement.
Diagonal lines often create a sense of dynamism, while curved lines can add a softer, more organic feel to your image.
Don't forget vertical lines, which can emphasize height and grandeur in cityscapes. Use the HDR capabilities of your phone to capture both the bright lights and darker areas along these lines, ensuring a balanced exposure throughout the frame.
Frame With Foreground Elements
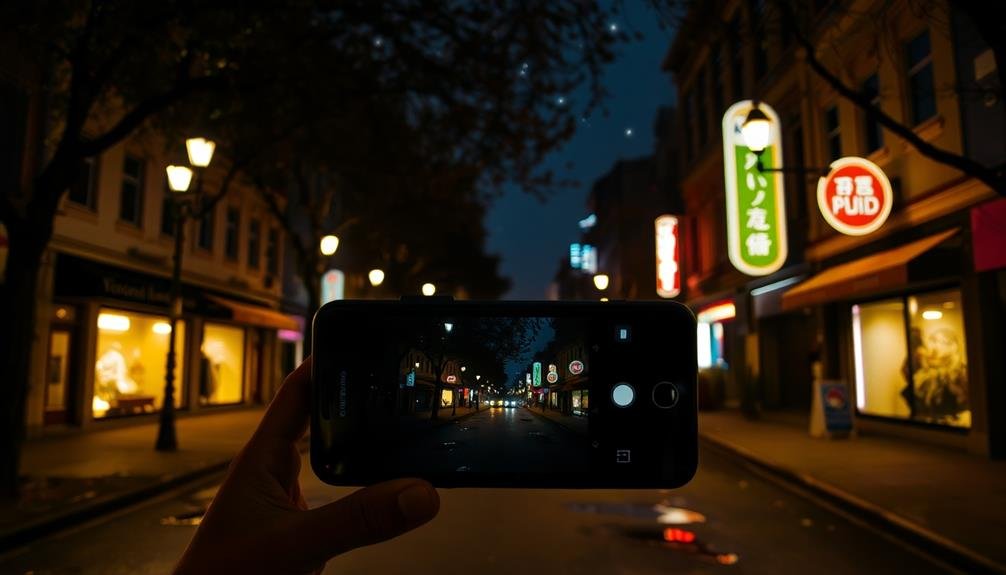
Framing your night shots with foreground elements can dramatically enhance your HDR photos.
You'll add depth and perspective by including objects in the foreground, drawing the viewer's eye into the scene.
Incorporating interesting foreground elements, such as tree branches, archways, or street lamps, creates visual interest and gives your nighttime images a more dynamic composition.
Add Depth and Perspective
Enhance your HDR night photos by incorporating foreground elements to add depth and perspective. This technique creates a more immersive and three-dimensional image, drawing viewers into the scene. Look for interesting objects in the foreground, such as street lamps, trees, or architectural features, that can frame your main subject.
Position yourself to include these elements in the bottom third or corners of your frame. They'll serve as a visual anchor, guiding the viewer's eye through the image. Experiment with different angles and distances to find the most compelling composition. You might need to crouch down or move closer to the foreground object to achieve the desired effect.
When shooting, guarantee your phone's HDR mode is activated to capture details in both the foreground and background. Focus on the main subject, but consider tapping different areas of the screen to adjust exposure and find the right balance.
If your phone has a night mode, use it in conjunction with HDR for even better results. Remember, the goal is to create a sense of depth that makes your night photos stand out and tells a more engaging visual story.
Create Visual Interest
Three key techniques can help you create visual interest in your HDR night photos using foreground elements.
First, look for silhouettes. Position yourself to capture dark shapes against a brighter background, like city lights or a colorful sky. Trees, statues, or architectural features make excellent silhouettes that add depth and intrigue to your composition.
Second, incorporate reflective surfaces. Puddles, glass buildings, or polished metal can mirror lights and create symmetry in your image. Position your phone to capture both the original light source and its reflection for a striking effect. Experiment with different angles to find the most enchanting reflection.
Lastly, use leading lines to guide the viewer's eye. Streets, railings, or bridges can serve as natural lines that draw attention to your main subject. Position these elements in the foreground to create a sense of depth and direct the viewer's gaze towards the focal point of your image.
When using leading lines, try different perspectives – get low or shoot from an elevated position to maximize their impact. By employing these techniques, you'll create visually compelling HDR night photos that stand out from the crowd.
Embrace Reflections and Shadows
Reflections and shadows can transform ordinary night scenes into enchanting HDR images. When you're out shooting at night, keep an eye out for reflective surfaces like puddles, glass windows, or polished metal. These can create stunning mirror effects, doubling the impact of city lights or neon signs in your HDR photos.
To capture reflections effectively, position your phone at a low angle and guarantee the reflected subject is within your frame. Experiment with different compositions to find the perfect balance between the real object and its reflection. Don't forget to tap on your screen to focus on the area you want sharpest.
Shadows, on the other hand, can add depth and mystery to your night shots. Look for interesting patterns created by streetlights or architectural features. Use these shadows to frame your main subject or create leading lines that draw the viewer's eye.
When shooting in HDR mode, your phone will capture more detail in both the shadowy and bright areas, resulting in a more balanced and dramatic image.
Remember to keep your phone steady when shooting reflections and shadows, as longer exposure times are often necessary in low light conditions.
Post-Processing for Enhanced Results
Your phone's HDR night photos can be further improved with post-processing techniques. Start by adjusting the exposure and contrast to bring out details in both shadows and highlights. Use the shadows slider to reveal hidden elements in darker areas, while carefully managing the highlights to prevent overexposure.
Next, fine-tune the white balance to accurately represent the scene's color temperature. Night photos often have a cool, blue cast, so warming them slightly can create a more inviting atmosphere. Experiment with saturation and vibrance to enhance colors without making them appear unnatural.
Noise reduction is essential for night shots. Apply it judiciously to smooth out graininess while preserving image detail. Sharpening can help define edges and textures, but use it sparingly to avoid artifacts.
Consider using selective adjustments to target specific areas of your image. Vignetting can draw attention to your subject, while graduated filters can balance exposure between sky and foreground.
Frequently Asked Questions
How Does HDR Technology Work in Smartphone Cameras?
HDR technology in your smartphone camera takes multiple exposures of the same scene. It captures highlights, shadows, and mid-tones separately, then combines them into a single image. This process enhances detail and dynamic range in your photos.
Can HDR Night Photos Be Taken Without a Tripod?
Yes, you can take HDR night photos without a tripod. You'll need steady hands and a phone with good image stabilization. Try leaning against a wall or holding your breath while shooting to minimize camera shake.
What's the Difference Between HDR and Night Mode?
HDR and Night mode serve different purposes. You'll use HDR to capture a wider range of light in any scene, while Night mode specifically enhances low-light photos. HDR blends multiple exposures, but Night mode uses longer exposure times.
Are There Specific Apps Recommended for HDR Night Photography?
You'll find several apps great for HDR night photography. Try ProCam, NightCap Camera, or Cortex Camera. They offer advanced controls and specialized night modes. Don't forget your phone's native camera app, which often has built-in HDR capabilities.
How Does HDR Affect Battery Life When Taking Night Photos?
HDR can drain your battery faster when taking night photos. You'll notice increased power consumption as your phone processes multiple exposures. It's wise to carry a portable charger or limit HDR use if you're low on battery.
In Summary
You've now got the tools to capture stunning HDR night photos with your phone. Remember, practice makes perfect, so don't be afraid to experiment. Try different techniques, play with settings, and explore unique compositions. As you refine your skills, you'll find your night shots improving dramatically. Keep pushing your creativity, and soon you'll be producing jaw-dropping nighttime images that rival those taken with professional cameras. So grab your phone and start shooting!


Leave a Reply