
To capture dreamy lens flares with your smartphone, position the sun or light source just outside the frame. Experiment with angles and timing, especially during golden hour. Use clip-on lenses or reflective surfaces to enhance flare effects. Get creative with compositions, incorporating foreground elements for depth. Edit your photos using apps like Snapseed or VSCO to adjust exposure and color balance. Avoid unwanted flares by shielding your lens or using makeshift lens hoods. Master manual camera settings to control light sensitivity, shutter speed, and focus. With practice, you'll transform ordinary scenes into ethereal masterpieces that captivate viewers. Discover more techniques to elevate your mobile photography game.
Understanding Lens Flares
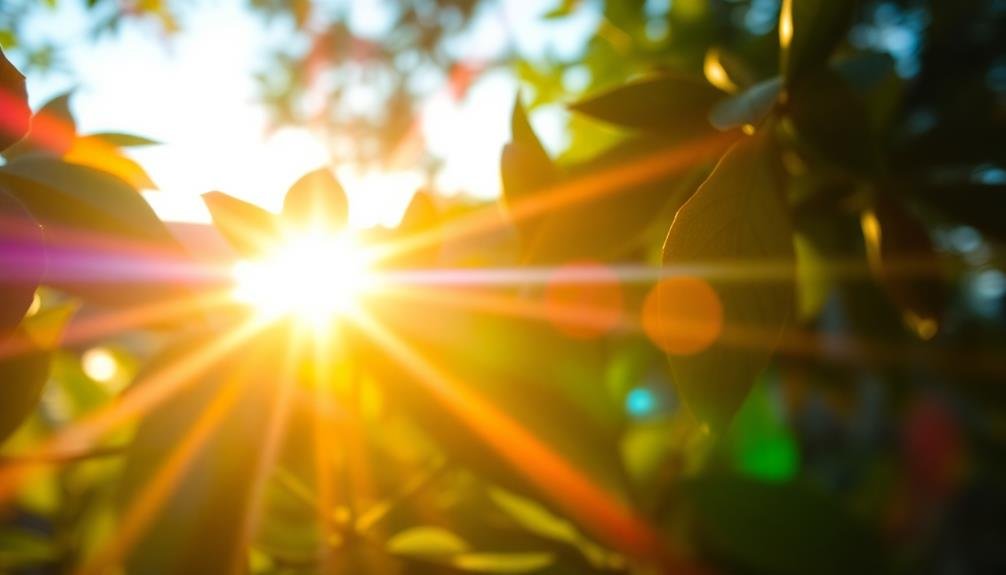
Five key elements define lens flares in mobile photography.
First, light source: flares occur when bright light enters the lens at an angle.
Second, shape: flares appear as circular, hexagonal, or linear patterns depending on your phone's lens structure.
Third, color: they often display rainbow hues or take on the color of the light source.
Fourth, intensity: brighter light sources create more pronounced flares.
Fifth, position: flares typically appear opposite the light source in your frame.
To capture lens flares intentionally, you'll need to position your phone strategically.
Angle your camera so that light enters the lens indirectly.
Experiment with partially obscuring the light source behind objects for creative effects.
Time of day matters too; golden hour provides ideal lighting conditions for dreamy flares.
Be mindful of your phone's limitations.
While DSLR lenses offer more control over flare effects, mobile lenses can still produce stunning results.
Clean your lens regularly to avoid unwanted artifacts.
Essential Gear for Flare Photography

To capture stunning lens flares with your smartphone, you'll need more than just your device's camera.
Equip yourself with lens attachments and filters to manipulate light, and gather light sources and props to create interesting effects.
Don't forget to download powerful editing apps and tools to enhance your flare photos in post-processing.
Lens Attachments and Filters
Lens attachments and filters are game-changers for mobile flare photography. They expand your creative possibilities and help you achieve stunning flare effects that'd be difficult with just your phone's built-in lens.
Start with a clip-on wide-angle lens to capture more of the scene and intensify flares. For a dreamy, ethereal look, try a soft focus filter or a prism attachment.
Don't overlook the power of ND (neutral density) filters. They'll allow you to shoot directly into bright light sources without overexposing your image, perfect for creating dramatic sun flares. A circular polarizer can also enhance flares by reducing reflections and increasing contrast.
For more unique effects, experiment with star filters or kaleidoscope lenses. These'll transform ordinary light sources into dazzling starbursts or mesmerizing patterns.
If you're on a budget, DIY options like using a piece of clear plastic wrap or smearing Vaseline on a UV filter can produce interesting flare effects.
Light Sources and Props
While your smartphone's camera can capture impressive flares, incorporating additional light sources and props will take your mobile flare photography to the next level.
Start by experimenting with natural light sources like the sun or streetlights. Position yourself to catch the light at different angles, creating varied flare effects.
For more control, invest in portable LED lights or small flashlights. These allow you to manipulate the direction and intensity of light, even in low-light conditions.
Try using colored gels over your light sources to add unique hues to your flares.
Props can enhance your flare photography too. Use prisms or crystals to refract light and create interesting patterns.
Experiment with reflective surfaces like mirrors or metallic objects to bounce light in unexpected ways. Even everyday items like CDs or DVDs can produce intriguing flare effects.
Don't forget about foreground elements. Leaves, flowers, or textured glass can add depth and interest to your flare shots.
Position these objects close to your lens to create a dreamy, diffused effect.
Editing Apps and Tools
Three essential editing apps and tools can elevate your flare photography game. First, invest in a high-quality editing app like Snapseed or VSCO. These apps offer advanced features for adjusting exposure, contrast, and color balance, allowing you to enhance the dreamy qualities of your lens flares.
Second, consider using a lens flare overlay app like Lens Distortions or Flare. These tools provide realistic flare effects that you can add to your images, giving you more control over the final look.
Lastly, don't underestimate the power of a good photo organizing app like Lightroom Mobile. It'll help you manage your flare shots, apply presets, and make quick edits on the go.
When using these apps, focus on enhancing the natural light in your images rather than over-processing. Adjust the warmth and saturation to bring out the golden hues of your flares.
Use selective editing tools to brighten specific areas of your photo, emphasizing the flare's impact. Experiment with different filters and effects, but remember to maintain a balance between enhancing the flare and preserving the overall image quality.
With practice, you'll develop a signature style for your flare photography.
Positioning Your Light Source

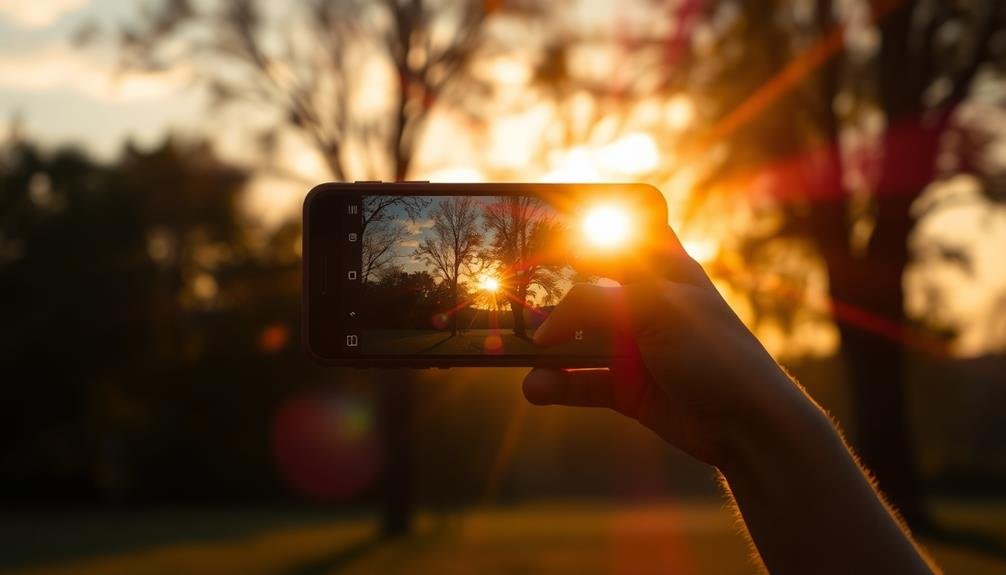
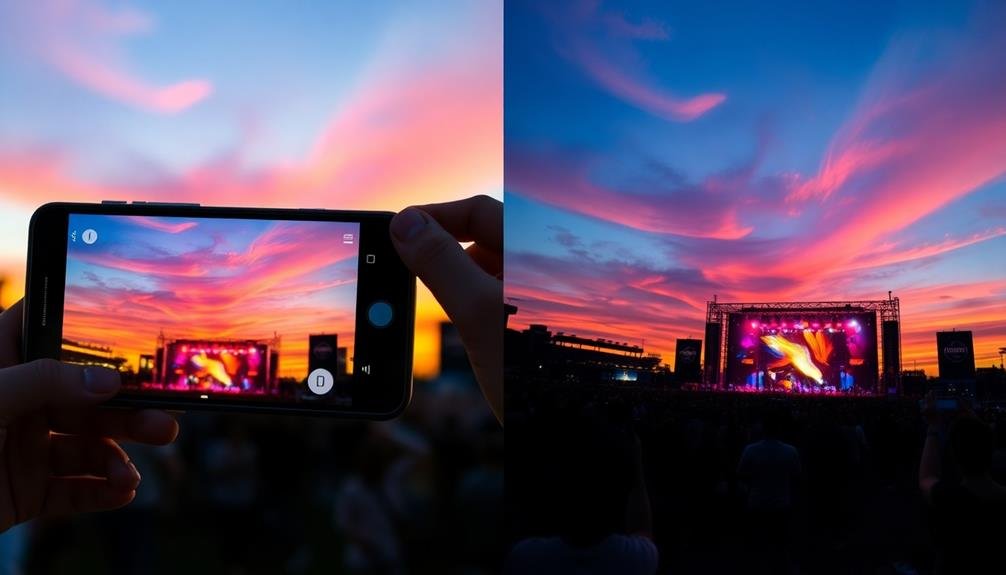
Lighting position is essential for capturing stunning mobile photos. When aiming for dreamy lens flares, you'll want to experiment with the placement of your light source.
Start by positioning the sun or artificial light just outside the frame of your shot. This creates a soft, ethereal glow along the edges of your image.
For more dramatic flares, try partially obscuring the light source behind an object in your composition. This technique can produce striking starbursts and colorful artifacts.
Don't be afraid to move around and adjust your angle to find the perfect spot where the light interacts with your lens.
If you're shooting indoors, use windows or artificial lights to create similar effects. Position your subject near a window and shoot towards the light for a backlit effect with subtle flares.
For artificial lighting, try placing a lamp or LED light just out of frame to mimic natural sunlight.
Timing Your Shots

Timing often makes the difference between an ordinary snapshot and an enchanting image. When capturing lens flares with your mobile device, you'll need to pay close attention to the sun's position and the time of day. The golden hour, just after sunrise or before sunset, offers the perfect opportunity for dreamy lens flares. During these times, the sun's low angle creates long, warm light rays that are ideal for your shots.
To nail the timing, arrive at your location early and observe how the light changes. As the sun moves, you'll notice different flare effects. Experiment by taking photos at various intervals to see how the lens flares evolve. Don't be afraid to wait for the perfect moment when the sun peeks through trees or buildings, creating stunning starbursts.
If you're shooting during midday, look for opportunities to partially block the sun with objects in your frame. This technique can produce unexpected and beautiful flare patterns.
Editing Techniques for Enhancing Flares
While capturing lens flares in-camera is ideal, you can enhance or even create flares during post-processing. Many mobile editing apps offer tools specifically designed for adding or amplifying lens flares.
Start by adjusting the overall exposure and contrast of your image to create a suitable base for the flare effect.
Next, use selective editing tools to boost highlights in areas where you want the flare to appear. Increase the brightness and reduce the shadows in these spots to mimic the sun's intense light.
To add color to your flare, experiment with the temperature and tint sliders, or use color overlay features available in advanced editing apps.
For a more realistic look, consider these techniques:
- Add a subtle blur to the flare area
- Incorporate a graduated filter to simulate light falloff
- Use radial filters to create circular light patterns
- Adjust the opacity of your edits for a natural blend
Creative Flare Compositions
Beyond technical aspects, lens flares offer a wealth of creative possibilities for unique compositions. You can use flares to frame your subject, creating a dreamy border that draws the viewer's eye to the center.
Try positioning the sun just behind your subject's head for a halo effect, or experiment with partial obscuration to add mystery and depth to portraits.
For landscape shots, incorporate flares to add warmth and dimension. Place the sun at the edge of your frame to create a subtle, golden glow across the scene.
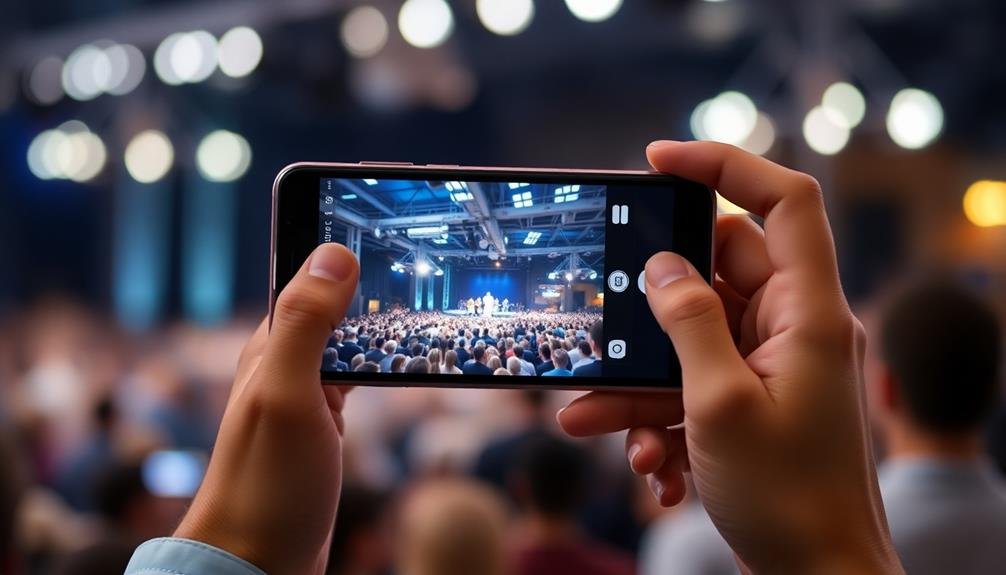
In urban environments, use artificial light sources like street lamps or neon signs to generate colorful flares that complement the city's energy.
Don't shy away from unconventional angles. Shoot upwards through tree branches or between buildings to capture unexpected flare patterns.
For a more abstract approach, focus entirely on the flare itself, creating a composition of light and color.
Avoiding Unwanted Lens Flares

While lens flares can add artistic flair, they're not always desirable in your mobile photos.
You can shield your lens from direct light sources, adjust your camera angle to avoid flares, or use a small lens hood attachment for your smartphone.
These techniques will help you maintain control over lens flares, ensuring they only appear when you want them to.
Shield Lens From Light
Shielding your phone's lens from direct light sources is essential for avoiding unwanted lens flares in mobile photography. When you're shooting outdoors, the sun is often the main culprit for unwanted flares.
To combat this, you can use your free hand to create a makeshift lens hood, blocking the light from directly hitting the lens. Alternatively, you can position yourself so that a nearby object, like a tree or building, blocks the sun's rays.
For more precise control, consider investing in a clip-on lens hood designed for smartphones. These affordable accessories can greatly reduce unwanted flares and improve overall image quality.
If you're in a pinch, you can also use everyday items to shield your lens:
- A cupped hand
- A piece of cardboard or paper
- Your phone case (if it has an extended edge)
- A friend's assistance to block light
Adjust Camera Angle
Camera angle adjustments can be a game-changer when combating unwanted lens flares in mobile photography. To minimize unwanted flares, try tilting your phone slightly downward or upward. This subtle change can alter how light enters the lens, potentially reducing or eliminating pesky flares.
Experiment with shooting from different heights. Crouching low or standing on tiptoes can dramatically change the angle at which light hits your lens. You'll often find that a small shift in perspective can make a big difference in managing flares.
Don't forget to rotate your phone horizontally or vertically. Sometimes, switching from landscape to portrait mode (or vice versa) can help you avoid problematic light sources. Pay attention to the position of the sun or other bright lights in relation to your frame.
If you're still struggling with unwanted flares, consider using nearby objects as natural shields. Position yourself so that trees, buildings, or other elements partially block the light source. This technique can help you maintain control over lens flares while adding depth to your composition.
Use Lens Hood
For those looking to combat unwanted lens flares, a lens hood can be your mobile photography savior. While lens flares can create dreamy effects, they're not always desirable. A lens hood blocks stray light from entering your camera's lens, reducing glare and improving image contrast.
You don't need to invest in expensive accessories; DIY solutions work well for mobile photography. Create a makeshift lens hood using common household items like black cardboard or foam board. Cut it to fit around your phone's camera, leaving a small opening for the lens.
When using a lens hood, remember these key points:
- Position it correctly to avoid vignetting
- Adjust its size based on your focal length
- Remove it when using flash to prevent shadows
- Keep it clean to maintain image quality
Experiment with different hood shapes and sizes to find what works best for your style. A tulip-shaped hood offers maximum protection while allowing for a wider field of view.
For zoom lenses, consider a collapsible hood that adjusts to different focal lengths.
Mastering Manual Camera Settings

Releasing the full potential of your smartphone's camera begins with mastering manual settings. Most modern devices offer extensive control over exposure, focus, and white balance.
Start by familiarizing yourself with ISO, which adjusts light sensitivity. In low-light situations, increase ISO, but be cautious of introducing noise.
Next, explore shutter speed. Slower speeds capture motion blur, while faster ones freeze action. For dreamy lens flares, experiment with longer exposures.
Aperture, often represented as f-stop, controls depth of field. Lower f-numbers create a shallower focus, ideal for portraits.
White balance guarantees accurate color representation. Adjust it based on your lighting conditions—warm for indoor lighting, cool for outdoor shade.
Don't forget about focus. Manual focus allows precise control, especially useful for macro shots or when capturing lens flares.
Lastly, shoot in RAW format whenever possible. It preserves more data, giving you greater flexibility in post-processing.
Practice these settings regularly, and you'll soon develop an intuitive understanding of how to manipulate them for desired effects.
Frequently Asked Questions
Can Lens Flares Be Achieved With Smartphone Camera Filters?
Yes, you can achieve lens flares with smartphone camera filters. They're easy to use and can add a dreamy, ethereal quality to your photos. You'll find various apps and attachable lenses that create stunning flare effects.
How Do Weather Conditions Affect the Appearance of Lens Flares?
You'll notice weather plays a big role in lens flares. Sunny days create stronger, more vibrant flares. Cloudy conditions soften them. Humidity can add a hazy effect, while rain or snow might produce unique, scattered flare patterns.
Are There Specific Lens Coatings That Enhance or Reduce Flare Effects?
Yes, lens coatings can greatly impact flare effects. You'll find anti-reflective coatings reduce unwanted flares, while some specialty coatings enhance them. It's worth exploring different lens options to achieve your desired flare aesthetic in your photography.
What Are the Differences Between Natural and Artificial Light for Creating Flares?
Natural light creates softer, more organic flares, while artificial light produces sharper, more defined effects. You'll find sunlight gives warmer tones, and artificial sources offer cooler hues. Experiment with both to discover your preferred style.
Can Lens Flares Be Added Convincingly in Post-Processing Without Looking Fake?
Yes, you can add convincing lens flares in post-processing. It's tricky, but with practice, you'll master it. Use high-quality overlays, adjust opacity, and blend modes carefully. Match the flare to your lighting for a natural look.
In Summary
You're now equipped to create stunning lens flares with your mobile phone. Remember, it's all about experimentation and practice. Don't be afraid to play with angles, timing, and editing techniques. As you master these skills, you'll transform ordinary scenes into dreamy, ethereal images. Keep pushing your creative boundaries, and soon you'll be capturing professional-looking flares that'll make your photos truly stand out. So go out there and let your creativity shine!
Leave a Reply