
Long exposure photography can transform your concert phone photos into stunning works of art. By keeping your camera's shutter open longer, you'll capture light trails from stage lighting and blur moving performers, conveying the energy and atmosphere of the event. You'll need a steady hand or tripod, and knowledge of manual camera settings to achieve the best results. Experiment with different exposure times to match the mood of the performance, from dreamy effects for slower songs to high-energy shots for upbeat moments. With practice, you'll master this technique and create memorable images that truly shine. Discover how to take your concert photography to the next level.
Understanding Long Exposure Photography
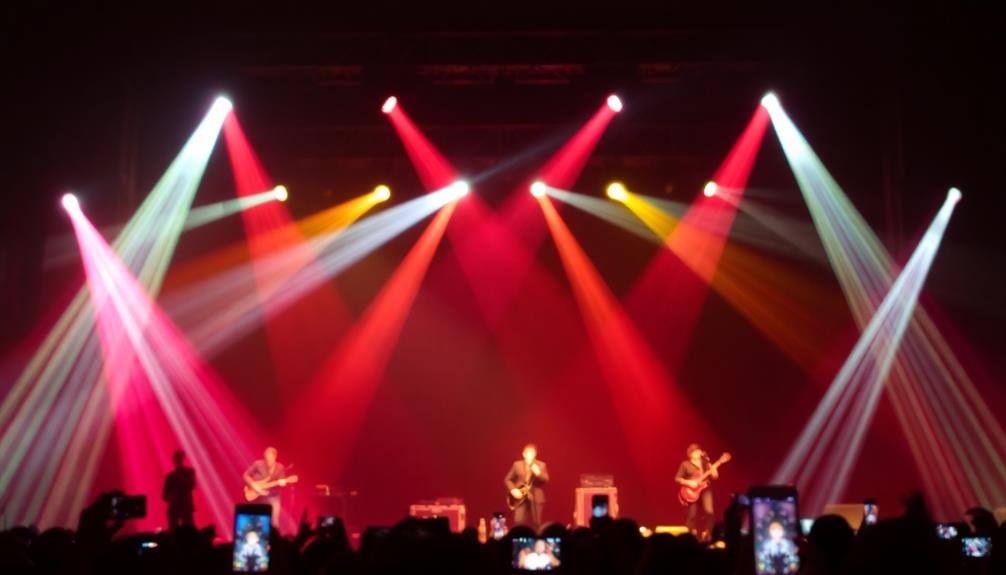
Long exposure photography reveals a world of creative possibilities, especially in concert settings. It's a technique where you keep your camera's shutter open for an extended period, allowing more light to hit the sensor. This method captures motion and light trails, creating stunning visual effects.
In concert photography, long exposure can transform stage lighting into vibrant streaks of color, adding dynamism to your images. It can also blur moving performers, creating a sense of energy and movement.
You'll need to understand your camera's manual mode to control shutter speed, aperture, and ISO.
To achieve long exposures, you'll typically use slower shutter speeds, often ranging from 1/15th of a second to several seconds. This means you'll need to stabilize your phone, either with a tripod or by bracing it against a stable surface.
You'll also want to experiment with different exposure times to find the right balance between capturing movement and maintaining detail.
Equipment Needed for Smartphone Concerts

Preparedness is key when it comes to capturing long exposure concert photos with your smartphone. To get the best results, you'll need a few essential pieces of equipment.
First, invest in a sturdy smartphone tripod. This will keep your device steady during long exposures, preventing unwanted blur. Look for a compact, lightweight option that's easy to carry and set up quickly in crowded venues.
Next, consider a remote shutter release or Bluetooth trigger. This allows you to take photos without touching your phone, further reducing camera shake. Many smartphone camera apps offer built-in timer functions, which can serve as an alternative.
A lens kit can expand your creative possibilities. Wide-angle lenses are great for capturing the entire stage, while macro lenses let you focus on intricate details. Look for clip-on options compatible with your phone model.
Don't forget about power. Bring a portable charger to keep your phone running throughout the concert. Long exposure shots can drain your battery quickly.
Lastly, download a dedicated long exposure app. These often offer more control over settings like shutter speed and ISO than your phone's native camera app, giving you greater flexibility in challenging lighting conditions.
Setting Up Your Phone Camera

To capture stunning long-exposure concert photos with your smartphone, you'll need to adjust your camera's exposure settings and enable night mode if available.
You should also consider using a tripod or stabilizer to keep your phone steady during longer exposures.
These steps will help you achieve clearer, more dramatic images that capture the energy and atmosphere of the concert.
Adjust Exposure Settings
Adjusting your phone camera's exposure settings is essential for capturing stunning long-exposure concert photos.
Start by locating your camera app's manual or pro mode, which gives you control over key settings. Set your ISO to a low value, typically between 100-400, to reduce noise in your images.
Next, adjust the shutter speed to a longer duration, anywhere from 1/15 to several seconds, depending on the amount of movement you want to capture.
To compensate for the longer exposure, you'll need to decrease the aperture (increase the f-number) if your phone allows it. This helps prevent overexposure while maintaining a sharp focus. If your phone doesn't have adjustable aperture, use exposure compensation to reduce overall brightness.
Don't forget to enable manual focus and set it to the stage area. This prevents your camera from continually trying to refocus during the long exposure.
Finally, activate your phone's built-in image stabilization if available. If not, consider using a tripod or stabilizing your phone against a solid surface to minimize camera shake during the extended exposure time.
These adjustments will help you capture the energy and atmosphere of the concert in a single, compelling image.
Enable Night Mode
While manual settings offer great control, many modern smartphones have a powerful built-in feature that can simplify long-exposure concert photography: Night Mode.
This intelligent mode is designed to capture stunning low-light images without the need for complex adjustments.
To enable Night Mode, open your camera app and look for a moon icon or a specific "Night" setting. If you don't see it immediately, check your camera modes or settings menu.
Once activated, Night Mode automatically adjusts various parameters to optimize your shot in dim conditions.
When using Night Mode for concert photography, keep your phone as steady as possible. The camera will take multiple exposures and combine them, so any movement can result in blurry images.
Consider using a small tripod or leaning against a stable surface for best results.
Be aware that Night Mode may not be ideal for fast-moving subjects or rapidly changing light shows.
In these cases, you might need to switch back to manual settings for more control.
Experiment with both methods to find what works best for each unique concert situation.
Use Tripod or Stabilizer
Steady hands are a photographer's best friend, but they're not always enough for long-exposure concert shots. To capture stunning, blur-free images in low-light concert settings, you'll need to stabilize your phone. A tripod or stabilizer is essential for keeping your device perfectly still during extended exposure times.
Choose a compact, lightweight tripod that's easy to carry and set up in crowded venues. Look for models with flexible legs that can wrap around railings or poles. Alternatively, invest in a handheld stabilizer or gimbal for more mobility. These devices use motors to counteract your hand movements, resulting in smoother shots.
When using a tripod or stabilizer, make sure your phone is securely attached. Enable your camera's self-timer or use a bluetooth remote to trigger the shutter without touching the device. This eliminates any vibration caused by pressing the screen.
Here's what you can achieve with a properly stabilized phone:
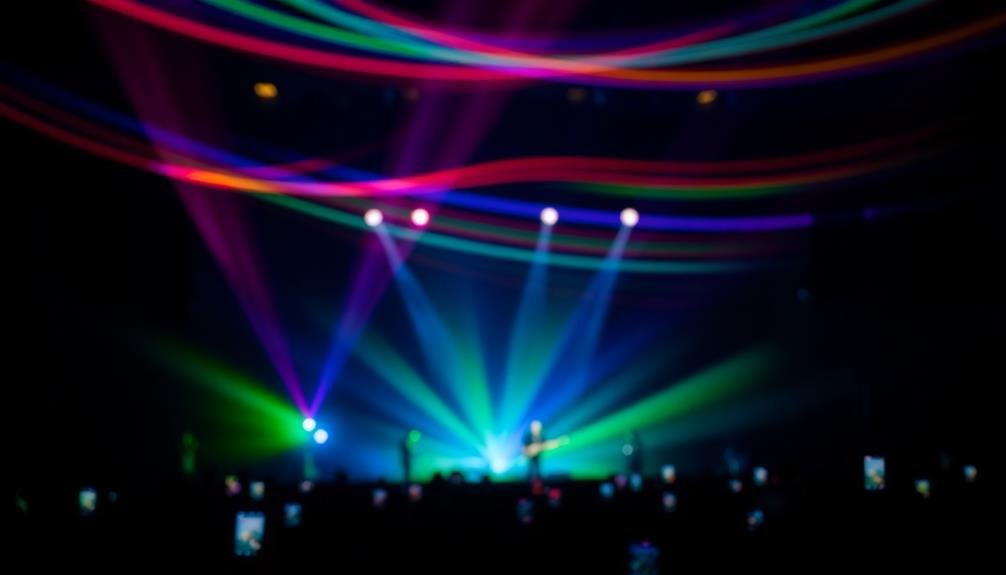
- Crystal-clear light trails from stage lighting
- Sharp, well-defined silhouettes of performers
- Smooth motion blur of crowd movements
- Crisp star-burst effects from spotlights
- Perfectly focused foreground elements with dreamy background bokeh
Choosing the Right Exposure Time
When selecting the right exposure time for concert photos, you'll need to assess the venue's lighting conditions carefully.
You should match your exposure duration to the level of movement on stage, with longer exposures for slower-moving subjects and shorter ones for rapid action.
Don't hesitate to experiment with different exposure times to find the perfect balance between capturing light trails and maintaining some clarity in your subjects.
Assess Venue Lighting Conditions
The key to successful long exposure concert photography lies in accurately evaluating the venue's lighting conditions. Before setting your exposure time, take a moment to observe the stage and surrounding areas.
Look for the intensity, color, and movement of the lights. Are there strobes, spotlights, or LED panels? Each of these elements will impact your long exposure shots.
Consider the overall brightness of the venue. Darker spaces often require longer exposure times, while brightly lit arenas may need shorter durations.
Pay attention to the contrast between the performers and the background. If there's a significant difference, you'll need to adjust your settings accordingly.
Here's what to look for when gauging venue lighting:
- Intensity of stage lights
- Color variations and patterns
- Frequency of light changes
- Presence of smoke or haze
- Ambient light from the crowd or venue
Match Exposure to Movement
After evaluating the venue's lighting conditions, your next vital step is matching the exposure time to the movement on stage. This significant decision will determine the visual impact of your concert photos.
You'll need to take into account the type and speed of movement you're capturing. For high-energy performances with rapid movements, opt for shorter exposure times, typically between 1/15 to 1/4 of a second. This range will create some motion blur while still maintaining recognizable features. If you're aiming to freeze action, go even shorter, around 1/60 to 1/125 of a second.
For slower, more atmospheric performances, experiment with longer exposures of 1 to 2 seconds. These can produce dreamy, ethereal effects that capture the mood of the music. Be aware that longer exposures require a steady hand or support to avoid camera shake.
Don't hesitate to adjust your exposure time throughout the concert. Different songs or segments may call for varying approaches. Pay attention to the rhythm and intensity of the music, and sync your exposure choices accordingly.
Experiment With Different Durations
Now that you've grasped the basics of matching exposure to movement, it's time to push your creativity further. Experiment with different exposure durations to capture unique concert moments. Start with shorter exposures around 1/15 to 1/4 second, then gradually increase to several seconds. Each duration will produce distinct effects, from subtle motion blur to ethereal light trails.
As you experiment, consider the following elements:
- Stage lighting intensity and color changes
- Performer movement speed and patterns
- Crowd energy and motion
- Instrument details (e.g., guitar strings vibrating)
- Background elements like fog or projections
Pay attention to how these factors interact with various exposure times. You'll find that longer exposures can create dreamlike scenes, while shorter ones might freeze a moment of high energy.
Don't be afraid to try extreme durations – even 10-second exposures can yield surprising results.
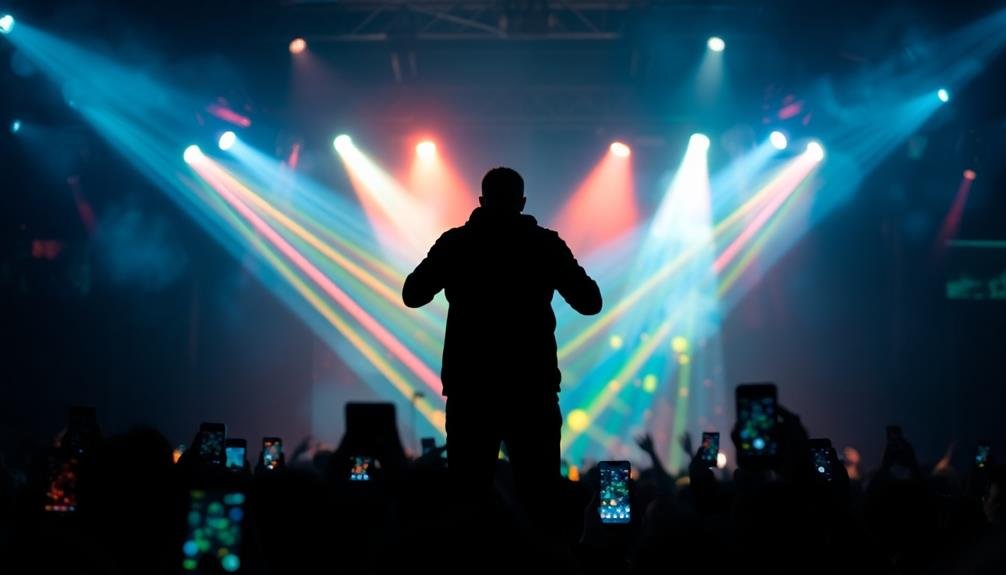
Capturing Light Trails and Motion
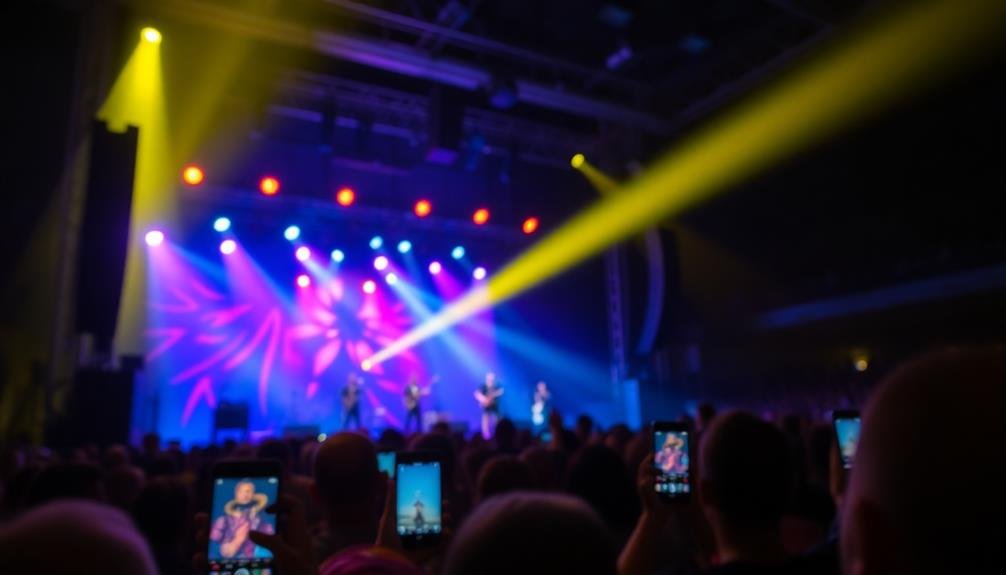
Capturing light trails and motion in concert photography opens up a world of creative possibilities. When you use long exposure techniques, you'll transform moving lights on stage into stunning streaks of color. These light trails can add depth and dynamism to your images, creating a sense of energy that mirrors the excitement of live music.
To capture these effects, focus on bright, moving elements like spotlights, LED screens, or even glow sticks in the crowd. You'll want to experiment with shutter speeds between 1 and 5 seconds, depending on the intensity of movement and lighting. Remember, longer exposures will create more pronounced trails.
Don't forget about the performers themselves. Long exposures can turn their movements into ethereal blurs, conveying the passion and energy of their performance. Try panning your camera to follow a musician's motion, keeping them relatively sharp while blurring the background.
For the best results, use a tripod or find a stable surface to rest your phone on. This will guarantee your background remains sharp while the moving elements create those eye-catching streaks and blurs.
Dealing With Low-Light Challenges
Low-light conditions pose three major challenges for concert photographers: noise, blur, and underexposure. Long exposure techniques can help you overcome these obstacles, allowing you to capture stunning images even in dimly lit venues.
When you're dealing with low light, you'll need to adjust your camera settings. Increase your ISO, but be cautious not to go too high, as this can introduce unwanted noise. Open up your aperture to let in more light, and slow down your shutter speed to allow for longer exposure times. Experiment with different combinations to find the sweet spot for your specific camera and lens setup.
To combat camera shake, use a tripod or find a stable surface to rest your phone on. If you're shooting handheld, brace yourself against a wall or use your body to stabilize the camera. Remember to hold your breath while taking the shot to minimize movement.
Here's what you might capture with long exposure in a concert setting:
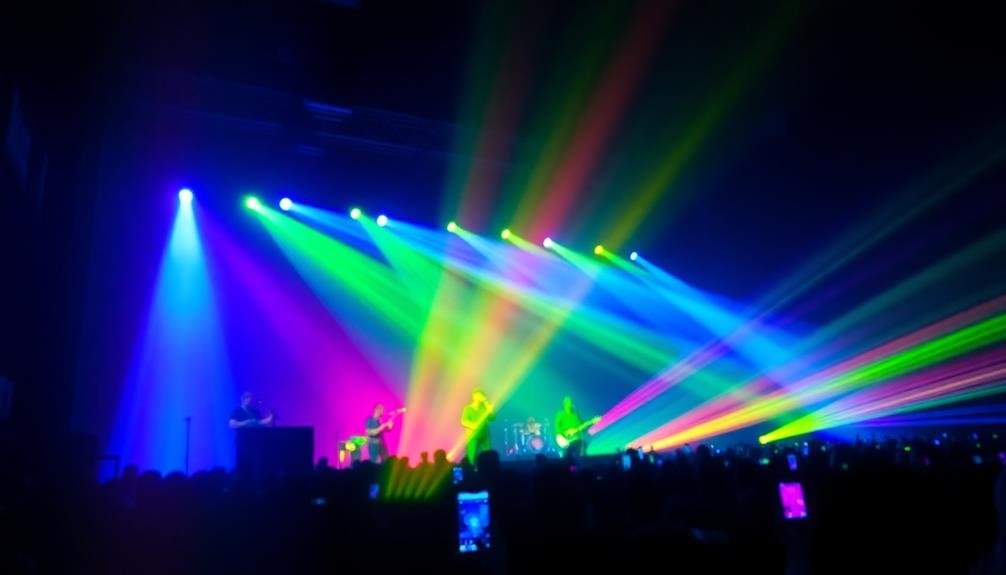
- Streaks of colorful stage lights painting the air
- Blurred motion of performers, creating a sense of energy
- Ghostly silhouettes of the crowd
- Light trails from glow sticks or phone screens
- Ethereal halos around spotlights and strobes
Post-Processing Long Exposure Concert Photos
After you've captured those mesmerizing long exposure shots at the concert, it's time to enhance them in post-processing.
Start by adjusting the exposure and contrast to bring out the vibrant light trails and stage lighting effects. Don't be afraid to push the shadows and highlights to create a more dramatic look.
Next, focus on color correction. Concert lighting can often produce unusual color casts, so use the white balance tool to achieve a more natural or artistic look. Experiment with saturation and vibrance to make the colors pop without appearing unnatural.
Noise reduction is essential for long exposure concert photos. Apply it carefully to smooth out graininess while preserving important details. Use sharpening tools sparingly to maintain the dreamy quality of long exposures.
Consider cropping your images to improve composition and remove distracting elements. Vignetting can help draw attention to the center of the frame, where the main action typically occurs.
Creative Applications Beyond Concert Photography
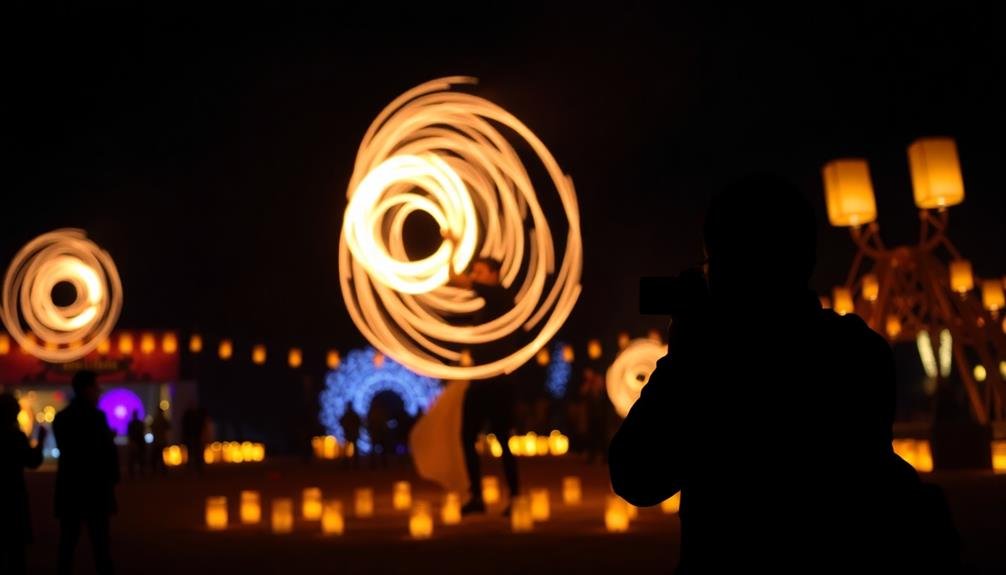
Long exposure techniques aren't limited to concert photography. You can apply these skills to various creative pursuits, expanding your photographic repertoire.
Try capturing light trails from passing cars, smoothing out water in landscapes, or creating ethereal cloud movements in cityscapes. The possibilities are endless when you start thinking outside the box.
Experiment with different subjects and settings to discover unique applications for long exposure photography. You'll find that this technique can transform ordinary scenes into extraordinary images.
Consider using long exposure for:
- Painting with light in dark environments
- Blurring moving crowds in busy urban areas
- Capturing star trails in night sky photography
- Creating ghostly effects with moving subjects
- Smoothing out rough seas or waterfalls
As you explore these creative applications, you'll develop a keen eye for scenes that lend themselves to long exposure techniques.
Remember to adjust your camera settings based on the specific subject and lighting conditions. Experiment with different shutter speeds to achieve the desired effect, and don't be afraid to push the boundaries of traditional photography.
With practice, you'll master the art of long exposure and create mesmerizing images that stand out from the crowd.
Frequently Asked Questions
Can Long Exposure Photography Damage My Phone's Camera Sensor?
You don't need to worry about damaging your phone's camera sensor with long exposure photography. It's designed to handle extended light exposure. However, you should avoid pointing it directly at extremely bright light sources for prolonged periods.
How Do I Prevent Blurry Images When Using Long Exposure Techniques?
To prevent blurry long exposure shots, you'll need to keep your phone steady. Use a tripod or stable surface, activate your phone's timer, and avoid touching it during exposure. Don't forget to hold your breath while shooting!
Are There Specific Music Genres That Work Better for Long Exposure Concert Photos?
You'll find that genres with dynamic lighting and movement work best for long exposure concert photos. Rock, EDM, and pop shows often provide vibrant light displays and energetic performances that'll create stunning streaks and patterns in your shots.
Can I Use Long Exposure Techniques During Outdoor Daytime Concerts?
You can use long exposure techniques for outdoor daytime concerts, but you'll face challenges. Bright sunlight makes it harder to capture motion blur. Use neutral density filters and adjust your camera settings to compensate for the excess light.
How Do I Balance Capturing the Crowd and the Performers in Long Exposure Shots?
To balance crowd and performers in long exposure shots, you'll want to position yourself strategically. Try capturing the crowd in the foreground while focusing on the stage. Experiment with different shutter speeds to freeze performers and blur crowd movement.
In Summary
You've now got the tools to take stunning long exposure concert photos with your smartphone. Don't be afraid to experiment with different exposure times and settings. Remember, practice makes perfect. As you refine your technique, you'll capture incredible light trails and motion blur that truly capture the energy of live performances. Take these skills beyond concerts too – the creative possibilities are endless. Now go out there and start shooting!


Leave a Reply