To capture stunning night photos with your phone, start by mastering low-light techniques. Stabilize your device using a tripod or steady surface, and experiment with your camera's night mode or manual settings. Adjust ISO and shutter speed to balance light sensitivity and motion blur. Use manual focus for sharp images, and try capturing light trails for dynamic shots. Don't forget to edit your photos to enhance contrast and reduce noise. Choose prime locations with interesting light sources, like cityscapes or starry skies. With practice, you'll develop an intuition for creating enchanting nighttime images. Dive deeper to access your phone's full potential for nocturnal photography.
Understanding Low Light Photography
In spite of technological advancements, low light photography remains a challenge for many smartphone users. To master this skill, you'll need to grasp the fundamentals of how light interacts with your phone's camera sensor.
Low light conditions require longer exposure times, which can lead to blurry images if your hand isn't steady. Understanding your phone's ISO settings is essential; higher ISO values increase light sensitivity but may introduce noise.
Aperture, another key factor, controls the amount of light entering the lens. Most smartphones have fixed apertures, so you'll need to rely on other techniques to compensate.
White balance plays a significant role in capturing accurate colors in low light. Learn to adjust it manually for the best results.
Familiarize yourself with your phone's night mode or similar features. These often use AI and multiple exposures to enhance low light photos.
Experiment with manual controls if your phone offers them. Practice balancing exposure time, ISO, and any available aperture settings to achieve the desired effect.
Stabilizing Your Smartphone
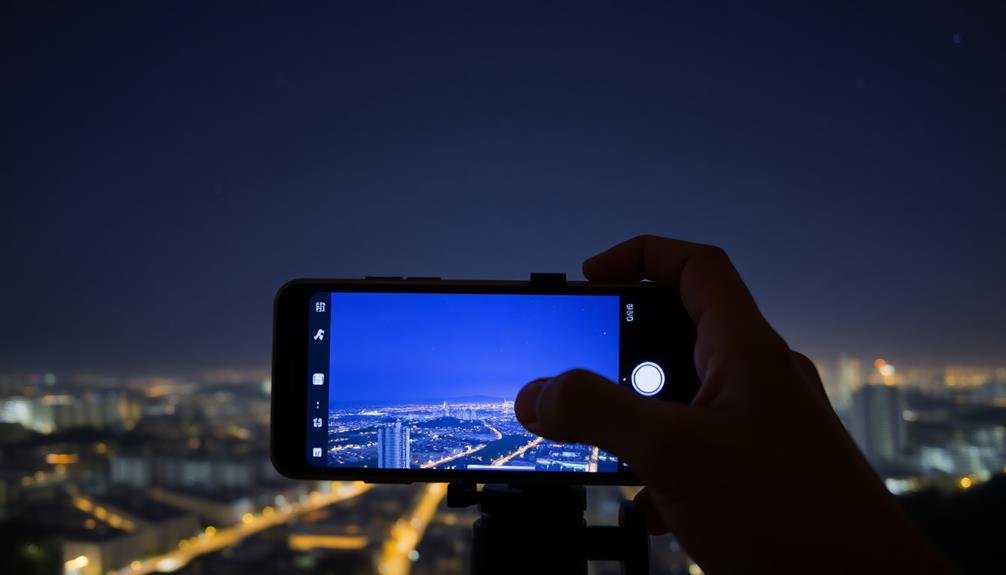
Steady hands are essential for capturing sharp night photos with your smartphone. Even the slightest movement can result in blurry images, especially in low-light conditions. To combat this, you'll need to stabilize your device effectively.
One of the best ways to guarantee stability is by using a tripod. There are many compact, portable options designed specifically for smartphones. If you don't have a tripod, try propping your phone against a stable surface like a wall, table, or even a rock.
Here's a quick guide to stabilization techniques:
| Method | Pros | Cons |
|---|---|---|
| Tripod | Ultimate stability | Extra equipment to carry |
| Lean against surface | No extra gear needed | Limited angles |
| Two-handed grip | Always available | Less stable than other methods |
When using your hands, adopt a steady stance with your elbows tucked into your body. Take a deep breath and exhale slowly as you press the shutter button. Many phones offer a voice-activated shutter or timer function, which can further reduce camera shake.
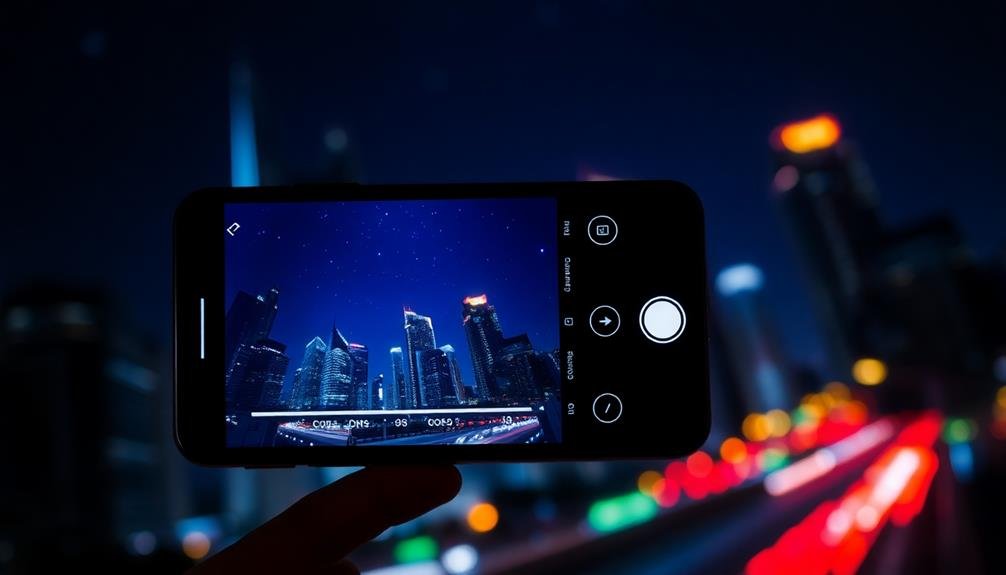
Selecting the Right Camera Mode
Smartphone cameras offer a variety of modes tailored for different shooting scenarios. For night photography, you'll want to focus on specific modes designed to capture low-light scenes. Most modern smartphones include a dedicated night mode, which automatically adjusts settings to optimize your shots in dark conditions. This mode typically uses longer exposure times and advanced image processing to reduce noise and enhance details.
If your phone doesn't have a night mode, don't worry. You can still achieve great results using manual or pro mode. In this mode, you'll have control over key settings like:
- ISO: Adjust this to increase light sensitivity, but be cautious as higher values can introduce noise.
- Shutter speed: Slow it down to allow more light in, but use stabilization to avoid blur.
- White balance: Fine-tune this to capture accurate colors in artificial lighting.
For artistic night shots, experiment with your phone's long exposure mode. This allows you to capture light trails from moving cars or create silky smooth water effects.
Adjusting ISO and Shutter Speed
When it comes to night photography, mastering ISO and shutter speed is essential for capturing stunning images. These two settings work together to control the amount of light your phone's camera sensor receives, allowing you to create well-exposed shots in low-light conditions.
Start by adjusting your ISO, which controls your camera's sensitivity to light. In dark settings, you'll want to increase the ISO, but be cautious as higher values can introduce noise. Experiment with ISO settings between 400 and 1600 to find the right balance between brightness and image quality.
Next, focus on shutter speed. For night photos, you'll typically need slower shutter speeds to allow more light into the sensor. However, this can lead to motion blur. To counteract this, use a tripod or stable surface to keep your phone steady.
Try shutter speeds between 1/15 and 1 second, depending on the available light and your subject's movement.
Mastering Manual Focus
While adjusting ISO and shutter speed helps capture more light, proper focus is key to achieving sharp night photos. Your phone's autofocus might struggle in low-light conditions, so mastering manual focus is vital. To switch to manual focus, look for the focus option in your camera app's settings or pro mode.
When manually focusing, use these techniques:
- Tap on the brightest part of your scene to set a focus point
- Zoom in digitally to fine-tune your focus, then zoom back out
- Use focus peaking if your app offers it, highlighting in-focus areas
For landscapes, focus on a distant light source or the horizon. For portraits, focus on the subject's eyes. If you're shooting stars, set focus to infinity.
Remember, slight movements can throw off your focus, so use a tripod or steady surface.
Practice is essential. Experiment with different focal points and compare results. You'll soon develop an intuition for manual focusing in various night scenes.
Don't be discouraged if your first attempts aren't perfect – night photography requires patience and persistence. With time, you'll consistently capture crisp, stunning night photos using your phone's manual focus capabilities.
Using Night Mode Effectively
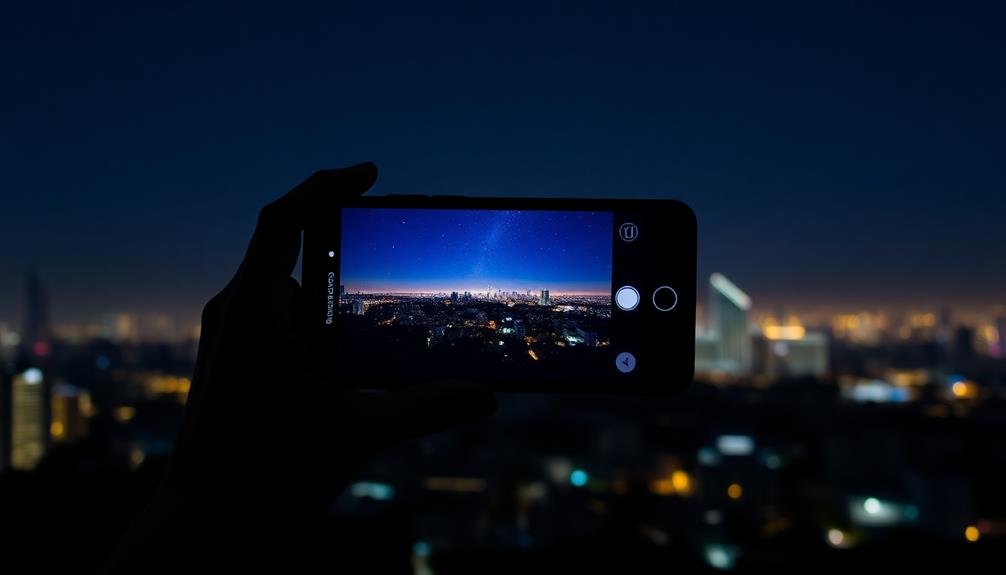
To capture stunning night photos with your phone, you'll want to make the most of its Night Mode feature.
Start by activating your phone's Night Mode settings, then focus on keeping your device as steady as possible during the exposure.
Activate Night Mode Settings
Night mode is your secret weapon for capturing stunning low-light photos with your phone. To activate it, locate the camera app's settings or modes menu. Look for an icon resembling a crescent moon or the words "Night" or "Low Light." Once you've found it, tap to enable the feature.
When using night mode, keep these tips in mind:
- Hold your phone steady or use a tripod for sharper images
- Avoid using flash, as it can overexpose foreground subjects
- Frame your shot before activating night mode to minimize camera shake
After enabling night mode, your phone's camera will automatically adjust settings like shutter speed and ISO to capture more light. This process may take a few seconds, so remain still until the capture is complete.
Some phones allow you to manually adjust night mode settings, such as exposure time or light sensitivity.
Experiment with different scenes and subjects to understand your phone's night mode capabilities. Urban landscapes, starry skies, and dimly lit interiors are excellent subjects for night photography.
With practice, you'll master the art of capturing breathtaking low-light images using your phone's night mode.
Steady Your Phone
Keeping your phone steady is essential when using night mode effectively. Even the slightest movement can result in blurry or unclear images. To combat this, try leaning against a stable surface like a wall or tree when taking your shot.
If there's nothing to lean on, tuck your elbows into your body to create a more stable platform for your hands. For longer exposures, consider investing in a small, portable tripod designed for smartphones. These are lightweight, easy to carry, and can make a significant difference in the sharpness of your night photos.
If you don't have a tripod, look for flat surfaces where you can prop up your phone, such as a bench, ledge, or even the ground. When you're ready to take the photo, use your phone's timer function or a remote shutter release to avoid any shake from pressing the screen.
If your phone has optical image stabilization, make sure it's enabled. Remember, the key to crisp night photos is minimizing movement, so take a deep breath, hold steady, and capture the night's beauty with clarity.
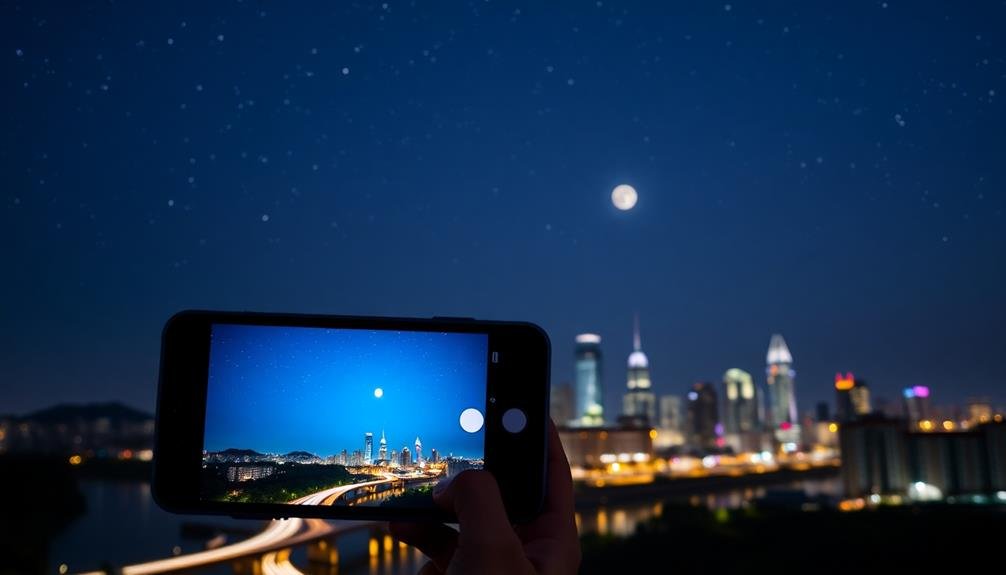
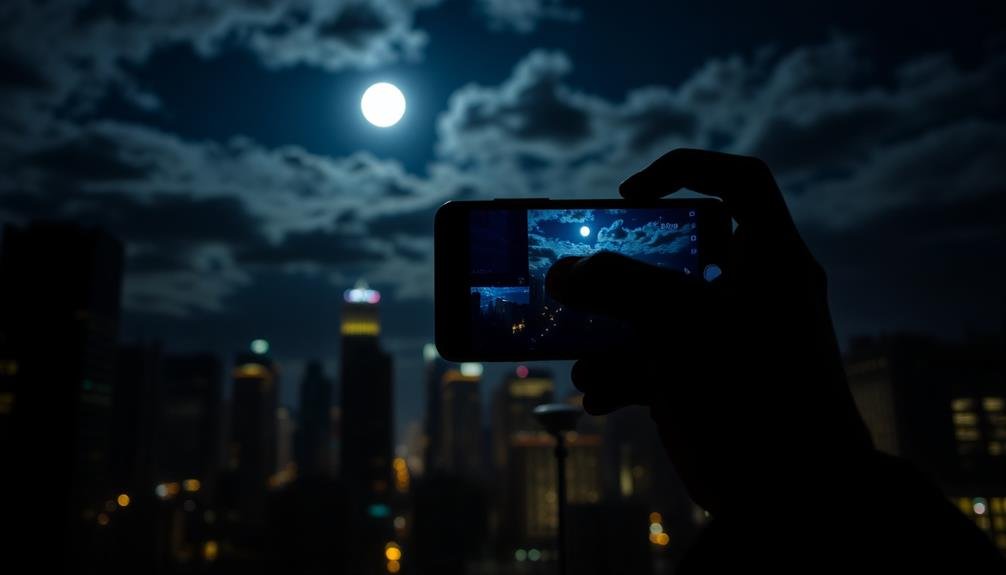
Find Optimal Light Sources
Your phone's night mode thrives on available light, so finding ideal light sources is essential for stunning nighttime shots. Look for areas with a mix of light and shadow, as these create depth and interest in your images. Street lamps, neon signs, and illuminated buildings can serve as excellent light sources for your nighttime photography.
When composing your shot, consider how different light sources interact with your subject. Experiment with positioning your subject near various light sources to see how it affects the overall mood and atmosphere of your image.
Don't shy away from using artificial light creatively – it can add a unique and enchanting element to your night photos.
Here are some tips for finding optimal light sources:
- Scout locations during the day to identify potential nighttime light sources
- Use reflective surfaces like puddles or windows to amplify existing light
- Incorporate multiple light sources to create dynamic and visually interesting scenes
Remember that night mode works best when there's at least some ambient light available. In extremely dark conditions, you might need to introduce additional light sources or consider using your phone's flash as a last resort.
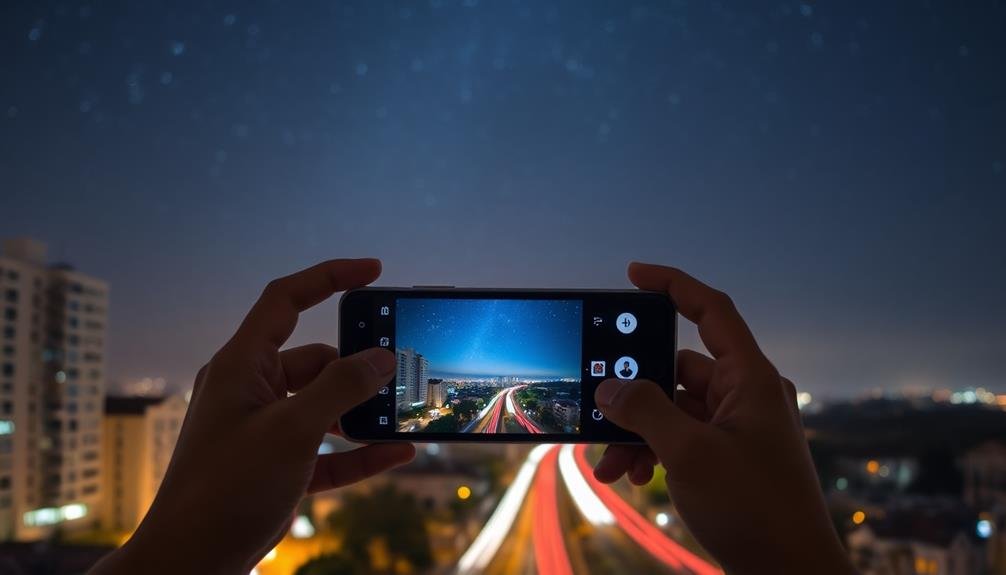
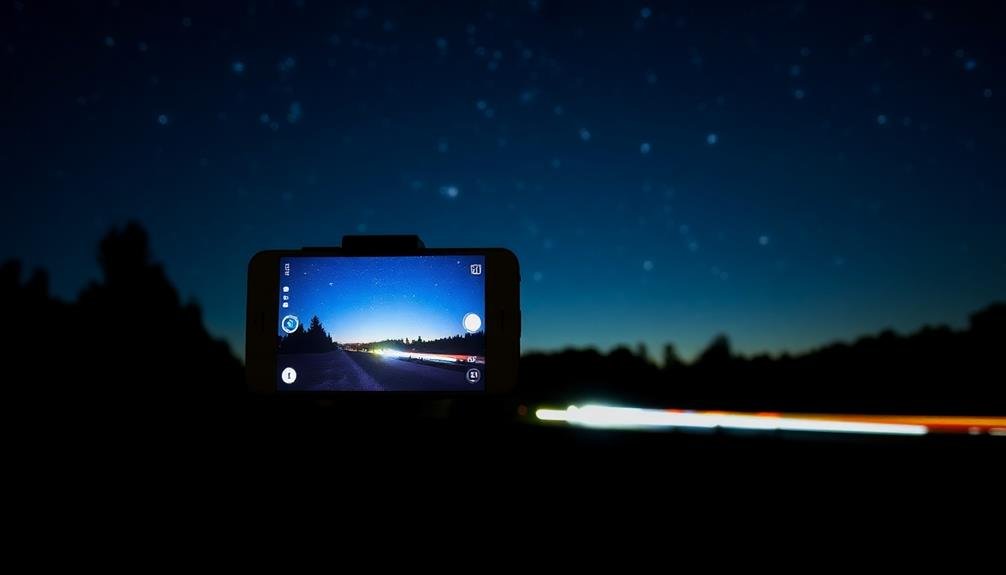
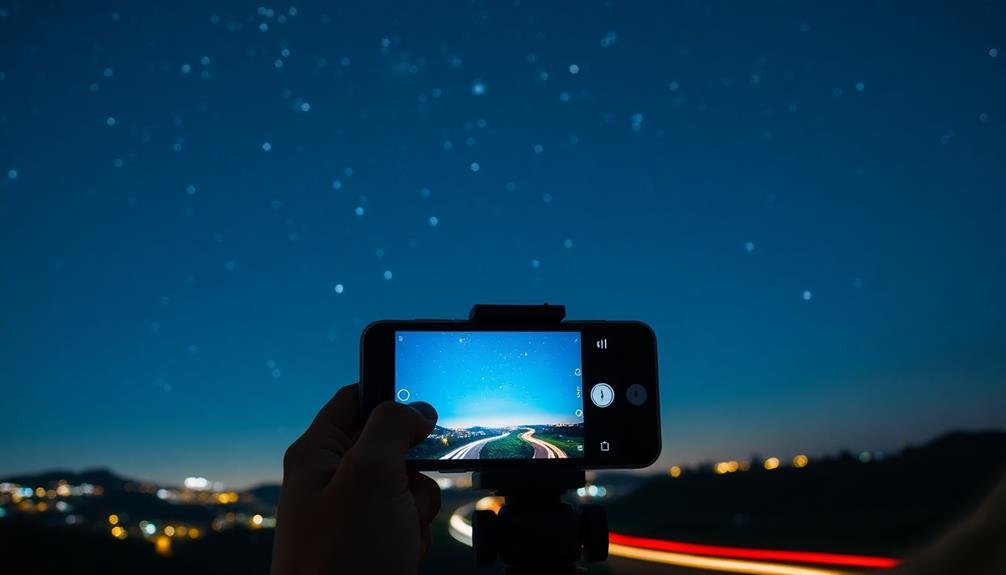
Capturing Light Trails
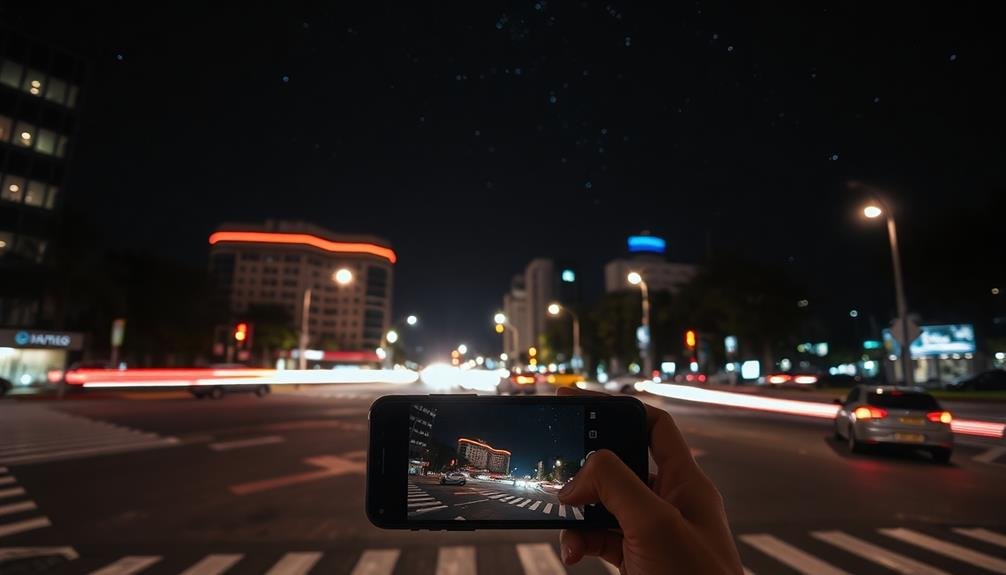
Streaking across the night sky, light trails can transform your phone photos into mesmerizing works of art. To capture these ethereal streaks, you'll need to master a few key techniques.
First, find a stable surface or use a tripod to keep your phone steady. Enable your camera's manual mode or download a long-exposure app. Set your shutter speed between 2 to 30 seconds, depending on the speed of your subject. For traffic lights, aim for 10-15 seconds; for star trails, try 30 seconds or longer.
Position yourself where there's consistent movement, like busy intersections or winding roads. Frame your shot to include stationary elements for contrast. As you compose, consider leading lines to guide the viewer's eye through the image.
When you're ready, tap the shutter and remain perfectly still. Experiment with different angles and shutter speeds to achieve your desired effect. For added interest, try zooming during exposure or including illuminated buildings in the background.
Editing Night Photos
After capturing your night photos, you'll need to fine-tune them to bring out their best qualities.
Start by adjusting the exposure and contrast to balance the bright and dark areas of your image.
Next, enhance the colors and tones to create a more vibrant or moody atmosphere, depending on your desired effect.
Adjusting Exposure and Contrast
Mastering exposure and contrast adjustments is essential for bringing out the best in your night photos. When editing, start by fine-tuning the exposure to guarantee your image isn't too dark or overly bright. Increase the exposure gradually until you achieve a balance that reveals details in shadows without washing out highlights.
Next, focus on contrast to add depth and dimension to your night scenes. Boost the contrast to make dark areas darker and bright areas brighter, creating a more dramatic effect. However, be cautious not to overdo it, as excessive contrast can lead to loss of detail and an unnatural look.
Consider these tips when adjusting exposure and contrast:
- Use the histogram to guide your adjustments and avoid clipping highlights or shadows
- Experiment with selective adjustments to enhance specific areas of your photo
- Apply subtle changes and frequently compare your edits to the original image
Remember that night photography often benefits from a slightly darker overall look, so don't be afraid to keep some areas of your image in shadow. This approach can create a moody atmosphere and draw attention to illuminated subjects or light sources in your composition.
Enhancing Colors and Tones
Colors and tones play an essential role in bringing your night photos to life. After adjusting exposure and contrast, focus on enhancing the colors and tones to create a more enchanting image.
Start by fine-tuning the white balance to accurately represent the scene's mood. Cooler tones can enhance the mystical atmosphere of night shots, while warmer tones can add a cozy feel to city lights.
Use the saturation and vibrance tools judiciously to make colors pop without appearing unnatural. Boost the blues in the sky or the yellows of streetlights, but be careful not to overdo it. Experiment with selective color adjustments to emphasize specific elements in your photo.
Don't forget about the shadows and highlights. Lifting the shadows slightly can reveal hidden details, while taming bright highlights prevents overexposure.
Use the clarity or structure tool to add definition to textures and edges, enhancing the overall sharpness of your night scene.
Reducing Noise Effectively
Noise can creep into your night photos, especially when shooting in low light conditions with a phone camera. To combat this, you'll need to employ some effective noise reduction techniques during post-processing.
Start by adjusting the noise reduction slider in your editing app, but be careful not to overdo it as this can result in a loss of detail.
For more precise control, focus on reducing noise in specific areas of your image. Pay attention to:
- Shadow areas, where noise is often more pronounced
- Large, uniform areas of color, such as the sky
- Areas with subtle gradients or textures
Consider using selective noise reduction tools that allow you to target specific parts of your image. This approach helps preserve important details while smoothing out noisy areas.
Don't forget to zoom in and check your results at 100% magnification to confirm you're not losing too much detail.
If your phone camera supports RAW format, use it for night photography. RAW files contain more data, giving you greater flexibility in noise reduction during post-processing.
Experimenting With Long Exposures
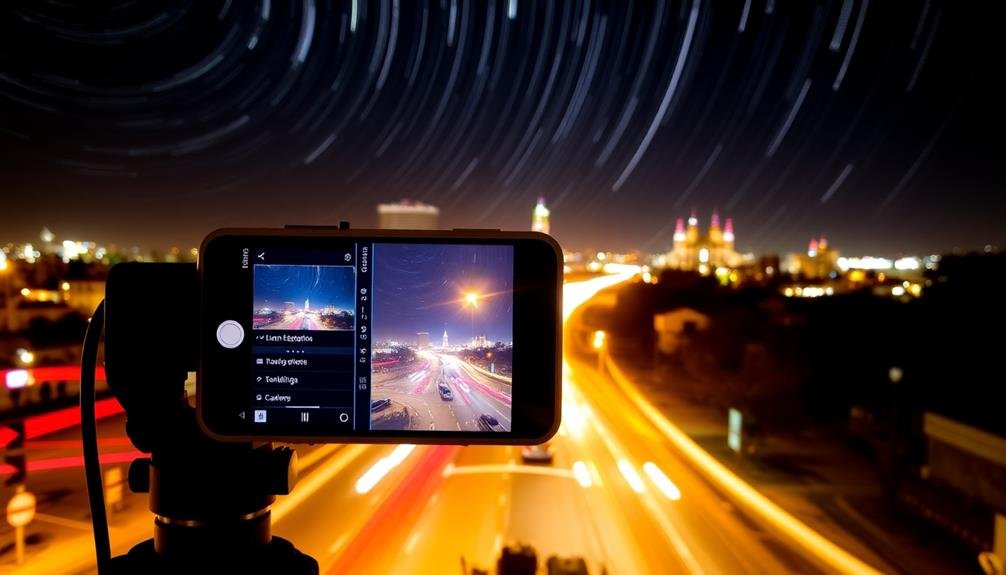
While traditional cameras excel at long exposures, your smartphone can also capture stunning light trails and motion blur effects with the right techniques. Start by downloading a dedicated long-exposure app that gives you manual control over shutter speed. These apps allow you to keep the shutter open for several seconds or even minutes, creating unique nighttime images.
To experiment with long exposures, you'll need to stabilize your phone. Use a tripod or prop it against a stable surface to prevent camera shake. Once set up, try capturing moving lights from cars, Ferris wheels, or stars. For smoother light trails, use longer exposure times of 10-30 seconds.
Don't forget to adjust your ISO and aperture settings to compensate for the extended shutter speed. Lower ISO values will reduce noise, while a smaller aperture (higher f-number) can help maintain focus across the frame.
Experiment with different compositions and subjects, such as flowing water or city skylines. Remember, long exposures work best in low-light conditions, so plan your shoot around dusk or nighttime for the most dramatic results.
Choosing Optimal Shooting Locations
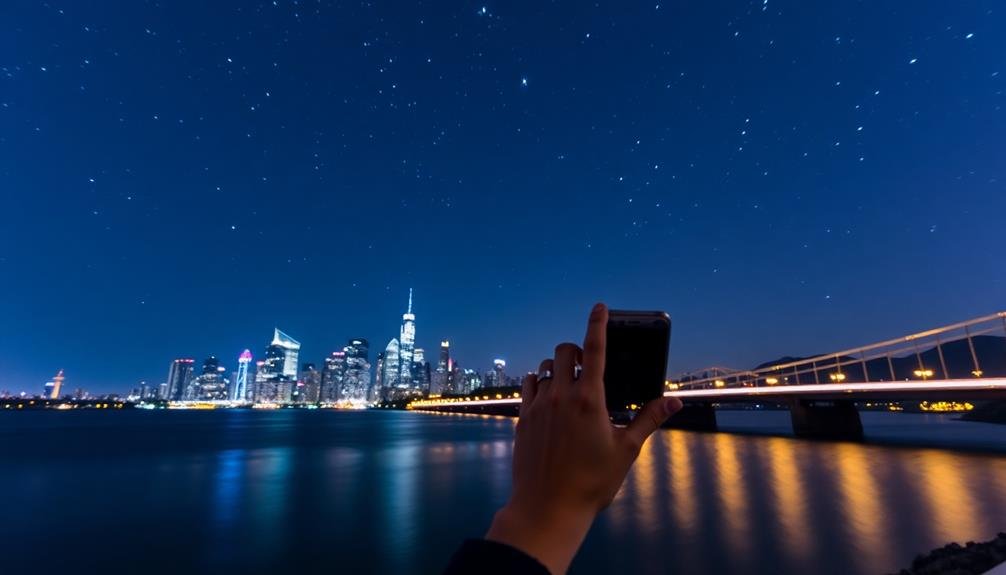
When choosing locations for night photography with your phone, you'll need to contemplate whether urban or natural settings best suit your vision.
In cities, you can capture the vibrant energy of nightlife and architectural lighting, while natural settings offer starry skies and moonlit landscapes.
Be mindful of light pollution, which can wash out delicate night scenes, and seek out darker areas for clearer celestial views if that's your goal.
Urban vs. Natural Settings
The choice between urban and natural settings for night photography can dramatically impact your final images. Urban environments offer a wealth of artificial light sources, creating vibrant color contrasts and interesting patterns. You'll find illuminated buildings, street lamps, and neon signs that can serve as fascinating subjects or provide unique lighting effects.
However, urban settings often come with challenges like light pollution and busy streets.
Natural settings, on the other hand, provide opportunities for capturing the raw beauty of the night sky. With less light pollution, you can photograph stars, the Milky Way, or even the Northern Lights in some locations. These settings often require longer exposures and more patience, but the results can be truly breathtaking.
When deciding between urban and natural settings, consider:
- Your desired subject matter (cityscapes vs. landscapes)
- Available light sources and their intensity
- The mood you want to convey in your images
Experiment with both environments to develop your skills and find your preferred style. Remember that each setting offers unique challenges and opportunities, so adapt your techniques accordingly.
With practice, you'll learn to leverage the strengths of both urban and natural settings to capture stunning night photos with your phone camera.
Light Pollution Considerations
Light pollution poses a significant challenge for night photographers, especially when shooting with phone cameras. To capture stunning night photos, you'll need to carefully consider your shooting location. Look for areas away from city centers and bright street lights. Dark sky reserves and rural areas offer the best conditions for astrophotography and capturing the Milky Way.
If you can't travel far, seek out local parks or elevated areas with less light interference. Use apps like Dark Sky Finder or Light Pollution Map to identify suitable spots near you.
When shooting in urban environments, try to position yourself away from direct light sources. Use buildings or trees to block unwanted light and create interesting silhouettes.
Remember that light pollution affects more than just the sky. It can also impact the overall ambiance of your nighttime scenes. By choosing locations with minimal light pollution, you'll capture richer colors, deeper shadows, and more visible stars. This will result in more dramatic and atmospheric night photos, even when using your phone camera.
Always prioritize safety when scouting locations at night, and consider bringing a friend along for company and assistance.
Frequently Asked Questions
How Can I Protect My Phone From Cold Temperatures During Night Photography?
You can protect your phone from cold temperatures by using insulated cases, keeping it close to your body, using hand warmers, and avoiding sudden temperature changes. Don't leave it exposed for long periods, and consider a battery pack.
What Accessories Can Enhance Smartphone Night Photography Besides Tripods?
You'll enhance your smartphone night photography with external lenses for wider angles or zoom, clip-on lights for extra illumination, and remote shutter releases to reduce camera shake. Don't forget a portable power bank for extended shooting sessions.
Are There Specific Apps for Planning Night Sky Photography Shots?
Yes, there are several apps for planning night sky shots. You'll find options like PhotoPills, PlanIt!, and Sky Map invaluable. They'll help you track celestial objects, predict Milky Way positions, and plan your compositions in advance.
How Do I Prevent Lens Condensation When Moving Between Temperature Extremes?
To prevent lens condensation, you'll want to gradually acclimate your camera to temperature changes. Use a lens bag or wrap, keep your gear in an insulated case, and avoid sudden exposure. Consider using anti-fog wipes or a lens warmer.
Can I Use External Lenses With My Smartphone for Night Photography?
Yes, you can use external lenses with your smartphone for night photography. They'll enhance your camera's capabilities, allowing for wider angles, more zoom, or macro shots. Just verify the lens is compatible with your phone model.
In Summary
You've now got the tools to take incredible night photos with your smartphone. Remember to stabilize your device, experiment with settings, and choose the right location. Don't be afraid to try manual mode and long exposures. With practice, you'll capture stunning light trails and starry skies. Post-processing can enhance your shots further. So grab your phone, head out after dark, and start creating magical nighttime images you'll be proud to share.

Leave a Reply