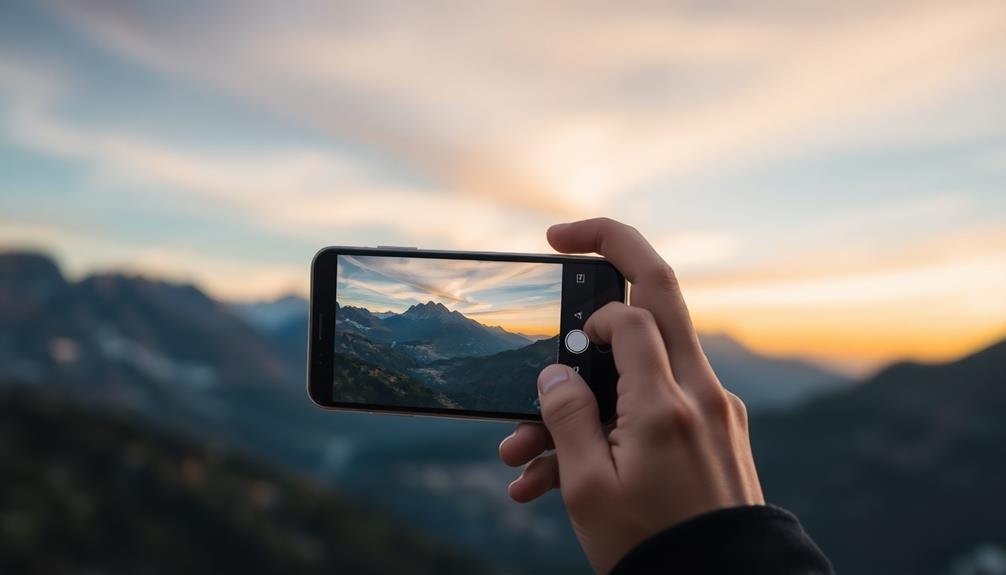
Panorama focus stacking combines wide-angle photography with precise focusing techniques, allowing you to capture expansive scenes with incredible detail. To get started, you'll need a smartphone tripod mount and mobile lens attachments. Choose scenes with interesting foreground elements and textured backgrounds. Use manual camera settings, maintain consistent exposure, and overlap your shots by 30-40%. Focus bracket your panorama by capturing multiple focus points as you pan. Utilize specialized apps for stacking and post-processing to refine your final image. With practice, you'll master this technique and elevate your mobile photography to new heights. Discover the pro tips that'll transform your panoramas.
Understanding Panorama Focus Stacking

Three key elements combine to form panorama focus stacking: panoramic photography, focus stacking, and mobile technology.
Panoramic photography involves capturing multiple images and stitching them together to create a wide-angle view. Focus stacking is the technique of blending multiple shots taken at different focus points to achieve a greater depth of field. Mobile technology brings these techniques together in a portable, user-friendly package.
You'll need to understand each component to master panorama focus stacking. First, familiarize yourself with your phone's panorama mode. Practice capturing smooth, steady panoramas.
Next, learn about focus stacking. This technique requires taking multiple shots of the same scene, each focused on a different part of the image. Finally, explore mobile apps that can automate the stacking process.
The goal is to create images with both a wide field of view and sharp focus throughout. This technique is particularly useful for landscape and architectural photography, where you want to capture expansive scenes with intricate details.
Essential Equipment for Mobile Photographers
To elevate your mobile photography game, you'll need some key equipment.
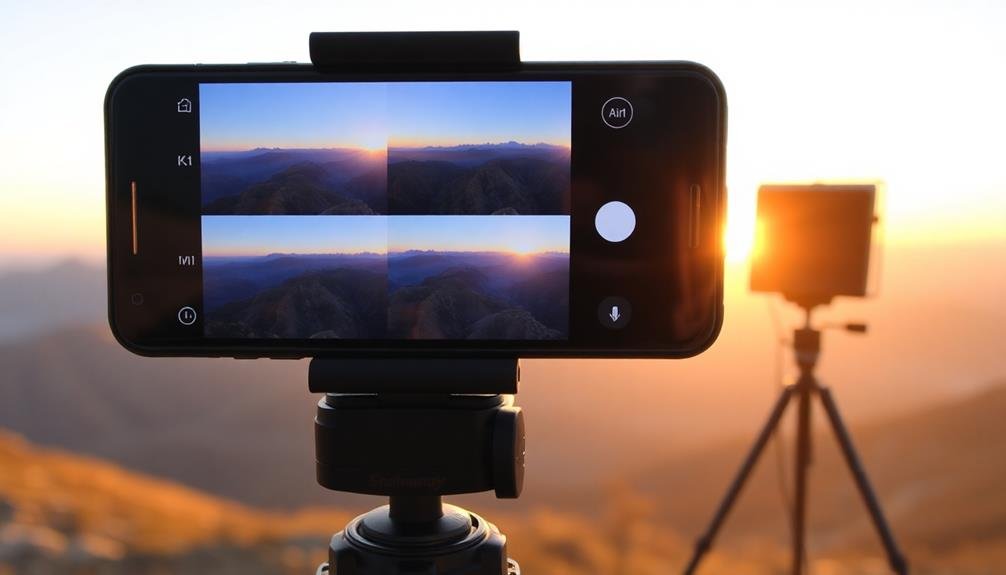
Start with a smartphone tripod mount, which will stabilize your device for sharper images and smoother panoramas.
You'll also want to contemplate mobile lens attachments, which can expand your creative options by providing wide-angle, macro, or telephoto capabilities.
Smartphone Tripod Mounts
Nearly every mobile photographer should consider investing in a smartphone tripod mount. These versatile accessories allow you to securely attach your phone to a standard tripod, providing stability for long exposures, time-lapses, and panoramas.
When choosing a mount, look for one that's compatible with your specific phone model and offers quick release functionality for easy setup and breakdown.
A quality smartphone tripod mount will enhance your mobile photography in several ways:
- Stability: Reduces camera shake, especially in low-light conditions
- Consistency: Guarantees uniform framing for panoramas and time-lapses
- Versatility: Enables use of various tripod types and shooting angles
- Self-portraits: Facilitates better selfies and group shots with timer or remote
When using your smartphone tripod mount, verify it's tightened securely to prevent accidental drops. Many mounts feature adjustable grips to accommodate phones with or without cases.
Some even offer additional features like built-in cold shoe mounts for attaching external lights or microphones. By incorporating a tripod mount into your mobile photography kit, you'll open up new creative possibilities and improve the overall quality of your images.
Mobile Lens Attachments
While tripod mounts offer stability, mobile lens attachments expand your creative horizons. These compact accessories clip onto your smartphone, enhancing its optical capabilities.
Wide-angle lenses broaden your field of view, perfect for capturing sweeping landscapes or tight interior spaces. Macro lenses allow you to focus on tiny details, bringing minuscule subjects into sharp relief.
Telephoto lenses extend your reach, enabling you to zoom in on distant subjects without sacrificing image quality. Fisheye lenses create dramatic, curved distortions that add a unique perspective to your shots. Some kits even include filters like polarizers or neutral density filters, giving you more control over light and color.
When choosing lens attachments, consider compatibility with your phone model and case. Look for high-quality glass and coatings to minimize distortion and glare. Multi-lens kits offer versatility, allowing you to switch between different focal lengths easily.
Remember that while these attachments can greatly enhance your mobile photography, they may affect your phone's balance and portability. Always clean your lenses and phone camera before attaching to guarantee the best image quality.
With the right mobile lens attachments, you'll be able to capture professional-looking panoramas and focus-stacked images with ease.
Choosing the Right Scene

When selecting a scene for panorama focus stacking, you'll want to look for compositions with depth and dimension.
Choose locations that feature interesting foreground elements to draw the viewer's eye into the image.
Opt for backgrounds with rich textures, as these will enhance the overall impact of your stacked panorama and create a more immersive visual experience.
Depth and Dimension
Selecting the right scene can make or break your panorama focus stacking efforts. When choosing your subject, look for scenes with varying depths and dimensions. This technique works best when you've got elements at different distances from your camera, creating a layered effect that'll truly showcase the power of focus stacking.
You'll want to find scenes that offer:
- Foreground interest: Objects close to the camera that'll be sharp in the final image
- Mid-ground elements: Subjects at medium distance to create depth
- Background details: Distant elements that add context and scale
- Varied textures: Different surfaces that'll benefit from enhanced sharpness
Consider landscapes with rocks or flowers in the foreground, trees or buildings in the mid-ground, and mountains or cityscapes in the background.
Urban scenes can work well too, with street furniture up close, people or vehicles in the middle distance, and architecture filling the backdrop.
Interesting Foreground Elements
Rocks, flowers, and fallen leaves can transform your panorama focus stacking from ordinary to extraordinary. When choosing your scene, look for these elements to add depth and interest to your foreground. They'll create a strong visual anchor, drawing the viewer's eye into the image and guiding it through the entire composition.
Seek out unique textures and shapes that complement your background. A gnarled tree root or a weathered piece of driftwood can provide an intriguing contrast to a sweeping landscape. Consider how these elements will interact with the light; morning or evening sun can cast long shadows, adding drama to your foreground.
Don't overlook small details. A cluster of wildflowers or a pattern in the sand can be just as effective as larger objects. Position yourself to capture these elements in the bottom third of your frame, ensuring they don't overpower the overall scene.
Textured Background Scenes
While foreground elements anchor your image, the background sets the stage for your panoramic masterpiece. When choosing a textured background scene for your focus-stacked panorama, look for environments that offer depth, variety, and visual interest. Seek out landscapes with layered elements, such as mountain ranges, rolling hills, or cityscape skylines. These scenes provide natural depth and allow you to showcase the power of focus stacking across multiple planes.
Consider the following types of textured backgrounds for your panoramic shots:
- Natural landscapes: Forests, deserts, or coastlines with varied terrain
- Urban environments: Cityscapes with distinctive architecture and street patterns
- Agricultural scenes: Patchwork fields, vineyards, or orchards with repeating patterns
- Geological formations: Canyons, rock formations, or cliff faces with intricate textures
When capturing your panorama, pay attention to the shifts between textures in your background. Smooth gradients or abrupt changes can add visual interest to your final image.
Don't shy away from including atmospheric elements like fog, mist, or dramatic lighting to enhance the texture and mood of your background.
Camera Settings for Best Results

To achieve the best results in panorama focus stacking, you'll need to optimize your camera settings. Start by switching your camera to manual mode, which gives you full control over exposure and focus.
Set your aperture to f/8 or f/11 for a good balance between depth of field and image sharpness. Choose a low ISO, ideally 100 or 200, to minimize noise in your final image.
For shutter speed, use a tripod and select a slower speed that allows for proper exposure without introducing camera shake. White balance should be set manually to maintain consistency across all shots.
Enable your camera's grid overlay to help with composition and alignment.
When it comes to focus, use manual focus and take multiple shots at different focus points, starting from the foreground and moving to the background. Confirm there's sufficient overlap between focus areas.
For panoramas, use a level tripod and rotate the camera around its nodal point to minimize parallax errors. Take overlapping shots, typically with 30-50% overlap, to confirm seamless stitching.
Proper Shooting Technique

Several key techniques are essential for successful panorama focus stacking. When shooting, maintain a steady hand or use a tripod to guarantee consistency across all images. Overlap each shot by at least 30% to provide sufficient data for seamless stitching.
Begin with the foreground elements in focus and gradually shift to background elements, capturing multiple frames at different focus points.
To achieve ideal results, follow these steps:
- Plan your composition carefully, identifying key elements from foreground to background.
- Set your camera to manual mode, locking exposure and white balance.
- Start at one end of the scene, moving horizontally or vertically in a consistent direction.
- Take multiple shots at each position, adjusting focus from near to far.
Remember to keep your camera level throughout the process. If using a smartphone, utilize its built-in level or grid feature. For more precise control, consider using a panoramic head or nodal slider.
Avoid moving objects in your scene, as they can create ghosting or alignment issues during the stitching process. If possible, shoot in RAW format to preserve maximum detail and flexibility for post-processing.
Overlapping Images Effectively

When creating panoramas, you'll need to guarantee proper image overlap for seamless stitching.
Aim for a 30-40% overlap between adjacent shots to give your stitching software enough information to work with.
Maintain this overlap percentage consistently throughout your panorama sequence, moving steadily from one edge of the scene to the other.
Optimal Overlap Percentage
For successful panorama focus stacking, the perfect overlap percentage between adjacent images is essential. You'll want to aim for an overlap of 30-50% between each shot to guarantee seamless blending and proper alignment. This range provides enough shared information for the software to accurately stitch the images together while minimizing the risk of gaps or misalignments.
When capturing your panorama sequence, maintain a consistent overlap percentage throughout. It's better to err on the side of more overlap rather than less, as insufficient overlap can lead to stitching errors or incomplete panoramas.
Remember that different scenes may require slight adjustments to the overlap percentage. For example, scenes with repetitive patterns or limited distinguishable features might benefit from a higher overlap.
Here's a quick guide to help you visualize ideal overlap percentages:
- 30% overlap: Minimum recommended for simple scenes
- 40% overlap: Ideal for most situations
- 50% overlap: Recommended for complex scenes or when using a wide-angle lens
- 60% overlap: Maximum suggested for challenging conditions or inexperienced photographers
Consistent Overlap Technique
Maintaining a consistent overlap technique is essential for successful panorama focus stacking. To achieve this, you'll need to develop a systematic approach to capturing your images. Start by identifying a prominent feature in your scene and use it as a reference point. As you move your camera, make certain this feature appears in both the current and previous frame.
Aim for a 30-40% overlap between each shot. This provides enough shared information for the stitching software to work effectively. To maintain consistency, use your phone's grid overlay feature. Align the reference point with a specific grid line in each shot. This method helps you maintain a steady rhythm and reduces the risk of gaps in your panorama.
When capturing vertical panoramas, apply the same principle but in an up-and-down motion. Pay attention to your phone's orientation, keeping it as level as possible throughout the process. If your device has a built-in level indicator, use it to make sure your shots remain aligned.
Maintaining Consistent Exposure

Consistent exposure across all frames is essential for a seamless panorama. When creating a focus-stacked panorama with your mobile device, you'll need to guarantee that each shot maintains the same brightness and contrast. This can be challenging, especially when shooting in varying light conditions or when your scene includes both bright and dark areas.
To maintain consistent exposure throughout your panorama:
- Use manual exposure settings
- Lock your exposure on a mid-tone area
- Avoid auto white balance
- Shoot in RAW format
Start by switching your camera app to manual mode. This allows you to set a fixed ISO, shutter speed, and aperture for all your shots. Choose settings that work well for the majority of your scene.
Next, tap on a mid-tone area of your composition to lock the exposure. This prevents your camera from adjusting brightness as you move between frames.
Disable auto white balance to guarantee consistent color temperature across your panorama.
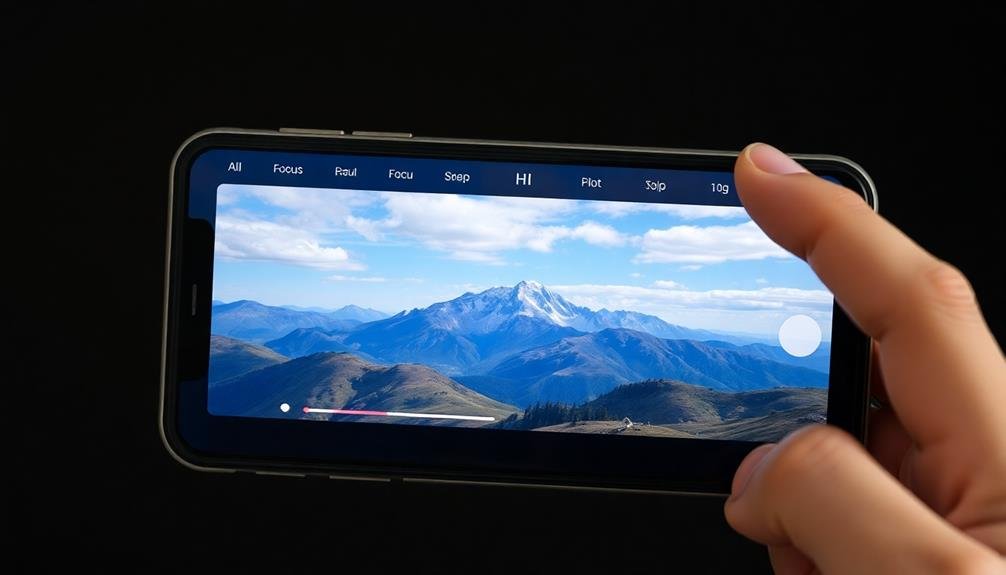
Focus Bracketing in Panoramas

With consistent exposure secured, let's turn our attention to focus bracketing in panoramas. This technique guarantees sharpness throughout your entire scene, from foreground to background. To achieve this, you'll need to take multiple shots at different focus points for each segment of your panorama.
Start by identifying the nearest and farthest points in your composition. Then, divide the scene into segments, typically 3-5 focus points per segment. As you pan across the scene, take multiple shots at each position, adjusting your focus from near to far. This process may seem tedious, but it's vital for creating a tack-sharp final image.
| Focus Point | Near | Mid | Far |
|---|---|---|---|
| Left | 1 | 2 | 3 |
| Center | 4 | 5 | 6 |
| Right | 7 | 8 | 9 |
| Top | 10 | 11 | 12 |
| Bottom | 13 | 14 | 15 |
Remember to maintain consistent camera settings throughout the process. Use manual focus and a tripod for best results. When editing, you'll need to stack the focus-bracketed images for each segment before stitching the panorama. This approach guarantees every part of your final image is in crisp focus, creating a stunning, immersive panorama that draws viewers in.
Recommended Apps for Stacking

For successful panorama focus stacking, you'll need powerful software to handle the complex process. While many professional photographers rely on desktop applications, mobile apps have made significant strides in recent years. These apps offer impressive capabilities for on-the-go editing and can produce high-quality results directly on your smartphone.
When choosing an app for panorama focus stacking, consider factors like ease of use, processing speed, and output quality. Here are four recommended apps that excel in this area:
- Photoshop Express: Adobe's mobile offering provides robust focus stacking features and seamless integration with desktop Photoshop.
- Afinity Photo: A powerful, full-featured editing app with advanced focus stacking capabilities.
- Helicon Focus: Specifically designed for focus stacking, this app offers precise control and excellent results.
- Focus Stacker: A user-friendly option that's great for beginners but still produces professional-quality output.
Each of these apps has its strengths, so you might want to experiment with a few to find the one that best suits your workflow.
Post-Processing Your Stacked Panorama
Once you've successfully stacked your panorama, the post-processing phase begins. This vital step allows you to fine-tune your image and bring out its full potential.
Start by adjusting the overall exposure and white balance to guarantee consistency across the entire panorama. Pay close attention to the shifts between stacked images, smoothing out any visible seams or inconsistencies.
Next, focus on enhancing the details throughout your image. Use selective sharpening to bring out textures in key areas while being careful not to overdo it. Adjust contrast and clarity to add depth and dimension to your panorama.
Don't forget to address any chromatic aberration or lens distortion that may have occurred during the stacking process.
Color grading is another important aspect of post-processing. Experiment with different color profiles to achieve your desired mood and atmosphere.
You might also want to take into account local adjustments, such as dodging and burning, to guide the viewer's eye through the image.
Troubleshooting Common Issues

Even the most experienced photographers encounter challenges when creating focus-stacked panoramas. When troubleshooting issues, it's crucial to identify the problem and apply the appropriate solution. Here are some common issues you might face and how to address them:
- Misalignment: If your images don't align properly, double-check your shooting technique. Confirm you're using a stable tripod and maintaining consistent camera position across all shots.
- Ghosting: This occurs when moving objects appear in multiple frames. Try shooting in conditions with minimal movement or use software that can detect and remove ghosting artifacts.
- Uneven exposure: If your panorama has noticeable brightness differences between frames, use manual exposure settings and avoid auto white balance. Shoot in RAW for more flexibility in post-processing.
- Focus inconsistencies: If certain areas appear soft or out of focus, review your focus stacking technique. Verify you're capturing enough focus points across the scene and consider using smaller focus step increments.
If you're still facing issues after addressing these common problems, review your equipment and software settings.
Sometimes, updating your apps or recalibrating your device can resolve persistent issues. Don't hesitate to experiment with different techniques and settings to find what works best for your specific situation.
Frequently Asked Questions
Can Panorama Focus Stacking Be Done With Older Smartphone Models?
You can attempt panorama focus stacking with older smartphones, but it's challenging. You'll likely face limitations in manual controls, processing power, and software capabilities. Consider using third-party apps to help overcome these obstacles and achieve better results.
How Long Does It Typically Take to Shoot a Complete Panorama Stack?
You'll find that shooting a complete panorama stack can take anywhere from 5 to 30 minutes, depending on the scene's complexity, your device's capabilities, and your experience level. It's a process that requires patience and precision.
Are There Any Subjects That Don't Work Well for Panorama Focus Stacking?
You'll find that fast-moving subjects, scenes with unpredictable lighting changes, and highly reflective surfaces don't work well for panorama focus stacking. It's also challenging to capture expansive scenes with significant depth variations or extreme contrasts.
Can You Combine Panorama Focus Stacking With HDR Photography Techniques?
Yes, you can combine panorama focus stacking with HDR techniques. You'll capture multiple exposures at each focus point, then merge them for both depth and dynamic range. This creates incredibly detailed images with enhanced tonal range.
What File Formats Are Best for Saving Panorama Focus Stacked Images?
For panorama focus stacked images, you'll want to use lossless formats like TIFF or RAW. These preserve image quality and detail. If you need smaller file sizes, consider high-quality JPEGs, but be aware you'll lose some data.
In Summary
You've now got the tools to create stunning panorama focus stacks with your mobile device. Remember to practice and experiment with different scenes and techniques. Don't be discouraged if your first attempts aren't perfect; it takes time to master this skill. Keep refining your process, from choosing the right location to post-processing. With patience and persistence, you'll soon be capturing breathtaking, razor-sharp panoramas that'll make your followers say "wow!"


Leave a Reply