To capture stunning panoramic landscapes with your mobile device, start by mastering your phone's panorama mode. Choose open spaces with unobstructed views and consider the best lighting conditions, typically during golden hours. Compose your shot using the rule of thirds and incorporate foreground elements for depth. Keep your device steady by using both hands or a tripod, and pan slowly for smooth results. Avoid common pitfalls like moving objects and uneven horizons. After capturing, use post-processing apps to refine your panorama. With these essential tips, you'll be well on your way to creating breathtaking wide-angle shots. Explore further to elevate your mobile panorama skills.
Understanding Mobile Panorama Mode
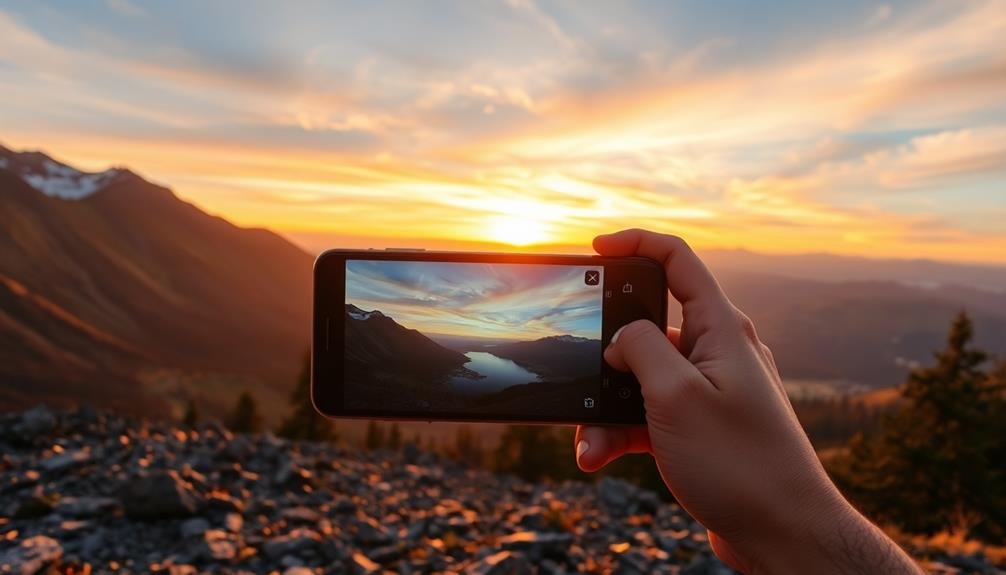
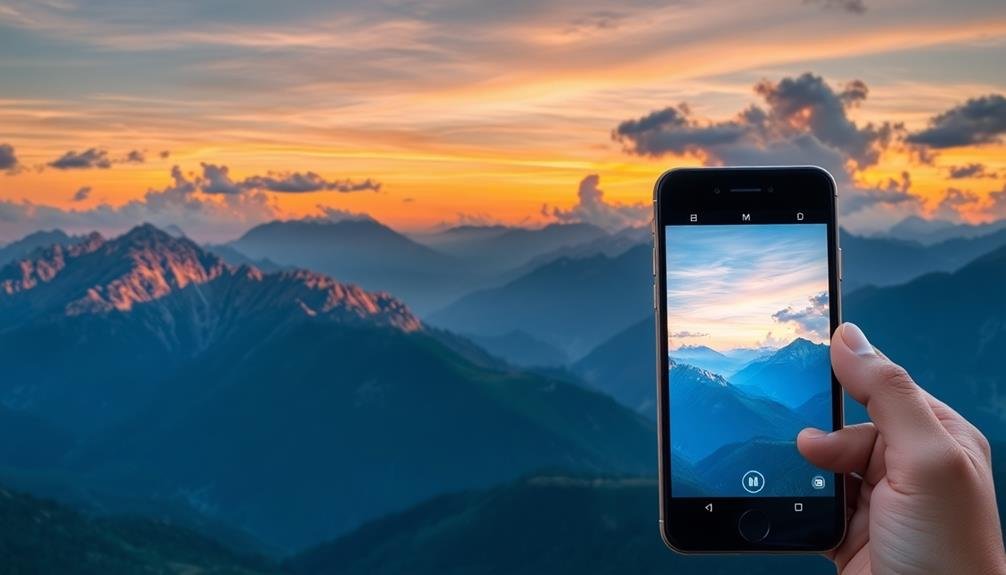
In light of the growing popularity of smartphone photography, understanding your device's panorama mode is vital for capturing stunning wide-angle shots. This built-in feature allows you to create expansive images by stitching together multiple photos as you pan your phone across a scene.
To use panorama mode, open your camera app and select the panorama option. Hold your phone vertically or horizontally, depending on the desired composition. Start by framing one end of your scene, then press the shutter button and slowly rotate your phone in a smooth, steady motion.
Follow the on-screen guide to maintain a straight path and consistent speed. As you pan, your phone will capture multiple images and combine them into a single panoramic photo. It's important to keep your phone level and move at a steady pace to avoid distortion or misalignment.
Pay attention to moving objects, as they may appear multiple times or become distorted in the final image. Experiment with different angles and perspectives to create unique panoramas.
Try capturing both horizontal and vertical panoramas to see which best suits your subject matter.
Choosing the Right Location
When choosing a location for panoramic landscape photography, you'll want to scout for open spaces that offer expansive views.
Consider the lighting conditions carefully, as they can dramatically affect the mood and quality of your panorama.
Don't forget to look for interesting foreground elements that can anchor your composition and add depth to your wide-angle shot.
Scout for Open Spaces
Scouting for open spaces is essential when choosing the right location for panoramic landscape photography. You'll want to find areas with unobstructed views that allow your mobile device to capture a wide, sweeping scene. Look for locations that offer a clear line of sight from one edge of your planned panorama to the other, without any significant obstacles blocking the view.
When scouting for open spaces, take into account the following:
- Elevated positions: Seek out high points like hilltops or observation decks that provide expansive views of the surrounding landscape.
- Coastal areas: Beaches and shorelines often offer uninterrupted vistas that are perfect for panoramic shots.
- Open fields: Large meadows or agricultural lands can provide a sense of vastness and simplicity in your panoramas.
- Desert landscapes: The barren nature of deserts creates ideal conditions for capturing wide, uncluttered scenes.
As you scout, pay attention to the time of day and how light interacts with the landscape. Early morning or late afternoon often provide the best lighting conditions for panoramic photography.
Don't forget to take into account the weather forecast, as clear skies or interesting cloud formations can greatly enhance your panoramic shots.
Consider Lighting Conditions
Lighting conditions play a pivotal role in capturing stunning panoramic landscapes. You'll want to evaluate the time of day and weather when planning your shoot. The golden hours—just after sunrise and before sunset—offer warm, soft light that can enhance the depth and texture of your panoramas. Midday light can be harsh, creating strong shadows and washed-out colors, but it might work for certain scenes like desert landscapes.
Don't overlook overcast days; they can provide even lighting that's perfect for capturing details across a wide scene. Pay attention to the direction of light and how it affects your subject. Side-lighting can create interesting shadows and textures, while backlighting can produce dramatic silhouettes.
| Time of Day | Lighting Characteristics | Best for |
|---|---|---|
| Sunrise/Sunset | Warm, soft light | Most landscapes |
| Midday | Harsh, direct light | Desert scenes |
| Overcast | Even, diffused light | Detailed panoramas |
Experiment with different lighting conditions to find what works best for your chosen location. Remember, the right light can transform an ordinary scene into an extraordinary panorama. Always be prepared to adjust your camera settings to accommodate changing light conditions throughout your shoot.
Find Interesting Foregrounds
Selecting an engaging foreground is essential for creating compelling panoramic landscape photographs. When you're scouting locations, look for elements that can add depth and interest to your wide-angle shots.
Foregrounds help draw the viewer's eye into the scene and provide a sense of scale, making your panoramas more immersive and enthralling.
To find interesting foregrounds for your panoramic shots:
- Seek out natural elements like rocks, flowers, or tree branches that can frame your composition.
- Look for leading lines such as paths, rivers, or fences that guide the viewer's gaze across the image.
- Incorporate reflective surfaces like puddles or still water to add symmetry and dimension.
- Use man-made structures like bridges or buildings to create contrast with the natural landscape.
Don't be afraid to get low to the ground or experiment with different angles to emphasize foreground elements.
Remember that the foreground should complement, not overpower, the main subject of your panorama.
Composing Your Panoramic Shot

When composing your panoramic shot, you'll want to apply fundamental photography principles to create an enchanting image.
Start by using the Rule of Thirds to place key elements at intersecting points, enhancing visual interest across the wide frame.
Additionally, incorporate the Leading Lines technique to guide viewers' eyes through the expansive landscape, creating depth and drawing attention to focal points.
Rule of Thirds
The Rule of Thirds frequently proves invaluable when composing panoramic shots. This principle divides your frame into a 3×3 grid, creating intersecting points that naturally draw the viewer's eye.
When capturing expansive landscapes, you'll want to place key elements along these lines or at their intersections.
For panoramic shots, consider these applications of the Rule of Thirds:
- Horizon placement: Position the horizon along the upper or lower third line, depending on whether you want to emphasize the sky or foreground.
- Focal points: Place your main subject at one of the intersecting points to create visual interest and balance.
- Leading lines: Use natural elements like roads or rivers that align with the grid lines to guide the viewer's eye across the panorama.
- Balanced composition: Distribute visual elements across the thirds to maintain harmony in your wide-format image.
Leading Lines Technique
Leading lines serve as powerful visual elements in panoramic landscape photography, guiding the viewer's gaze through your expansive composition. To effectively use this technique, look for natural or man-made lines in your landscape. These can include roads, rivers, fences, or even the horizon itself.
Position these lines so they lead from the foreground to the background, creating depth and drawing attention to your focal point.
When composing your shot, place the leading lines strategically. They should enter the frame from the bottom corners or sides, converging towards the center or a key element in your panorama. Experiment with different angles to find the most compelling arrangement.
Remember, diagonal lines often create more dynamic and interesting compositions than straight horizontal or vertical ones.
Don't limit yourself to obvious lines. Subtle patterns in rock formations, tree lines, or cloud formations can also act as leading lines. As you scan the scene, look for these less apparent elements that can add structure to your panoramic image.
Mastering Exposure and Lighting
Mastering exposure and lighting is essential for creating stunning panoramic landscape photographs. When shooting with your mobile device, you'll need to pay close attention to these elements to capture the full beauty of the scene.
Start by evaluating the overall light conditions and determining the best exposure settings for your panorama.
To achieve ideal exposure and lighting in your panoramic shots:
- Use the HDR mode on your phone to capture a wider range of tones, especially in high-contrast scenes.
- Experiment with exposure compensation to fine-tune the brightness of your image.
- Avoid shooting directly into the sun, as this can create lens flare and overexposure issues.
- Consider using a mobile app that allows manual control over exposure settings for more precise results.
Remember that lighting can change quickly in outdoor settings, so be prepared to adjust your settings as needed.
Pay attention to the direction of light and how it affects the shadows and highlights in your composition. If possible, try to shoot during the golden hours (just after sunrise or before sunset) when the light is softer and more flattering for landscapes.
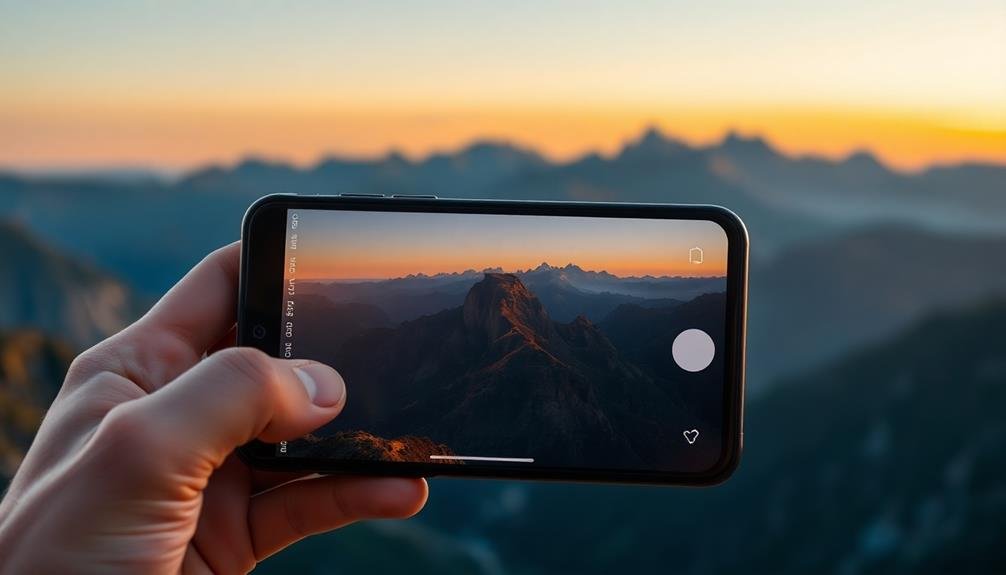
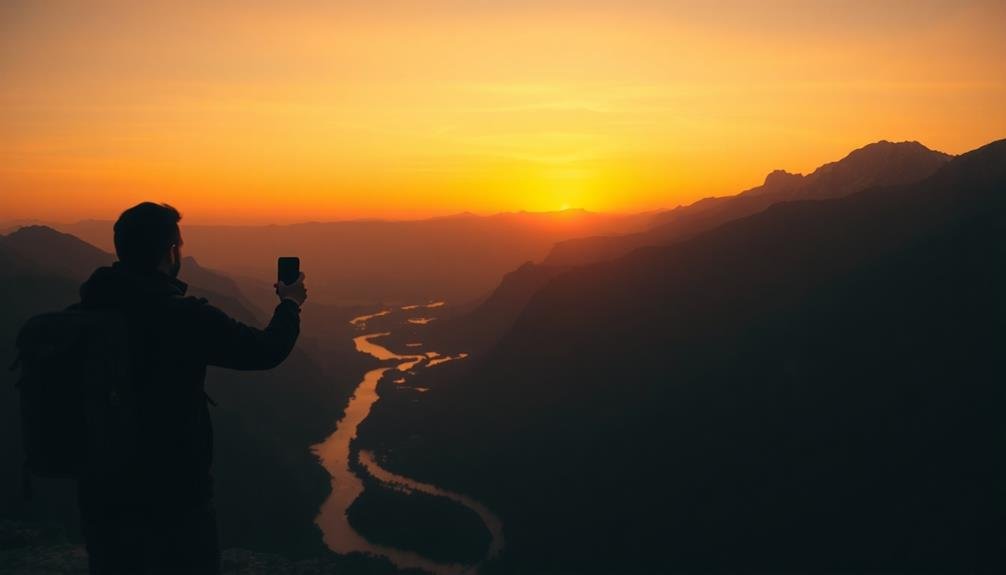
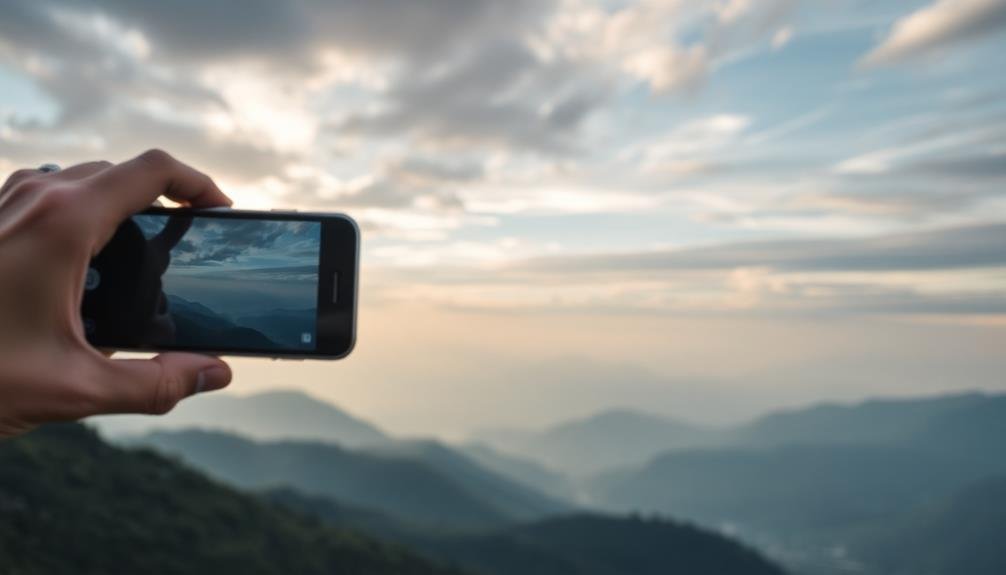
Holding Your Smartphone Steady

How can you guarantee your panoramic shots are sharp and blur-free? The key lies in holding your smartphone steady. Start by gripping your device with both hands, keeping your elbows close to your body for added stability. If available, use a lightweight tripod or monopod designed for smartphones to eliminate hand-shake entirely.
When shooting handheld, adopt a stable stance with your feet shoulder-width apart. Breathe steadily and press the shutter button gently to avoid jerking the phone. For even smoother results, try using your phone's voice command or timer function to trigger the shot without touching the screen.
If you're panning for a wide panorama, pivot from your hips rather than your arms. This creates a smoother motion and helps maintain a consistent horizon line. Keep your movements slow and steady, following any on-screen guides your camera app provides.
In low light conditions, brace yourself against a stable object like a tree or wall. Alternatively, try the "human tripod" technique: sit down, bring your knees up, and rest your elbows on them while holding your phone.
Panning Techniques for Smooth Captures
Panning across a landscape for a panoramic shot requires finesse and practice. To capture smooth, seamless panoramas on your smartphone, you'll need to master the art of steady, controlled movement.
Start by finding your pivot point – this is typically your hips or waist. As you pan, keep your arms close to your body and rotate from this fixed point.
When you're ready to shoot, follow these key steps:
- Hold your phone vertically for taller panoramas or horizontally for wider ones
- Begin at one end of your intended panorama and press the shutter button
- Move slowly and steadily, maintaining a consistent speed throughout the pan
- Keep the horizon level as you rotate, using on-screen guides if available
Avoiding Common Panorama Pitfalls

While panoramic photography can yield stunning results, it's easy to fall into common traps that spoil your shots. To avoid these pitfalls, first, verify your camera remains level throughout the panning motion. Tilting can create distorted or misaligned images. Use your phone's built-in level or grid lines as guides.
Watch out for moving objects in your frame, as they can appear fragmented or duplicated in the final panorama. If possible, wait for a clear moment or incorporate the movement creatively.
Be mindful of exposure changes across the scene, especially in high-contrast situations. Consider using exposure lock to maintain consistent lighting throughout the panorama.
Avoid including close foreground elements, as they can cause parallax errors and stitching problems. Instead, focus on mid-range to distant subjects for smoother results.
Pay attention to your panning speed; moving too quickly can result in blurry or poorly stitched images. Maintain a steady, controlled motion throughout the capture.
Post-Processing Panoramic Images

Once you've captured your panoramic shots, it's time to bring them together in post-processing.
You'll need to stitch your images seamlessly, ensuring a smooth shift between each frame.
After stitching, focus on adjusting exposure and colors consistently across the entire panorama.
Consider cropping the final image to enhance its visual impact and remove any distracting elements.
Stitching Panoramic Shots Together
The photographer's final challenge in creating stunning panoramas lies in stitching the individual shots together. While many smartphones offer built-in panorama modes, you'll often achieve better results by manually capturing a series of overlapping images and combining them later. This approach gives you more control over the final composition and image quality.
To stitch your panoramic shots together effectively:
- Choose the right software: Use dedicated panorama stitching programs like PTGui, Hugin, or Adobe Lightroom's Photo Merge feature for best results.
- Align your images: Most software will automatically align your shots, but you may need to make manual adjustments for perfect alignment.
- Blend the exposures: If your individual shots have varying exposures, use the software's blending tools to create a seamless connection between images.
- Crop and straighten: After stitching, you'll likely need to crop out uneven edges and straighten the horizon for a polished final image.
Remember to check for any stitching errors or ghosting effects caused by moving objects. You can often fix these issues by manually adjusting problem areas or using content-aware fill tools in your editing software.
Adjusting Exposure and Colors
After stitching your panoramic images together, you'll need to fine-tune the exposure and colors to create a cohesive final image. Start by adjusting the overall exposure, guaranteeing that the brightest areas aren't overexposed and the darkest areas retain detail. Use the histogram as a guide to achieve a balanced exposure across the entire panorama.
Next, focus on color correction. Adjust the white balance to guarantee consistent color temperature throughout the image. If different parts of the panorama were shot under varying lighting conditions, you may need to make localized adjustments to match the colors.
Pay attention to the shifts between the stitched images. Smooth out any noticeable seams by using gradient tools or local adjustments. Enhance the overall contrast and saturation to make your panorama more visually appealing, but be careful not to overdo it.
Consider using selective adjustments to bring out specific areas of interest in your panorama. You can lighten shadows, darken highlights, or boost colors in certain regions to guide the viewer's eye through the image.
Cropping for Impact
Cropping your panoramic image can dramatically enhance its visual impact and draw attention to the most compelling elements.
When you're working with a wide, sweeping vista, it's crucial to reflect on how you can refine the composition through selective cropping. This post-processing step allows you to fine-tune your panorama and create a more focused, powerful image.
Here are four key considerations when cropping your panoramic landscapes:
- Rule of thirds: Align key elements along the imaginary grid lines to create a balanced composition.
- Leading lines: Crop to emphasize natural lines that guide the viewer's eye through the image.
- Aspect ratio: Experiment with different ratios to find the most flattering presentation for your scene.
- Negative space: Use empty areas strategically to create a sense of scale or isolation.
Exploring Advanced Mobile Panorama Apps

Numerous advanced mobile panorama apps have revolutionized the way photographers capture sprawling landscapes. These apps offer features that go beyond your phone's native camera capabilities, allowing you to create stunning, high-resolution panoramas with ease.
One popular option is PhotoPills, which helps you plan your shot by predicting the position of the sun, moon, and Milky Way. It also offers a virtual reality viewer to visualize your composition before shooting.
For precise control over your panoramas, try PTGui Pro, which excels in stitching complex scenes and correcting distortion. If you're looking for a user-friendly interface with powerful editing tools, consider Adobe Lightroom Mobile. It allows you to capture, stitch, and edit panoramas all in one app.
For 360-degree panoramas, check out Google Street View, which lets you create immersive virtual tours. Don't overlook Hugin, an open-source app that offers advanced features like exposure blending and perspective correction.
Printing and Sharing Panoramic Photos

Once you've captured your breathtaking panoramic landscape, it's time to share your work with the world.
Printing and sharing panoramic photos can be challenging due to their unique aspect ratio, but there are several options available to showcase your creation effectively.
For digital sharing, consider these platforms:
- Instagram: Use the carousel feature to display your panorama across multiple slides.
- Facebook: Upload your panorama as a 360-degree photo for an immersive experience.
- Flickr: Take advantage of its panorama-friendly layout and community of photographers.
- Personal website: Create a dedicated gallery to display your panoramas in full resolution.
When it comes to printing, look for services that offer wide-format options.
Many online printing companies now cater to panoramic prints, allowing you to create stunning wall art. For a unique presentation, consider metal prints or canvas wraps that complement the expansive nature of panoramas.
If you're printing at home, invest in a wide-format printer and high-quality photo paper. Remember to adjust your file's DPI and dimensions to guarantee ideal print quality.
With these methods, you'll be able to share your panoramic masterpieces both digitally and physically, allowing others to experience the grandeur of your captured landscapes.
Frequently Asked Questions
Can I Create Vertical Panoramas With My Smartphone?
Yes, you can create vertical panoramas with your smartphone. Most modern devices have a built-in panorama mode that allows you to capture vertical scenes. Simply rotate your phone sideways and follow the on-screen prompts to shoot vertically.
How Do I Stitch Multiple Panoramas Together for a Wider View?
You can stitch multiple panoramas together using photo editing software. Import your images, align them carefully, and blend the overlapping areas. There are also dedicated panorama stitching apps available for smartphones that simplify the process for you.
What's the Best Way to Include People in Panoramic Shots?
To include people in panoramic shots, ask them to stay still while you capture the image. You'll want to position them off-center for balance. If they're moving, try capturing them multiple times as you pan across the scene.
Are There Accessories That Can Enhance Mobile Panorama Photography?
Yes, you'll find several accessories to boost your mobile panorama shots. Try wide-angle lenses, tripods, or phone grips for stability. Remote shutter releases can help avoid camera shake. Portable lighting can enhance your scenes in low-light conditions.
How Do I Capture Panoramas in Low-Light or Nighttime Conditions?
To capture panoramas in low-light or nighttime conditions, you'll need to stabilize your phone with a tripod. Use manual mode to adjust exposure settings, and enable night mode if available. Move slowly and steadily while capturing the scene.
In Summary
You're now equipped to capture stunning panoramic landscapes with your smartphone. Remember to choose breathtaking locations, compose thoughtfully, and master your device's panorama mode. Don't forget to keep your phone steady and avoid common pitfalls. With practice, you'll create mesmerizing wide-angle shots that rival those taken with professional cameras. Explore advanced apps for even more creative control, and don't hesitate to share your panoramic masterpieces with the world. Happy shooting!


Leave a Reply