Mobile panoramas lack several key features that professional photographers rely on. You'll find limitations in dynamic range, leading to exposure issues and loss of detail. Stitching errors and artifacts can mar your images, while overall quality often suffers due to compression. Vertical coverage is restricted, hampering your ability to capture tall structures. Many apps lack manual controls, limiting your creative flexibility. Distortion at extreme angles and inadequate low-light performance can also pose challenges. Post-processing options are often limited, and HDR capabilities may be absent. To truly understand the intricacies of these limitations and how they impact your panoramic shots, there's more to explore.
Limited Dynamic Range

Cameras in mobile devices often struggle with capturing a wide range of light intensities. This limitation becomes particularly evident when you're shooting panoramas, where you're likely to encounter varying lighting conditions across the scene.
You might find that parts of your panorama are overexposed, while others are underexposed, resulting in a less-than-ideal final image. The restricted dynamic range of mobile cameras means you'll lose detail in both the highlights and shadows.
Bright areas like the sky might appear washed out, while darker regions could become muddy or lack definition. This issue is compounded when you're stitching multiple images together to create a panorama, as the differences in exposure between frames can become more noticeable.
To mitigate this problem, you can try using HDR (High Dynamic Range) mode if your device offers it. Alternatively, you might consider shooting in RAW format and post-processing your images to recover some of the lost detail.
However, these solutions aren't perfect, and you'll still be working within the constraints of your mobile device's limited sensor capabilities.
Stitching Errors and Artifacts

When creating mobile panoramas, you'll often encounter stitching errors and artifacts that can detract from the final image. These issues arise from the camera's software struggling to align and blend multiple shots seamlessly. You might notice ghosting, where moving objects appear in multiple locations, or misalignments where straight lines become jagged or distorted.
Common stitching problems include visible seams between frames, exposure mismatches, and perspective errors. You'll sometimes see parallax issues, especially with nearby objects, causing them to appear warped or duplicated. Color inconsistencies can occur when the camera's white balance or exposure settings change between shots.
To minimize these problems, try to keep your phone as level as possible while panning, and avoid scenes with fast-moving subjects. Use a slow, steady motion when capturing your panorama.
Some advanced mobile apps offer manual controls and post-processing options to help reduce stitching errors. However, for truly flawless panoramas, you might need to resort to dedicated cameras or desktop software that provides more sophisticated stitching algorithms and manual adjustment tools.
Reduced Image Quality

One common drawback of mobile panoramas is reduced image quality compared to standard photos. When you create a panorama, your phone's software stitches multiple images together, often compressing the final result. This compression can lead to a loss of detail, especially in areas with fine textures or intricate patterns.
The reduced quality is particularly noticeable when you zoom in on the panorama or view it on a large screen. You'll likely see a decrease in sharpness and color accuracy compared to individual photos taken with your phone's main camera. This table illustrates some key differences:
| Aspect | Standard Photo | Mobile Panorama |
|---|---|---|
| Resolution | Full sensor resolution | Often lower |
| Sharpness | Typically sharp | Slightly softer |
| Color accuracy | Usually accurate | May have inconsistencies |
To mitigate these issues, try shooting in good lighting conditions and keeping your phone as steady as possible during the panning process. Some advanced mobile camera apps offer higher-quality panorama modes, allowing you to capture RAW images or adjust compression settings. While these options can improve the final image quality, they'll also result in larger file sizes and may require more processing power from your device.
Restricted Vertical Coverage

When creating panoramas on your mobile device, you'll often encounter limitations in vertical coverage.
Your phone's restricted vertical field-of-view can prevent you from capturing the full height of tall structures or expansive skyscapes.
This constraint may cause you to miss out on compelling overhead compositions, potentially diminishing the impact of your panoramic shots.
Limited Vertical Field-Of-View
Why do mobile panoramas often fall short when capturing tall buildings or expansive landscapes? The culprit is usually the limited vertical field-of-view (FOV) in most smartphone cameras. This restriction means you can't capture the full height of impressive structures or the entire sweep of a breathtaking vista in a single shot.
The limited vertical FOV stems from several factors:
- Fixed lens design: Most smartphone cameras use wide-angle lenses with a fixed focal length, limiting their ability to capture tall subjects without distortion.
- Sensor size constraints: Smaller sensors in mobile devices can't gather as much light or information as larger camera sensors, resulting in a narrower FOV.
- Software limitations: Many panorama apps focus on horizontal stitching, neglecting vertical coverage.
To work around these limitations, you'll need to get creative. Try taking multiple vertical shots and stitching them together manually or using specialized apps.
Alternatively, consider investing in add-on lenses or attachments that can expand your phone's FOV.
Missed Overhead Compositions
Building on the challenge of limited vertical FOV, mobile panoramas often miss out on enchanting overhead compositions. When you're capturing a scene with your smartphone, you're typically focused on what's in front of you, not above. This means you might be overlooking stunning architectural details, intricate ceiling designs, or mesmerizing canopies in forests.
Contemplate a grand cathedral with its soaring vaulted ceilings or a bustling city street lined with skyscrapers. These scenes lose their impact when the vertical dimension is cut short. You're not just missing visual elements; you're losing the sense of scale and grandeur that makes these locations breathtaking.
To overcome this limitation, try tilting your phone upward during panoramic sweeps. This can help include more of the overhead elements, but it's not a perfect solution. You'll still struggle to capture scenes that require extreme vertical angles, like looking straight up in a redwood forest or a narrow urban canyon.
For these situations, you might need to contemplate specialized equipment or techniques beyond standard mobile panorama features to truly do justice to the full scope of your surroundings.
Lack of Manual Controls

One major drawback of many mobile panorama apps is their lack of manual controls. You're often left at the mercy of automatic settings, which can lead to subpar results in challenging lighting conditions or complex scenes.
Without the ability to adjust essential parameters, you might miss out on capturing the full potential of a panoramic shot.
To truly elevate your mobile panoramas, you'd benefit from having control over:
- Exposure: Adjusting shutter speed, ISO, and aperture to balance light across the entire panorama
- Focus: Setting focus points manually to guarantee sharpness throughout the scene
- White balance: Fine-tuning color temperature to maintain consistency across the panorama
These manual controls would allow you to overcome common issues like overexposed skies, blurry foregrounds, or color shifts between frames.
You'd be able to compensate for varying light conditions as you pan across a scene, guaranteeing a more cohesive final image. Additionally, having control over these settings would give you the flexibility to experiment with creative techniques, such as long-exposure panoramas or intentional motion blur.
Until mobile panorama apps offer these manual controls, you'll be limited in your ability to capture professional-quality panoramic images on your smartphone.
Inconsistent Exposure Across Frames

When shooting mobile panoramas, you'll often encounter uneven brightness issues across different frames.
This inconsistency can create noticeable seams and abrupt shifts in your final image.
Exposure blending challenges arise as your device attempts to merge these varied exposures, potentially resulting in a less-than-seamless panoramic photo.
Uneven Brightness Issues
Many mobile panorama photographers encounter a common challenge: uneven brightness across different frames of their panoramic shots. This issue often stems from the camera's automatic exposure adjustments as you pan across a scene with varying light conditions.
You'll notice some sections of your panorama appear brighter or darker than others, disrupting the overall continuity of the image.
To combat uneven brightness in your mobile panoramas, try these techniques:
- Lock your exposure: Before starting your panorama, tap and hold on a middle-toned area of the scene to lock the exposure and focus. This prevents your camera from adjusting settings as you pan.
- Use manual mode: If your phone's camera app allows it, switch to manual mode. Set a consistent exposure for the entire panorama based on the average brightness of the scene.
- Edit in post-processing: Use photo editing software to adjust the brightness and contrast of individual sections, blending them seamlessly into a cohesive panorama.
Exposure Blending Challenges
Exposure blending challenges can be a mobile panorama photographer's nemesis. As you sweep your smartphone across a scene, the camera's automatic exposure adjustments can lead to inconsistent brightness levels between frames. This results in visible seams or abrupt changes in lighting when the panorama is stitched together.
You'll often encounter this issue when shooting scenes with varying light intensities, such as landscapes with bright skies and darker foregrounds. Your phone's camera might expose correctly for the sky in one frame but then overexpose the next as it adjusts for a shadowy area. The result is a patchwork of differently exposed sections that don't blend seamlessly.
To combat this, you can try locking your exposure before starting the panorama. However, this may lead to over or underexposed areas in complex lighting situations.
Some advanced mobile photography apps offer manual exposure controls, but they're often cumbersome to use while panning. Until smartphone manufacturers implement more sophisticated exposure blending algorithms, you'll need to carefully plan your shots and potentially rely on post-processing to achieve smooth, well-exposed mobile panoramas.
Difficulty With Moving Subjects
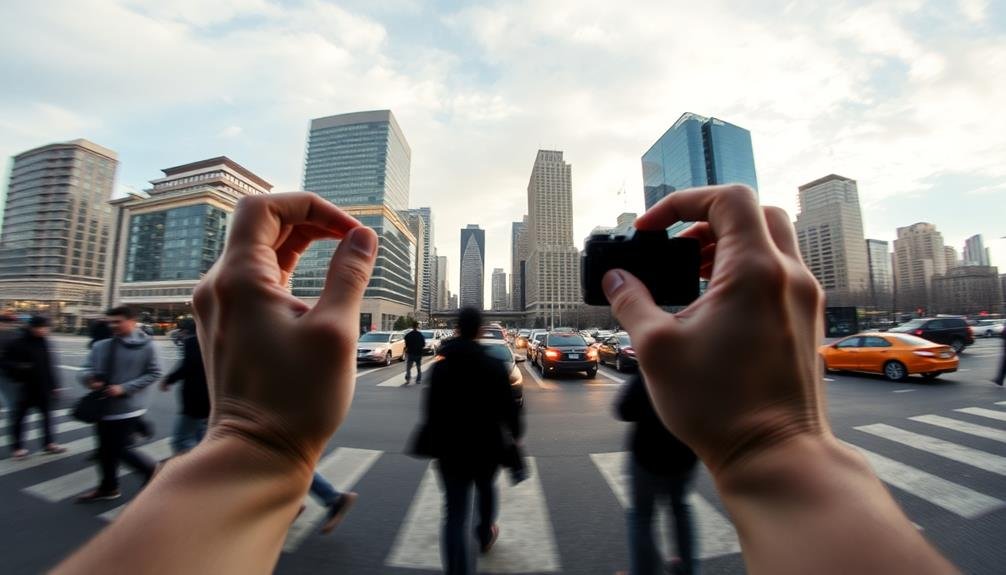
While capturing mobile panoramas can produce stunning results, moving subjects pose a significant challenge. As you sweep your camera across the scene, objects in motion can appear distorted, fragmented, or even duplicated in the final image. This issue is particularly problematic in busy urban environments or when photographing wildlife.
To mitigate the difficulties associated with moving subjects in mobile panoramas, consider these strategies:
- Choose your timing wisely: Wait for a lull in activity or shoot during quieter periods when there's less movement in the scene.
- Increase your panning speed: Moving your camera more quickly can help reduce the impact of moving subjects, though this requires a steady hand.
- Focus on static elements: Compose your panorama around stationary objects, using them to anchor the image and draw attention away from any motion-related artifacts.
Despite these techniques, it's important to recognize that mobile panoramas may never fully capture scenes with significant movement. In such cases, you might need to opt for alternative shooting methods or accept that some imperfections may be present in your final image.
Fixed Focal Length Limitations
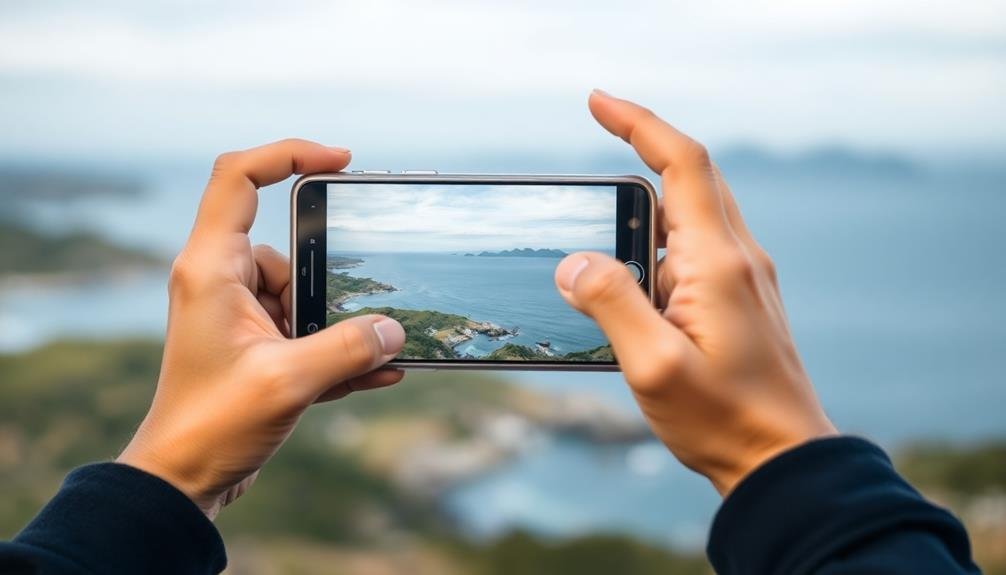
When capturing panoramas with your smartphone, you'll face challenges due to its fixed focal length.
You're constrained by a restricted field of view and can't zoom optically, limiting your ability to frame distant subjects effectively.
These limitations can hinder your composition flexibility, forcing you to carefully consider your position and scene elements to create compelling panoramic shots.
Restricted Field of View
In the domain of mobile photography, one significant challenge you'll face is the restricted field of view imposed by fixed focal length limitations. Smartphone cameras typically have a single, wide-angle lens that can't capture the full scope of expansive scenes. This limitation hinders your ability to create truly immersive panoramic shots, as you're confined to a narrow perspective.
To overcome this restriction, you'll need to employ creative techniques:
- Multi-shot panoramas: Take multiple overlapping photos and stitch them together in post-processing.
- Panoramic mode: Use your phone's built-in panorama feature, which automates the stitching process.
- Wide-angle lens attachments: Invest in clip-on lenses to expand your field of view artificially.
While these methods can help, they don't fully replicate the experience of using a dedicated wide-angle or ultra-wide lens.
You'll still encounter issues like distortion at the edges of your frame and potential loss of detail when stitching images together.
Additionally, moving subjects can cause ghosting or blurring in panoramic shots.
As mobile technology advances, we may see improvements in this area, but for now, you'll need to work within these constraints to capture expansive scenes effectively.
Lack of Zoom Capability
Another challenge you'll encounter in mobile panorama photography is the lack of zoom capability due to fixed focal length limitations. Most smartphone cameras come with a wide-angle lens, which is great for capturing expansive scenes but restricts your ability to focus on specific details or distant objects.
This fixed focal length means you can't zoom in optically to frame your shot more precisely or capture far-off elements with clarity. Instead, you're forced to rely on digital zoom, which often results in a loss of image quality and pixelation.
When creating panoramas, this limitation can be particularly frustrating as you might want to emphasize certain areas of the landscape but can't get closer without compromising the overall composition.
To work around this issue, you'll need to physically move closer to your subject or plan your shots more carefully. Consider using add-on lenses or external zoom attachments for your smartphone to extend your focal range.
Alternatively, you can try capturing higher-resolution images and cropping them later, though this may reduce the final image quality. Ultimately, mastering mobile panorama photography with fixed focal lengths requires creativity and adaptability to overcome these zoom limitations.
Composition Flexibility Challenges
Constrained by fixed focal lengths, mobile panorama photographers face significant challenges in composition flexibility.
You're limited to your phone's default lens, which restricts your ability to frame shots creatively. This fixed perspective can make it difficult to capture the exact scene you envision, especially when dealing with expansive landscapes or tight urban environments.
To overcome these limitations, you'll need to adapt your approach:
- Move your position: Since you can't zoom, you'll have to physically change your location to alter the composition. This might mean climbing higher, moving closer, or finding a new vantage point.
- Use foreground elements: Incorporate nearby objects to add depth and interest to your panoramas. This can help compensate for the lack of zoom by creating a sense of scale.
- Experiment with vertical panoramas: Don't limit yourself to horizontal shots. Try capturing tall buildings or waterfalls by rotating your phone 90 degrees.
Despite these workarounds, you'll still find yourself wishing for the versatility of interchangeable lenses.
The fixed focal length of mobile devices remains a significant hurdle for photographers seeking to push the boundaries of panoramic composition.
Distortion in Extreme Angles

When capturing panoramas with your mobile device, you'll likely encounter distortion at extreme angles. This distortion can manifest as stretched or warped elements, particularly at the edges of your image. It's especially noticeable when photographing tall buildings, expansive landscapes, or interior spaces.
To minimize distortion, try these techniques:
- Keep your phone level throughout the sweep
- Avoid tilting up or down excessively
- Use a slower, steadier motion when panning
- Consider using a smartphone gimbal for stability
Understanding common distortion types can help you anticipate and address issues:
| Distortion Type | Cause | Appearance |
|---|---|---|
| Barrel | Wide-angle lens | Center bulges outward |
| Pincushion | Telephoto lens | Center pinches inward |
| Perspective | Camera angle | Vertical lines converge |
| Chromatic | Lens refraction | Color fringing at edges |
| Spherical | Lens curvature | Blurring at image edges |
While some distortion is inevitable in panoramas, you can often correct minor issues in post-processing. Many mobile editing apps offer tools to straighten horizons, adjust perspective, and reduce lens distortion. By combining careful shooting techniques with thoughtful editing, you can create impressive, immersive panoramas that accurately represent the scene you've captured.
Limited Post-Processing Options
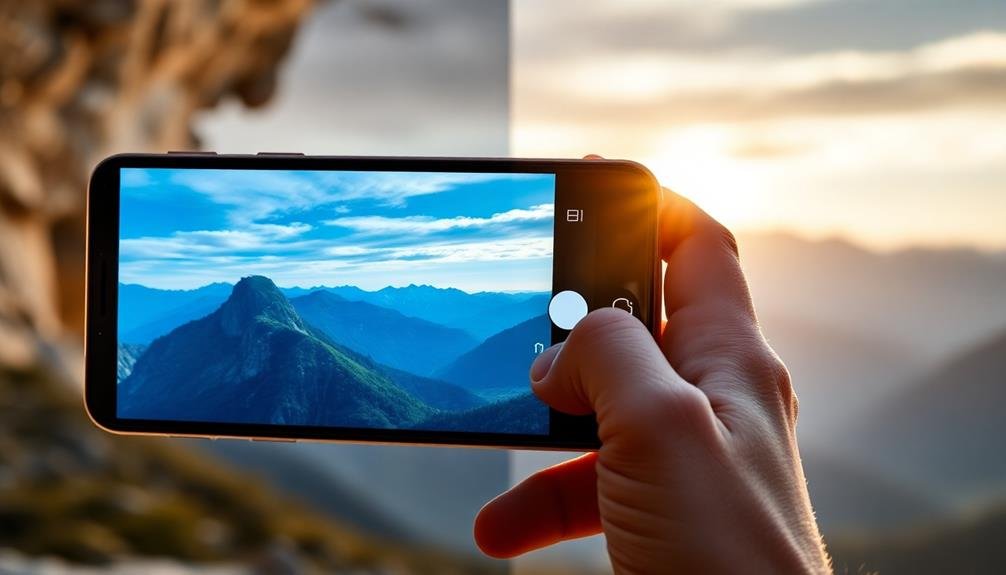
While mobile devices offer impressive panorama capabilities, they often fall short in post-processing options compared to dedicated cameras and desktop software.
You'll find that the editing tools available on your smartphone are typically limited to basic adjustments like exposure, contrast, and saturation. This can be frustrating when you're trying to fine-tune your panoramic shots or correct specific issues.
When working with mobile panoramas, you'll notice several limitations:
- Lack of advanced retouching tools: You can't easily remove unwanted objects or fix stitching errors.
- Limited color grading options: Advanced color manipulation and selective adjustments are often unavailable.
- Restricted perspective correction: It's challenging to fix distortion or straighten horizons effectively.
These limitations can impact the final quality of your panoramic images.
While mobile apps are continuously improving, they still can't match the power and flexibility of desktop editing software.
If you're serious about panoramic photography, you might need to transfer your images to a computer for more thorough editing. This extra step can be time-consuming but often results in higher-quality panoramas that better reflect your creative vision.
Inadequate Low-Light Performance
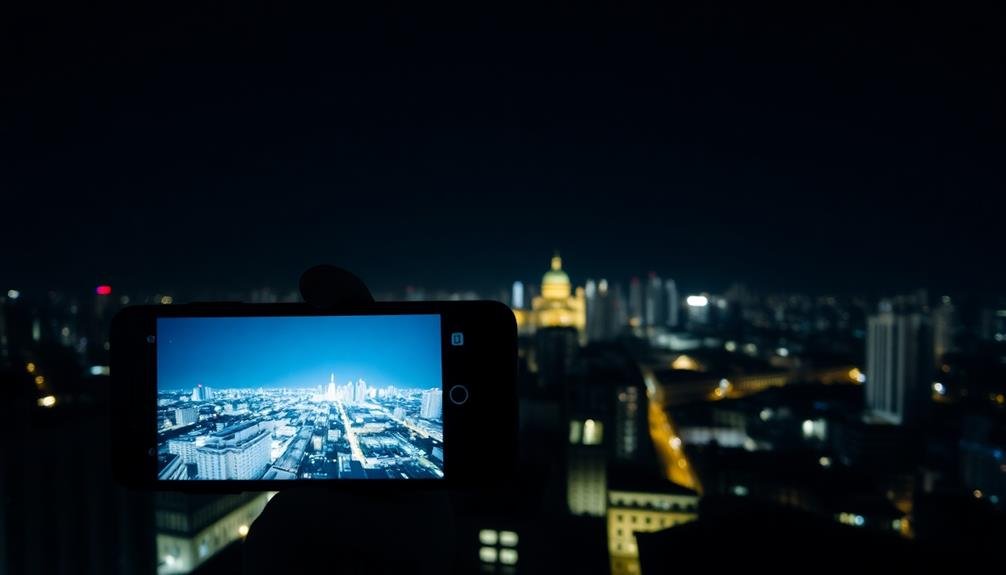
Three key factors contribute to the inadequate low-light performance of mobile panoramas.
First, the small image sensors in smartphones struggle to capture sufficient light in dim conditions. These sensors can't gather as much light as larger DSLR sensors, resulting in noisy, grainy images when you're shooting panoramas in low light.
Second, the limited dynamic range of mobile cameras makes it challenging to balance exposure across a wide scene in low-light situations. You'll often find that parts of your panorama are underexposed or overexposed, leading to loss of detail in shadows or highlights.
Lastly, the slower shutter speeds required for low-light shooting can introduce motion blur, especially when you're hand-holding your phone to capture a panorama. This blur becomes more pronounced as you pan across the scene, reducing the overall sharpness of your final image.
To mitigate these issues, you can use a tripod, employ HDR techniques, or shoot in RAW format for more post-processing flexibility.
However, these workarounds don't fully compensate for the inherent limitations of mobile camera technology in low-light conditions.
Absence of HDR Capabilities

Many mobile panorama features lack High Dynamic Range (HDR) capabilities, greatly limiting their performance in challenging lighting conditions. When you're capturing a wide scene with varying light intensities, you'll often end up with blown-out highlights or dark shadows.
This absence of HDR in panoramas means you're missing out on the full range of tones and details that your eyes can see. Without HDR, you'll face several challenges when shooting panoramas:
- Overexposed skies in landscapes
- Loss of detail in shadowy areas
- Uneven exposure across the stitched image
You'll find it particularly frustrating when photographing scenes with high contrast, such as sunsets or interiors with bright windows. The lack of HDR means you can't balance the exposure across the entire panorama, resulting in less impressive and realistic images.
While some phones offer HDR for regular photos, this feature hasn't been widely integrated into panorama modes. As a result, you're forced to choose between capturing a wide view or maintaining balanced exposure.
This limitation greatly impacts the quality and versatility of mobile panoramas, especially when compared to what dedicated cameras can achieve with HDR panoramas.
Frequently Asked Questions
Can Mobile Panoramas Capture 360-Degree Spherical Images?
Yes, you can capture 360-degree spherical images with mobile panoramas. Many smartphones now offer this feature, allowing you to create immersive, all-around views. Simply follow the on-screen instructions to rotate and capture the entire scene around you.
How Do Mobile Panoramas Compare to Dedicated Panoramic Cameras?
You'll find mobile panoramas are convenient but limited compared to dedicated panoramic cameras. They can't match the image quality, field of view, or advanced features. Dedicated cameras offer better control, stitching, and professional-grade results for serious photographers.
Are There Apps That Enhance Mobile Panorama Capabilities?
You'll find numerous apps that boost your phone's panorama abilities. They offer features like 360-degree capture, HDR panoramas, and better stitching algorithms. Some popular options include Google Street View, 360 Panorama, and Panorama 360 Camera.
Can Mobile Panoramas Be Easily Shared on Social Media Platforms?
You'll find it's easy to share mobile panoramas on social media. Most platforms support these wide-angle shots. You can post them directly from your phone's gallery or use the platform's built-in upload features for panoramic images.
What File Formats Are Typically Used for Mobile Panorama Images?
You'll typically find mobile panorama images in JPEG format, as it's widely supported. However, some devices also use HEIF or PNG. For higher quality or editing purposes, you might encounter RAW formats like DNG.
In Summary
You've seen the limitations of mobile panoramas, but don't let that discourage you. While they can't match professional gear, they're still a fantastic tool for capturing wide scenes. Keep practicing and you'll learn to work around their shortcomings. Remember, great photography isn't just about equipment—it's about your eye and creativity. So go out there, experiment with your phone's panorama mode, and create some stunning wide-angle shots!



Leave a Reply