Phone portraits pop due to clever manipulation of perspective secrets. You can create stunning images by understanding focal length, shooting angles, and depth of field. Try low-angle shots to make subjects appear larger, or use portrait mode to blur backgrounds. Experiment with framing techniques, like using foreground elements or negative space, to add depth. Wide-angle distortion can yield unique effects, while vertical orientation emphasizes height. Even lens distortion can be harnessed creatively. With practice, you'll master these tricks to elevate your mobile photography. Discover how simple adjustments can transform your portraits from ordinary to extraordinary.
The Power of Focal Length
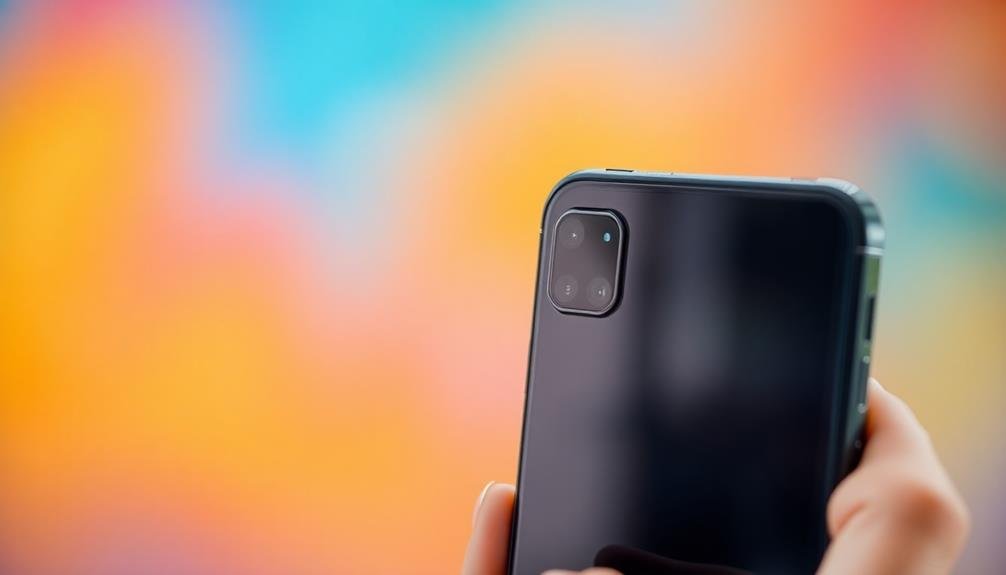
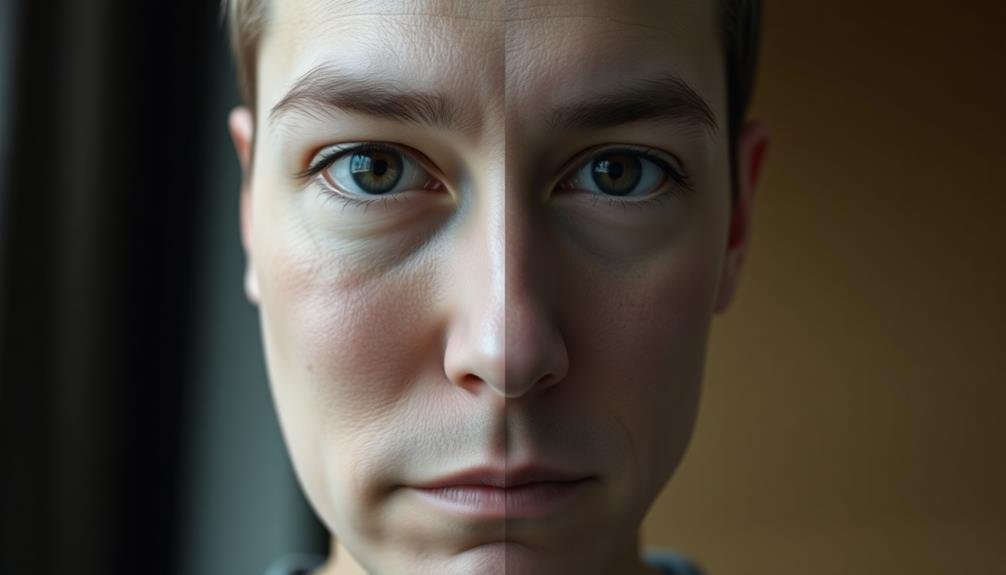
The focal length of your phone's camera lens plays an essential role in shaping the perspective of your portraits. Most smartphones have a wide-angle lens with a focal length equivalent to about 26-28mm on a full-frame camera. This shorter focal length creates a wider field of view, which can distort facial features when you're too close to your subject.
To counteract this effect, you'll want to step back and zoom in slightly. Many phones now offer a "portrait mode" that simulates a longer focal length, typically around 50mm. This focal length is closer to what the human eye sees, resulting in more natural-looking portraits with less distortion.
Understanding focal length helps you manipulate perspective. Wider angles exaggerate the distance between foreground and background, making subjects appear larger in relation to their surroundings.
Longer focal lengths compress this perspective, creating a flatter, more intimate look.
Experiment with your phone's different lens options or digital zoom to find the most flattering focal length for your subject. Remember, the right focal length can make your portraits pop by enhancing facial features and creating a pleasing sense of depth and dimension.
Low Angle Shooting Techniques

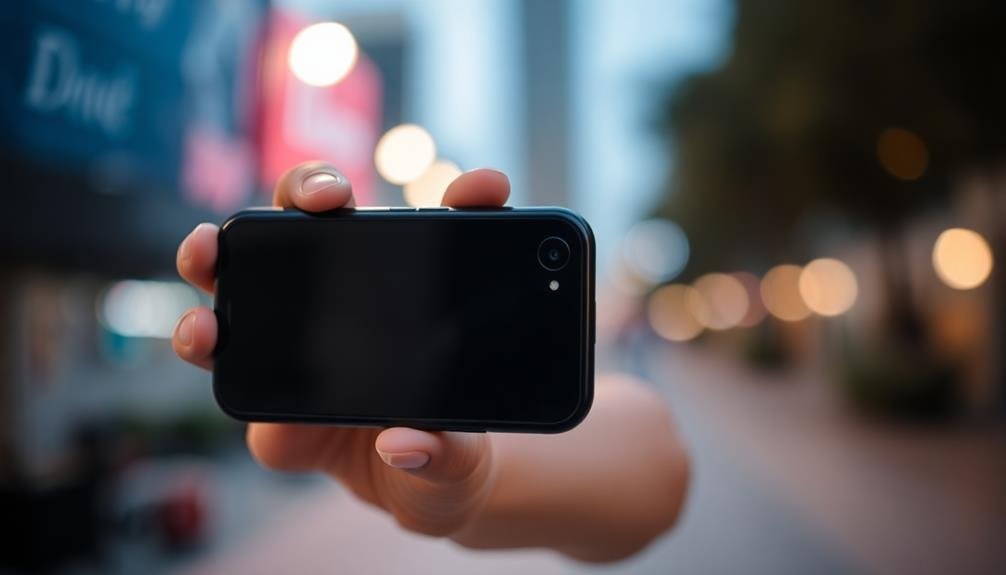
Low-angle shooting can dramatically alter your portrait's perspective, creating a powerful visual impact.
By positioning your phone below eye level and angling it upwards, you'll enhance the subject's stature and importance in the frame.
This technique not only adds a sense of height to your subject but also introduces unique compositional elements, making your portraits stand out with a fresh and dynamic look.
Dramatic Perspective Enhancement
From the ground up, dramatic perspective enhancement through low-angle shooting can transform your phone portraits. By positioning your camera near the ground and angling it upwards, you'll create a powerful visual effect that makes your subject appear larger and more imposing. This technique works particularly well for full-body shots, emphasizing height and creating a sense of grandeur.
To maximize the impact, get as low as possible—even lying on the ground if necessary. Experiment with different angles to find the most flattering and dramatic composition. Pay attention to the background, as low angles often incorporate more sky or ceiling, which can add to the overall mood of the image.
When shooting from below, be mindful of unflattering facial angles. Guide your subject to slightly tilt their chin down to avoid emphasizing nostrils or double chins. Use your phone's burst mode to capture multiple shots quickly, increasing your chances of getting the perfect expression.
For added drama, try incorporating foreground elements. Shoot through grass, flowers, or urban structures to create depth and frame your subject uniquely.
Subject Height Illusion
Creating a subject height illusion is one of the most effective low-angle shooting techniques for phone portraits. You'll want to position your camera at or below your subject's waist level, tilting it upward. This perspective elongates the body, making your subject appear taller and more imposing.
To maximize the effect, ask your subject to stand with their feet slightly apart and their shoulders back. This posture enhances the illusion of height and confidence.
You can also experiment with different focal lengths on your phone camera. Wider angles tend to exaggerate the perspective, while longer focal lengths compress it.
Don't forget to take into account your background. A clear sky or tall structures can further emphasize the subject's perceived height.
If you're indoors, try shooting against a plain wall or ceiling to maintain focus on your subject.
Exploiting Depth of Field

With depth of field, you can add a powerful dimension to your phone portraits. By manipulating the focus and blur in your images, you'll create a sense of depth that draws viewers' attention to your subject. Most smartphones now offer portrait mode, which simulates a shallow depth of field by blurring the background.
To exploit this feature effectively, position your subject a few feet away from the background. This separation enhances the blur effect, making your subject pop. Experiment with different distances to find the sweet spot for your particular phone model.
Pay attention to the edges of your subject, ensuring the AI-generated blur doesn't create artifacts or odd shifts.
Don't limit yourself to just blurring backgrounds. Try framing your subject with foreground elements that are slightly out of focus. This technique adds depth and context to your portraits.
You can also play with selective focus, keeping only part of your subject sharp while gently blurring the rest. This approach guides the viewer's eye and creates a dreamy, artistic effect.
Framing With Foreground Elements
When taking phone portraits, you can create a "frame within a frame" by using foreground elements to border your subject.
This technique adds depth and visual interest to your image, drawing the viewer's eye to the main focal point.
Try positioning your subject behind branches, doorways, or other architectural features to achieve this effect and enhance the overall composition of your portrait.
Frame Within a Frame
The art of framing within a frame elevates your phone portraits to new heights. This technique involves using existing elements in your environment to create a natural border around your subject. You'll find that it adds depth, context, and visual interest to your photos.
Look for architectural features like doorways, windows, or arches to frame your subject. Natural elements like tree branches, rock formations, or flowers can also create stunning frames. When you've found your frame, position your subject within it, ensuring they're the focal point.
Here's a quick guide to common framing elements and their effects:
| Frame Type | Effect | Best For |
|---|---|---|
| Doorways | Intimacy | Indoor portraits |
| Windows | Reflection | Moody shots |
| Arches | Elegance | Architectural backdrops |
| Trees | Natural feel | Outdoor portraits |
| Shadows | Mystery | Creative compositions |
Depth and Visual Interest
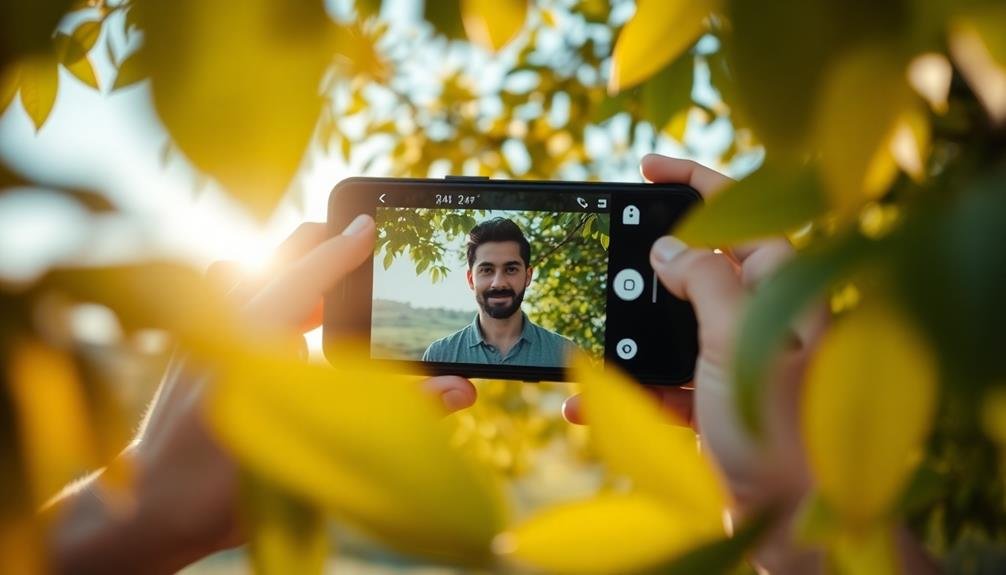
Beyond framing within a frame, you can add depth and visual interest to your phone portraits by using foreground elements. This technique involves placing objects or textures in the foreground of your shot, partially obscuring the main subject. It creates a layered effect, drawing the viewer's eye through the image and enhancing the sense of depth.
To implement this technique, look for natural elements like leaves, branches, or flowers. Position them close to your phone's lens, allowing them to blur slightly while keeping your subject in focus. You can also use man-made objects like fences, window frames, or doorways to achieve a similar effect. The key is to find elements that complement your subject without overpowering it.
Experiment with different angles and positions to find the perfect balance. You might try shooting through a gap in foliage or positioning your subject behind a partially transparent object.
This approach not only adds depth but also creates a more dynamic and engaging composition. By mastering foreground framing, you'll elevate your phone portraits from flat snapshots to visually compelling images with a professional touch.
Lens Distortion for Creative Effects

Experimenting with lens distortion can lead to unique and eye-catching phone portraits. While phone cameras typically have wide-angle lenses, you can exaggerate this effect for creative results. By positioning your subject close to the camera, you'll notice that features closer to the lens appear larger, creating an intentional distortion.
To maximize this effect, try shooting from unusual angles. Get low and tilt your phone upward to make your subject appear taller and more imposing. Alternatively, shoot from above to create a foreshortened perspective that can be playful or dramatic.
You can also use lens distortion to emphasize certain facial features. For instance, positioning the camera close to your subject's eyes will make them appear larger and more enchanting.
Don't shy away from embracing the "fisheye" effect that occurs at the edges of your frame. This curved distortion can add a surreal or whimsical touch to your portraits.
Utilizing Leading Lines

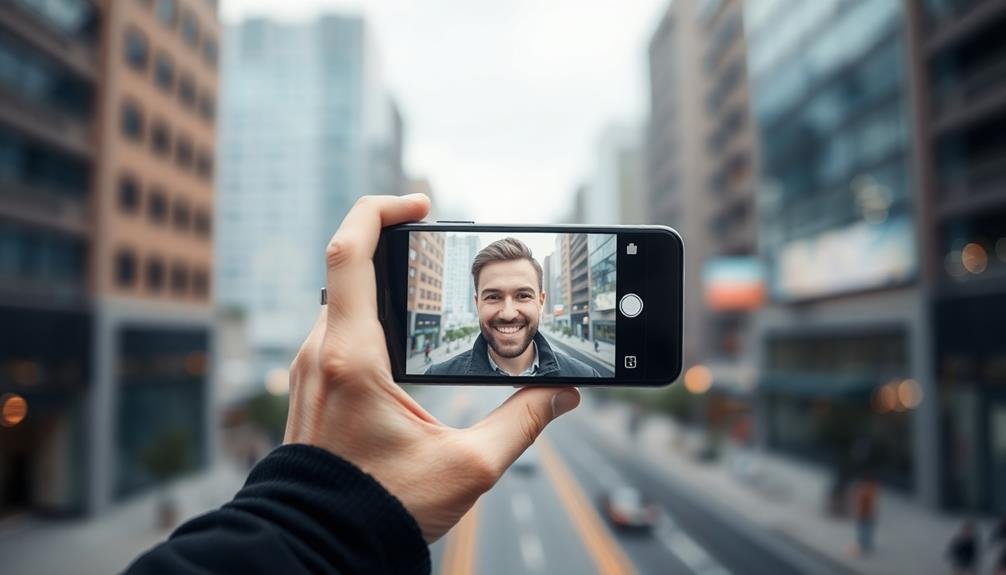
While lens distortion offers creative possibilities, employing leading lines can dramatically enhance your phone portraits. Leading lines are powerful visual elements that guide the viewer's eye through the image, often towards your subject. In phone portraits, you'll find these lines in various forms: architectural features, natural landscapes, or even props you introduce.
To utilize leading lines effectively, position your subject where these lines converge or intersect. Urban environments offer plenty of opportunities with railings, sidewalks, or building edges. In nature, try using tree branches, shorelines, or mountain ridges to frame your subject. You can also create leading lines with props like scarves, ribbons, or even the subject's arms.
When composing your shot, consider the direction of the lines. Diagonal lines add dynamism, while vertical lines can emphasize height or power. Horizontal lines often convey calm or stability. Experiment with different angles to find the most compelling composition.
Playing With Perspective Compression
You can create striking effects in your phone portraits by manipulating perspective compression.
Even with your phone's fixed lens, you'll notice how changing the distance between you and your subject alters the apparent relationship between foreground and background elements.
Lens Focal Length Effects
Photographers often overlook the powerful impact of lens focal length when shooting phone portraits. Your phone's camera typically has a wide-angle lens, which can distort facial features if you're not careful. To counteract this, you'll need to step back and zoom in digitally, simulating a longer focal length.
Longer focal lengths compress perspective, making facial features appear more balanced and flattering. They also create a shallower depth of field, blurring the background and drawing attention to your subject. You'll notice that portraits shot with longer focal lengths tend to look more professional and aesthetically pleasing.
On the flip side, wider focal lengths can be used creatively to exaggerate features or create a sense of drama. They're great for environmental portraits where you want to include more of the surroundings. However, be cautious when using wide-angle lenses for close-up portraits, as they can lead to unflattering distortions.
To experiment with focal length effects on your phone, try using portrait mode or third-party apps that allow manual control over focal length. By mastering this aspect of phone photography, you'll elevate your portrait game considerably.
Subject-To-Camera Distance Manipulation
Closely related to focal length is the concept of subject-to-camera distance manipulation. By adjusting how far you stand from your subject, you can dramatically alter the perspective in your phone portraits.
When you're close to your subject, you'll create a sense of intimacy and exaggerate facial features, particularly the nose and forehead. This effect can be flattering or unflattering, depending on your subject and intent.
As you move farther away, you'll compress the perspective, making facial features appear more proportionate and flattening the overall image. This can be especially useful for group shots or full-body portraits.
It's essential to recognize that as you change your distance, you'll need to adjust your framing to maintain the desired composition.
Experiment with different distances to find the sweet spot for your subject. You might discover that stepping back a few feet and then zooming in slightly creates a more pleasing portrait than standing too close.
Flattening Facial Features
Perspective compression offers a powerful tool for flattening facial features in phone portraits. By increasing the distance between you and your subject while zooming in, you'll create a more flattering look. This technique reduces the prominence of noses and chins, making faces appear slimmer and more balanced.
To achieve this effect, step back about 10-15 feet from your subject and use your phone's zoom feature. You'll notice that facial features become less exaggerated and more proportionate. This approach works particularly well for people who are self-conscious about specific facial features.
Here's a quick guide to perspective compression effects:
| Distance (ft) | Zoom Level | Facial Flattening | Overall Effect |
|---|---|---|---|
| 3-5 | None | Minimal | Exaggerated |
| 6-9 | 1x-2x | Moderate | Natural |
| 10-15 | 2x-3x | Significant | Flattering |
| 15+ | 3x+ | Extreme | Stylized |
Symmetry and Reflections

Mirrors and reflective surfaces offer a powerful tool for creating intriguing phone portraits. When you incorporate symmetry and reflections into your compositions, you'll add depth and visual interest to your images.
Try positioning your subject near a mirror or reflective surface, capturing both their direct image and reflection. This technique can create a sense of duality or reveal hidden aspects of your subject's personality.
You can also use symmetry to your advantage by centering your subject in the frame or aligning them with architectural elements. This approach adds balance and draws the viewer's eye to the focal point.
Don't be afraid to experiment with partial reflections or distorted surfaces, like puddles or curved mirrors, to add a surreal touch to your portraits.
When working with reflections, pay attention to lighting. You may need to adjust your angle or use additional light sources to properly illuminate both the subject and their reflection.
Remember that symmetry doesn't always mean perfect balance – sometimes, slight asymmetry can create tension and intrigue in your portrait. By mastering these techniques, you'll elevate your phone portraits to new levels of creativity and visual appeal.
Wide-Angle vs. Telephoto Portraits
When it comes to phone portraits, the choice between wide-angle and telephoto lenses can greatly alter your image's perspective and mood.
Wide-angle lenses capture a broader field of view, exaggerating the distance between foreground and background elements. This creates a sense of depth and can make your subject appear larger than life. However, they can also distort facial features, especially when used too close to the subject.
Telephoto lenses, on the other hand, compress the scene, bringing background elements closer to the foreground. They're ideal for flattering portraits, as they minimize facial distortions and create a pleasing bokeh effect. However, you'll need more distance between you and your subject, which can be challenging in tight spaces.
Consider these emotional impacts when choosing your lens:
- Wide-angle: Dynamic, energetic, and immersive
- Telephoto: Intimate, focused, and professional
- Wide-angle close-up: Quirky, playful, and attention-grabbing
- Telephoto from afar: Mysterious, voyeuristic, and cinematic
Experiment with both options to find the perfect perspective for your phone portraits.
Vertical vs. Horizontal Orientation

Your phone's orientation plays an essential role in shaping the narrative of your portrait. When you're deciding between vertical and horizontal, consider the story you want to tell. Vertical orientation emphasizes height and works well for full-body shots or when you want to include interesting background elements above or below your subject. It's also the natural orientation for most social media platforms.
Horizontal orientation, on the other hand, allows you to capture more of the surroundings and is ideal for group shots or environmental portraits. It can create a sense of space and context that vertical shots might miss. Don't be afraid to experiment with both orientations to see which best suits your subject and the mood you're trying to convey.
| Orientation | Strengths | Best For | Emotion Evoked |
|---|---|---|---|
| Vertical | Height emphasis | Individual portraits | Intimacy |
| Vertical | Social media friendly | Full-body shots | Confidence |
| Horizontal | Width emphasis | Group photos | Inclusivity |
| Horizontal | Environmental context | Landscape portraits | Wonder |
Negative Space in Compositions

Beyond orientation, mastering negative space can elevate your phone portraits to new heights. Negative space is the area surrounding your subject, and it's just as essential as the subject itself. When you're composing your shot, pay attention to the empty areas around your subject. These spaces can create balance, draw attention to your subject, and evoke powerful emotions.
To use negative space effectively, try positioning your subject off-center. This creates a sense of movement and interest in your portrait. You can also use negative space to tell a story or set a mood. For example, a subject surrounded by vast empty space can convey isolation or contemplation.
When incorporating negative space, consider these emotional impacts:
- Serenity: Ample negative space can create a calm, peaceful atmosphere
- Isolation: A small subject in a large empty area can evoke loneliness
- Curiosity: Strategic use of negative space can leave viewers wondering what's beyond the frame
- Importance: Less clutter around the subject emphasizes their significance
Experiment with different amounts of negative space in your phone portraits. You'll find that sometimes less really is more, allowing your subject to truly shine in the frame.
Perspective Warping Apps

Diving into the domain of perspective manipulation, perspective warping apps offer a powerful tool for phone portrait photographers. These apps allow you to adjust the spatial relationships within your images, creating unique and eye-catching effects. You can elongate limbs, exaggerate facial features, or distort backgrounds to add drama and intrigue to your portraits.
Popular apps like SKRWT and Snapseed provide intuitive interfaces for perspective correction and warping. With these tools, you're able to fix converging lines, straighten horizons, and adjust the overall perspective of your shots. More advanced options let you selectively warp specific areas of the image, giving you precise control over the final look.
When using perspective warping apps, it's essential to maintain a balance between creativity and realism. Subtle adjustments can enhance your subject's features or create a surreal atmosphere, while excessive warping may result in unnatural-looking images.
Experiment with different techniques, such as widening eyes, slimming faces, or stretching backgrounds, to find the perfect balance for your portrait style. Remember, the goal is to enhance your subject's unique qualities while maintaining a sense of authenticity in your phone portraits.
Frequently Asked Questions
How Does Lighting Affect Perspective in Phone Portraits?
Lighting dramatically impacts perspective in your phone portraits. It can create depth, highlight features, and cast shadows that enhance dimensionality. You'll find that strategic lighting angles can slim faces, accentuate cheekbones, and add enchanting visual interest to your shots.
Can Phone Camera Filters Enhance the Perspective Effects in Portraits?
Yes, phone camera filters can enhance perspective effects in portraits. You'll find filters that adjust depth, blur backgrounds, and alter focal points. They can accentuate foreground elements, create depth illusions, and draw attention to specific features in your portraits.
What Role Does Subject Positioning Play in Creating Unique Portrait Perspectives?
You'll create unique perspectives by carefully positioning your subject. Move them closer or farther from the camera, try different angles, and use foreground elements. Don't be afraid to experiment with height and depth for striking results.
How Do Weather Conditions Impact Perspective in Outdoor Phone Portraits?
When you're shooting outdoor phone portraits, weather conditions greatly affect perspective. Bright sunlight creates harsh shadows, while overcast skies offer softer lighting. Rain can add reflections, and fog creates depth. Wind can add dynamic movement to hair and clothing.
Are There Specific Phone Models Better Suited for Perspective-Focused Portrait Photography?
You'll find that most modern smartphones excel at portrait photography. However, models with multiple lenses, like the iPhone Pro series or Google Pixel, offer more versatility for perspective manipulation. They're ideal for capturing stunning portraits with varied perspectives.
In Summary
You've now revealed the secrets behind eye-catching phone portraits. By mastering focal length, angles, depth of field, and framing, you'll create stunning images. Don't forget to experiment with lens distortion, orientation, and negative space. Remember, it's all about perspective. Whether you're using wide-angle or telephoto techniques, your portraits will pop. With these tools and a dash of creativity, you'll elevate your phone photography to new heights. Keep practicing and pushing boundaries!

Leave a Reply