
To maximize dynamic range in mobile RAW photography, start by using a camera app with manual controls and RAW support. Underexpose slightly to preserve highlights, then recover shadow details in post-processing. Utilize exposure bracketing or HDR features for challenging lighting conditions. In editing, carefully adjust highlights, shadows, and contrast to balance the image. Reduce noise selectively, especially in darker areas. Take advantage of your phone's computational photography features like Night Mode for low-light scenes. When exporting, choose appropriate file formats and color spaces for your intended use. With these techniques, you'll capture and share images with stunning dynamic range.
Understanding Dynamic Range
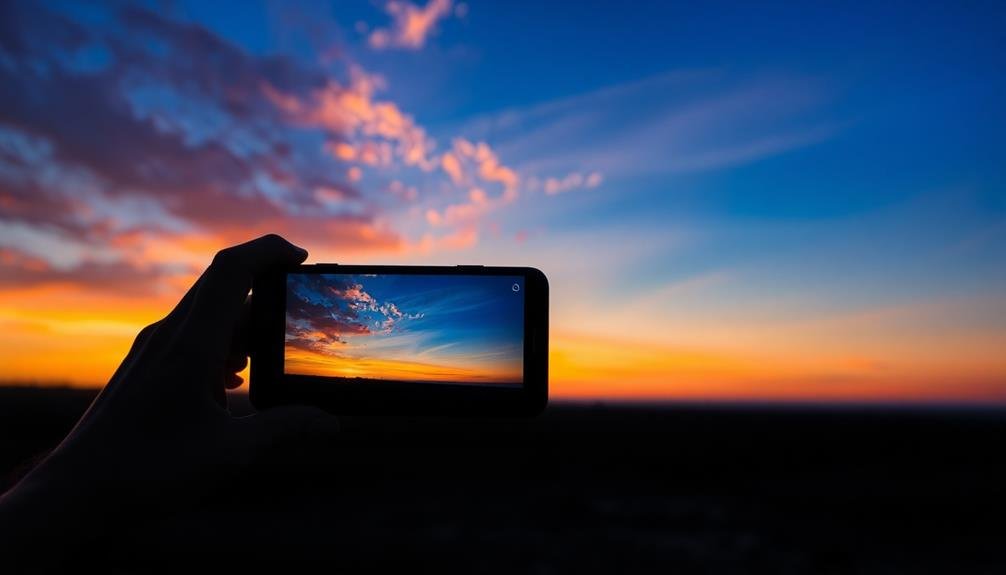
Dynamic range is the spectrum of light intensities a camera can capture in a single image, from the darkest shadows to the brightest highlights. In mobile photography, understanding dynamic range is essential for capturing high-quality images with rich details in both bright and dark areas.
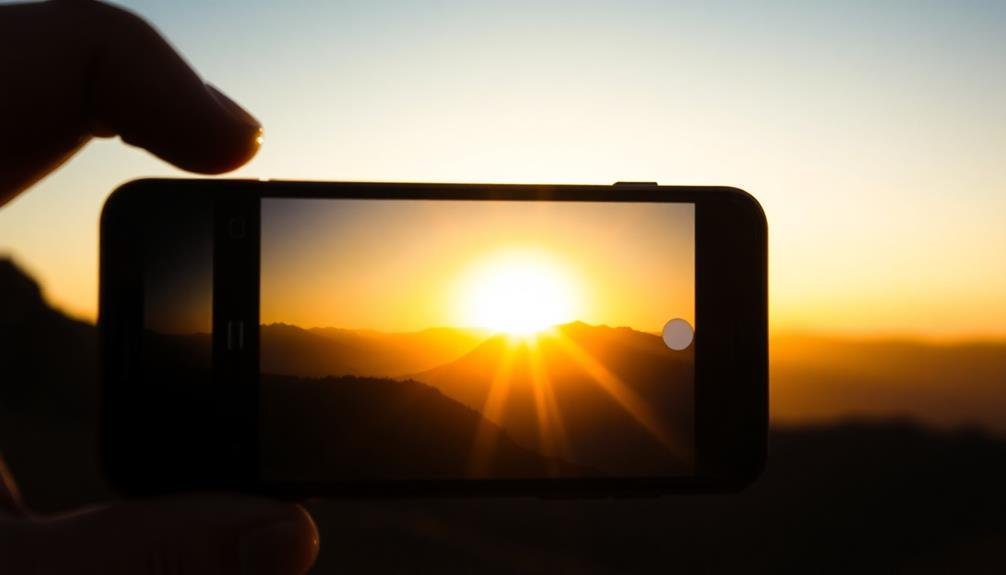
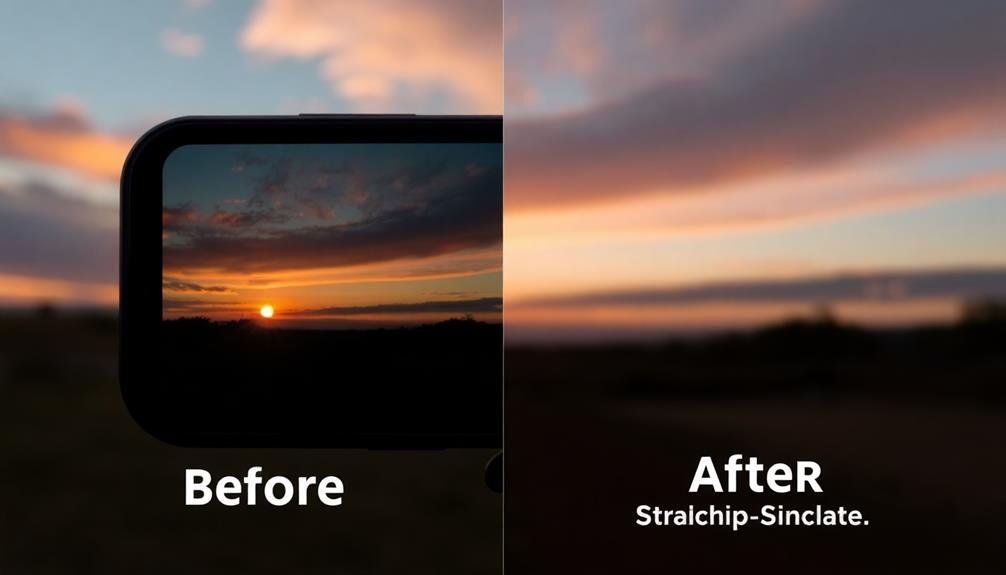
Your smartphone's camera sensor has a limited dynamic range compared to your eyes. When you're facing a high-contrast scene, like a sunset or a backlit subject, your phone might struggle to capture all the details. You'll often end up with blown-out highlights or crushed shadows.
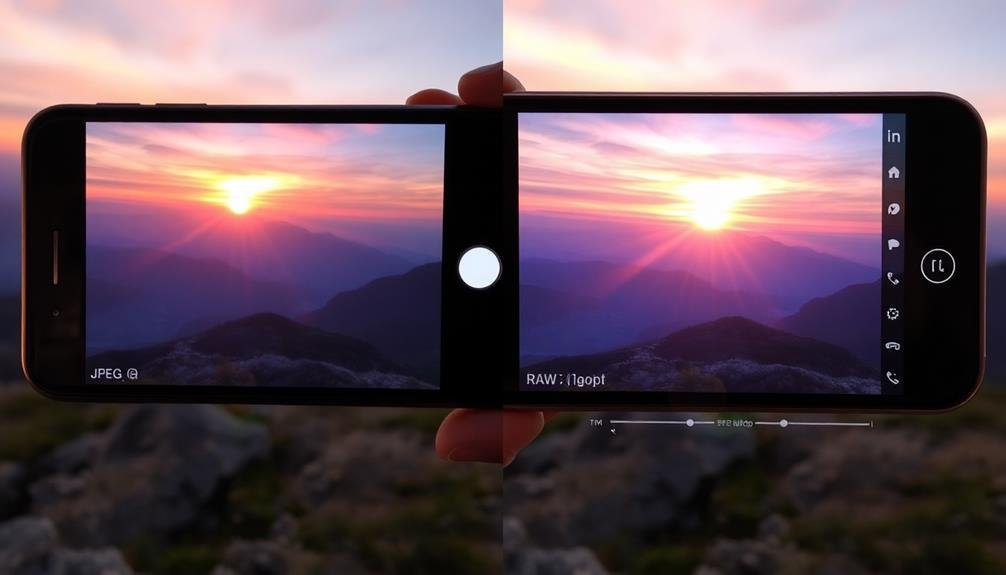
RAW format comes to the rescue by preserving more information from the sensor. Unlike JPEG, which compresses and discards data, RAW files retain all the original image data. This gives you more flexibility in post-processing to recover details from shadows and highlights.
To maximize dynamic range in mobile RAW photography, you need to expose your shots carefully. It's generally better to slightly underexpose your image to preserve highlight details, as it's easier to recover shadow information in post-processing.
You can also use HDR techniques or exposure bracketing to capture a wider range of tones.
Benefits of RAW Photography
When you shoot in RAW format, you'll gain greater editing flexibility, allowing you to make more extensive adjustments to your photos without degrading image quality.
You'll have the ability to recover details in highlights and shadows that might be lost in compressed formats like JPEG.
This enhanced detail preservation guarantees you capture the full potential of your mobile device's camera sensor, resulting in higher-quality images with a broader dynamic range.
Increased Editing Flexibility
Releasing the full potential of your mobile photography begins with RAW capture. When you shoot in RAW, you're giving yourself unparalleled editing flexibility. Unlike JPEG files, which are compressed and processed in-camera, RAW files contain all the data captured by your phone's sensor.
This wealth of information allows you to make significant adjustments without degrading image quality. You can fine-tune exposure, recovering details in highlights and shadows that would be lost in a JPEG. White balance becomes fully adjustable, letting you correct color casts or create specific moods.
You'll have greater control over sharpness and noise reduction, tailoring these aspects to your preference without introducing artifacts. RAW files also offer more latitude in color grading. You can push and pull colors more aggressively, create custom looks, or match colors across a series of images more effectively.
The increased bit depth in RAW files means smoother tonal shifts and more subtle editing capabilities. With RAW, you're not locked into the camera's processing decisions, giving you the freedom to interpret the scene as you envision it, long after you've taken the shot.
Enhanced Detail Preservation
RAW files excel at preserving fine details that might otherwise be lost in compressed formats. When you shoot in RAW, you're capturing all the data your camera's sensor can detect, without any in-camera processing or compression. This means you'll have access to a wealth of information in post-processing, allowing you to recover details in both highlights and shadows.
In mobile photography, where sensor size can be a limitation, RAW files become even more essential. They enable you to extract maximum detail from your shots, especially in challenging lighting conditions. You'll be able to recover blown-out skies, bring out texture in dark areas, and maintain crisp edges that might otherwise be softened by compression artifacts.
| Aspect | JPEG | RAW |
|---|---|---|
| File Size | Smaller | Larger |
| Detail Retention | Limited | Extensive |
| Highlight Recovery | Difficult | Easier |
| Shadow Recovery | Challenging | More Flexible |
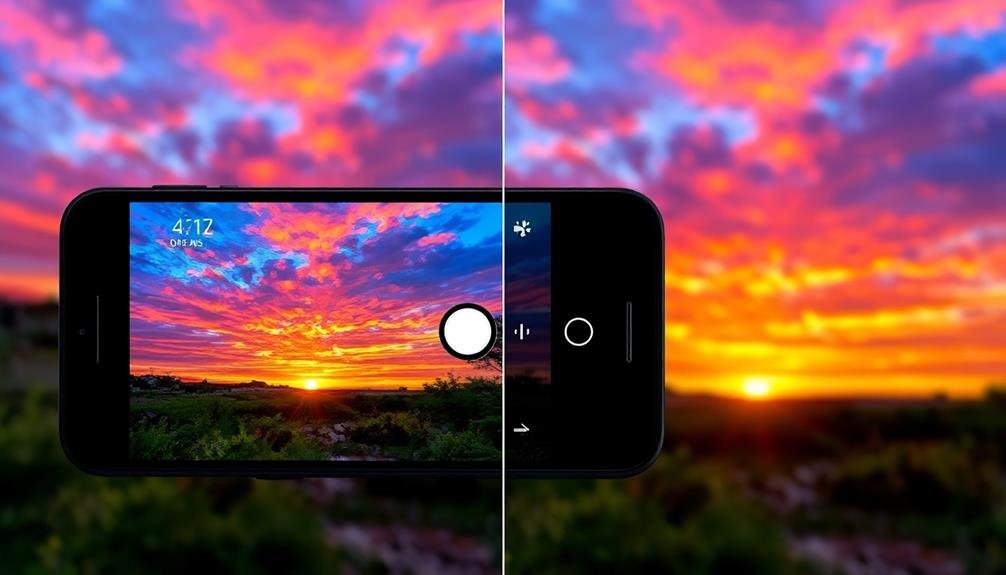
Choosing the Right Camera App
When selecting a camera app for mobile RAW photography, you'll want to focus on three key features.
Look for apps that offer manual exposure controls, allowing you to adjust settings like ISO, shutter speed, and aperture.
Make certain the app supports RAW file formats, which preserve more image data than standard JPEGs.
Compare the HDR capabilities of different apps, as this can greatly enhance your ability to capture a wider dynamic range in challenging lighting conditions.
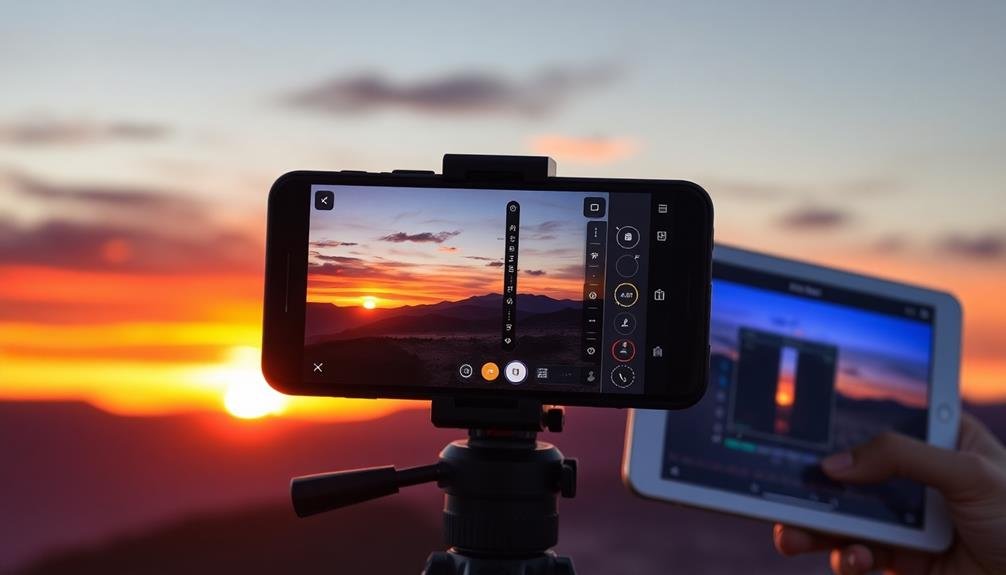
Manual Exposure Controls
Selecting the right camera app is crucial for maximizing dynamic range in mobile RAW photography. Once you've chosen an app with RAW capabilities, it's time to focus on manual exposure controls. These controls allow you to fine-tune your settings for ideal dynamic range.
Most advanced camera apps offer manual controls for:
- ISO: Adjust sensor sensitivity
- Shutter speed: Control motion blur and light intake
- Aperture: Manage depth of field (on dual-lens phones)
- Exposure compensation: Fine-tune overall brightness
When aiming for maximum dynamic range, start by setting your ISO to the lowest possible value to minimize noise.
Then, adjust your shutter speed to achieve proper exposure. If your phone allows aperture control, choose a setting that balances depth of field with light intake.
Use the histogram feature to verify you're not clipping highlights or shadows. If you notice clipping, use exposure compensation to adjust.
RAW File Support
While manual exposure controls are powerful tools, they're only effective if your camera app supports RAW file capture. RAW files contain unprocessed sensor data, allowing you to preserve maximum dynamic range and make extensive adjustments during post-processing.
When choosing a camera app for RAW photography, look for one that explicitly states RAW support. Many stock camera apps don't offer this feature, so you might need to explore third-party options. Popular choices include Halide, ProCam, and VSCO for iOS, or Open Camera and Camera FV-5 for Android.
Ensure your chosen app allows you to save both RAW and JPEG files simultaneously. This gives you a processed image for quick sharing and a RAW file for editing. Check if the app offers RAW-specific features like histograms, focus peaking, and exposure zebras.
Consider the app's user interface and how easily you can access RAW settings. Some apps offer RAW capture only in specific modes, so familiarize yourself with these options.
HDR Capabilities Comparison
Considering HDR capabilities, not all camera apps are created equal when it comes to capturing high dynamic range scenes. When choosing the right camera app for mobile RAW photography, you'll want to evaluate each option's HDR features and performance.
Look for apps that offer manual HDR controls, allowing you to fine-tune exposure bracketing and merge multiple exposures for peak dynamic range.
Some advanced camera apps provide real-time HDR preview, enabling you to see the final result before capturing the image. This feature can be invaluable in challenging lighting conditions.
Additionally, consider apps that offer AI-powered HDR processing, which can intelligently analyze scenes and apply appropriate HDR techniques.
When comparing HDR capabilities across different camera apps, pay attention to these key factors:
- Exposure bracketing range and control
- HDR processing algorithms and quality
- Speed of HDR capture and processing
- Compatibility with your device's hardware capabilities
Exposure Bracketing Techniques
Exposure bracketing techniques are essential tools for mobile RAW photographers looking to maximize dynamic range. You'll typically shoot a series of images at different exposure levels, capturing details in both highlights and shadows.
Start by setting your camera app to manual mode and enabling RAW capture. Then, take at least three shots: one at the camera's suggested exposure, one underexposed, and one overexposed.
For best results, use a tripod or stabilize your phone to guarantee alignment between shots. Adjust your exposure compensation in 1-stop increments, such as -1, 0, and +1 EV. In high-contrast scenes, you might need more brackets, like -2, -1, 0, +1, and +2 EV.
Some advanced mobile camera apps offer automatic exposure bracketing, streamlining the process.
After capturing your brackets, you'll merge them in post-processing software to create a high dynamic range (HDR) image. This technique allows you to preserve details in both bright skies and dark shadows, resulting in a more balanced and visually appealing final image.
HDR Vs Single RAW Capture
When considering HDR versus single RAW capture for mobile photography, you'll need to weigh the pros and cons of each approach.
You'll find that the workflow differences between these methods can greatly impact your shooting and post-processing time.
Comparing the image quality of HDR and single RAW captures will help you determine which technique best suits your specific photography needs.
Pros and Cons
Photographers face an essential decision when capturing high-contrast scenes: HDR or single RAW capture. Both methods have their strengths and weaknesses, which you'll need to evaluate based on your shooting conditions and post-processing preferences.
HDR offers these advantages:
- Wider dynamic range, capturing more detail in highlights and shadows
- Better color accuracy across the entire tonal range
- Reduced noise in shadow areas
- Potential for more creative control in post-processing
However, HDR also comes with drawbacks. It requires multiple exposures, increasing the risk of motion blur or ghosting in moving subjects. You'll need more storage space and processing power to handle the larger files.
Single RAW capture, on the other hand, is faster and simpler. It's ideal for scenes with moving elements or when you're shooting handheld.
RAW files offer significant flexibility in post-processing, allowing you to recover highlights and shadows to a certain extent. However, you're limited by the dynamic range of your camera's sensor, which may not be sufficient for extremely high-contrast scenes.
Ultimately, your choice depends on the specific situation, your equipment's capabilities, and your post-processing workflow preferences.
Experiment with both methods to determine which works best for your mobile photography style.
Workflow Differences
The workflow for HDR and single RAW capture differs considerably, impacting your shooting and post-processing approach.
With HDR, you'll need to take multiple exposures of the same scene, typically three to five shots at different exposure levels. This requires a steady hand or a tripod to guarantee alignment. You'll then merge these exposures in post-processing software to create a final image with extended dynamic range.
In contrast, single RAW capture involves taking just one shot. You'll need to be more careful with your exposure settings to avoid clipping highlights or shadows. In post-processing, you'll work with a single file, carefully adjusting exposure, highlights, shadows, and other parameters to maximize the dynamic range.
HDR workflow often requires more time both during shooting and editing. You'll need to reflect on bracketing settings and alignment issues.
Single RAW workflow is faster in the field but may demand more skill in post-processing to extract the most from your image.
Your choice between these workflows will depend on the scene's contrast, available time, and your preferred editing style. Both can yield excellent results when executed skillfully.
Image Quality Comparison
Now that we've explored workflow differences, let's examine the resulting image quality from HDR and single RAW capture techniques.
When comparing these methods, you'll notice distinct differences in dynamic range, detail retention, and overall image fidelity.
HDR captures typically offer:
- Wider dynamic range, preserving both highlights and shadows
- More balanced exposure across the entire image
- Enhanced color depth and vibrancy
- Reduced noise in shadow areas
Single RAW captures, on the other hand, provide:
- Greater flexibility in post-processing
- More natural-looking results with less processing artifacts
- Faster capture and processing times
- Lower storage requirements
You'll find that HDR excels in high-contrast scenes, capturing details that might be lost in a single exposure.
However, it can sometimes produce an artificially flat look if not carefully processed.
Single RAW captures offer a more traditional photographic look and feel, but may struggle in extreme lighting conditions.
When deciding between the two, consider your subject matter, lighting conditions, and desired aesthetic.
For landscapes with dramatic skies or interiors with bright windows, HDR might be the better choice.
For portraits or scenes with more subtle lighting, a single RAW capture could yield more pleasing results.
Optimal ISO and Shutter Settings
Two key settings play an essential role in maximizing dynamic range when shooting mobile RAW: ISO and shutter speed.
To capture the widest range of tones, you'll want to keep your ISO as low as possible. Start with your phone's base ISO, typically 50 or 100, and increase it only when necessary. Lower ISO values reduce noise and preserve detail in both shadows and highlights.
For shutter speed, aim for the fastest setting that still allows proper exposure. This helps minimize motion blur and camera shake, ensuring sharp images with better detail retention.
However, be cautious not to underexpose your shots, as this can introduce noise when you try to recover shadow details later.
In challenging lighting conditions, you may need to compromise. If you can't use a tripod or your subject is moving, it's often better to raise the ISO slightly than to risk a blurry image from a too-slow shutter speed.
Highlights and Shadows Recovery
With ideal camera settings in place, your next focus is on highlights and shadows recovery. RAW files allow you to reclaim detail in both overexposed and underexposed areas of your image.
When processing your mobile RAW photos, pay close attention to the histogram and use the highlights and shadows sliders judiciously.
For highlights recovery, gradually reduce the highlights slider until you see detail emerge in bright areas. Be careful not to overdo it, as this can lead to an unnatural look.
For shadows, increase the slider to reveal details in darker regions without introducing excessive noise.
To further enhance your highlight and shadow recovery:
- Use the exposure slider to fine-tune overall brightness
- Adjust contrast to maintain a balanced look
- Apply local adjustments to specific areas using masks
- Leverage the dehaze tool to add depth and clarity
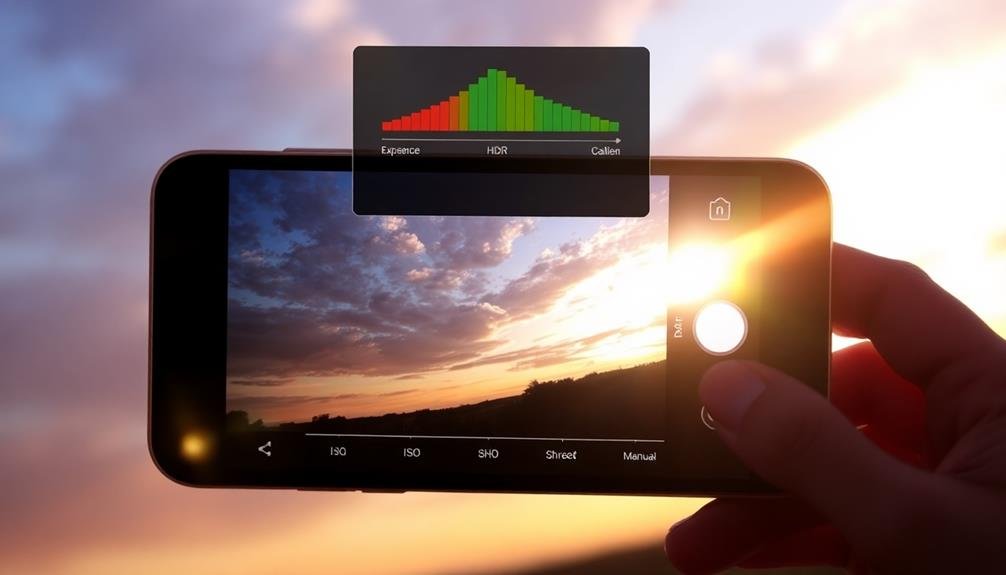
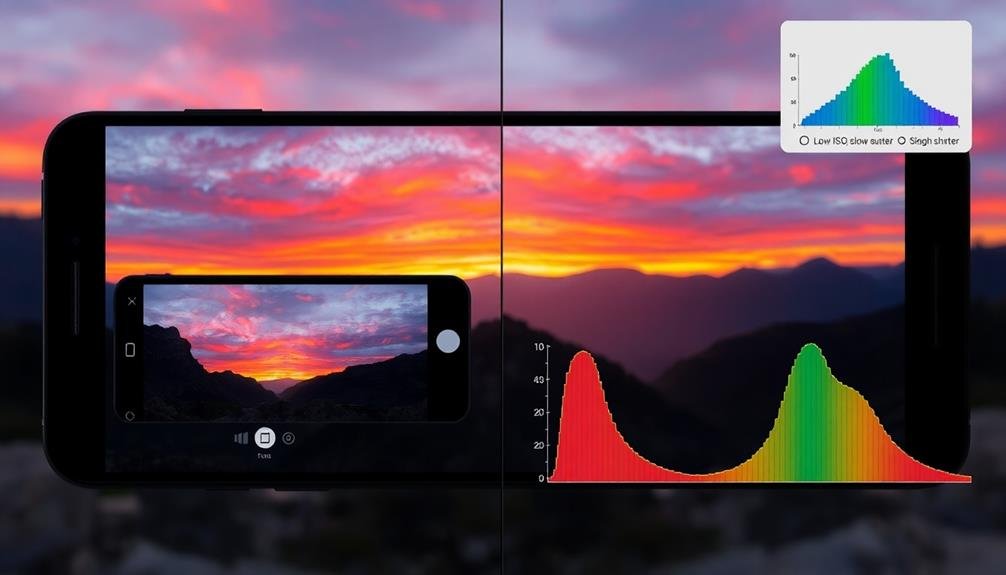
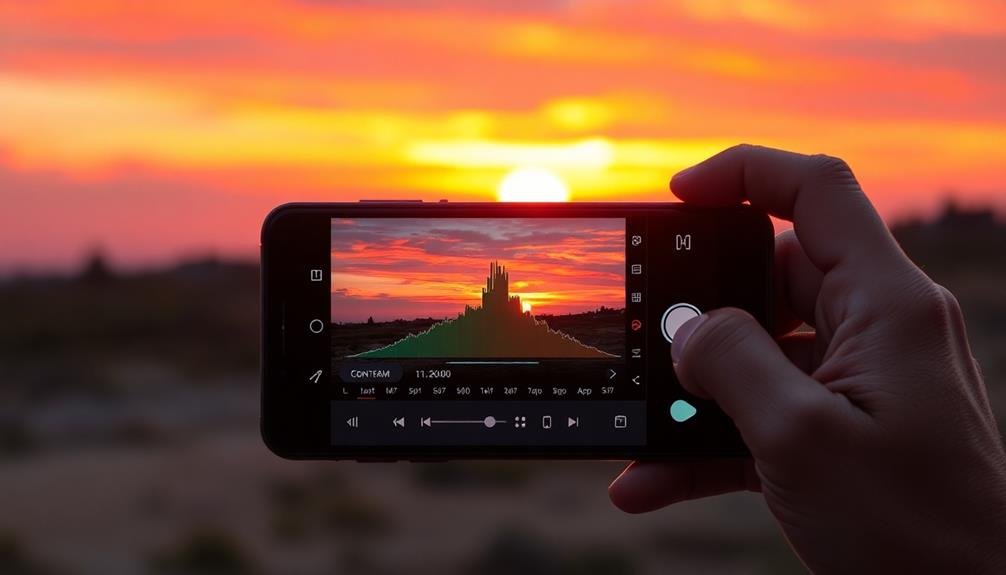
Utilizing Histogram for Exposure
At the heart of exposure control in mobile RAW photography lies the histogram. This powerful tool provides a visual representation of your image's tonal distribution, helping you make informed decisions about exposure. When you're shooting in RAW, you'll want to pay close attention to the histogram to guarantee you're capturing the maximum amount of detail in both highlights and shadows.
To utilize the histogram effectively, aim for a balanced distribution of tones. If you see spikes at either end, it indicates clipping in the shadows or highlights. To address this, adjust your exposure compensation. Underexpose slightly if the histogram is pushed to the right, or overexpose if it's skewed to the left.
Remember, it's often better to slightly underexpose to preserve highlight detail, as you can recover shadow information more easily in post-processing.
Don't be afraid to experiment with exposure bracketing, taking multiple shots at different exposures. This technique allows you to capture a wider range of tones, which you can later combine in post-processing for ideal dynamic range.
Balancing Contrast in Post-Processing
Having captured your RAW images with ideal exposure, the next step is balancing contrast during post-processing. This vital stage allows you to fine-tune your image's dynamic range, bringing out details in both highlights and shadows.
Begin by adjusting the overall contrast, then move on to targeted adjustments for specific tonal ranges.
Use your editing software's tools to:
- Recover highlights: Bring back detail in bright areas
- Lift shadows: Reveal information in darker regions
- Adjust midtones: Fine-tune the image's overall balance
- Apply local contrast: Enhance texture and definition
As you work, pay close attention to the histogram to guarantee you're not clipping highlights or crushing shadows.
Utilize curves or levels adjustments for precise control over tonal distribution. Don't be afraid to experiment with different contrast techniques, such as clarity or texture sliders, to achieve your desired look.
Noise Reduction Strategies
Digital noise, the grainy artifacts that can plague low-light photos, often becomes more apparent when pushing dynamic range in RAW images. To combat this, you'll need to employ effective noise reduction strategies. Start by applying selective noise reduction to different areas of your image based on their luminance levels. Focus on reducing noise in shadow areas where it's most noticeable, while preserving detail in highlights.
Use your mobile editing app's noise reduction tools judiciously. Over-application can lead to loss of fine detail and texture. Instead, aim for a balance between noise reduction and image sharpness. Consider using a combination of luminance and color noise reduction for ideal results.
| Noise Type | Reduction Method | Impact on Image |
|---|---|---|
| Luminance | Selective blurring | Smooths texture |
| Color | Chroma blending | Reduces speckles |
| Banding | Dithering | Breaks up lines |
When dealing with high ISO images, try using multiple exposure techniques or night mode if your device supports it. These methods can help reduce noise by combining information from several shots. Finally, don't forget to sharpen your image after noise reduction to restore some of the lost detail and crispness.
Color Grading for Enhanced Range

Color grading plays a significant role in enhancing the dynamic range of your mobile RAW photos. By carefully adjusting the colors and tones in your image, you can expand the perceived range of light and dark areas, creating a more visually striking result.
Start by setting your white and black points to define the extremes of your image's tonal range. Then, focus on balancing the midtones to guarantee a smooth shift between highlights and shadows.
When color grading for enhanced range, consider these key techniques:
- Use split toning to add subtle color to highlights and shadows
- Adjust individual color channels to fine-tune specific hues
- Apply selective color adjustments to enhance or mute certain tones
- Utilize gradient maps for creative color effects that extend the perceived range
Don't be afraid to experiment with different color grading styles to find what works best for your image. You can create a cinematic look by emphasizing complementary colors or opt for a more natural appearance by maintaining realistic color relationships.
Remember that subtle adjustments often yield the most impactful results when aiming to maximize dynamic range through color grading.
Leveraging Computational Photography Features
Modern smartphones come packed with advanced computational photography features that can greatly boost your RAW images' dynamic range.
You'll want to explore features like HDR (High Dynamic Range) and Night Mode, which can capture multiple exposures and blend them seamlessly. These tools help you retain details in both highlights and shadows that might otherwise be lost in a single exposure.
When shooting RAW, you can often still utilize these computational features. Many phones allow you to capture RAW files alongside the processed versions. This gives you the best of both worlds: a computationally enhanced image and a RAW file for manual editing.
Take advantage of AI-powered scene recognition, which can optimize exposure settings for specific scenarios like landscapes or low-light environments. Some devices offer exposure bracketing, letting you capture a series of shots at different exposures automatically. You can then merge these in post-processing for maximum dynamic range.
Don't overlook features like Smart HDR or Live HDR, which provide real-time previews of enhanced dynamic range. By leveraging these computational tools alongside your RAW workflow, you'll considerably expand the tonal range and detail in your mobile photography.
Exporting and Sharing High Dynamic Range
After you've captured and edited your high dynamic range RAW images, the final step is to export and share them effectively.
Choose the right file format for your intended use. For web sharing, JPEG is often sufficient, while TIFF or PNG preserve more detail for printing. Consider the color space: sRGB for online viewing, Adobe RGB for wider gamut displays, or ProPhoto RGB for maximum color information.
When exporting, pay attention to compression settings. Higher quality means larger file sizes but better-preserved details. For social media, you'll need to find a balance between quality and file size limitations.
Here are some popular platforms for sharing high dynamic range photos:
- 500px: Caters to professional photographers and preserves image quality
- Flickr: Offers unlimited storage and maintains original file integrity
- Instagram: Popular but compresses images heavily
- Your own website: Gives you full control over presentation and quality
Don't forget to add metadata to your exported images, including copyright information and keywords. This helps protect your work and makes it more discoverable.
Frequently Asked Questions
Can I Use External Lenses to Improve Dynamic Range in Mobile Photography?
External lenses won't directly improve dynamic range in mobile photography. They can enhance other aspects like focal length or field of view, but dynamic range is primarily determined by your phone's sensor and image processing capabilities.
How Does Sensor Size Affect Dynamic Range Capabilities in Smartphones?
Sensor size greatly impacts your smartphone's dynamic range. Larger sensors capture more light, reducing noise in shadows and preserving highlights. You'll notice better overall image quality and increased ability to recover details in high-contrast scenes.
Are There Specific Mobile Editing Apps Best Suited for RAW Dynamic Range Enhancement?
You'll find apps like Lightroom Mobile, Snapseed, and RawTherapee excellent for enhancing raw dynamic range. They offer advanced tools for adjusting highlights, shadows, and exposure, letting you maximize the potential of your smartphone's raw files.
Do Weather Conditions Significantly Impact Dynamic Range in Mobile RAW Photography?
Yes, weather conditions greatly affect dynamic range in mobile RAW photography. You'll find that bright, sunny days create high contrast scenes, while overcast conditions offer softer light and better dynamic range for your shots.
How Often Should I Calibrate My Smartphone's Camera for Optimal Dynamic Range Results?
You don't need to calibrate your smartphone's camera regularly. Instead, focus on updating your device's software and apps. If you notice issues, try resetting camera settings or performing a factory reset as needed.
In Summary
You've now got the tools to push your mobile RAW photography to its limits. By understanding dynamic range, choosing the right app, and mastering techniques like exposure bracketing, you'll capture stunning images with incredible detail. Don't forget to experiment with noise reduction and color grading to further enhance your photos. As mobile technology advances, you'll find even more ways to maximize dynamic range. Keep practicing, and you'll soon be creating professional-quality images right from your pocket.
Leave a Reply