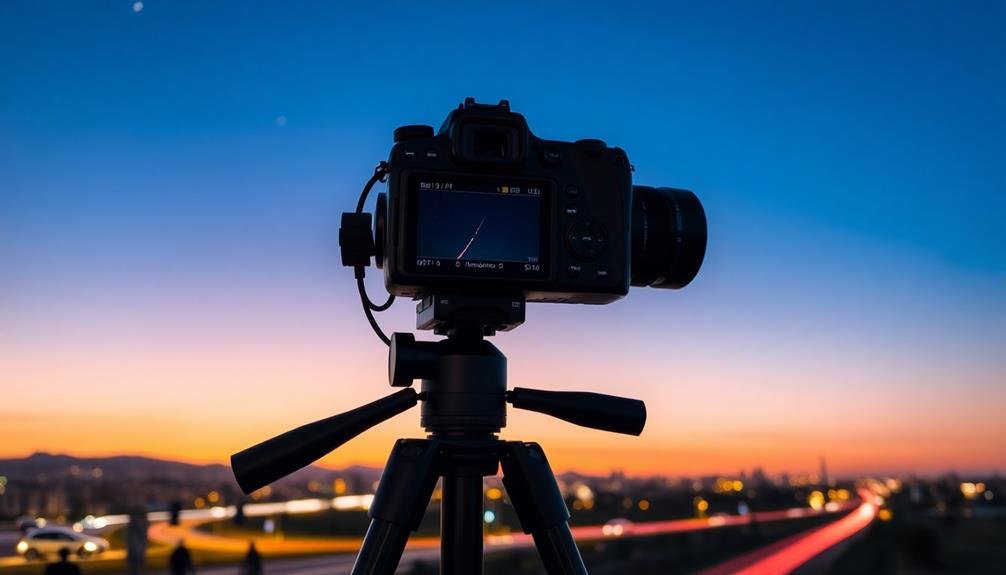
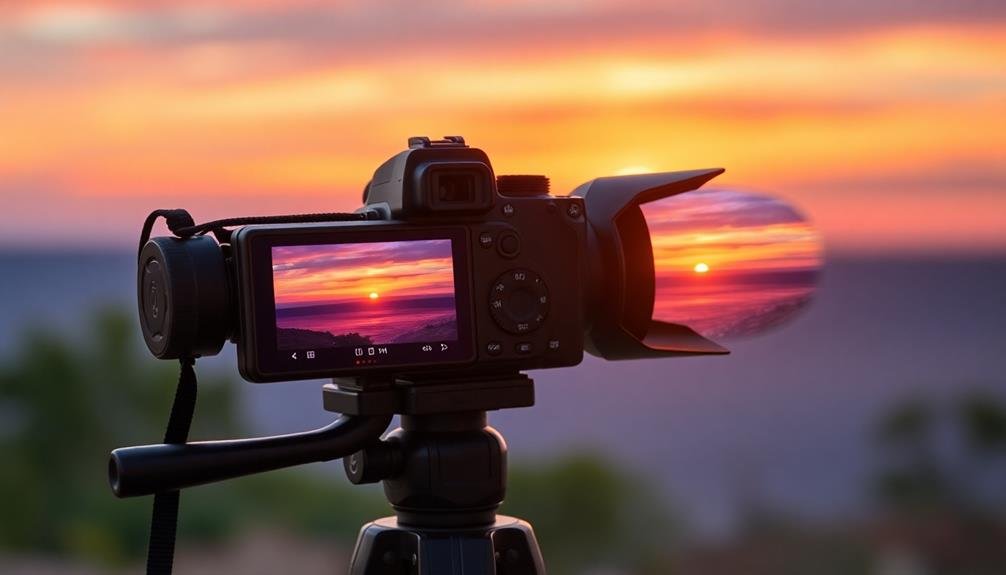
To capture perfect time-lapse shots, you'll need to master these five camera tricks. First, lock your focus to maintain consistency across frames. Next, adjust exposure compensation to guarantee uniform brightness throughout the sequence. Use manual white balance to keep colors consistent in changing light conditions. Enable HDR mode to capture a wider range of tones, especially in high-contrast scenes. Finally, experiment with long exposures to add a dreamy, ethereal quality to your footage. These techniques will elevate your time-lapse photography from ordinary to extraordinary. Dive deeper into each trick to access the full potential of your time-lapse creations.
Lock Focus for Consistent Shots
The secret to stunning time-lapse photography lies in consistency. When you're capturing a series of images over time, locking your focus is essential to maintain a uniform look throughout your sequence. If you don't lock your focus, your camera might try to refocus between shots, resulting in jarring changes that'll ruin the smooth flow of your time-lapse.
To lock your focus, start by switching your lens to manual focus mode. Carefully adjust the focus ring until your subject is sharp, then leave it alone for the duration of your shoot. If your camera has a back-button focus feature, use it to lock focus without engaging the shutter button.
For scenes with varying depths, choose a focus point that'll keep most of your frame acceptably sharp. Use a smaller aperture (higher f-number) to increase your depth of field, ensuring more of your scene stays in focus throughout the time-lapse.
Adjust Exposure Compensation
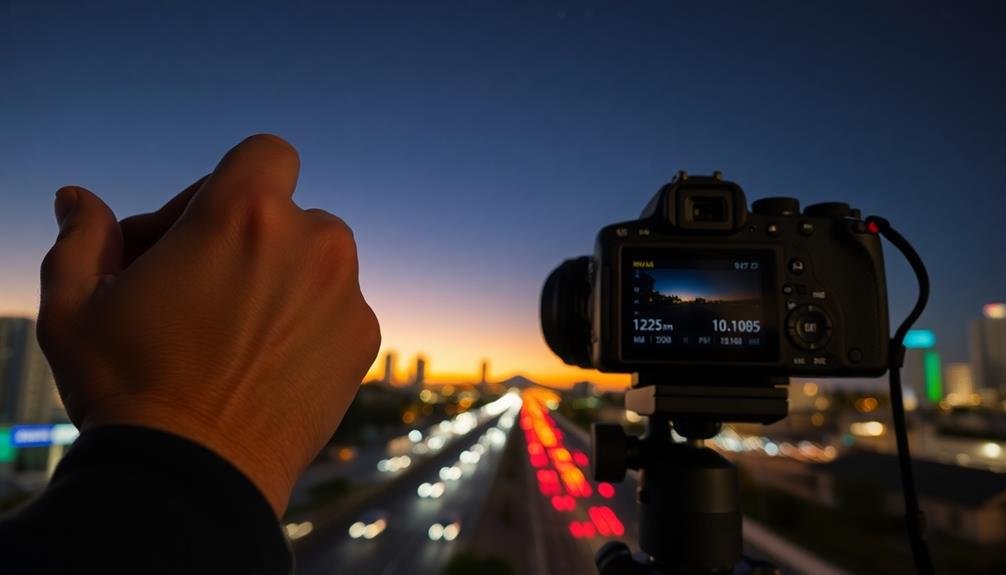
When it comes to time-lapse photography, you'll need to keep an eye on your exposure compensation. As lighting conditions change throughout your shoot, adjusting this setting guarantees consistent brightness across all frames. You'll want to avoid sudden jumps in exposure that can ruin the smooth flow of your final video.
Start by evaluating the scene's overall brightness and adjust your exposure compensation accordingly. For high-contrast scenes, you might need to decrease exposure to preserve highlight details. In low-light situations, increasing exposure can help maintain shadow details. Remember, it's better to slightly underexpose than overexpose, as you can recover shadow details more easily in post-processing.
Here's a quick guide to help you adjust exposure compensation for different scenarios:
| Scenario | Adjustment | Reason |
|---|---|---|
| Bright sky | -1 to -2 EV | Prevent overexposure |
| Sunset/Sunrise | +0.5 to +1 EV | Capture rich colors |
| Night scenes | +1 to +2 EV | Reveal more details |
Don't forget to periodically check your histogram to confirm you're maintaining a good exposure balance throughout your time-lapse sequence. By mastering exposure compensation, you'll create stunning time-lapse videos with consistent, well-exposed frames from start to finish.
Use Manual White Balance
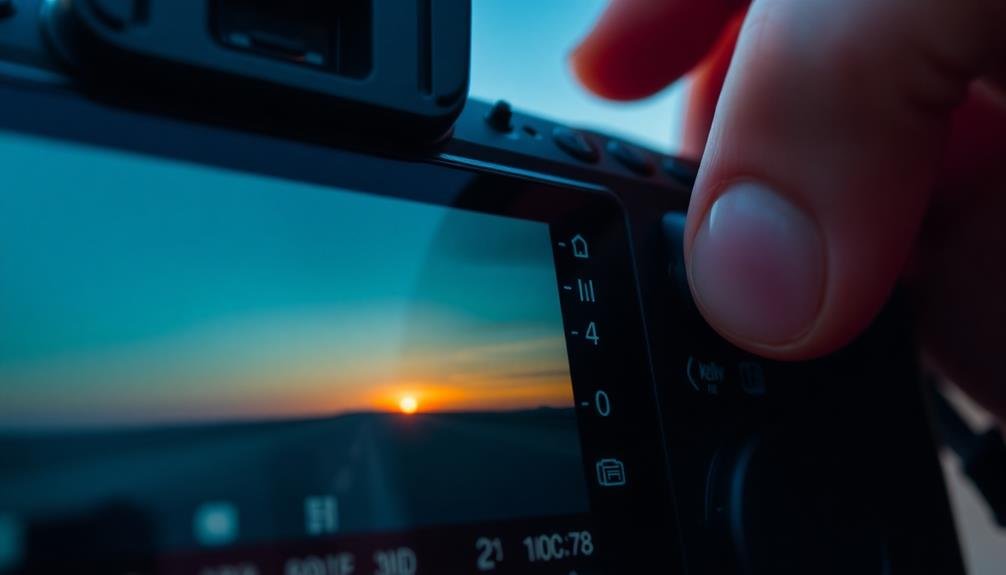
For achieving consistent color throughout your time-lapse sequence, manual white balance is essential. When you leave your camera on auto white balance, it'll adjust the color temperature for each frame, potentially causing noticeable shifts in your final video. Instead, set your white balance manually before starting your shoot.
Choose a white balance setting that suits your lighting conditions. For outdoor daytime shots, try the "daylight" or "sunny" preset. If you're shooting at sunset or sunrise, the "cloudy" or "shade" setting can add warmth to your images.
For indoor scenes, select the appropriate setting based on your light source: "tungsten" for traditional bulbs or "fluorescent" for office lighting.
You can also create a custom white balance by photographing a white or gray card in your scene's lighting conditions. This method guarantees the most accurate color representation.
Remember to maintain the same white balance setting throughout your entire time-lapse sequence. If lighting conditions change dramatically during your shoot, you may need to adjust in post-processing rather than risk inconsistent colors in your raw footage.
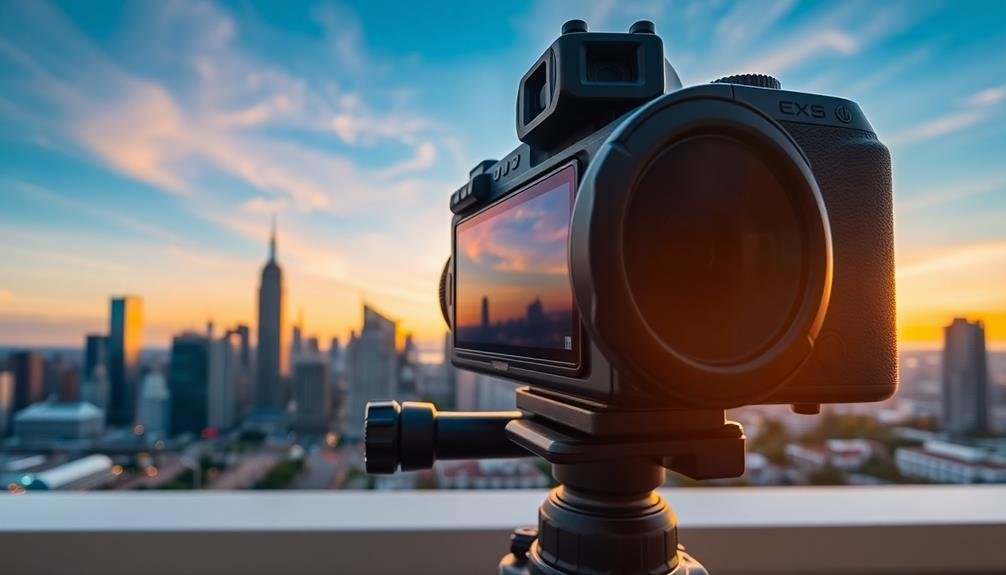
Enable HDR Mode
Frequently, enabling HDR (High Dynamic Range) mode can markedly enhance your time-lapse shots, especially in high-contrast scenes. HDR combines multiple exposures to capture a wider range of light and dark tones, resulting in more balanced and detailed images.
When you're shooting landscapes with bright skies and shadowy foregrounds, or cityscapes with both bright lights and dark areas, HDR can help you retain details in both highlights and shadows.
To use HDR for time-lapse, verify your camera's HDR setting is compatible with its interval shooting function. Some cameras allow you to capture HDR images in-camera, while others require you to bracket exposures manually and merge them later in post-processing.
If your camera doesn't offer in-camera HDR, you can still achieve similar results by slightly underexposing your shots to preserve highlight details, then recovering shadow information in post-production.
Be mindful that HDR can sometimes create an unnatural look if overused. Aim for a subtle effect that enhances the scene without appearing artificial.
Also, remember that HDR typically requires longer processing times, so factor this into your shooting interval to maintain smooth motion in your final time-lapse video.
Experiment With Long Exposures
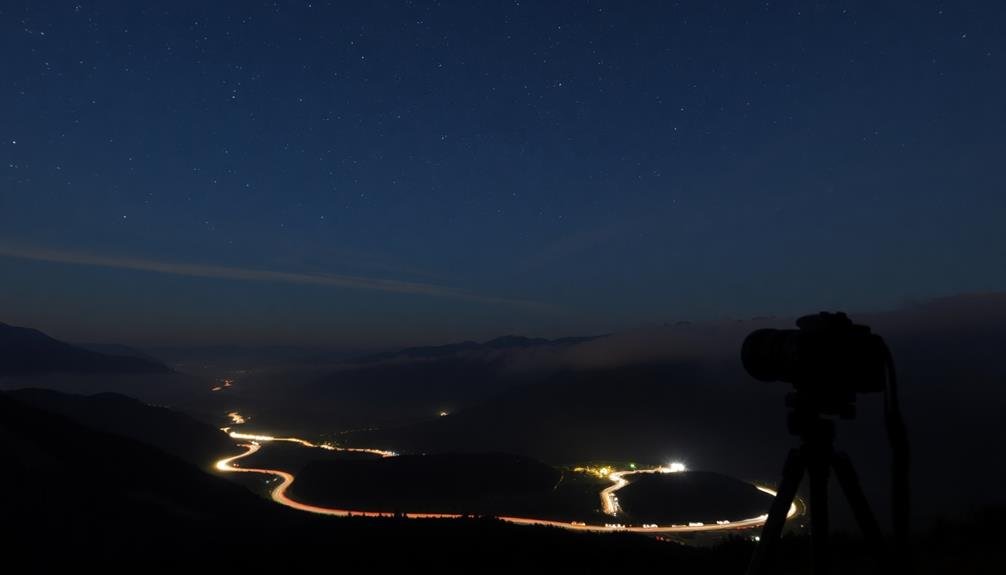
Experimenting with long exposures can add a dynamic and ethereal quality to your time-lapse shots. By keeping your camera's shutter open for extended periods, you'll capture motion blur and light trails, creating a sense of movement and flow in your final video.
To achieve this effect, you'll need to use a neutral density (ND) filter to reduce the amount of light entering your lens. This allows for longer exposure times without overexposing your images. Start with exposures of a few seconds and gradually increase the duration to find the sweet spot for your scene.
| Exposure Length | Effect | Best For |
|---|---|---|
| 1-5 seconds | Subtle blur | Moving water, clouds |
| 5-30 seconds | Smooth motion | Traffic, star trails |
| 30+ seconds | Extreme blur | Light painting, cityscapes |
Remember to adjust your interval between shots to account for longer exposures. You'll need to increase the time between frames to allow for the extended shutter speed and processing time. This technique works particularly well for scenes with moving elements like waterfalls, busy streets, or shifting clouds, adding a dreamy, surreal quality to your time-lapse footage.
Frequently Asked Questions
What Equipment Is Essential for Capturing High-Quality Time-Lapse Videos?
You'll need a sturdy tripod, a camera with manual settings, and an intervalometer. Don't forget a wide-angle lens for expansive scenes. Memory cards with ample storage and spare batteries are essential for long shoots.
How Do I Calculate the Ideal Interval Between Shots for Time-Lapse Photography?
To calculate the ideal interval, consider your scene's speed and desired final video length. Divide the event duration by your target clip length, then by your frame rate. You'll get the seconds between shots.
What Software Is Best for Editing and Compiling Time-Lapse Footage?
You'll find several great options for editing time-lapse footage. Popular choices include Adobe Premiere Pro, Final Cut Pro X, and LRTimelapse. These powerful tools offer features like deflickering, color correction, and smooth shifts to enhance your time-lapse sequences.
How Can I Prevent Camera Shake During Long Time-Lapse Sequences?
To prevent camera shake in long time-lapses, you'll want to use a sturdy tripod and remote shutter release. Avoid touching the camera during shooting. If possible, disable image stabilization and use mirror lock-up on DSLRs for extra stability.
What Are the Best Subjects or Scenes for Beginner Time-Lapse Photographers?
For beginner time-lapse photographers, you'll find great subjects in nature: clouds moving across the sky, flowers blooming, or sunsets. Urban scenes like bustling streets or construction sites also work well. Start with stationary subjects to practice your technique.
In Summary
You've now got the tools to capture stunning time-lapse shots. Remember to lock your focus, adjust exposure compensation, and set manual white balance for consistency. Don't forget to try HDR mode for enhanced dynamic range. Experiment with long exposures to add dreamy effects to your sequences. With these tricks up your sleeve, you'll be creating professional-looking time-lapses in no time. Keep practicing, and you'll soon master the art of time-lapse photography.


Leave a Reply