
To achieve pro-level color grading for mobile video content, start by understanding your device's color profiles and using essential tools like LUTs and scopes. Adjust white balance for consistency, then master exposure, contrast, saturation, and vibrance to enhance your footage. Create custom LUTs for your unique style and optimize your workflow with adjustment layers and keyframing techniques. Use a calibrated display and precision tools like a stylus for accurate adjustments. Remember to balance creative vision with technical precision, ensuring your graded footage looks stunning on various screens. Dive deeper to unleash the full potential of mobile color grading.
Understanding Mobile Video Color Profiles
Understanding mobile video color profiles is vital for achieving professional-level color grading. When you're working with mobile footage, you'll encounter various color profiles, each with unique characteristics. The most common profiles are Standard, Log, and HDR.
Standard profiles are designed for immediate viewing, offering vibrant colors and decent contrast. However, they limit your editing flexibility.
Log profiles, on the other hand, capture a wider dynamic range by recording a flat, desaturated image. This gives you more latitude for color correction and grading in post-production.
HDR profiles expand the color gamut and brightness range, allowing for more vivid and lifelike imagery. They're ideal for creating content that pops on HDR-capable devices.
To work effectively with these profiles, you'll need to understand their specific attributes and limitations. It's important to know which profile your device uses by default and how to adjust settings for best results.
Some advanced mobile cameras let you choose between profiles, while others may require third-party apps for more control. By mastering these profiles, you'll be better equipped to achieve consistent, high-quality color grading across your mobile video projects.
Essential Color Grading Tools
With a solid grasp of color profiles, let's explore the key tools you'll need for professional color grading on mobile.
First, you'll want a robust color correction app. Look for one that offers precise control over exposure, contrast, and color balance. Apps like Adobe Premiere Rush or FilmicPro provide these features and are compatible with most smartphones.
Next, make certain you have access to LUTs (Look-Up Tables). These preset color grades can quickly transform your footage's look. Many apps allow you to import custom LUTs or offer built-in options.
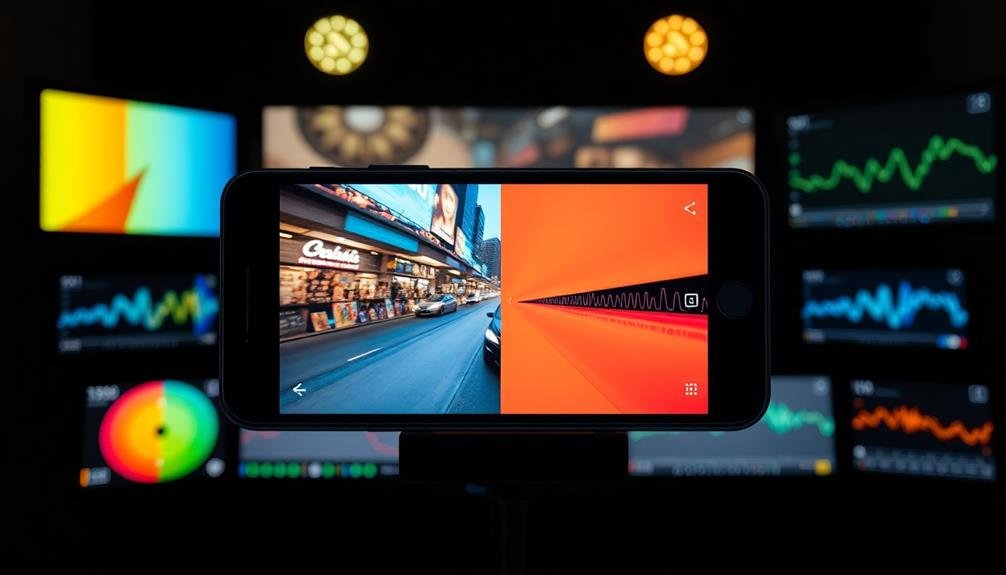
Scopes are essential for accurate color grading. Waveform monitors help you judge exposure, while vectorscopes assist in color balance. Some advanced mobile apps now include these professional tools.
Don't overlook the importance of a calibrated display. While your phone's screen may not be perfect, you can improve accuracy by adjusting settings and using external monitors when possible.
Lastly, invest in a good stylus. It'll give you more precise control over adjustments, especially when working with curves and color wheels. This level of accuracy can make a significant difference in your final output.
Adjusting White Balance for Consistency
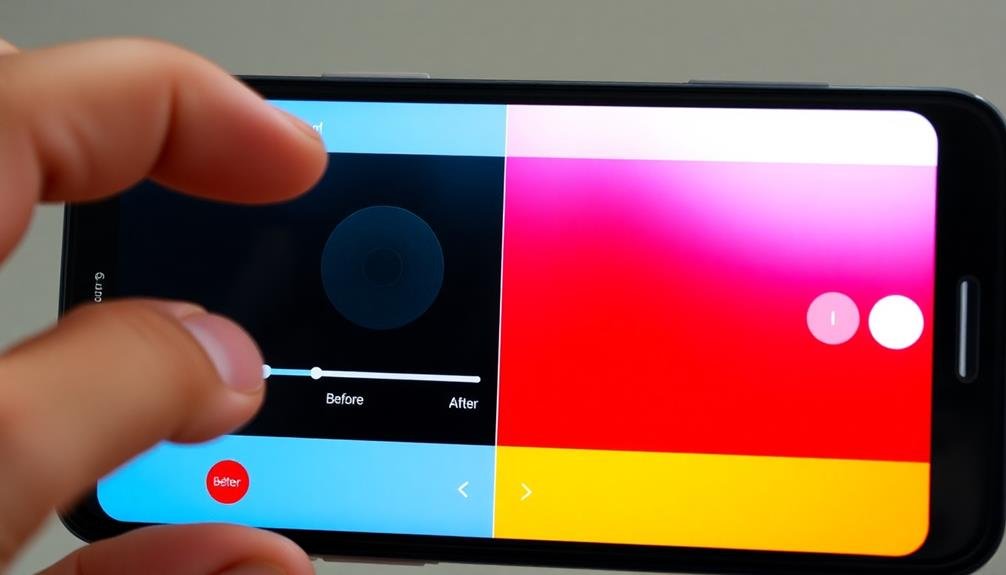
White balance consistency is the cornerstone of professional-looking video. It guarantees that colors appear natural and accurate across different shots and lighting conditions. To achieve this, you'll need to adjust the white balance in your mobile video editing app.
Start by identifying a neutral white or gray object in your footage. Use this as a reference point to set the white balance. Most apps offer presets like "daylight" or "tungsten," but for precise control, opt for manual adjustments. Manipulate the color temperature slider to shift between warm (orange) and cool (blue) tones.
Fine-tune with the tint slider to balance green and magenta hues. For consistency across multiple clips, apply the same white balance settings to all footage shot under similar lighting conditions. If lighting changes dramatically between scenes, create separate adjustments for each.
Pay special attention to skin tones, as they're often a key indicator of proper white balance.
Mastering Exposure and Contrast

Once you've nailed the white balance, it's time to focus on exposure and contrast. These elements are essential for creating visually appealing and professional-looking mobile video content.
Start by adjusting the overall exposure of your footage, making sure that it's neither too dark nor too bright. Use histogram tools to check for clipping in the shadows and highlights.
Next, fine-tune the contrast to add depth and dimension to your video. Increase the difference between the darkest and lightest areas, but be careful not to crush the blacks or blow out the highlights.
Experiment with the mid-tones to achieve a balanced look that suits your creative vision.
Don't forget to pay attention to individual color channels. Adjust the RGB curves to enhance specific hues and create a unique color palette for your video. Use selective color adjustments to target and modify particular color ranges without affecting others.
Remember that exposure and contrast work hand in hand with other color grading elements. As you make adjustments, constantly refer back to your white balance settings to maintain consistency throughout your footage.
This iterative process will help you achieve a polished, professional look in your mobile video content.
Enhancing Saturation and Vibrance

After fine-tuning exposure and contrast, it's time to plunge into saturation and vibrance. These two settings are essential for creating visually striking mobile video content. Saturation intensifies all colors equally, while vibrance selectively enhances less saturated colors, preserving skin tones.
Start by adjusting vibrance to bring out subtle hues without overpowering the image. This will add depth and richness to your footage. Next, fine-tune saturation to achieve the desired color intensity. Be cautious not to oversaturate, as this can lead to unnatural-looking video and loss of detail.
For a cinematic look, consider slightly desaturating your footage and selectively boosting specific colors. This technique can create a mood or draw attention to key elements. Use color wheels or HSL (Hue, Saturation, Luminance) controls in your editing app to target specific color ranges.
Remember that different genres and styles may require varying levels of saturation. Nature documentaries often benefit from enhanced vibrance, while moody dramas might call for more subdued colors.
Always consider your content's purpose and intended emotional impact when adjusting these settings.
Creating Custom LUTs for Mobile

For advanced color grading on mobile, creating custom LUTs (Look-Up Tables) can elevate your videos to a professional level. Custom LUTs allow you to apply complex color transformations consistently across your footage, saving time and guaranteeing a cohesive look.
To create custom LUTs for mobile, start by developing your desired color grade in a professional editing software like DaVinci Resolve or Adobe Premiere Pro. Once you've perfected your look, export it as a LUT file, typically in .cube format. Many mobile video editing apps now support LUT imports, so you can easily apply your custom look to your mobile footage.
When designing LUTs for mobile use, consider the limitations of smaller screens and varying viewing conditions. Create LUTs that enhance contrast and color without pushing the boundaries too far, as extreme grades may not translate well on mobile devices.
Test your LUTs on different mobile screens to guarantee they look good across various devices.
Remember to create a set of LUTs for different lighting situations and moods. This will give you a versatile toolkit for quickly applying professional-grade color to your mobile videos, regardless of the shooting conditions.
Color Grading Workflow for Efficiency

With custom LUTs in your toolkit, it's time to streamline your color grading process for maximum efficiency.
Start by organizing your footage into batches with similar lighting conditions and color profiles. This will allow you to apply consistent adjustments across multiple clips quickly.
Next, establish a clear order of operations. Begin with primary corrections: adjust exposure, white balance, and contrast. Then move on to secondary corrections, focusing on specific color ranges or areas of the frame. Apply your custom LUTs at this stage to achieve your desired look.
Use adjustment layers to make global changes without affecting individual clips. This allows for quick experimentation and easy reversal if needed.
Take advantage of keyframing to create smooth shifts between different color grades within a single clip.
Develop a system of keyboard shortcuts for your most-used tools and adjustments. This will greatly speed up your workflow.
Don't forget to create and save presets for common adjustments you make frequently.
Frequently Asked Questions
How Does Color Grading Affect Video File Size on Mobile Devices?
Color grading can increase your video file size on mobile devices. It adds data to each frame, potentially requiring more storage space. However, the impact is usually minimal if you're using efficient codecs and compression techniques.
Can Color Grading Fix Poorly Lit or Underexposed Mobile Video Footage?
Color grading can help improve poorly lit or underexposed mobile footage, but it's not a miracle fix. You'll see better results with minor exposure issues. It can't recover details from severely underexposed areas or create light that wasn't there.
What Are the Best Mobile Apps for Professional-Level Color Grading?
You'll find several excellent mobile apps for professional color grading. Try DaVinci Resolve, Filmic Pro, or LumaFusion. These offer advanced tools like LUTs, curves, and color wheels to transform your footage. Don't forget Adobe's Premiere Rush for on-the-go editing.
How Do Different Mobile Screens Impact the Perception of Color-Graded Content?
You'll notice different mobile screens affect color perception. Your video's grading may look different on various devices due to variations in display technology, color accuracy, and brightness. It's essential to test your content across multiple screens.
Is It Possible to Color Grade HDR Footage on Standard Mobile Devices?
You can color grade HDR footage on standard mobile devices, but you'll face limitations. Your device's display may not accurately represent HDR colors, and you'll need specialized apps. It's possible, but not ideal for professional-level results.
In Summary
You've now got the tools to elevate your mobile video content with pro-level color grading. Remember, it's all about understanding color profiles, mastering essential adjustments, and creating a efficient workflow. Don't be afraid to experiment with custom LUTs and push your creativity. With practice, you'll develop an eye for perfect color balance and consistency. Keep refining your skills, and you'll soon be producing stunning, professional-looking mobile videos that stand out from the crowd.


Leave a Reply