
To guarantee top-quality mobile footage, you'll need to optimize several export settings. Start with a frame rate of 30-60 fps and choose a resolution that balances quality and file size, like 1080p. Set your bitrate between 8-12 Mbps for 1080p content, using H.264 or HEVC codecs for wide compatibility. For audio, use AAC codec at 128-256 kbps. Select MP4 as your file format and stick to sRGB color space for consistent playback. Consider your target platform when choosing aspect ratios, with 16:9 for landscape and 9:16 for vertical videos. Diving deeper into these settings can greatly enhance your mobile video quality.
Frame Rate Selection
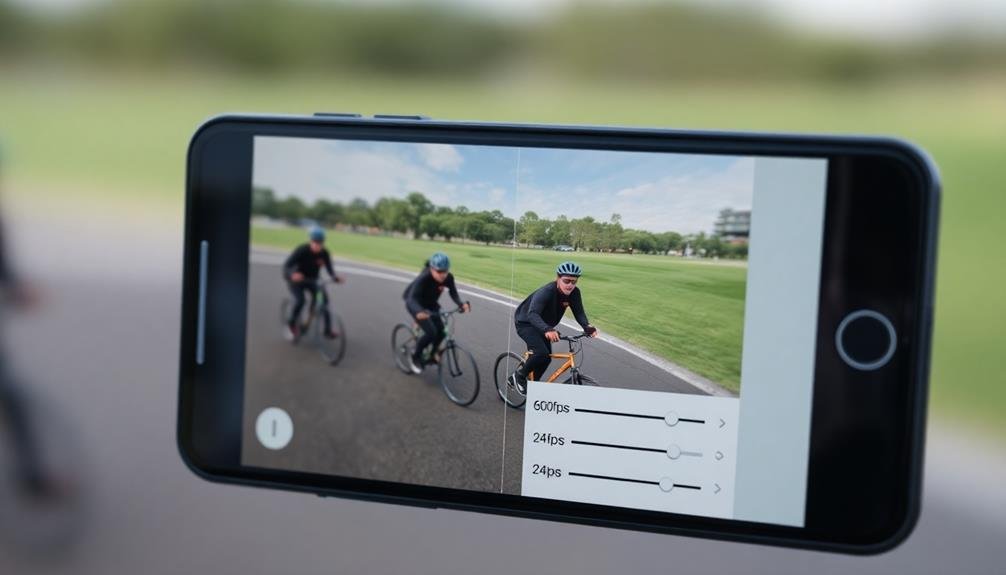
When it comes to frame rate selection for mobile footage, you'll want to strike a balance between smooth playback and file size. The standard frame rate for most mobile devices is 30 frames per second (fps), which provides a good baseline for smooth video playback.
However, many modern smartphones can capture footage at higher frame rates, such as 60 fps or even 120 fps. If you're aiming for a cinematic look, consider exporting at 24 fps, which is the standard for film.
For action-packed scenes or slow-motion effects, higher frame rates like 60 fps or 120 fps can be beneficial. Keep in mind that higher frame rates result in larger file sizes and may not be necessary for all types of content.
Consider your target platform when selecting a frame rate. Some social media platforms have specific requirements or recommendations. For example, Instagram supports up to 60 fps, while TikTok recommends 30 fps for ideal performance.
Ultimately, choose a frame rate that complements your content and meets your distribution needs. Test different options to find the best balance between visual quality and file size for your specific mobile footage.
Resolution Options
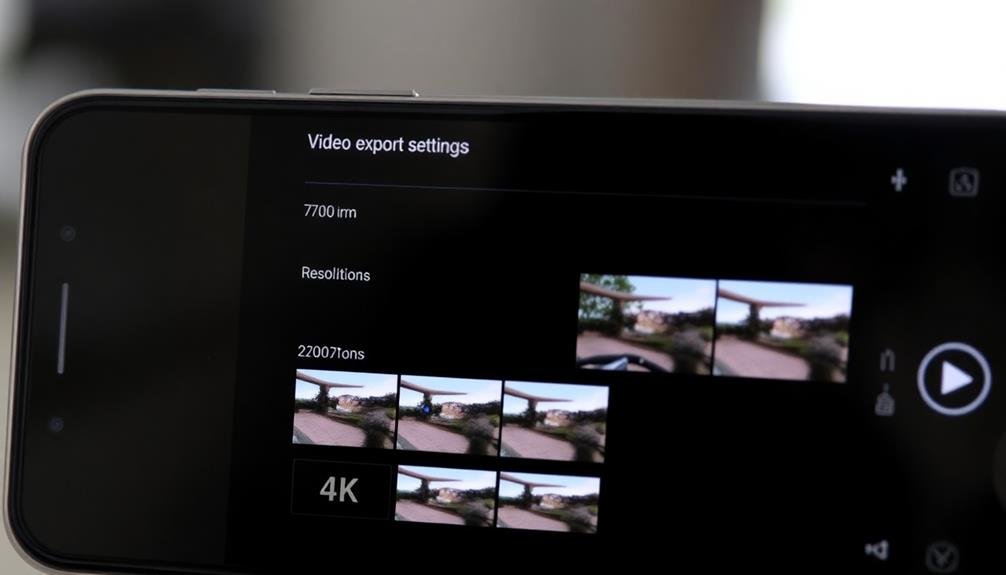
Resolution goes hand in hand with frame rate when optimizing your mobile footage for export. When choosing your resolution, consider the native resolution of your mobile device's camera and your intended platform for sharing.
Most modern smartphones can shoot in 4K (3840×2160), which offers the highest quality but results in larger file sizes. If you're sharing on social media or websites with limited bandwidth, you might opt for 1080p (1920×1080) or even 720p (1280×720) for smoother playback and faster uploads.
For vertical videos, common on platforms like TikTok and Instagram Reels, use 1080×1920 or 720×1280. These maintain the aspect ratio while providing crisp visuals.
If you've shot in 4K but want to export in a lower resolution, you can still benefit from the higher quality source material. Downscaling from 4K to 1080p often results in sharper footage than if you'd originally shot in 1080p.
Remember to match your project settings to your export settings for consistency. This guarantees your footage isn't unnecessarily scaled up or down during the export process, maintaining the best possible quality.
Bitrate Considerations
For mobile footage, bitrate plays an essential role in determining your video's final quality and file size. When exporting, you'll need to strike a balance between maintaining visual fidelity and keeping file sizes manageable for mobile devices.
For standard 1080p footage, aim for a bitrate between 8-12 Mbps. This range typically provides a good compromise between quality and file size.
If you're working with 4K content, you'll want to increase the bitrate to 35-45 Mbps to preserve detail.
Consider your target platform when selecting a bitrate. Social media platforms often compress videos, so you might opt for a slightly higher bitrate to compensate. However, if you're creating content for your own website or app, you can fine-tune the bitrate to optimize loading times.
Variable bitrate (VBR) encoding can be beneficial for mobile footage. It allocates more data to complex scenes and less to simpler ones, resulting in better overall quality without unnecessarily inflating file sizes.
Two-pass VBR encoding offers the best results but takes longer to process.
Codec Choices

When exporting mobile footage, you'll need to choose between several codec options.
H.264 remains a popular choice for its wide compatibility, while HEVC (H.265) offers better compression at the cost of potentially longer render times.
For professional workflows, you might consider ProRes or DNXHD, which provide higher quality but considerably larger file sizes.
H.264 vs. HEVC (H.265)
Two major codecs dominate mobile video export: H.264 and HEVC (H.265).
H.264 is widely supported and offers excellent compression while maintaining good quality. It's compatible with most devices and platforms, making it a safe choice for ensuring your video plays smoothly across various systems.
HEVC (H.265), the newer codec, provides even better compression than H.264. It can achieve similar quality at half the file size, which is particularly beneficial for high-resolution content like 4K videos. This makes HEVC ideal for saving storage space and reducing bandwidth usage during streaming.
However, HEVC has some drawbacks. It's not as universally supported as H.264, especially on older devices. Encoding times are also longer, which can be a concern if you're working with limited processing power.
When choosing between H.264 and HEVC, consider your target audience and distribution platform. If broad compatibility is essential, stick with H.264. If you're targeting newer devices and prioritize efficiency, HEVC might be the better option.
Some projects may benefit from exporting in both formats to cater to different user needs.
Prores and DNXHD Options
While H.264 and HEVC are popular for distribution, ProRes and DNxHD offer high-quality options for professional editing and post-production. These codecs provide superior image quality and are designed for seamless editing workflows.
ProRes, developed by Apple, comes in several flavors. ProRes 422 is a versatile choice, offering a good balance between quality and file size. For higher quality, you can opt for ProRes 422 HQ or ProRes 4444 for projects requiring alpha channels. ProRes is widely supported in professional editing software and maintains excellent image quality through multiple edits.
DNxHD, Avid's offering, provides similar benefits. It's available in various bitrates, allowing you to choose the right balance of quality and file size for your project. DNxHD 145 is a popular choice for 1080p content, while DNxHR supports higher resolutions.
When choosing between ProRes and DNxHD, consider your editing software and delivery requirements. Both codecs preserve more color information and detail than H.264 or HEVC, making them ideal for color grading and effects work.
However, they result in larger file sizes, so make certain you have adequate storage space when working with these formats.
Audio Export Settings

When exporting audio for mobile footage, you'll need to take into account three key factors.
First, select an ideal bitrate that balances quality and file size for mobile playback.
Next, choose an appropriate audio codec compatible with your target devices and platforms.
Optimal Bitrate Selection
Choosing the right audio bitrate can make or break your mobile video's sound quality. When exporting your footage, you'll need to balance file size with audio fidelity. For most mobile videos, a bitrate between 128-256 kbps is sufficient. Higher bitrates offer better quality but increase file size, while lower bitrates reduce quality but save space.
Consider your content type when selecting a bitrate. Music-heavy videos benefit from higher bitrates, while speech-only content can use lower rates. Here's a quick guide:
| Content Type | Recommended Bitrate |
|---|---|
| Speech | 96-128 kbps |
| Mixed | 128-192 kbps |
| Music | 192-256 kbps |
| High-Fidelity | 256-320 kbps |
Appropriate Audio Codec
Alongside bitrate selection, the audio codec you choose plays a key role in your video's sound quality and file size. For mobile footage, you'll want to strike a balance between audio clarity and efficient compression. The most widely supported and versatile codec for this purpose is AAC (Advanced Audio Coding).
When exporting your video, opt for AAC-LC (Low Complexity) as it offers excellent sound quality while maintaining relatively small file sizes. Set your audio bitrate between 128-256 kbps for ideal results. If you're dealing with voice-only content, you can go as low as 64-96 kbps without significant quality loss.
For maximum compatibility across mobile devices, stick to a sample rate of 44.1 kHz or 48 kHz. Avoid higher sample rates, as they'll increase file size without providing noticeable benefits on most mobile speakers.
If your footage contains multichannel audio, consider downmixing to stereo for mobile playback. This will guarantee consistent audio performance across various devices and reduce file size.
Stereo vs. Mono
The decision between stereo and mono audio can greatly impact your mobile video's quality and file size. Stereo audio uses two channels to create a sense of space and direction, while mono uses a single channel. For most mobile footage, mono is often sufficient and can greatly reduce file size.
Consider your content when choosing. If you're recording music, interviews with multiple speakers, or ambient sounds, stereo can provide a richer, more immersive experience. However, for vlogs, tutorials, or single-speaker videos, mono is typically adequate and more efficient.
Remember that many mobile devices play audio in mono by default, so the benefits of stereo may be lost on some viewers. If you're unsure, test both options and compare the results on various devices.
When exporting, set your audio to mono if file size is a concern or if your content doesn't benefit from spatial audio. Choose stereo if audio quality is paramount and you're confident your audience will appreciate the difference.
Ultimately, the right choice depends on your specific needs and target audience's listening environment.
File Format Selection

File format selection stands as an essential step in optimizing your mobile footage for export. When choosing a format, consider your intended use and distribution platform.
For high-quality playback on various devices, opt for MP4 with H.264 codec. It's widely supported and offers excellent compression without significant quality loss.
If you're prioritizing quality over file size, consider using MOV with ProRes codec. This format is ideal for professional editing and color grading but results in larger file sizes.
For web streaming, you might want to use WebM with VP9 codec, which provides efficient compression and is supported by major browsers.
For social media platforms, stick to their recommended formats. Instagram and Facebook prefer MP4, while Twitter supports MOV files.
If you're working with HDR content, consider HEVC (H.265) codec for better color depth and dynamic range.
Remember that some formats may require specific software or hardware for playback. Always test your exported video on multiple devices to guarantee compatibility.
Color Profile Optimization

Once you've selected the appropriate file format, it's crucial to optimize your color profile for the best visual results. Choose a color profile that matches your intended delivery platform. For most mobile devices, sRGB is the standard color space, offering wide compatibility and accurate color representation.
If you're targeting higher-end devices or professional platforms, consider using wider color gamuts like P3 or Rec. 2020. These profiles can display a broader range of colors, enhancing the visual impact of your footage. However, verify your editing software and export settings support these advanced color spaces.
Pay attention to HDR (High Dynamic Range) settings if your mobile footage was shot in this format. When exporting HDR content, use the appropriate color profile and metadata to preserve the expanded dynamic range and color depth.
Don't forget to calibrate your monitor to guarantee accurate color representation during editing. This step helps maintain consistency between what you see during post-production and the final output on mobile devices.
Lastly, consider the viewing environment of your audience. Adjust brightness and contrast to compensate for varying lighting conditions in which mobile users might watch your video.
Aspect Ratio Decisions
After optimizing your color profile, it's time to address aspect ratio considerations. When exporting video for mobile devices, you'll need to choose between popular aspect ratios like 16:9, 9:16, 1:1, or 4:5. Your decision should be based on the platform where you'll share the video and your target audience's viewing habits.
For landscape orientation, stick with 16:9, as it's the standard for most video content. If you're creating vertical videos for platforms like TikTok or Instagram Stories, opt for 9:16. Square videos (1:1) work well for Instagram feed posts, while 4:5 is ideal for in-feed videos on Instagram and Facebook.
Consider your content when choosing an aspect ratio. For example, interviews or talking head videos often work best in 16:9, while product demonstrations might benefit from a vertical 9:16 format. If you're unsure, export multiple versions to test on different platforms.
Remember that some platforms may crop your video if it doesn't match their preferred aspect ratio. To avoid this, add letterboxing or pillarboxing to maintain your original composition while fitting the platform's requirements.
Frequently Asked Questions
How Can I Reduce Video File Size Without Significantly Compromising Quality?
You can reduce video file size without major quality loss by using efficient codecs like H.265, lowering bitrate slightly, reducing resolution, and trimming unnecessary footage. Also, consider adjusting frame rate and using variable bitrate encoding.
What's the Best Way to Export Vertical Videos for Social Media Platforms?
For vertical videos on social media, you'll want to export in 9:16 aspect ratio. Use 1080×1920 resolution for ideal quality. Don't forget to choose the right codec, like H.264, and adjust bitrate for platform-specific requirements.
Should I Use Variable or Constant Bitrate When Exporting Mobile Footage?
You'll want to use constant bitrate for mobile footage exports. It guarantees consistent quality throughout your video, especially during complex scenes. While it may result in larger file sizes, you'll avoid quality fluctuations in your final product.
How Do I Ensure My Exported Video Maintains HDR Quality?
To maintain HDR quality in your exported video, you'll need to use an HDR-compatible codec like HEVC or H.265. Make certain your export settings match the original footage's color space and bit depth. Don't forget to enable HDR metadata.
What Export Settings Work Best for Slow-Motion Footage on Mobile Devices?
For slow-motion footage on mobile devices, you'll want to export at a high frame rate (120fps or higher) and use H.264 encoding. Choose a bitrate of at least 30Mbps and maintain your original resolution for best results.
In Summary
You've now got the tools to export top-quality mobile footage. Remember, it's all about balancing frame rate, resolution, bitrate, and codec choices. Don't forget your audio settings and file format selection. Optimize your color profile and choose the right aspect ratio for mobile viewing. With these considerations in mind, you'll be creating stunning videos that look great on any mobile device. Keep experimenting to find the perfect settings for your unique content.


Leave a Reply