
Styling food for Instagram transforms your meals into visual feasts, enchanting audiences and boosting your online culinary presence. You'll master composition techniques, harness the power of lighting, and use color psychology to create irresistible images. By focusing on texture, detail, and storytelling, you'll elevate your dishes beyond mere sustenance. A well-curated feed builds your personal brand, attracts potential clients, and keeps you ahead of trends. From mastering the rule of thirds to experimenting with props and backgrounds, food styling is an art that turns everyday meals into photogenic masterpieces. Discover how to make your culinary creations shine in the digital world.
The Power of Visual Appeal
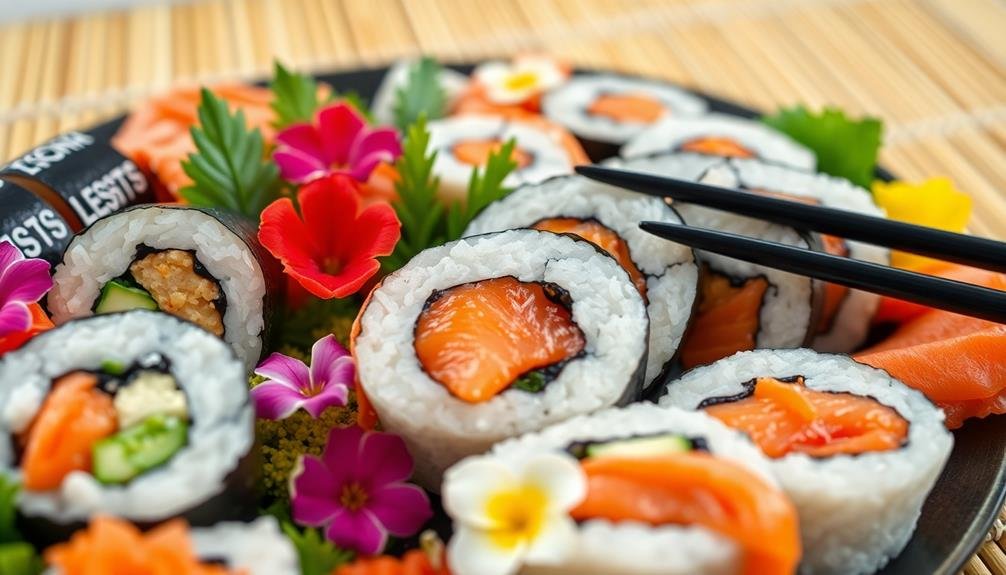
Food lovers and social media enthusiasts know that a picture is worth a thousand likes. When it comes to Instagram, the visual appeal of your food can make or break your post's success. You'll want to tap into the power of aesthetics to captivate your audience and boost engagement.
Visual appeal isn't just about making food look pretty; it's about creating an emotional connection. When you style your dishes, you're telling a story that resonates with viewers. You're not just sharing a meal; you're inviting others to experience it through their screens.
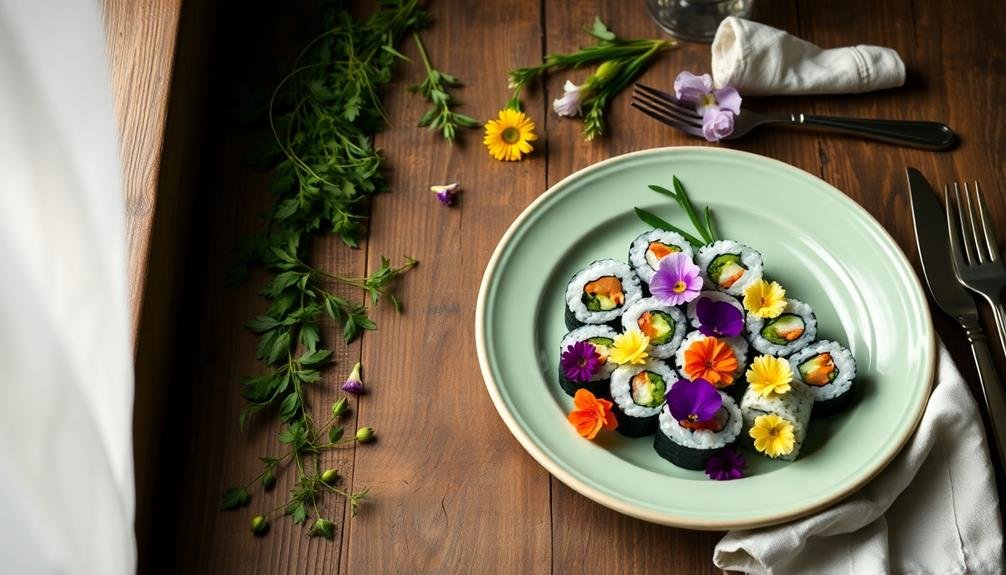
Colors play an essential role in this visual feast. Vibrant, contrasting hues can make your food pop, while complementary colors create harmony.
Texture is equally important; you'll want to highlight the crispness of vegetables, the juiciness of fruits, or the gooeyness of melted cheese.
Lighting is your best friend in food photography. Natural light often works best, bringing out the true colors and textures of your dishes.
You'll also want to take into account composition, using the rule of thirds or leading lines to guide the viewer's eye across the image.
Building Your Personal Brand
While mastering the art of food photography is key, it's equally important to develop a unique voice on Instagram. Your personal brand sets you apart from countless other food accounts and helps you attract a loyal following. Start by defining your niche—whether it's vegan desserts, exotic cuisines, or budget-friendly meals.
Consistency is essential, so maintain a cohesive aesthetic across your posts. Engage with your audience by sharing stories behind your dishes, offering cooking tips, or discussing food trends. This personal touch humanizes your brand and fosters connections.
Don't shy away from showing your personality; let your passion for food shine through captions and comments. Collaborate with other food enthusiasts, local restaurants, or brands that align with your values. These partnerships can expand your reach and add diversity to your content.
Remember to use relevant hashtags strategically to increase visibility. Regularly analyze your engagement metrics to understand what resonates with your audience. Adapt your content strategy accordingly, but stay true to your core brand identity.
With persistence and authenticity, you'll build a strong personal brand that stands out in the crowded food Instagram space.
Attracting Potential Clients
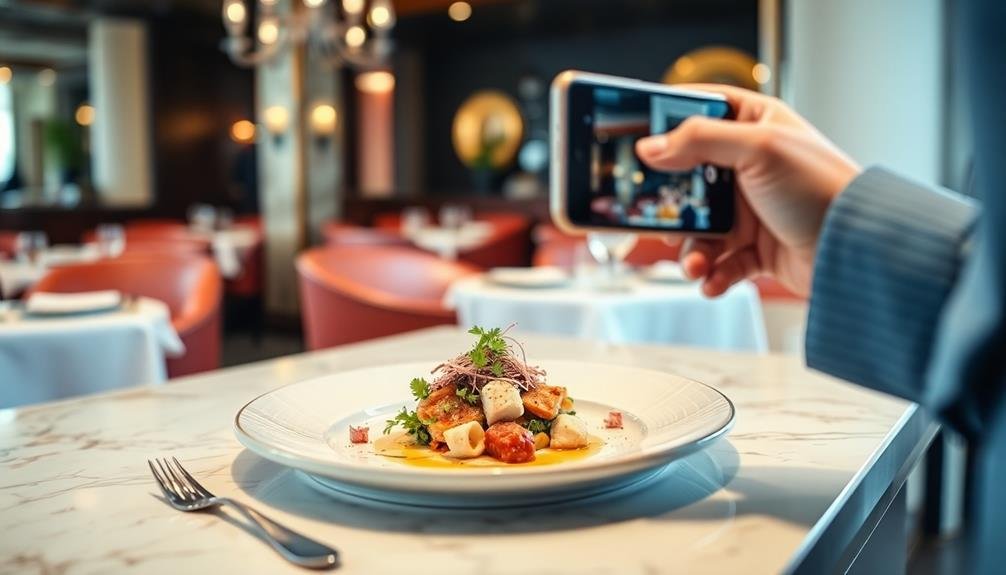
Opportunity knocks when you've built a strong Instagram presence and personal brand. Potential clients are scrolling through their feeds, hungry for visually appealing content. Your expertly styled food photos can catch their eye and lead them straight to your profile.
By consistently posting high-quality, mouthwatering images, you'll attract followers who appreciate your aesthetic and culinary skills.
To turn these followers into clients, engage with them meaningfully. Respond to comments, ask questions, and share behind-the-scenes content to build trust and rapport.
Showcase your versatility by featuring different cuisines, plating styles, and photography techniques. This illustrates your adaptability and appeals to a wider range of potential clients.
Consider offering exclusive promotions or services to your Instagram audience:
- Limited-time discounts on food styling workshops
- Early access to new recipe e-books
- One-on-one virtual consultations for aspiring food photographers
Mastering Composition Techniques

Crafting visually striking images goes beyond simply pointing and shooting. You'll need to master composition techniques to create eye-catching food photos that stand out on Instagram. Start by applying the rule of thirds, dividing your frame into a 3×3 grid and placing key elements along the lines or at their intersections. This creates balance and draws the viewer's eye to important aspects of your dish.
Consider the following composition elements when styling your food:
| Element | Purpose |
|---|---|
| Symmetry | Creates order and elegance |
| Asymmetry | Adds visual interest and energy |
| Negative space | Highlights the main subject |
| Leading lines | Guides the viewer's eye |
| Framing | Focuses attention on the dish |
Experiment with different angles to find the most flattering perspective for your food. Overhead shots work well for flat lays, while 45-degree angles can add depth and dimension. Don't forget about color theory; use complementary or contrasting colors to make your dish pop. Finally, pay attention to textures and layers, as they can add visual interest and make your food appear more appetizing.
Lighting: The Secret Ingredient
Lighting is essential for making your food photos pop on Instagram.
You'll need to decide between natural and artificial light sources, considering how each affects shadows and highlights in your image.
Don't forget that color temperature can dramatically change the mood and appeal of your food, so experiment with warm and cool lighting to find the perfect balance.
Natural vs. Artificial Light
When it comes to food photography, one of the most essential decisions you'll face is choosing between natural and artificial light.
Natural light, streaming through windows or captured outdoors, offers a soft, organic quality that can make your dishes look fresh and appetizing. It's especially flattering for raw ingredients and rustic dishes. However, you're at the mercy of weather conditions and time of day.
Artificial light gives you more control over your shots. You can create consistent lighting regardless of the time or location, perfect for maintaining a cohesive Instagram feed. It's ideal for moody or dramatic food photos, allowing you to highlight textures and create interesting shadows.
To decide between natural and artificial light, consider:
- Your style and aesthetic
- The type of food you're photographing
- Your shooting schedule and location constraints
Experiment with both lighting options to find what works best for your unique food photography style.
Don't be afraid to mix techniques, using reflectors or diffusers with natural light, or softening artificial light for a more natural look. The key is to create appetizing, scroll-stopping images that showcase your culinary creations in their best light.
Shadows and Highlights
Mastering the interplay of shadows and highlights is the next step in elevating your food photography. You'll want to create depth and dimension in your images by carefully controlling these elements. Shadows add contrast and drama, while highlights bring attention to specific areas and textures.
To achieve the perfect balance, experiment with different lighting angles. Side lighting can create long, dramatic shadows that emphasize the texture of your food. Backlighting, on the other hand, can produce a ethereal glow around the edges of your subject. Don't be afraid to use reflectors or diffusers to soften harsh shadows or bounce light back onto your subject.
Here's a quick guide to help you manipulate shadows and highlights:
| Lighting Technique | Effect on Shadows | Effect on Highlights | Best For |
|---|---|---|---|
| Front Lighting | Minimal | Even | Flat, clean look |
| Side Lighting | Long, dramatic | Textured | Rustic, moody shots |
| Backlighting | Deep foreground | Rim light | Translucent foods |
| Top Lighting | Short, natural | Bright top surface | Overhead layouts |
Color Temperature Matters
The secret to truly eye-catching food photos boils down to understanding color temperature. When you're styling food for Instagram, you'll want to pay close attention to the warmth or coolness of your lighting.
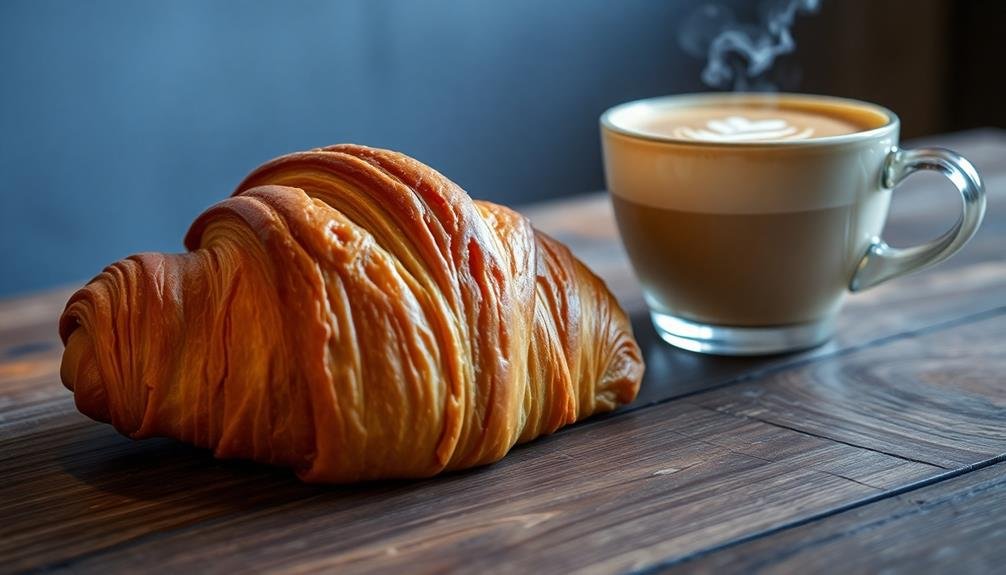
Color temperature can dramatically affect the mood and appeal of your dishes, making them look more appetizing or less appealing. Warmer light, with its yellow and orange tones, tends to create a cozy, inviting atmosphere that's perfect for comfort foods and rustic dishes.
On the other hand, cooler light with blue undertones can make fresh ingredients pop and give a crisp, clean feel to your images. It's vital to match your lighting to the type of food you're photographing.
To master color temperature in your food photography:
- Use natural light whenever possible for the most balanced results
- Experiment with different times of day to capture varying color temperatures
- Invest in adjustable LED lights to fine-tune your lighting setup
Props and Backgrounds Matter
When it comes to food photography, your props and backgrounds are essential for setting the scene.
You'll want to choose items that add texture and contrast, enhancing the visual appeal of your dish.
Consider using color coordination techniques to create a harmonious composition that will make your food pop on Instagram.
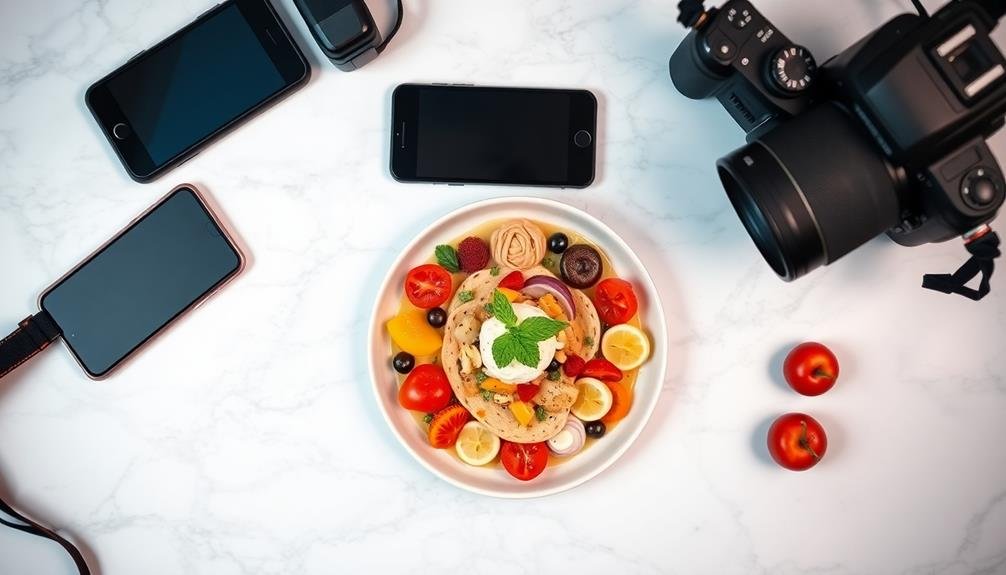
Setting the Scene
Have you ever wondered why some food photos on Instagram seem to pop off the screen? It's not just about the food itself; setting the scene plays an essential role in creating visually appealing images.
When styling food for Instagram, you'll want to take into account the entire composition, including the background, props, and lighting.
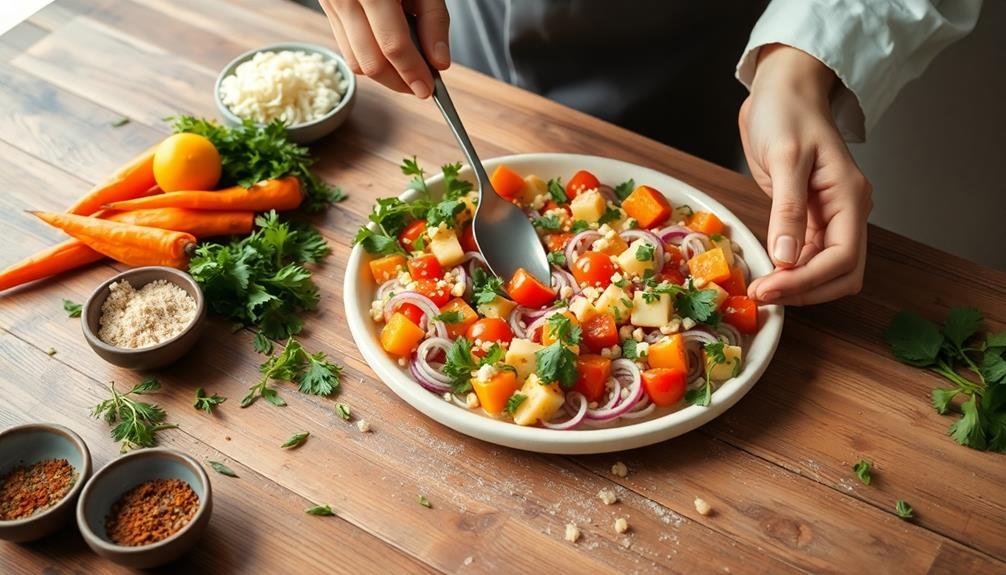
To set the perfect scene, start by choosing a background that complements your dish. Neutral surfaces like marble, wood, or plain tablecloths can make your food stand out.
Next, select props that enhance the story you're trying to tell. Cutlery, napkins, and ingredients can add interest and context to your shot.
Reflect on these key elements when setting the scene:
- Lighting: Natural light is often best, so try shooting near a window.
- Angles: Experiment with different perspectives to find the most flattering view.
- Negative space: Leave some empty areas to create balance and draw focus to the food.
Texture and Contrast
Food's visual appeal on Instagram isn't just about color; texture and contrast play essential roles in creating eye-catching images. When styling your dishes, focus on incorporating a variety of textures to add depth and interest. Combine smooth elements with rough or crunchy ones, like pairing a creamy sauce with crispy bacon bits or adding crushed nuts to a velvety dessert.
Contrast is equally important in making your food pop. Use props and backgrounds that complement your dish without overwhelming it. Choose plates, utensils, and linens that enhance the food's colors and textures. A dark background can make vibrant ingredients stand out, while a light one can highlight rich, deep colors.
Don't forget about compositional contrast. Mix shapes and sizes to create visual interest. Pair round plates with square napkins or long, thin breadsticks with a circular bowl of soup.
Use negative space strategically to draw attention to your dish. By carefully considering texture and contrast, you'll create Instagram-worthy food photos that engage viewers and make them crave your culinary creations.
Color Coordination Techniques
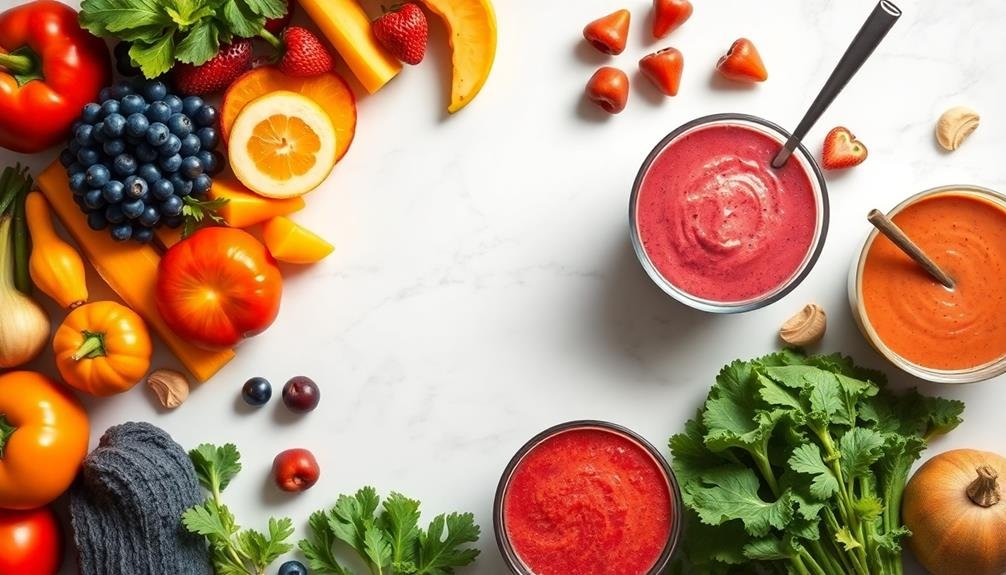
A rainbow of possibilities awaits when it comes to color coordination in food photography. You'll want to carefully consider how colors interact in your composition to create visually appealing and appetizing images.
Start by identifying the dominant colors in your dish and choose props and backgrounds that complement or contrast with these hues.
Consider using the color wheel as a guide for creating harmonious combinations. Analogous colors, which sit next to each other on the wheel, can create a soothing, cohesive look. Complementary colors, found opposite each other, can add vibrant contrast and make your food pop.
When selecting props and backgrounds, keep these color coordination techniques in mind:
- Use neutral backgrounds to let colorful dishes shine
- Incorporate pops of color with carefully chosen utensils or linens
- Create monochromatic compositions for a sophisticated look
Don't be afraid to experiment with different color palettes to find what works best for your style and the mood you want to convey.
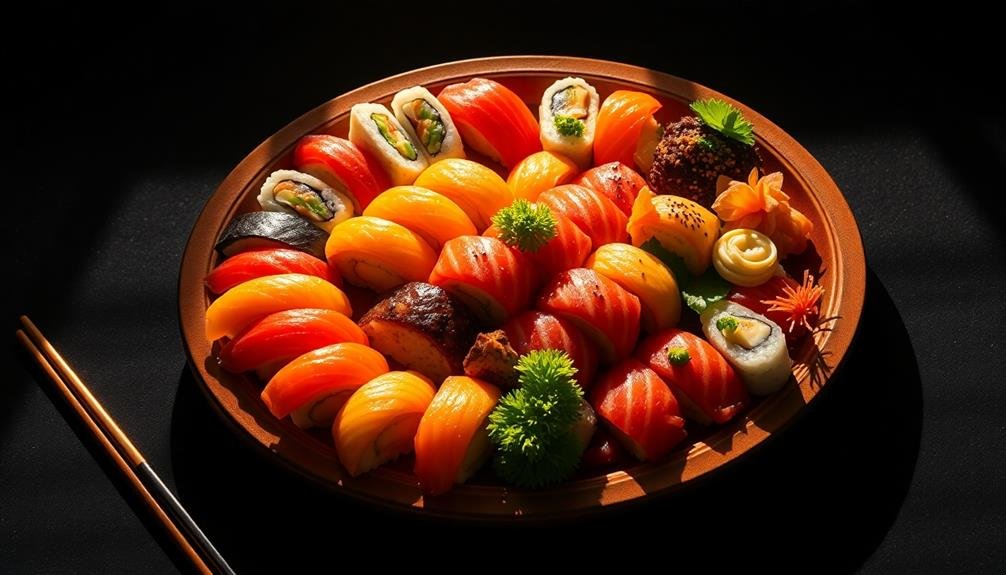
Color Psychology in Food Styling
Through the lens of color psychology, food styling for Instagram takes on a whole new dimension.
You'll want to leverage the emotional and psychological impact of colors to create more engaging and appetizing photos. Red and orange hues can stimulate appetite and create a sense of warmth, making them ideal for hearty dishes or comfort foods.
Blue, while less common in natural foods, can evoke feelings of trust and calm, perfect for health-focused or seafood posts.
Green signifies freshness and health, making it excellent for salads and vegetable-centric dishes. Yellow and golden tones can trigger feelings of happiness and optimism, great for bright, cheerful breakfast shots.
Purple, often associated with luxury and indulgence, works well for desserts or high-end cuisine.
When styling your food, consider the psychological impact of your color choices.
Combine complementary colors to create visually striking contrasts that grab attention. Use color to guide the viewer's eye to the focal point of your dish.
Capturing Texture and Detail
To capture stunning food textures and details, you'll want to master macro photography techniques.
Get up close and personal with your dish, using a macro lens or your phone's close-up mode to reveal intricate patterns and surfaces.
Experiment with lighting angles to highlight surface contrasts, bringing out the crispiness of fried foods or the glossy sheen of sauces.
Macro Photography Techniques
Macro photography zooms in on the intricate details of food, bringing out textures and patterns that might go unnoticed by the naked eye. This technique can transform ordinary ingredients into enthralling visual masterpieces, perfect for Instagram.
To master macro food photography, you'll need a macro lens or a camera with a good macro mode. When shooting macro, pay attention to your focus point. Since the depth of field is extremely shallow, you'll want to guarantee the most important part of your subject is tack-sharp.
Use a tripod to eliminate camera shake and experiment with different angles to find the most interesting composition.
Lighting is essential in macro photography. Soft, diffused light works best to highlight textures without creating harsh shadows. Consider using a ring light or a small softbox to achieve even illumination.
To elevate your macro food photography, try these techniques:
- Focus stacking for increased depth of field
- Using a spray bottle to add water droplets for a fresh look
- Experimenting with unique textures and patterns in food
Highlighting Surface Contrasts
While macro photography excels at capturing minute details, highlighting surface contrasts can create equally striking images for Instagram. To make your food photos pop, focus on emphasizing the textural differences between various elements of your dish.
Start by arranging your food to showcase contrasting surfaces side by side. Pair smooth, glossy items with rough, matte ones. For example, place a velvety chocolate mousse next to a crunchy, textured cookie.
Use lighting techniques to accentuate these differences. Side lighting can cast shadows that emphasize texture, while diffused light softens harsh contrasts.
When shooting, adjust your camera settings to capture surface details. Use a narrow aperture (high f-number) for increased depth of field, ensuring all textures are in focus.
Experiment with different angles to find the best way to highlight contrasts. A top-down view might work well for flat surfaces, while a 45-degree angle can reveal depth and layers.
In post-processing, selectively enhance contrast and clarity to make textures more pronounced. Don't overdo it, though – you want your food to look appetizing, not alien.
With practice, you'll master the art of highlighting surface contrasts, creating visually engaging food photos that'll stand out on Instagram.
Telling a Story Through Food
Food photography on Instagram isn't just about showcasing beautiful dishes; it's about weaving a narrative through your culinary creations. When you're styling food for Instagram, think about the story you want to tell. Are you sharing a family recipe passed down through generations? Showcasing a fusion of cultural cuisines? Or highlighting locally sourced ingredients?
To tell a compelling story through your food photos, consider these elements:
- Background and props that complement the dish's theme
- Ingredients or cooking tools that hint at the preparation process
- Thoughtful plating that reflects the cuisine's cultural origins
You can create a sense of place by incorporating elements from the dish's origin or your current location. For example, if you're sharing a beachside seafood dish, include sand or seashells in the background.
Don't forget to use captions to enhance your visual story. Share the inspiration behind the dish, its significance to you, or interesting facts about its ingredients or preparation.
Staying Ahead of Instagram Trends
Keeping up with Instagram's ever-changing landscape can be challenging, but it's essential for food photographers who want to stay relevant. To stay ahead, you'll need to regularly research trending hashtags, popular accounts, and emerging aesthetics. Pay attention to color schemes, plating styles, and presentation techniques that are gaining traction.
Don't be afraid to experiment with new angles, lighting setups, and props to create unique compositions. Embrace emerging technologies like 360-degree photos or short-form video content to showcase your food in innovative ways. Keep an eye on seasonal trends and incorporate them into your shots, such as pumpkin-spiced everything in autumn or fresh, vibrant produce in spring.
Engage with your audience and fellow food photographers to stay connected to the community. Participate in Instagram challenges, collaborate with other creators, and attend food photography workshops to expand your skills and network.
Frequently Asked Questions
How Much Should I Invest in Food Styling Equipment?
You don't need to invest much in food styling equipment. Start with essentials like basic props, a good camera or smartphone, and natural lighting. Gradually build your collection as you grow. Focus on creativity rather than expensive gear.
Are There Legal Considerations When Using Branded Products in Food Photos?
You'll need to be cautious with branded products in food photos. Always get permission before featuring logos or packaging. If you're promoting products, disclose sponsorships. For personal use, it's generally okay, but avoid implying endorsements without consent.
How Can I Collaborate With Restaurants or Food Brands for Content?
You can reach out to restaurants and food brands directly, offering your photography services. Propose collaborations, showcase your portfolio, and suggest mutually beneficial arrangements. Don't forget to negotiate clear terms and compensation for your content creation efforts.
What Are the Best Editing Apps for Food Photography on Instagram?
You'll find great editing apps for Instagram food photography in VSCO, Snapseed, and Foodie. They offer filters, adjustments, and tools to enhance colors, lighting, and textures. Don't forget Adobe Lightroom Mobile for professional-level edits.
How Often Should I Post Food Content to Maintain Audience Engagement?
You should aim to post food content 2-3 times a week to maintain audience engagement. It's important to stay consistent but not overwhelm your followers. Mix up your content types and use Instagram Stories to keep your audience interested.
In Summary
You've now learned the art of food styling for Instagram. By mastering visual appeal, composition, lighting, and color psychology, you'll create mouthwatering images that captivate your audience. Remember to tell a story through your food and stay on top of trends. With these skills, you'll build your personal brand, attract potential clients, and stand out in the crowded world of food photography. So grab your camera, style that dish, and watch your Instagram following grow!


Leave a Reply