
To capture stunning time-lapse cityscapes with your smartphone, start by scouting the perfect location with iconic landmarks or unique vantage points. Secure your device on a stable tripod and adjust camera settings for ideal exposure. Experiment with different intervals to capture the city's rhythm, from fast-moving traffic to slow-changing light. Don't miss the magic of day-to-night shifts by starting your shoot before sunset. In post-processing, focus on smooth frame shifts and subtle creative elements to enhance the natural beauty. With practice, you'll master the art of transforming urban scenes into mesmerizing visual stories that bring cities to life.
Scout the Perfect Location

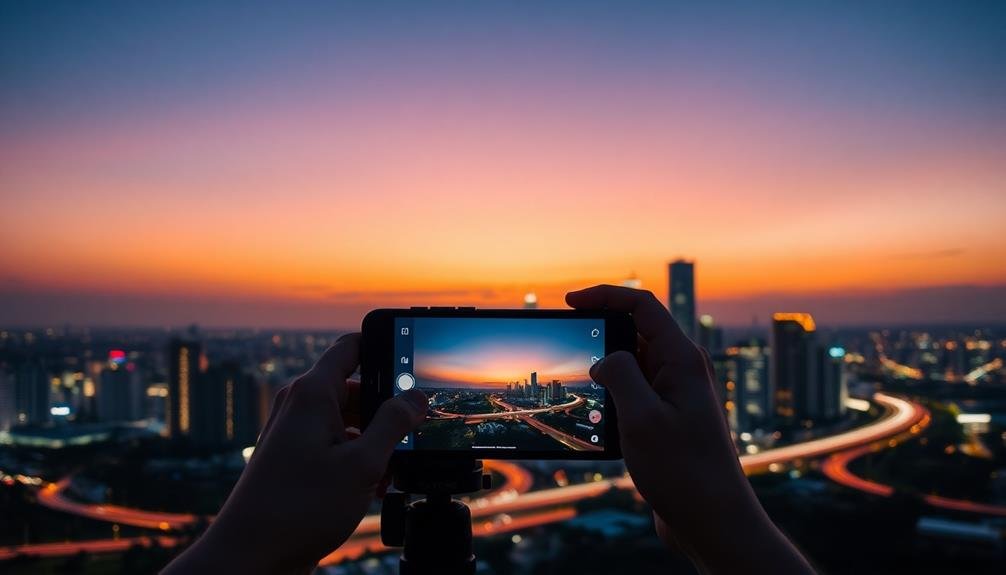
Scouting the perfect location is your first essential step in capturing stunning time-lapse cityscapes. Begin by researching your city's iconic landmarks, skylines, and popular vantage points. Look for elevated positions that offer unobstructed views, such as rooftops, hills, or observation decks. Consider the direction of sunlight and how it'll change throughout your shoot.
Visit potential spots at different times of day to assess lighting conditions and crowd levels. Pay attention to the movement of people, traffic, and other dynamic elements that'll add interest to your time-lapse. Look for locations that combine static architectural elements with moving features like clouds, boats, or vehicles.
Don't overlook less obvious locations that might offer unique perspectives. Urban parks, bridges, or even parking garages can provide surprising vantage points. Consider the foreground and background elements in your frame, ensuring they complement each other and create depth.
Check if you need permits or permission to shoot at your chosen location. Some spots may have restrictions on tripod use or photography equipment.
Set Up Your Smartphone Securely

With your perfect location scouted, it's time to focus on securing your smartphone for the time-lapse shoot. A stable setup is essential for capturing smooth, professional-looking cityscape time-lapses. Start by investing in a reliable tripod that's compatible with your phone. Look for one with adjustable legs to handle uneven surfaces and a ball head for precise framing.
Once you've got your tripod, use a smartphone mount to attach your device securely. Make sure it's tightened properly to prevent any unwanted movement. If you're shooting in windy conditions, consider adding weight to your tripod for extra stability.
Here's a quick guide to essential equipment and settings for your time-lapse setup:
| Equipment | Settings | Tips |
|---|---|---|
| Tripod | Interval timer | Use manual focus |
| Phone mount | Exposure lock | Disable notifications |
| External battery | White balance | Clean your lens |
| ND filter | RAW format | Monitor battery life |
Don't forget to bring a fully charged external battery pack to keep your phone powered throughout the shoot. Finally, enable your phone's "Do Not Disturb" mode to prevent interruptions and guarantee a smooth recording process.
Adjust Camera Settings for Success
After securing your smartphone, it's time to dial in the right camera settings for a stunning cityscape time-lapse.
Start by switching to manual mode, which gives you full control over exposure settings. Set your ISO as low as possible to reduce noise, typically between 100-400. Adjust your shutter speed to capture the right amount of motion blur; for cityscapes, try 1/30 to 1/2 second exposures.
Next, focus on your aperture. A smaller aperture (higher f-number) will keep more of the scene in focus, which is ideal for cityscapes. Aim for f/8 to f/11 for sharp results.
Don't forget to set your white balance manually to maintain consistent color throughout your time-lapse.
For interval settings, choose a timing that matches your scene's pace. In busy cities, set shorter intervals (2-5 seconds) to capture more movement. For slower-changing scenes, longer intervals (10-30 seconds) work well.
Capture Day-to-Night Transitions
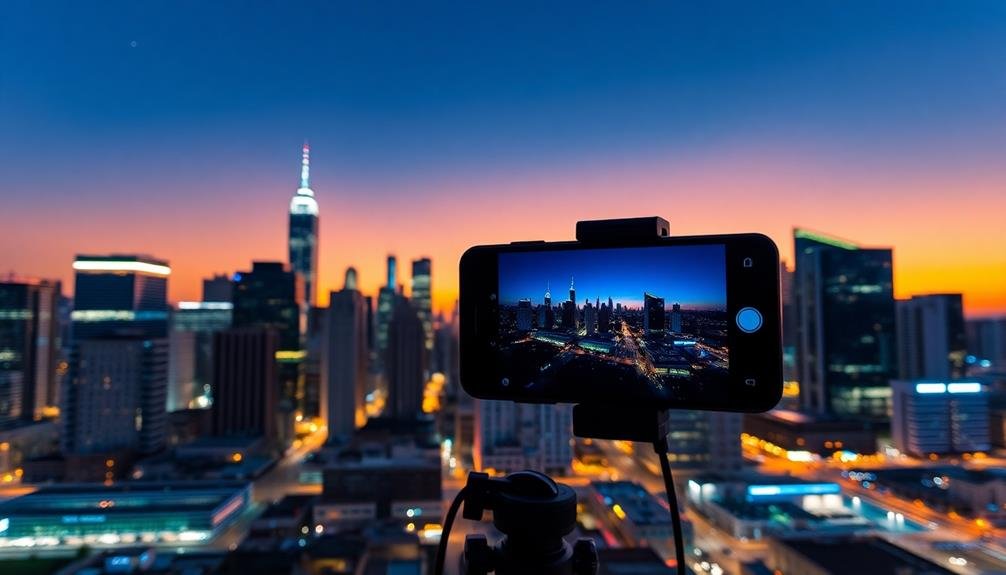
Capturing day-to-night changes can elevate your cityscape time-lapse to new heights. To achieve this stunning effect, start your shoot about an hour before sunset and continue until the city lights fully illuminate the scene. Position your phone securely and make certain it has enough battery life or connect it to a power bank.
As the light changes, you'll need to adjust your camera settings gradually. Use manual mode to control exposure, white balance, and ISO. Begin with a lower ISO and faster shutter speed, then slowly increase ISO and lengthen exposure as darkness falls. This technique will create a smooth shift from daylight to artificial lighting.
Here's a guide to help you adjust settings throughout the shift:
| Time | ISO | Shutter Speed | White Balance |
|---|---|---|---|
| Golden Hour | 100 | 1/60s | Daylight |
| Blue Hour | 200 | 1/30s | Cloudy |
| Twilight | 400 | 1/15s | Fluorescent |
| Early Night | 800 | 1/8s | Tungsten |
| Full Night | 1600 | 1/4s | Auto |
Remember to capture more frames during rapid light changes to create a seamless shift. With practice, you'll master this technique and create breathtaking day-to-night time-lapses that showcase your city's dynamic beauty.
Experiment With Different Intervals

When experimenting with time-lapse intervals, you'll find that short intervals capture quick changes while long intervals work best for gradual shifts.
You can also try variable interval techniques, adjusting the time between shots as the scene evolves.
Match your intervals to the specific cityscape you're shooting, considering factors like traffic flow, cloud movement, and lighting changes.
Short vs. Long Intervals
Experimenting with different intervals is essential for mastering cityscape time-lapses. When choosing between short and long intervals, consider the effect you want to achieve and the scene you're capturing.
Short intervals, typically 1-5 seconds, are ideal for fast-moving subjects like traffic or crowds. They'll create a smooth, fluid motion in your final video, capturing rapid changes in the cityscape. Use short intervals when you're shooting during rush hour or in bustling areas where there's constant movement.
Long intervals, ranging from 10-30 seconds or more, work best for slower changes like shifting shadows or cloud movements. They're perfect for capturing the evolution from day to night or showcasing architectural details.
You'll need longer intervals when shooting sunrise or sunset time-lapses, or when you want to emphasize the passage of time.
Variable Interval Techniques
Variable interval techniques can take your cityscape time-lapses to the next level. Instead of sticking to a single interval throughout your shoot, try adjusting the time between shots as conditions change. This approach allows you to capture the dynamic nature of urban environments more effectively.
Start with shorter intervals during peak activity periods, such as rush hour or sunset. You'll capture more frames, resulting in smoother motion when people and vehicles are moving quickly. As the city slows down, gradually increase your intervals to emphasize the passage of time and create a more dramatic effect.
Experiment with ramping techniques, where you progressively change intervals throughout your shoot. For example, begin with 1-second intervals during golden hour, then slowly increase to 5-second intervals as night falls. This method can seamlessly shift from day to night, showcasing the city's transformation.
Don't forget to evaluate your subject matter when choosing intervals. Use shorter intervals for fast-moving clouds or traffic, and longer ones for slower changes like construction progress or shadows moving across buildings. By tailoring your intervals to the scene, you'll create more compelling and dynamic cityscape time-lapses.
Matching Intervals to Scenes
Every cityscape scene demands its own unique approach to time-lapse intervals. You'll need to experiment with different settings to capture the perfect rhythm of urban life.
Consider the following elements when choosing your intervals:
- Traffic flow: Faster intervals for rush hour, slower for quiet streets
- Cloud movement: Longer intervals for slow-moving clouds, shorter for fast-moving skies
- Architectural features: Highlight shadows moving across buildings
- Pedestrian activity: Capture the ebb and flow of foot traffic
- Light changes: Showcase the shift from day to night
Start with a baseline interval of 1-2 seconds for most cityscape scenes. For slower-moving elements like construction projects or shadow movements, try 5-10 second intervals.
If you're capturing a bustling intersection or fast-moving clouds, opt for shorter 0.5-1 second intervals.
Don't be afraid to adjust your intervals mid-shoot. You can always blend different sequences in post-production.
Edit for Smooth Frame Transitions

To create a polished cityscape time-lapse, you'll need to focus on smooth frame changes.
Start by blending frames seamlessly in your editing software, eliminating any jarring jumps between images.
You can also adjust time intervals during post-processing, ensuring a consistent flow throughout your sequence.
Blend Frames Seamlessly
In order to create a professional-looking time-lapse cityscape, you'll need to blend frames seamlessly. This technique guarantees a smooth flow between images, eliminating jarring shifts that can distract viewers.
Start by selecting a consistent interval between shots, typically ranging from 1 to 5 seconds, depending on the scene's activity level.
To achieve seamless blending, focus on these key aspects:
- Maintain a fixed camera position throughout the shoot
- Use manual settings to avoid exposure fluctuations
- Employ neutral density filters for consistent light levels
- Choose a higher frame rate for smoother motion
- Apply motion blur in post-processing for a cinematic effect
When editing, use software that allows for frame interpolation, which creates additional frames between existing ones. This process helps to smooth out any remaining inconsistencies.
Pay close attention to areas of high contrast or movement, as these are often where blending issues become most noticeable. Adjust opacity levels between frames to create subtle shifts, especially during dramatic light changes like sunsets or sunrises.
Adjust Time Intervals
Building on the concept of seamless blending, adjusting time intervals plays a key role in creating smooth frame shifts. You'll need to experiment with different intervals to find the right balance for your cityscape scene.
Start by setting your camera to capture images every 5-10 seconds for slower-moving elements like clouds or pedestrians. For faster-moving subjects like traffic or rapidly changing light conditions, shorten the interval to 1-3 seconds.
Consider the overall duration of your time-lapse and the final video length you're aiming for. If you want a 30-second video at 30 frames per second, you'll need 900 total frames. Adjust your intervals accordingly to capture enough frames over your desired shooting period.
Keep in mind that longer intervals can create a more dramatic effect but may result in choppier shifts. Shorter intervals produce smoother motion but require more storage space and battery life.
Use your phone's time-lapse mode if available, as it often automatically adjusts intervals based on the scene. Alternatively, invest in a dedicated intervalometer app for more precise control.
Remember to monitor your phone's battery life and storage capacity throughout the shoot to avoid interruptions.
Add Creative Elements in Post-Processing
Post-processing's magic can transform your cityscape time-lapse from good to extraordinary. With the right tools and techniques, you'll enhance your footage and create a fascinating visual story. Start by adjusting basic elements like contrast, saturation, and white balance to guarantee consistency across all frames.
Then, immerse yourself in more advanced editing to add creative flair.
Consider these post-processing tricks to elevate your time-lapse:
- Apply color grading to set a specific mood or atmosphere
- Add light streaks or flares to emphasize movement
- Incorporate subtle zoom or pan effects for dynamic motion
- Blend multiple exposures to capture both highlights and shadows
- Overlay text or graphics to provide context or tell a story
Don't be afraid to experiment with different effects and shifts. You can create a day-to-night shift by gradually adjusting exposure and color temperature.
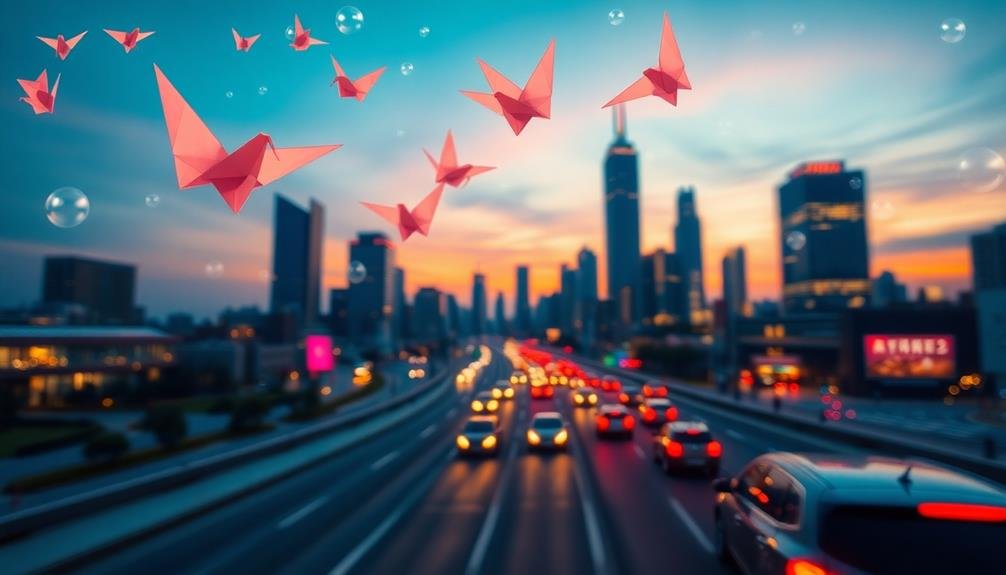
Or, try adding a tilt-shift effect to make your cityscape appear miniature. Remember, subtlety is key – avoid overwhelming your viewers with too many effects. Instead, use post-processing to enhance the natural beauty of your time-lapse and guide the viewer's eye through the urban landscape you've captured.
Frequently Asked Questions
How Long Should a Typical Cityscape Time-Lapse Video Be?
You'll typically want your cityscape time-lapse video to be between 15 to 30 seconds long. This duration is short enough to maintain viewer interest but long enough to showcase significant changes in the urban landscape you're capturing.
What Apps Are Best for Creating Time-Lapse Videos on Smartphones?
You'll find several great apps for time-lapse videos on your smartphone. Try Hyperlapse by Instagram, Lapse It, or Framelapse for iOS. Android users can check out Microsoft Hyperlapse Mobile, Time Lapse Camera, or Framelapse. They're all user-friendly and feature-rich.
Can I Use Filters While Shooting Time-Lapse Videos on My Phone?
Yes, you can use filters while shooting time-lapse videos on your phone. Many time-lapse apps offer built-in filter options, or you can apply filters afterward during editing. Experiment with different filters to enhance your video's mood and aesthetics.
How Do I Prevent Battery Drain During Long Time-Lapse Shoots?
To prevent battery drain during long time-lapse shoots, you'll want to:
- Fully charge your phone
- Use airplane mode
- Lower screen brightness
- Close unnecessary apps
- Bring a portable charger
- Consider an external battery pack
What's the Ideal Frame Rate for a Smooth Cityscape Time-Lapse Video?
For a smooth cityscape time-lapse, you'll want to aim for a frame rate of 24-30 fps. You can achieve this by capturing one frame every 1-5 seconds, depending on the speed of movement you're trying to capture.
In Summary
You've now got the tools to create stunning cityscape time-lapses with your smartphone. Remember, practice makes perfect. Don't be afraid to experiment with different locations, settings, and techniques. As you refine your skills, you'll capture breathtaking urban stories that unfold before your eyes. Share your creations and inspire others to see the city in a new light. Now go out there and start filming your masterpiece!


Leave a Reply