To create stunning time-lapse cooking videos, focus on these three key tricks. First, make sure your phone is stable using a tripod or improvised support like stacked books. Second, optimize lighting by utilizing natural light from windows or setting up diffused LED lights for consistent illumination. Finally, choose a time-lapse app with customizable frame rates, interval shooting options, and built-in stabilization features. Remember to position your phone at an angle that captures all the action without obstruction, and maintain accessible charging ports for longer shoots. These techniques will elevate your cooking videos, but there's even more to discover about perfecting your time-lapse creations.
Stable Phone Placement Techniques
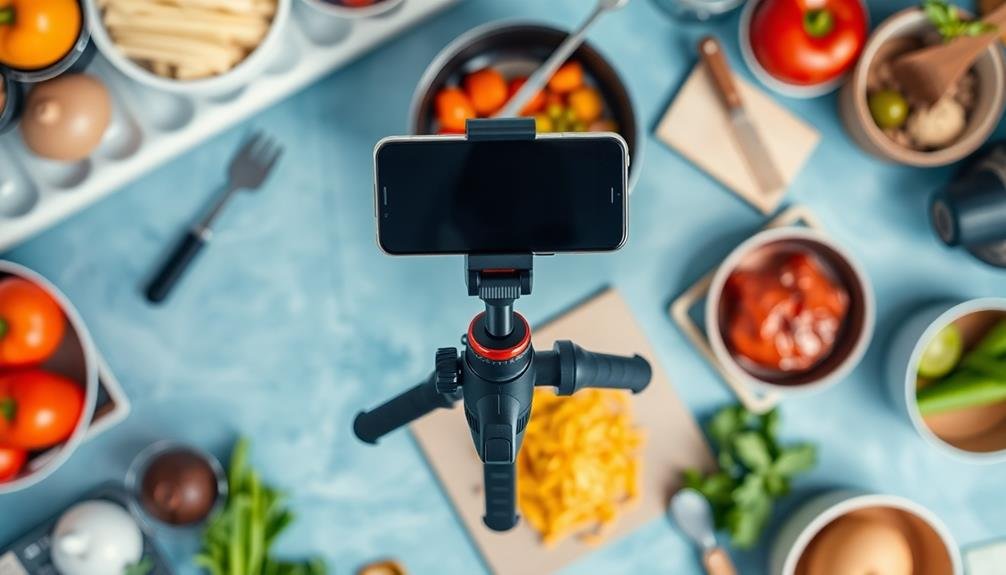
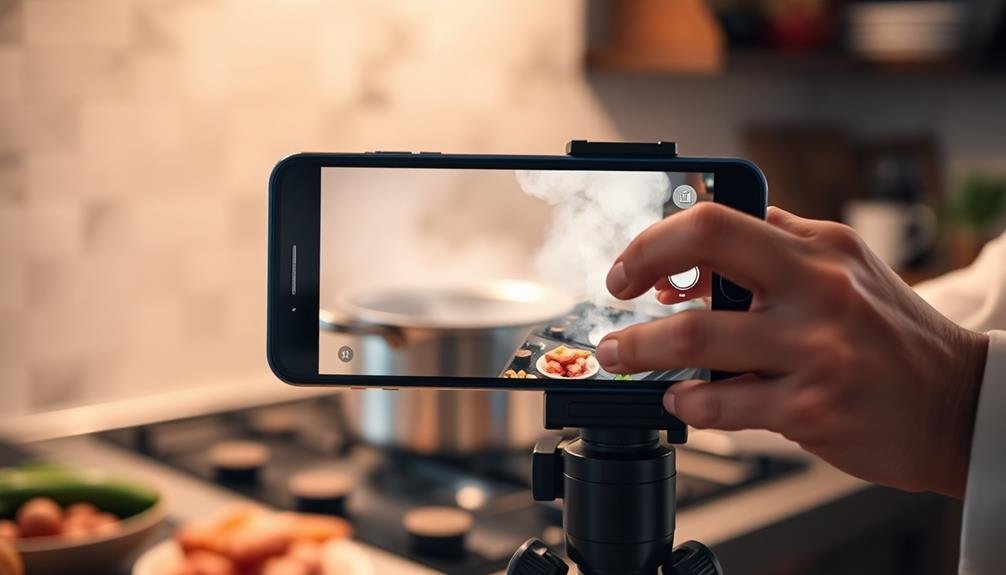
Stability is the foundation of great time-lapse cooking videos. To achieve a steady shot, you'll need to secure your phone properly. Start by investing in a sturdy tripod designed for smartphones. Look for one with adjustable legs and a ball head for versatile positioning.
If you don't have a tripod, improvise with household items. Stack books or use a mug to create a stable base for your phone.
Consider using a smartphone clamp or mount to attach your device to kitchen cabinets or shelves. This allows for overhead shots that capture your entire workspace. For close-up views, try a flexible arm mount that can be clamped to the edge of your counter.
When positioning your phone, make sure it's not in the way of your cooking process. Place it at an angle that showcases your actions without obstructing them. Use your phone's grid feature to align the shot properly. If possible, enable image stabilization in your camera settings for extra smoothness.
Remember to keep your phone's charging port accessible. Long time-lapses can drain your battery quickly, so having a power source nearby is essential for uninterrupted filming.
Optimal Lighting Setup

Often overlooked, lighting plays an essential role in creating engaging time-lapse cooking videos. You'll want to ascertain your setup is well-lit to capture every detail of your culinary process. Natural light is ideal, so if possible, position your cooking area near a window.
However, if you're shooting at night or in a poorly lit kitchen, you'll need to get creative with artificial lighting.
To achieve the best lighting for your time-lapse cooking videos, consider these key elements:
- Diffused light: Use softboxes or bounce light off white surfaces to reduce harsh shadows.
- Color temperature: Aim for consistent lighting throughout your video, typically around 5000K for a neutral daylight look.
- Multiple light sources: Combine overhead lighting with side lighting to add depth and dimension to your shots.
- Avoid flickering: Use continuous LED lights instead of fluorescent bulbs to prevent unwanted flicker in your time-lapse.
Remember to adjust your phone's exposure settings to compensate for changes in lighting as you cook.
You may need to experiment with different lighting setups to find what works best for your specific kitchen and cooking style.
Don't be afraid to get creative and have fun with your lighting choices!
Time-Lapse App Selection Tips
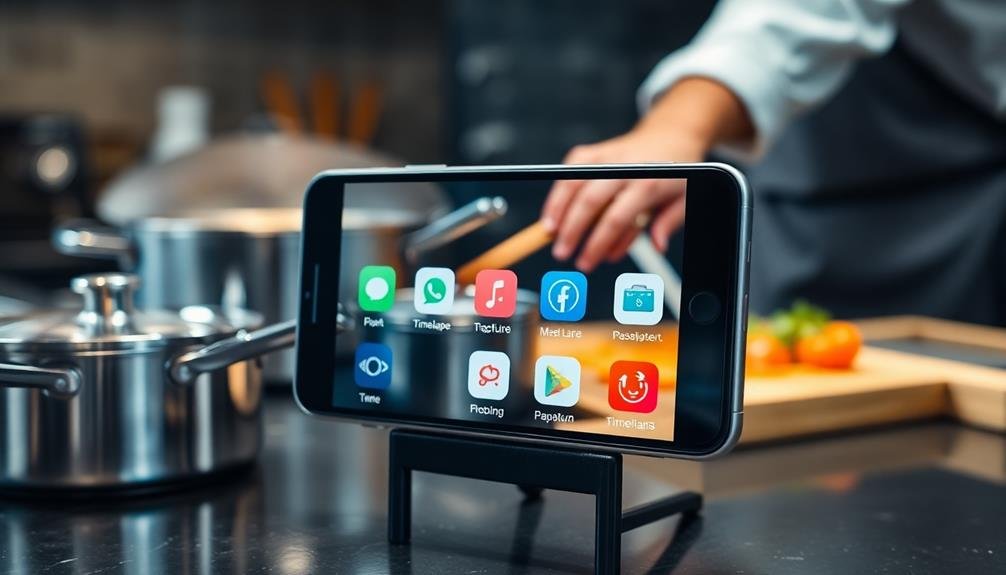
Selecting the right time-lapse app is essential for creating stunning cooking videos on your phone. Look for apps that offer customizable frame rates, allowing you to adjust the speed of your final video. Opt for those with interval shooting options, which let you set specific time gaps between each photo capture.
Choose apps with built-in stabilization features to minimize shaky footage, especially if you're shooting handheld. Make sure the app supports high-resolution output, ideally 4K, to maintain video quality. Look for apps that allow manual focus and exposure controls, giving you more creative freedom in challenging lighting conditions.
Consider apps with editing capabilities, such as trimming, adding music, or applying filters. This saves time and streamlines your workflow. Check if the app offers direct sharing to social media platforms for easy posting.
Read user reviews to gauge reliability and performance on your specific phone model. Don't overlook storage management features. Some apps automatically delete original photos after creating the time-lapse, saving space on your device.
Frequently Asked Questions
How Long Should I Record to Capture a Full Cooking Process?
You'll need to record for the entire duration of your cooking process. It'll vary depending on the recipe, but plan for anywhere from 30 minutes to several hours. You can always speed up or trim the footage later.
Can I Use Filters or Effects During Time-Lapse Cooking Videos?
Yes, you can use filters or effects during time-lapse cooking videos. They'll add visual interest and style to your footage. However, don't overdo it. Subtle effects often work best, keeping the focus on your cooking process.
What Frame Rate Is Best for Food Preparation Time-Lapses?
You'll want to aim for 1-2 frames per second for food prep time-lapses. This rate captures enough detail without dragging on too long. Experiment with your phone's settings to find what works best for your specific dish.
How Do I Prevent Steam or Smoke From Obscuring the Camera Lens?
To prevent steam or smoke from obscuring your lens, you'll want to keep your camera at a distance. Use a fan to redirect the vapor, or try placing a clear protective shield between the cooking area and your device.
Are There Specific Ingredients or Dishes That Work Better for Time-Lapse Cooking?
You'll find that colorful dishes work best for time-lapse cooking. Try stir-fries, layered casseroles, or decorative pies. Dishes with visible transformations, like rising dough or melting cheese, are also great choices. Avoid slow-cooking stews or soups.
In Summary
You've now got the tools to create stunning time-lapse cooking videos with your phone. Remember, a stable setup is essential, so don't skimp on securing your device. Lighting can make or break your footage, so take the time to get it right. Finally, choose your app wisely to guarantee smooth results. With these tricks up your sleeve, you'll be capturing mouthwatering culinary transformations in no time. Get creative and start filming your kitchen adventures today!


Leave a Reply