To capture stunning time-lapse flower blooming videos, start by selecting the right flower. Choose vibrant, fast-blooming varieties with distinct processes for visual appeal. Next, set up your smartphone properly. Use a stable tripod, clean the lens, and verify you have enough storage and power. Finally, optimize your camera settings. Use manual mode, set the ISO between 100-400, and choose an aperture of f/8 to f/11 for crisp results. Don't forget to adjust white balance and focus manually. With these tips, you'll be on your way to creating mesmerizing floral transformations. But there's even more to explore in the world of time-lapse photography.
Choose the Right Flower
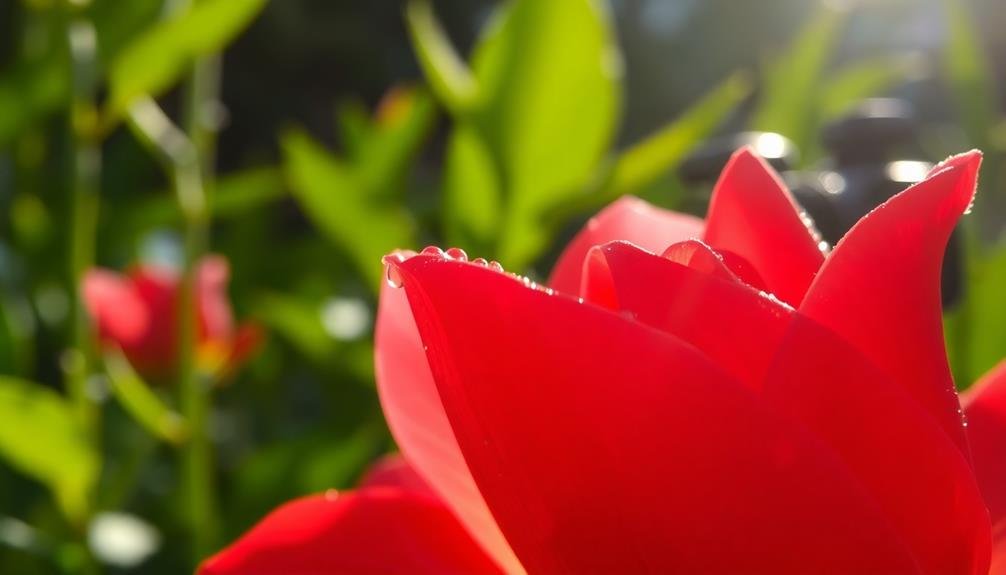
Selecting the perfect flower is vital for creating an enchanting time-lapse video. You'll want to choose a flower with a distinct blooming process that's visually appealing and occurs within a reasonable timeframe. Fast-blooming flowers like morning glories, hibiscus, or four o'clocks are excellent choices, as they open and close daily.
For longer projects, consider tulips, lilies, or amaryllis, which offer dramatic transformations over several days.
Consider the flower's color and shape, as these factors greatly impact the visual appeal of your time-lapse. Vibrant hues and intricate petal structures can create stunning effects.
It's also important to select a healthy plant with multiple buds, ensuring you have backup options if one flower doesn't perform as expected.
Research the specific care requirements for your chosen flower to maintain ideal conditions throughout the filming process. Factors like temperature, humidity, and lighting can considerably affect blooming speed and quality.
Set Up Your Smartphone

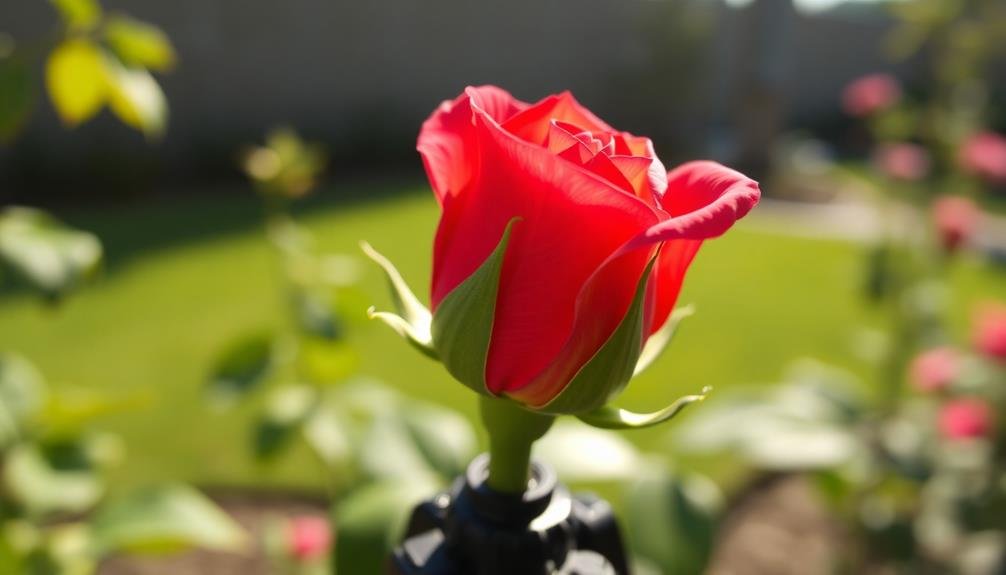
With your flower chosen, it's time to prepare your smartphone for capturing the blooming process. Start by cleaning your phone's camera lens to guarantee clear, crisp footage.
Next, secure your device on a stable tripod or mount to prevent unwanted movement during the time-lapse. Position your smartphone at the best angle and distance from the flower, considering its expected growth and movement.
Enable your device's time-lapse mode or download a dedicated time-lapse app for more control over settings. Adjust the interval between shots based on your flower's blooming speed – typically every 30 seconds to 5 minutes works well.
Confirm your phone has enough storage space for the entire blooming process, which can take several days. Connect your device to a power source or use an extended battery pack to avoid interruptions.
Disable notifications and automatic updates to prevent disturbances during recording. Consider lighting conditions throughout the day and night. Use artificial lighting if necessary, but maintain consistent illumination.
Optimize Camera Settings

Properly optimizing your camera settings is essential for capturing stunning time-lapse flower blooming videos. Start by setting your camera to manual mode to maintain consistent exposure throughout the sequence.
Choose a low ISO setting, ideally between 100-400, to minimize noise in your images. Select an aperture that provides adequate depth of field, typically f/8 to f/11, to keep the entire flower in focus as it blooms.
Set your shutter speed to match the ambient lighting conditions, aiming for a slightly slower speed to create a smooth, dreamy effect. Enable manual focus to prevent the camera from refocusing between shots. Adjust your white balance manually to maintain consistent color temperature across all frames.
If your camera has an intervalometer, set it to capture images at regular intervals, such as every 30 seconds or 1 minute, depending on the flower's blooming speed.
For smartphone users, download a dedicated time-lapse app that allows manual control over these settings. Remember to disable any automatic features like auto-exposure or auto-focus to guarantee consistency throughout your time-lapse sequence.
Frequently Asked Questions
How Long Does It Typically Take to Capture a Complete Flower Blooming Time-Lapse?
You'll typically need between 1-7 days to capture a complete flower blooming time-lapse. It depends on the flower species, environmental conditions, and your desired final video length. Be prepared for a patient, multi-day process.
Can I Use Artificial Lighting for Indoor Flower Blooming Time-Lapses?
Yes, you can use artificial lighting for indoor flower blooming time-lapses. It's crucial to maintain consistent light throughout the process. You'll want to use cool LED lights that won't overheat the flowers or affect their natural growth cycle.
What's the Best Way to Prevent Camera Shake During Long Time-Lapse Shoots?
To prevent camera shake during long time-lapses, you'll want to use a sturdy tripod. Make sure it's on a stable surface. You can also use a remote shutter release and disable image stabilization on your camera.
Are There Specific Editing Techniques to Enhance Flower Blooming Time-Lapse Videos?
You'll want to focus on color grading to enhance vibrancy, smooth shifts between frames, and subtle zoom effects. Don't forget to adjust brightness and contrast. Adding soft background music can also elevate your flower blooming time-lapse video.
How Can I Create Smooth Day-To-Night Transitions in Outdoor Flower Blooming Time-Lapses?
You'll achieve smooth day-to-night shifts by using a "holy grail" technique. Gradually adjust your camera's settings as light changes, then blend frames in post-processing. Use specialized software or manual keyframing for seamless results.
In Summary
You've now got the essential tips for capturing stunning time-lapse flower blooming videos. Remember to select a flower with a predictable bloom time, set up your smartphone securely, and optimize your camera settings for the best results. With practice, you'll create mesmerizing videos that showcase nature's beauty in fast motion. Don't be afraid to experiment with different flowers, angles, and lighting conditions. Soon, you'll be producing professional-quality time-lapses that'll amaze your audience.


Leave a Reply