To illuminate your underwater mobile photos like a pro, start by investing in waterproof housing and external LED lights. Master your white balance settings to counteract blue hues, and use natural light to your advantage by positioning with the sun at your back. Place artificial lights at a 45-degree angle to reduce backscatter, and experiment with different angles for dramatic effects. Control particles by angling lights outward and using faster shutter speeds. In post-processing, adjust exposure, color correct, and enhance contrast. By applying these techniques, you'll capture vibrant, clear images that truly bring the underwater world to life. Dive deeper to reveal even more secrets of stunning aquatic photography.
Choose the Right Lighting Equipment

Choosing the right lighting equipment is essential for capturing stunning underwater photos. Water absorbs light quickly, so you'll need powerful illumination to bring out vibrant colors and details.
Start with a waterproof housing for your smartphone, ensuring it's rated for the depths you'll be exploring.
For most underwater mobile photography, you'll want to invest in external lights. Constant LED lights are versatile and user-friendly, allowing you to see exactly how your shots will look. Choose models with adjustable brightness and beam angles for maximum flexibility.
If you're shooting fast-moving subjects, consider adding a strobe light for freeze-frame effects.
Don't forget about color temperature. Underwater lights with adjustable color settings can help you achieve more natural-looking images. Red filters are also useful for restoring warm tones that water tends to absorb.
For wider shots, consider a dual-light setup to evenly illuminate your subject and minimize shadows. If you're on a budget, start with a single powerful light and gradually build your kit.
Master White Balance Settings
The key to vibrant underwater photos lies in mastering your white balance settings. Underwater environments often cast a blue or green tint on your images, which can be corrected by adjusting your white balance.
Start by familiarizing yourself with your smartphone's manual white balance options. When shooting in shallow water, try using the "cloudy" or "shade" preset to counteract the blue hue.
For deeper dives, you'll need to adjust the Kelvin temperature manually. Experiment with values between 6000K and 10000K to find the right balance for your specific depth and water conditions.
Consider using a white slate or color correction card as a reference point. Take a photo of the card at your shooting depth, then use it to set a custom white balance. This technique guarantees accurate colors in your underwater shots.
Don't forget to readjust your white balance as you change depths or move between different water conditions. If you're unsure, bracket your shots by taking multiple images with slightly different white balance settings.
You can always fine-tune the colors in post-processing, but getting it right in-camera will save you time and preserve image quality.
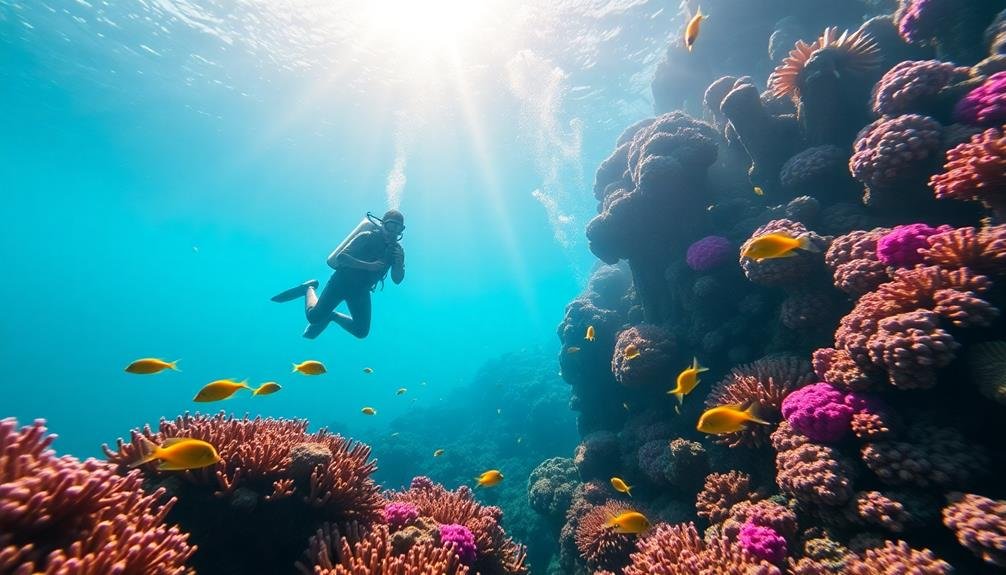
Utilize Natural Light Sources

While artificial lighting can enhance underwater photos, natural light sources often provide the best results. To make the most of natural light underwater, position yourself with the sun at your back whenever possible. This will illuminate your subject from the front, creating vibrant colors and reducing shadows.
Pay attention to the time of day you're shooting. Early morning and late afternoon offer softer, more flattering light that can penetrate the water's surface more effectively. Midday sun, while bright, can create harsh shadows and overexposed areas.
Look for light beams filtering through the water, which can add depth and drama to your shots. These are often visible in areas with particulates in the water or around coral formations. Use these light rays as natural spotlights for your subjects.
When shooting near the surface, take advantage of Snell's window – the circular area where the underwater world meets the above-water view. This can create unique split-shot compositions that showcase both environments simultaneously.
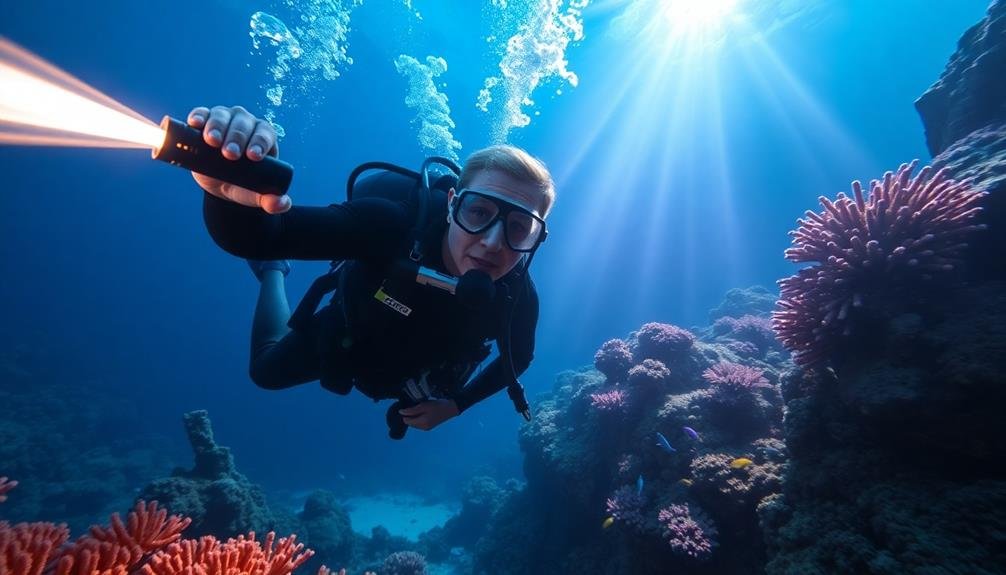
Position Your Light Effectively

Effective light positioning is essential for capturing stunning underwater photos. When using artificial light sources like underwater strobes or video lights, place them at a 45-degree angle to your subject. This angle helps reduce backscatter and creates a more natural-looking illumination.
If you're using two light sources, position them on either side of your camera for even lighting. For macro shots, move your lights closer to the subject to intensify the illumination and bring out vivid colors.
When photographing larger subjects, pull your lights back to achieve wider coverage. Remember to adjust your light position based on the subject's reflectivity. For shiny surfaces, angle your lights more to the side to avoid harsh reflections.
Don't forget to take into account the background when positioning your lights. If you want to create a dark, dramatic background, aim your lights solely on the subject. For a more balanced image, angle your lights to illuminate both the subject and the surrounding area.
Experiment with different light positions to find the perfect balance for each unique underwater scene. With practice, you'll develop an intuitive sense of where to place your lights for ideal results.
Experiment With Different Light Angles
Light-angle experimentation opens up creative possibilities in underwater photography. As you dive deeper into this art, you'll discover that changing the angle of your light source can dramatically alter the mood and composition of your shots.
Don't be afraid to move your light around, trying different positions relative to your subject.
Start by experimenting with side lighting. This technique can create striking shadows and textures, especially on coral or fish scales.
Next, try backlighting your subject. This can produce an ethereal glow around marine life, highlighting their silhouettes against the water's darkness.
For a dramatic effect, position your light source above the subject, mimicking natural sunlight filtering through the water.
Don't forget to explore unconventional angles. Lighting from below can create an eerie, otherworldly atmosphere, while angled lighting can emphasize specific features of your subject.
Remember, the water itself acts as a diffuser, so you'll need to adjust your lighting techniques accordingly.
As you practice, you'll develop an intuitive sense of how light behaves underwater, allowing you to capture stunning, professionally lit images with your mobile device.
Control Backscatter and Particles

Backscatter, the bane of underwater photographers, can quickly ruin an otherwise perfect shot. These tiny particles suspended in water reflect light from your flash or strobe, creating distracting white spots in your images. To control backscatter, you'll need to adjust your lighting technique and camera settings.
First, position your light source as far away from your camera lens as possible. This reduces the amount of light hitting particles between your lens and subject. You can also try angling your lights slightly outward to minimize backscatter. If you're using a strobe, consider using a diffuser to soften the light and reduce particle reflections.
Adjust your camera settings to help combat backscatter. Use a faster shutter speed to freeze particles in place, making them less noticeable. Increase your aperture to create a larger depth of field, which can help separate your subject from backscatter.
In post-processing, you can use tools like the healing brush or clone stamp to remove any remaining backscatter spots.
Post-Processing Lighting Enhancements

Post-processing offers a powerful toolkit to enhance the lighting in your underwater photos. You'll often find that even well-exposed images can benefit from some tweaks.
Start by adjusting the overall exposure, then focus on fine-tuning the highlights and shadows. Boost the shadows to reveal hidden details in darker areas, but be careful not to introduce too much noise.
Color correction is essential underwater. Use white balance tools to neutralize any color casts, typically blue or green. Increase saturation selectively to bring out vibrant coral and fish colors without oversaturating the entire image.
Experiment with clarity and dehaze sliders to add depth and contrast to your shots.
For more advanced editing, try using graduated filters to balance the exposure between the foreground and background. Radial filters can help draw attention to your main subject by subtly brightening or darkening specific areas.
Don't forget to remove backscatter if you weren't able to eliminate it during shooting. Use spot healing or clone tools to clean up distracting particles.
Frequently Asked Questions
How Deep Can I Take My Smartphone for Underwater Photography?
You can typically take your smartphone underwater up to 1-2 meters deep with a standard waterproof case. For deeper dives, you'll need specialized housings that can protect your device at greater depths, often up to 40 meters.
What's the Best Waterproof Case for My Specific Phone Model?
To find the best waterproof case for your specific phone model, you'll need to research options tailored to your device. Check customer reviews, consider depth ratings, and look for cases that maintain full functionality underwater. Don't forget to test it thoroughly before use.
How Do I Prevent Fogging Inside My Waterproof Housing?
To prevent fogging inside your waterproof housing, you'll want to use anti-fog inserts or spray. Keep your housing clean and dry before use. Don't open it in humid environments. Consider using silica gel packets to absorb moisture.
Can I Use My Phone's Flash for Underwater Photography?
You can use your phone's flash underwater, but it's not ideal. The flash may cause backscatter, creating unwanted particles in your images. Instead, try using natural light or invest in an external underwater light for better results.
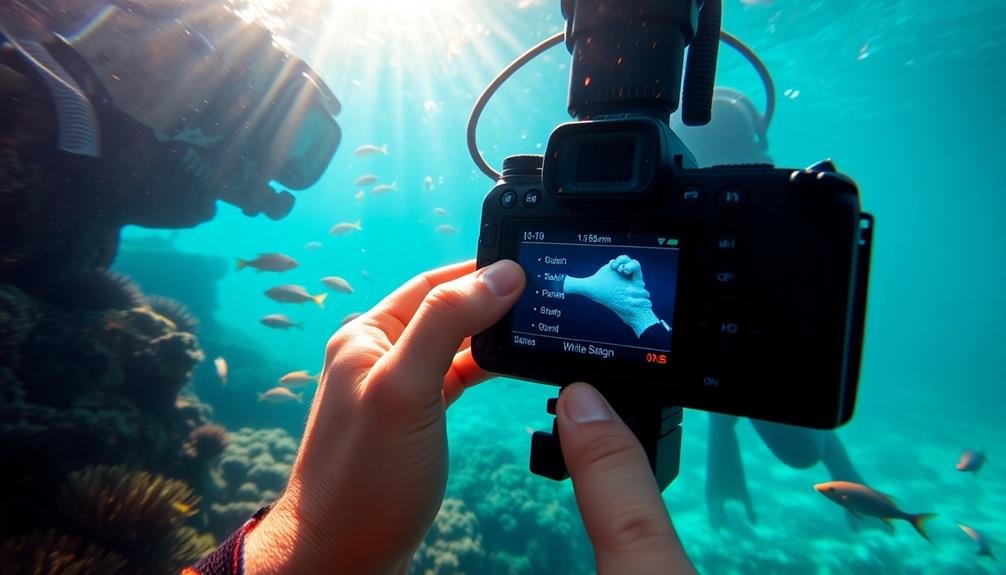
What Are the Best Apps for Editing Underwater Photos on Mobile Devices?
You'll find several great apps for editing underwater photos on your mobile device. Try Snapseed, Adobe Lightroom Mobile, or VSCO for adjusting color balance, contrast, and clarity. Dive+ is specifically designed for enhancing underwater images.
In Summary
You've now got the tools to take your underwater mobile photography to the next level. Remember, lighting is key. With the right equipment, settings, and techniques, you'll capture stunning images beneath the waves. Don't be afraid to experiment and get creative with your lighting. Practice these tips, and you'll soon be producing professional-quality underwater photos that'll wow your friends and followers. Keep diving, keep shooting, and keep improving!


Leave a Reply