To make your phone photos pop, master five key angles. Low-angle shots create drama and impact, while overhead views offer unique perspectives. Dutch angle compositions add intrigue by tilting the horizon. Use leading lines to guide the viewer's eye and apply the rule of thirds for balanced, dynamic images. Experiment with positioning your phone parallel to the ground, lying down, or finding creative vantage points. Pay attention to lighting, composition, and the mood you want to convey. By incorporating these techniques, you'll transform ordinary snapshots into fascinating visuals. Discover how each angle can elevate your smartphone photography to new heights.
Low-Angle Perspectives
Many low-angle shots can add drama and impact to your phone photos. By positioning your camera close to the ground or below your subject, you'll create a unique perspective that makes objects appear larger and more imposing. This technique works particularly well for architecture, making buildings seem taller and more grandiose.
When photographing people, a low angle can make them appear more powerful or heroic. It's an excellent choice for portraits of athletes or business leaders.
For nature photography, try placing your phone near flowers or small animals to capture their world from their point of view.
To achieve the best low-angle shots, you'll need to get creative with your positioning. Lie on the ground, squat down, or use a small tripod to stabilize your phone. Remember to clean your lens before shooting, as it may come into contact with dirt or debris.
Experiment with different heights and distances to find the most compelling composition. Don't be afraid to tilt your phone slightly upward to emphasize the height of your subject.
Low-angle perspectives can transform ordinary scenes into extraordinary images, so don't hesitate to get down low and explore this powerful technique.
Overhead Shots

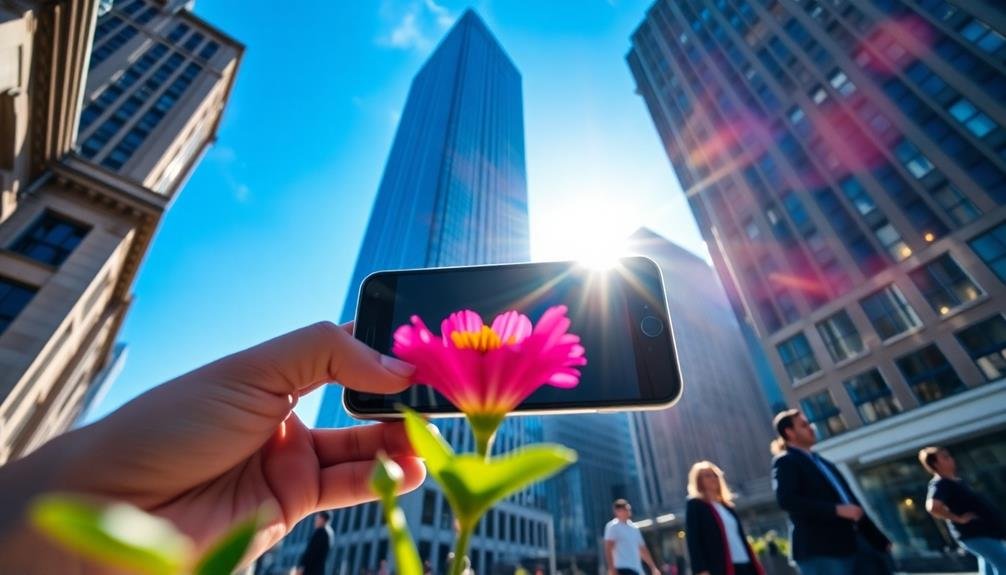
While low-angle shots can create dramatic effects, overhead shots offer a completely different perspective. These bird's-eye views provide a unique way to showcase your subject, especially when photographing flat layouts, food, or small objects. To capture overhead shots, position your phone directly above the subject, ensuring it's parallel to the ground.
For the best results, use natural light from a nearby window or diffused artificial lighting to avoid harsh shadows. If you're struggling to keep your phone steady, try using a selfie stick or a tripod with a horizontal arm for added stability.
Don't forget to experiment with composition; the rule of thirds can be particularly effective for overhead shots. When photographing people from above, be mindful of angles to avoid unflattering perspectives. Instead, try capturing subjects lying down or seated for more interesting results.
Overhead shots are also great for showcasing patterns, textures, and symmetry. Use negative space to your advantage, allowing your subject to stand out against a clean background.
Dutch Angle Compositions

The Dutch angle, also known as a Dutch tilt or canted angle, is a striking compositional technique that can add drama and unease to your phone photos.
To create this effect, tilt your phone so the horizon line isn't parallel to the bottom of the frame. This diagonal composition can instantly make your image more dynamic and eye-catching.
When using a Dutch angle, start with a slight tilt of 5-15 degrees. As you get more comfortable, experiment with more extreme angles.
Be mindful of your subject; this technique works best with strong lines or shapes that contrast with the tilted horizon. It's particularly effective for architecture, portraits, and street photography.
Use Dutch angles sparingly for maximum impact. They're great for conveying tension, disorientation, or a sense of unease in your images.
Consider the mood you want to evoke – a subtle tilt can add intrigue, while a more extreme angle can create a sense of chaos or instability.
Leading Lines Technique
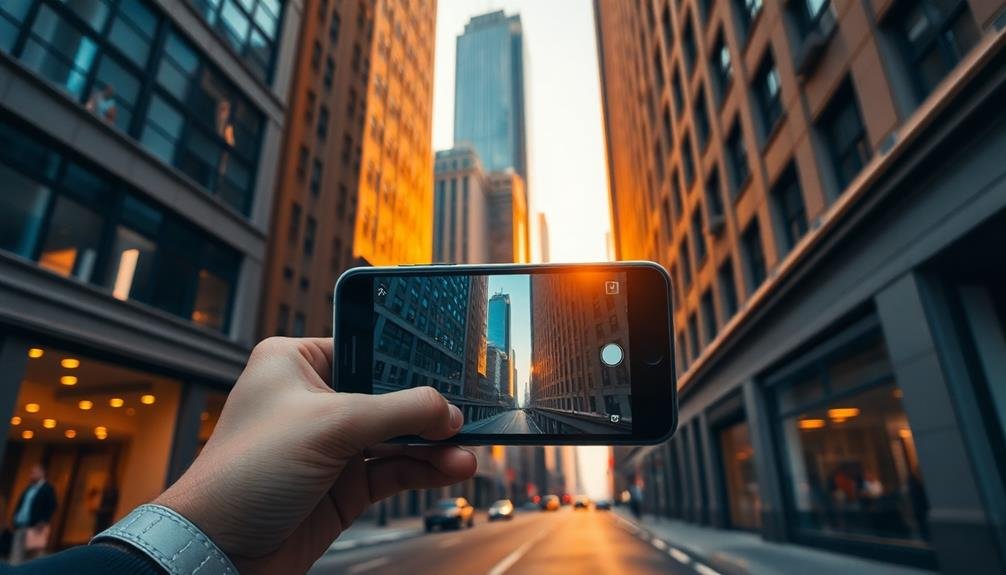
Through the use of leading lines, you can guide your viewer's eye to the main subject of your phone photo. Leading lines are natural or man-made elements within your composition that create a path for the eye to follow. They're powerful tools for creating depth and drawing attention to your focal point.
To incorporate leading lines, look for roads, fences, rivers, or architectural features that point towards your subject. Position your phone to align these elements with your main focus. You can use diagonal, vertical, or horizontal lines, depending on the effect you want to achieve. Diagonal lines often create a sense of movement, while vertical lines can convey strength or stability.
Don't limit yourself to straight lines; curved paths can add a sense of flow to your image. When using leading lines, make certain they don't overpower your subject. They should enhance, not distract from, the main focus of your photo.
Experiment with different angles and positions to find the most effective composition. Remember, leading lines work best when they're subtle and natural, guiding the viewer's gaze without being too obvious or forced.
Rule of Thirds Application

Imagine a tic-tac-toe grid overlaying your phone's screen – that's the essence of the rule of thirds. This simple yet powerful technique can dramatically improve your photo composition. By aligning key elements along these gridlines or at their intersections, you'll create more balanced and visually appealing images.
To apply this rule, place your main subject off-center, typically at one of the grid's intersection points. This creates a more dynamic and interesting composition than centering your subject. For landscapes, try aligning the horizon with either the top or bottom horizontal line, depending on whether you want to emphasize the sky or foreground.
Most smartphones have a built-in grid feature you can enable in your camera settings. Use this tool to practice aligning elements within your frame.
Frequently Asked Questions
How Does Lighting Affect the Choice of Angle for Phone Photography?
Lighting greatly impacts your angle choices. You'll want to avoid harsh shadows by adjusting your position. Shoot with the sun behind you for even lighting, or embrace side lighting for dramatic effects. Experiment to find what works best.
Can Phone Camera Filters Enhance the Impact of Specific Angles?
Yes, filters can enhance angle impact. You'll find that certain filters accentuate perspective, depth, and composition. They can make low-angle shots more dramatic or high-angle views more ethereal. Experiment with different filters to amplify your chosen angles.
What Role Does Background Selection Play in Angular Compositions?
Your background choice is essential for angular compositions. It can enhance or detract from your subject's lines and shapes. You'll want to select backgrounds that complement your angles, creating depth and drawing the viewer's eye where you intend.
Are There Angles That Work Better for Specific Smartphone Models?
You'll find that most smartphone models work well with various angles. However, some phones have wider lenses, making them better for landscape shots. Others excel at close-ups. Experiment with your specific model to discover its strengths.
How Can Motion Be Effectively Captured Using Different Phone Camera Angles?
To capture motion effectively, you'll want to experiment with panning shots, low angles for dynamic action, and high angles for a broader view. Don't forget to use burst mode or slow-motion features for more options.
In Summary
You've now got a toolkit of powerful angles to elevate your phone photography. Don't be afraid to experiment with low angles, bird's-eye views, and tilted compositions. Remember to use leading lines and the rule of thirds to guide your viewer's eye. With practice, you'll develop an instinct for which angle works best in each situation. So get out there, try these techniques, and watch your photos transform from ordinary to extraordinary.
Leave a Reply