To create professional virtual tours with your smartphone, start by equipping yourself with essential gear like a tripod and wide-angle lens attachment. Master your phone's panorama mode settings, focusing on exposure, white balance, and overlap. Compose your shots thoughtfully, framing key focal points and maintaining a consistent eye level. For 360-degree panoramas, use specialized apps and capture techniques to guarantee complete coverage. Edit and stitch your photos carefully, then host your virtual tour on platforms like Google Street View or Matterport. By applying these pro techniques, you'll craft immersive experiences that engage and inspire viewers. Dive deeper to access the full potential of smartphone panoramas.
Essential Equipment for Smartphone Panoramas

For smartphone panoramas, you'll need just a few key items. First and foremost, your smartphone is the cornerstone of your setup. Guarantee it has a high-quality camera and enough storage space for multiple high-resolution images. Most modern smartphones come equipped with built-in panorama modes, but you can also download dedicated apps for more advanced features.
A sturdy tripod is essential for capturing sharp, well-aligned images. Look for a lightweight, portable option with adjustable legs and a smartphone mount. This will help eliminate camera shake and maintain consistent framing across shots. Consider a bluetooth remote shutter to minimize physical contact with your phone during capture.
To enhance your panoramas, invest in a wide-angle lens attachment. This will allow you to capture more of the scene in each frame, resulting in smoother stitching and fewer individual shots.
Don't forget a microfiber cloth to keep your lens clean and a portable charger to guarantee your phone doesn't die mid-shoot.
Lastly, consider a level or a virtual horizon app to guarantee your panoramas are perfectly straight. With these tools, you'll be well-equipped to create stunning smartphone panoramas like a pro.
Mastering Panorama Mode Settings
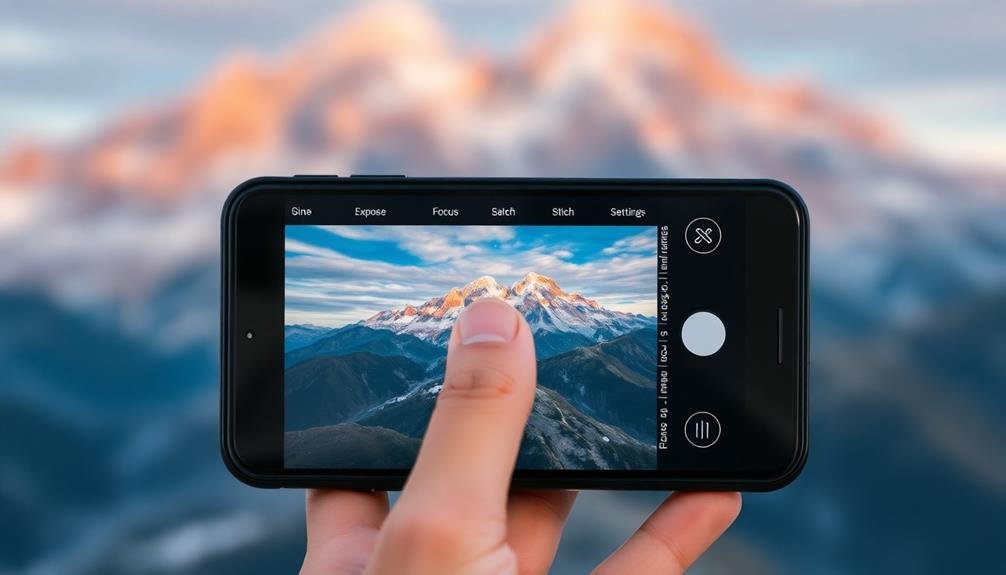
To capture stunning panoramas with your smartphone, you'll need to master key settings in panorama mode.
Start by adjusting exposure and white balance to guarantee consistent lighting across the entire image.
Next, use grid and level tools to keep your camera steady and aligned, and fine-tune stitching and overlap settings for seamless results.
Exposure and White Balance
When capturing panoramas, mastering exposure and white balance settings is essential for achieving stunning results.
Start by locking your exposure before you begin the panoramic sweep. This guarantees consistent lighting across the entire image, preventing abrupt changes in brightness. Use your smartphone's manual controls to set the exposure based on the average lighting of the scene.
For white balance, choose a setting that accurately represents the scene's colors. Auto white balance can work well, but it may shift as you pan, causing color inconsistencies. Instead, select a preset (like daylight or cloudy) or set a custom white balance. This maintains color consistency throughout the panorama.
If your scene has extreme lighting variations, consider using HDR mode. It'll help balance bright skies and shadowy foregrounds.
For tricky lighting situations, try bracketing your exposures. Take multiple panoramas at different exposure levels, then blend them in post-processing for the best results.
Grid and Level Tools
Grid and level tools play an essential role in capturing well-aligned panoramas. These features help you maintain a straight horizon and consistent composition across your entire panoramic shot. Most smartphone cameras offer built-in grid overlays and level indicators that you can enable in your settings.
To use the grid, align key elements of your scene along the gridlines or intersections. This will help you create a balanced and visually appealing composition.
The level tool, often displayed as a horizontal line or bubble, guarantees your phone remains straight as you pan. Keep an eye on this indicator to avoid tilting your device, which can result in distorted or misaligned panoramas.
Practice using these tools to improve your panoramic photography:
- Experiment with different grid patterns to find your preferred composition style.
- Challenge yourself to capture perfectly level panoramas in challenging environments.
- Try creating unique panoramas by intentionally breaking grid and level rules.
Stitching and Overlap Settings
Mastering your smartphone's panorama mode settings is essential for creating seamless, high-quality panoramic images. Two critical settings to focus on are stitching and overlap.
Stitching refers to how your phone combines multiple images into a single panorama. Most smartphones use automatic stitching algorithms, but some advanced models offer manual controls. If you have access to manual stitching settings, experiment with different options to find what works best for your scene.
Overlap settings determine how much each frame overlaps with the next. Generally, aim for 30-40% overlap to guarantee smooth shifts between frames. If your phone allows adjusting this setting, increase overlap in complex scenes with lots of details or movement.
To optimize these settings:
- Start with your phone's default settings and take test shots.
- Gradually adjust stitching and overlap as needed.
- Pay attention to areas where frames meet, looking for misalignments or distortions.
- Use a slower, steadier motion when capturing to give your phone more data for stitching.
- In challenging lighting conditions, consider using HDR mode alongside panorama for better exposure balance.
Composition Techniques for Virtual Tours
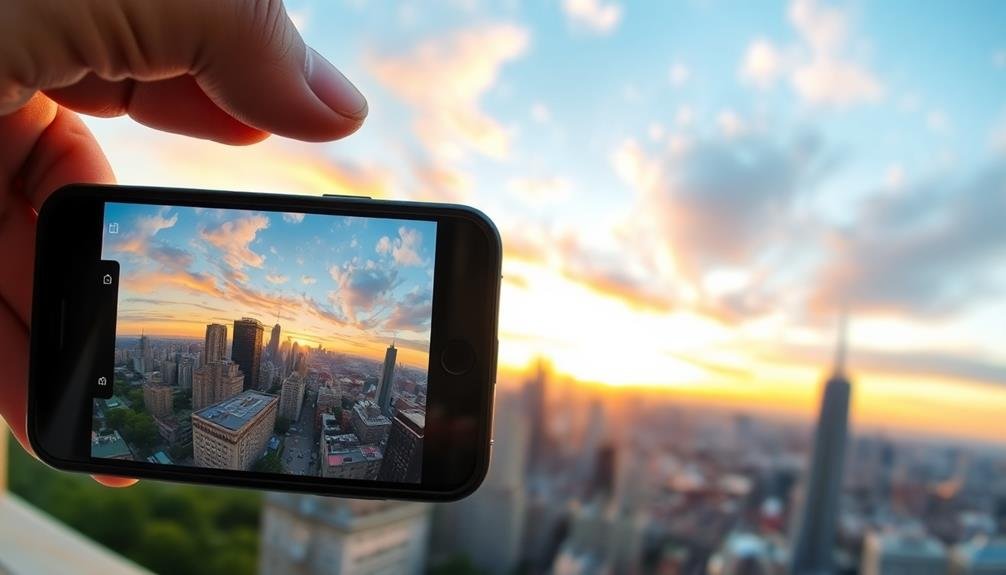
When creating virtual tours with panoramic images, you'll want to carefully frame key focal points to guide viewers through the space.
Maintain a consistent eye level throughout your shots to provide a natural, immersive experience.
Frame Key Focal Points
Every successful virtual tour hinges on capturing key focal points that draw viewers in and guide them through the space. When framing these essential elements, you'll want to position them strategically within your panoramic shots.
Start by identifying the most important features of the location, such as architectural details, unique decor, or stunning views. Then, compose your shots to showcase these focal points prominently.
As you frame your key elements, consider the rule of thirds to create visually appealing compositions. Place your focal points at the intersections of imaginary grid lines dividing your frame into thirds horizontally and vertically. This technique adds balance and interest to your panoramas, making them more engaging for viewers.
Don't forget to vary your perspectives when capturing focal points. Mix up your shots by including both wide-angle views and close-up details. This variety will help maintain viewer interest throughout the virtual tour.
To create an emotional connection with your audience:
- Frame breathtaking vistas that inspire awe
- Capture intimate details that evoke curiosity
- Highlight unique features that spark excitement
Maintain Consistent Eye Level
As you move from framing key focal points to capturing your panoramas, maintaining a consistent eye level becomes a cornerstone of professional-looking virtual tours. This technique guarantees a seamless, natural flow between images and prevents disorienting shifts in perspective that can detract from the viewer's experience.
To achieve this, keep your smartphone at the same height throughout the entire panoramic sequence. A tripod or monopod can be invaluable for maintaining stability and consistent height. If you're shooting handheld, practice keeping your arms steady and your elbows tucked against your body.
Pay attention to your surroundings and choose a comfortable eye level that works for the entire scene. In most cases, shooting at average human eye level (about 5'6" to 5'9") creates the most natural-looking results. However, you may need to adjust for specific subjects or environments.
When capturing interiors, be mindful of furniture and other objects that might obstruct your view. You may need to raise or lower your camera slightly to avoid awkward cutoffs.
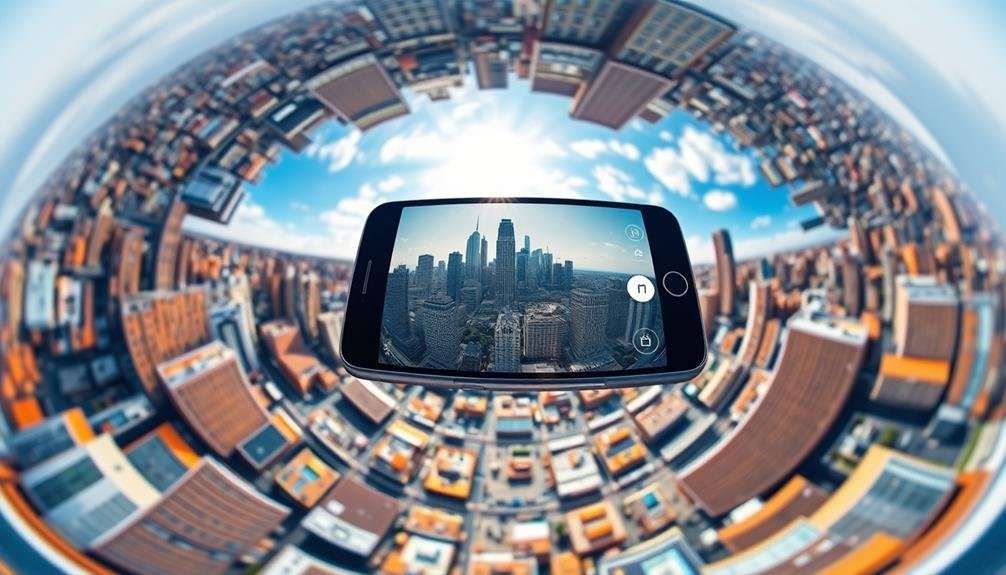
Capturing 360-Degree Panoramic Images

Taking your smartphone photography to new heights, 360-degree panoramas offer a stunning way to capture entire scenes in a single immersive image. To create these all-encompassing shots, you'll need to use a specialized app or your phone's built-in panorama mode.
Start by finding a central position that allows you to rotate a full 360 degrees without obstruction. As you begin capturing, move slowly and steadily, keeping your phone level and aligned with the horizon. Most apps will guide you through the process, showing you where to aim and when to stop.
Pay attention to potential issues like moving objects or changes in lighting that can create stitching errors. Once you've completed the full rotation, your app will process the images into a seamless 360-degree view. You can then share your creation on social media platforms that support 360-degree content or use it to create virtual tours.
- Feel the rush of creativity as you capture an entire world in one image.
- Experience the thrill of transporting viewers to your exact location.
- Embrace the power of storytelling through immersive visual experiences.
With practice, you'll master the art of 360-degree panoramas, creating enchanting virtual environments that engage and inspire your audience.
Editing and Stitching Panoramic Photos

Once you've captured your panoramic shots, it's time to bring them together seamlessly. Most smartphones offer built-in stitching capabilities, but for more control, consider using specialized software like Adobe Lightroom, PTGui, or Hugin.
Start by importing your images into your chosen editing software. Make certain they're in the correct order and check for any exposure inconsistencies. Adjust the white balance, contrast, and exposure to match across all images. Many programs offer auto-alignment features, but you may need to manually align photos if there are issues.
Next, let the software stitch your images. This process combines overlapping areas and blends the edges. You'll likely encounter some distortion, especially at the edges. Use the software's tools to correct this, adjusting the projection type if necessary.
After stitching, crop your panorama to remove any irregular edges. Fine-tune the overall image by adjusting saturation, sharpness, and contrast. Pay attention to the horizon line, making sure it's straight.
Hosting and Sharing Virtual Tours
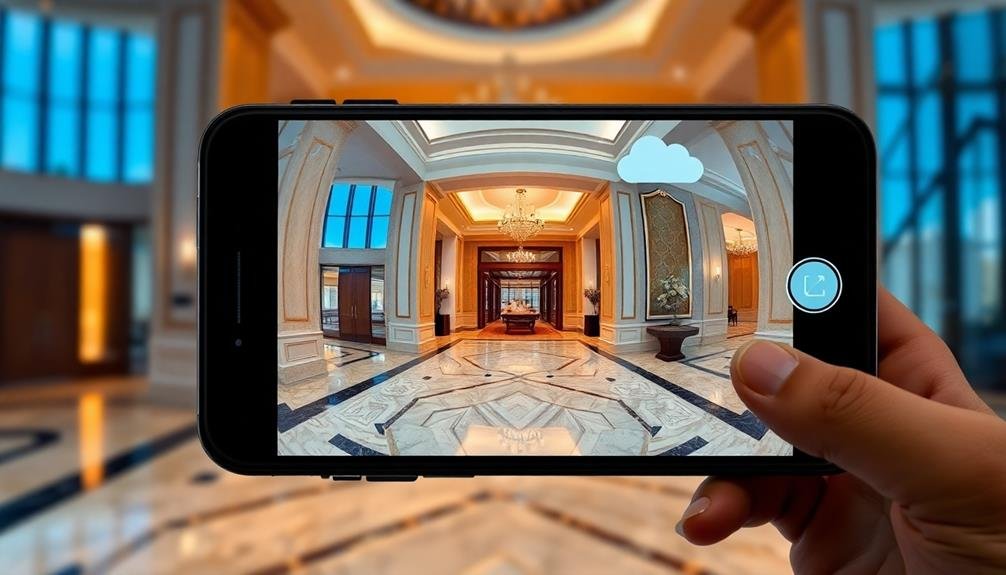
Many photographers are taking their panoramic skills to the next level by creating immersive virtual tours. These tours allow viewers to explore locations in 360 degrees, providing a more engaging experience than traditional photos.
To share your virtual tours, you'll need to choose a suitable hosting platform. Popular options include Google Street View, Matterport, and Kuula. These platforms offer user-friendly interfaces and tools to enhance your tours with hotspots, information tags, and even audio narration.
Once you've uploaded your tour, you can easily share it via links or embed codes on your website or social media platforms.
When sharing your virtual tours, consider these emotional appeals:
- Excitement: Highlight unique features or hidden gems within the tour
- Curiosity: Tease viewers with intriguing descriptions of what they'll discover
- Connection: Share personal stories or historical facts about the location
Remember to optimize your tour for different devices, as viewers may access it on smartphones, tablets, or desktop computers.
Pay attention to load times and image quality to guarantee a smooth experience. By hosting and sharing your virtual tours effectively, you'll captivate your audience and showcase your panoramic photography skills in a whole new way.
Frequently Asked Questions
Can I Create Panoramas Without a Smartphone Tripod or Gimbal?
Yes, you can create panoramas without a tripod or gimbal. You'll need steady hands and a smooth rotation technique. Try using a flat surface or leaning against a wall for stability. Practice will improve your results.
How Do I Handle Moving Objects When Shooting Panoramic Images?
When shooting panoramas, you'll want to avoid moving objects. If possible, wait for people or vehicles to pass. If that's not an option, try to capture them fully in one frame to prevent ghosting effects.
What's the Best Time of Day to Capture Outdoor Panoramas?
The best time for outdoor panoramas is during the "golden hour" – just after sunrise or before sunset. You'll get warm, soft light and long shadows. Avoid harsh midday sun, which can create unflattering contrasts and overexposure.
Are There Legal Considerations When Creating Virtual Tours of Public Spaces?
You'll need to be aware of privacy laws and property rights when creating virtual tours of public spaces. It's best to get permission for commercial use and avoid capturing identifiable individuals without consent.
How Can I Monetize My Virtual Tours and Panoramic Photography Skills?
You can monetize your virtual tours and panoramic photography skills by selling them to real estate agencies, tourism boards, or businesses. You'll also find opportunities in stock photography, creating online courses, or offering custom virtual tour services.
In Summary
You've now got the skills to create stunning virtual tours with just your smartphone. Remember to practice your composition, master your device's settings, and experiment with different editing techniques. As you share your immersive panoramas, you'll transport viewers to new places and perspectives. Keep exploring, refining your craft, and pushing the boundaries of what's possible with smartphone photography. Soon, you'll be creating professional-quality virtual tours that captivate and inspire audiences worldwide.


Leave a Reply