
To capture pro-level portrait shots on your Android, master portrait mode by positioning your subject 2-8 feet away and framing them in one-third of the shot. Utilize natural light, especially during golden hour, or experiment with side lighting for depth. Apply the rule of thirds for compelling compositions, and encourage authentic expressions through conversation. Explore your camera's manual settings for greater control, and don't shy away from unique angles to add creativity. Play with color theory by selecting complementary backgrounds, and handle challenging lighting with HDR mode or manual adjustments. These tips are just the beginning of your journey to stunning Android portraits.
Mastering Portrait Mode
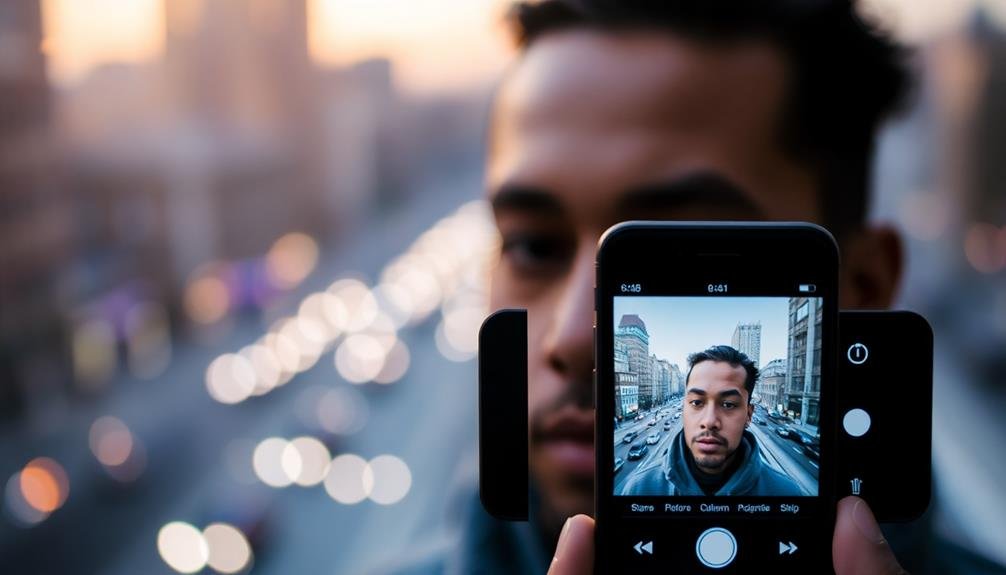
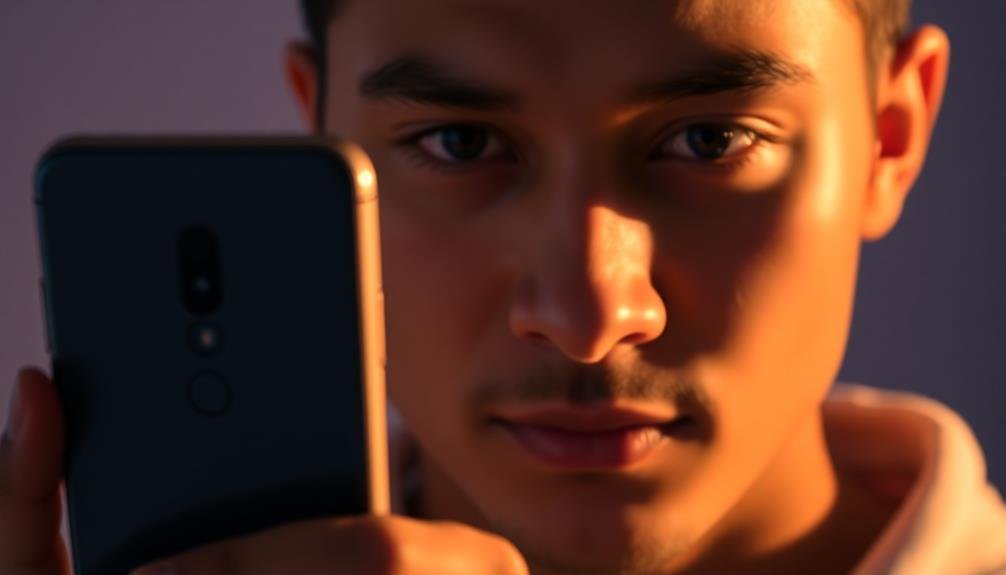
Portrait Mode is a game-changer for smartphone photography. It's designed to create professional-looking shots by blurring the background and keeping the subject in sharp focus.
To master this feature on your Android device, start by confirming your subject is 2-8 feet away from the camera. Position them against a contrasting background to enhance the depth effect.
Experiment with different lighting conditions. Natural light works best, but avoid harsh sunlight. For indoor shots, position your subject near a window for soft, flattering light.
Pay attention to the framing; the subject should occupy about a third of the frame for ideal results. Many Android phones allow you to adjust the blur intensity after taking the shot. Don't overdo it; a subtle blur often looks more natural.
Focus on the subject's eyes to create a compelling portrait. If you're shooting groups, confirm all faces are on the same plane to keep everyone in focus.
Lastly, don't rely solely on Portrait Mode. Practice composing shots manually to understand depth and focus better. This will improve your overall photography skills and help you use Portrait Mode more effectively.
Lighting Techniques for Stunning Portraits
Lighting can make or break your portrait shots. To capture stunning portraits on your Android device, you'll need to master a few key lighting techniques.
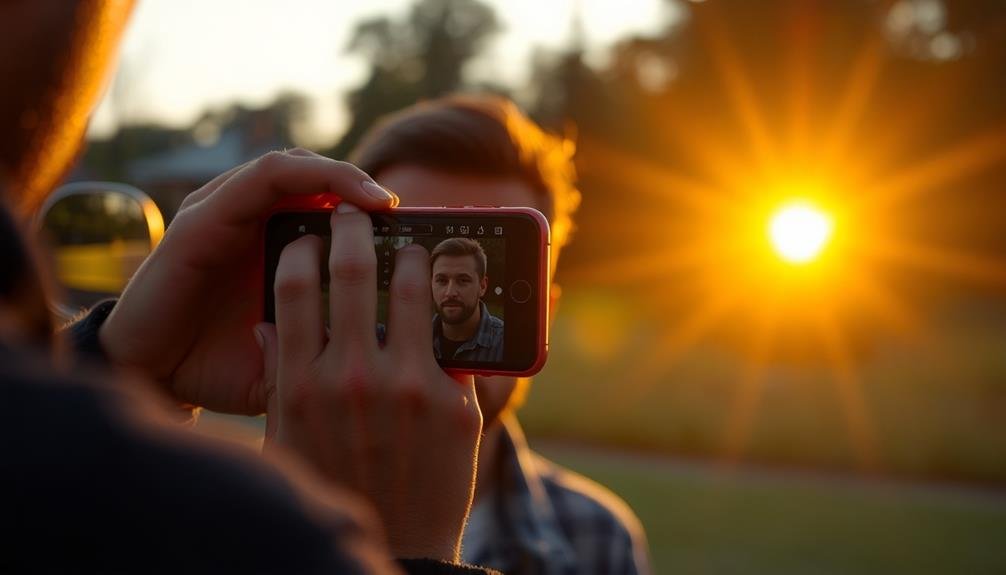
First, always seek out soft, diffused light. This can be achieved by shooting in the shade or during the golden hour just after sunrise or before sunset. Harsh midday sun creates unflattering shadows, so avoid it if possible.
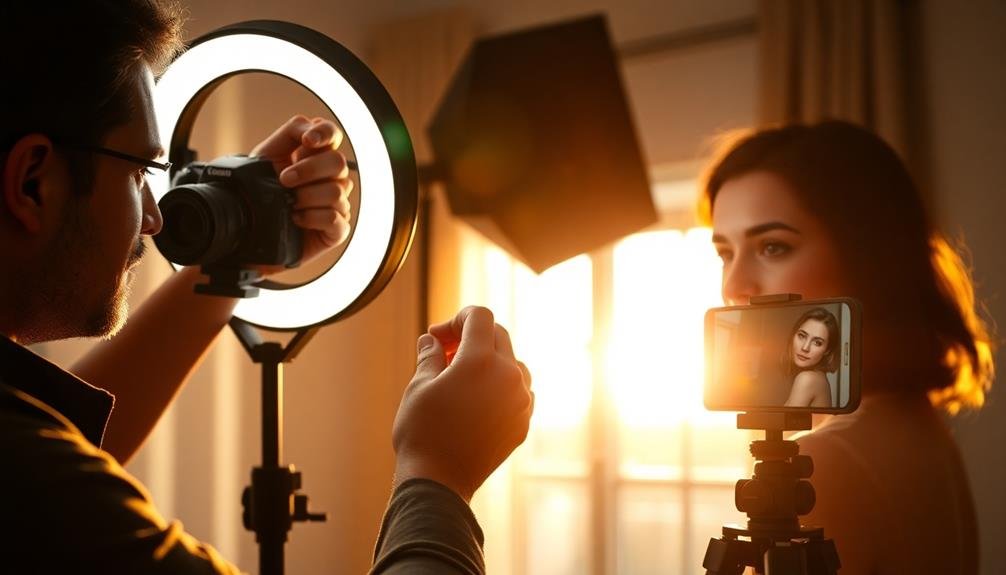
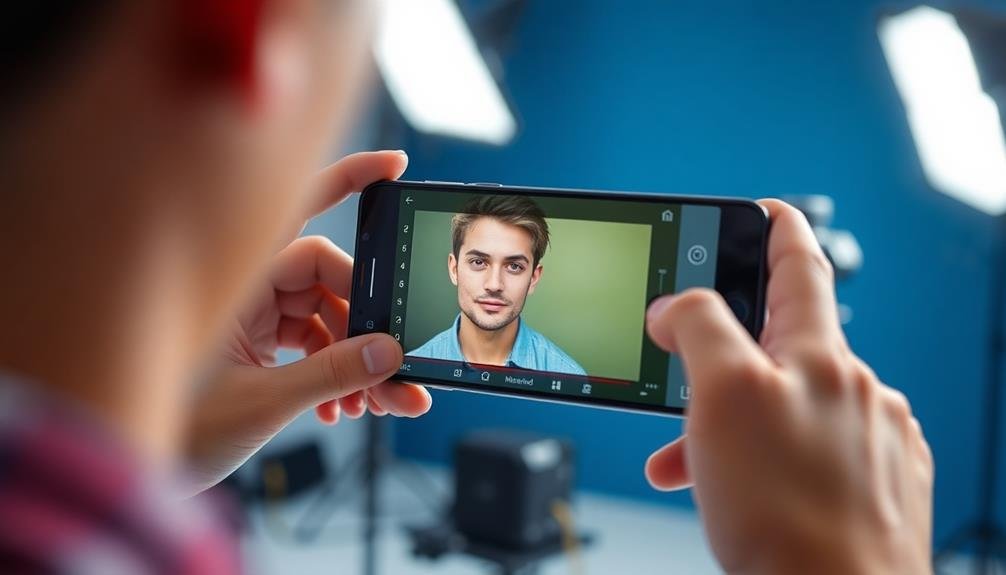
When indoors, position your subject near a window for natural light. If you're using artificial light, opt for a ring light or a softbox to create even illumination.
For dramatic portraits, try side lighting to create depth and dimension. You can also experiment with backlighting for a dreamy, ethereal effect.
Don't forget about your phone's built-in flash. While it's often best avoided, you can use it creatively by diffusing it with a tissue or bouncing it off a nearby surface.
For more control, invest in a portable LED light panel that attaches to your phone.
Remember to adjust your camera settings to complement your lighting choices. Use HDR mode in high-contrast situations, and don't be afraid to manually adjust exposure for the perfect balance of light and shadow.
Composition Rules for Android Portraits
When composing portraits on your Android device, you'll want to master key techniques to elevate your shots.
Start by applying the Rule of Thirds, framing your subject effectively, and utilizing leading lines to guide the viewer's eye.
These composition rules will help you create more visually appealing and professional-looking portraits with your Android camera.
Rule of Thirds
To elevate your Android portrait photography, mastering the Rule of Thirds is essential. This fundamental composition principle divides your frame into a 3×3 grid, creating nine equal sections. The key points of interest in your portrait should align with the intersections or along these gridlines.
When framing your subject, place their eyes along the upper horizontal line. This creates a more engaging and balanced image. You'll find that most Android camera apps offer a grid overlay option in settings, making it easy to apply this rule.
Here's a quick guide to using the Rule of Thirds effectively:
| Subject Placement | Effect |
|---|---|
| Left third | Creates interest, implies movement |
| Right third | Balanced, stable composition |
| Upper third | Emphasizes importance, power |
| Lower third | Grounding, stability in the image |
Framing Your Subject
Framing your subject effectively is a crucial aspect of composing stunning Android portraits. When you're setting up your shot, consider using natural elements or architectural features to create a frame around your subject. This technique draws the viewer's eye to the focal point and adds depth to your image.
Look for doorways, windows, arches, or even tree branches that can surround your subject. Position them strategically to create a visual border that complements rather than distracts from your main subject. You can also use foreground elements to frame the bottom or sides of your image, creating a sense of perspective.
Don't limit yourself to symmetrical frames; asymmetrical framing can add visual interest and dynamism to your portraits. Experiment with different angles and positions to find the most flattering frame for your subject.
Remember that framing doesn't always have to be literal. You can use contrasting colors, light, or shadows to create a visual frame within your composition. This subtle approach can be particularly effective in highlighting your subject's features or creating a specific mood in your portrait.
Leading Lines Technique
Beyond framing, another powerful compositional tool for Android portraits is the leading lines technique. This method uses natural or man-made lines within your frame to guide the viewer's eye towards your subject.
When using your Android device for portrait photography, look for opportunities to incorporate leading lines to create more dynamic and visually appealing images.
To effectively use leading lines in your Android portraits:
- Identify potential lines in your environment, such as roads, fences, or architectural features.
- Position your subject at the end or intersection of these lines.
- Experiment with different angles to maximize the impact of the lines.
Leading lines can be straight, curved, or even implied. They work by creating a sense of depth and drawing attention to your subject.
When composing your shot, consider how you can use the lines to create a sense of movement or direction within the frame. This technique can be particularly effective in urban environments, where you'll find an abundance of linear elements to work with.
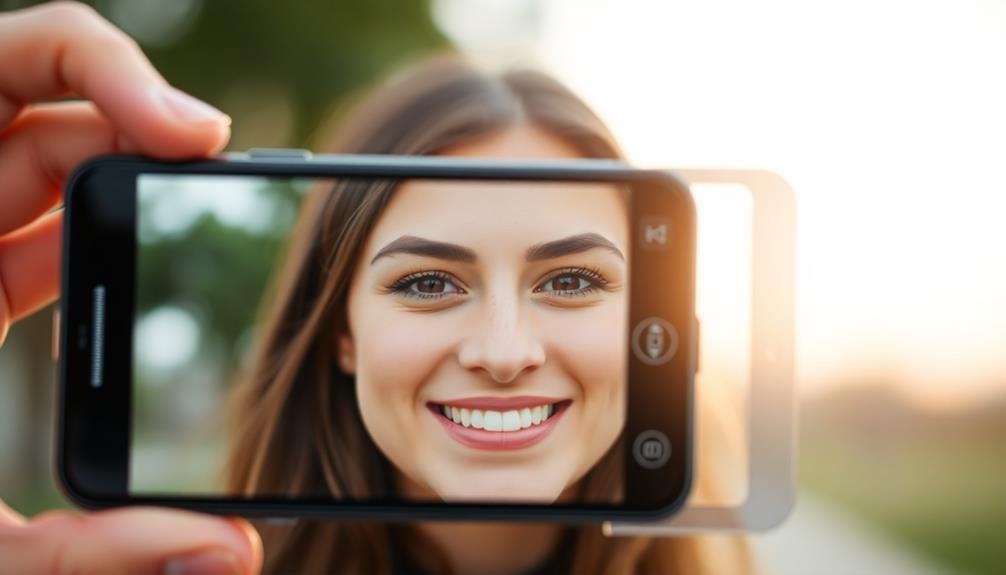
Capturing Natural Expressions

When capturing portraits with your Android device, aim for natural expressions that showcase your subject's personality.
Encourage genuine smiles by engaging in light conversation or asking your subject to think of a happy memory.
To capture candid moments, keep your camera ready and snap quickly when spontaneous expressions occur, or try taking a series of rapid shots to increase your chances of catching that perfect, unguarded look.
Encourage Genuine Smiles
Genuine smiles are the key to capturing truly memorable portrait shots. When you're behind the camera, it's your job to create an environment that encourages natural, authentic expressions. Instead of asking your subject to say "cheese," try engaging them in conversation or telling a joke to elicit a real smile.
Remember that laughter is contagious, so don't be afraid to show your own enthusiasm and positivity during the shoot.
To encourage genuine smiles, consider these techniques:
- Use prompts or questions that evoke happy memories
- Incorporate movement or playful activities into the shoot
- Give your subject a task or prop to interact with
Timing is essential when capturing authentic expressions. Keep your finger on the shutter and be ready to snap multiple shots in quick succession. Often, the best smiles appear just after the "official" photo is taken, when your subject relaxes.
Don't be afraid to take candid shots between posed ones. Finally, make sure your Android camera's settings are optimized for portrait mode, with a fast shutter speed to freeze those fleeting moments of joy and genuine emotion.
Candid Moment Techniques
Mastering the art of capturing candid moments is essential for creating authentic, emotive portraits with your Android device. To achieve this, you'll need to be patient and observant, always ready to snap a shot when the perfect moment arises.
One effective technique is to use burst mode. This feature allows you to take multiple shots in quick succession, increasing your chances of capturing that fleeting expression or gesture. Simply hold down the shutter button to activate burst mode on most Android phones.
Another strategy is to engage your subject in conversation while subtly taking photos. This helps them relax and forget about the camera, resulting in more natural expressions. You can also try photographing people while they're engrossed in an activity, as they're less likely to be self-conscious.
Consider using your phone's voice commands or a Bluetooth remote to take photos without touching the screen. This allows you to maintain eye contact with your subject, creating a more comfortable atmosphere.
Lastly, experiment with different angles and compositions. Sometimes, the most enchanting candid shots come from unexpected perspectives. Don't be afraid to crouch, climb, or lean to find that perfect vantage point.
Utilizing Android Camera Settings
Android's camera settings are a treasure trove of options for portrait photographers. To capture stunning portraits, you'll need to harness these features effectively. Start by exploring your device's Pro or Manual mode, which gives you control over vital elements like ISO, shutter speed, and white balance. Adjust these settings to match your lighting conditions and desired effect.
Next, focus on your camera's portrait-specific features. Many Android phones offer a Portrait mode that automatically blurs the background, creating a professional-looking depth of field. Experiment with this setting to achieve the perfect balance between subject sharpness and background blur.
To elevate your portrait game further, consider these advanced techniques:
- Use HDR mode for high-contrast scenes to capture more detail in highlights and shadows.
- Enable grid lines to help with composition and apply the rule of thirds.
- Utilize your phone's burst mode to capture fleeting expressions and guarantee you don't miss the perfect shot.
Don't forget to explore your camera app's additional features, such as beauty modes, filters, and AI enhancements. While these can be useful, use them judiciously to maintain a natural look in your portraits.
Background Selection and Blurring
When selecting backgrounds for your Android portrait shots, you'll need to choose between natural and artificial settings.
Natural backgrounds can provide authentic context, while artificial ones offer more control over the final look.
You can adjust the blur intensity in your Android camera app to create a pleasing bokeh effect, which helps separate your subject from the background.
Natural vs. Artificial Backgrounds
Background selection plays an essential role in crafting stunning portrait shots on your Android device. When choosing between natural and artificial backgrounds, consider the mood and message you want to convey.
Natural backgrounds, like parks or beaches, often create a relaxed, authentic feel. They're great for casual portraits or environmental shots that tell a story about the subject.
Artificial backgrounds, such as studio setups or urban landscapes, offer more control over lighting and composition, perfect for formal or artistic portraits.
To make the most of your chosen background:
- Evaluate the contrast between your subject and the background. Confirm there's enough separation to make your subject stand out.
- Check for distracting elements in the frame. Remove or reposition objects that draw attention away from your subject.
- Experiment with depth of field. Use your Android's portrait mode to blur the background, creating a pleasing bokeh effect that emphasizes your subject.
Adjusting Blur Intensity
Once you've selected your background, the next step is mastering the art of adjusting blur intensity. Most Android portrait modes offer a slider or similar control to fine-tune the blur effect. Start by setting the blur to its maximum level, then gradually reduce it until you achieve the perfect balance between subject emphasis and background context.
Pay attention to the edges of your subject. Excessive blur can create unsightly halos or artifacts around hair and clothing. If you notice these issues, dial back the intensity slightly.
Remember that different scenes may require varying levels of blur. A busy background might benefit from stronger blurring, while a simpler setting may need only a subtle effect.
Don't be afraid to experiment with different blur intensities for the same shot. Take multiple photos with varying blur levels to compare later. This practice will help you develop an eye for what works best in different situations.
Keep in mind that the goal is to create depth and separate your subject from the background, not to completely obliterate it. Aim for a natural-looking bokeh effect that enhances your portrait without appearing overly artificial.
Posing Tips for Subjects

For stunning portrait shots, mastering the art of posing your subjects is essential. Start by ensuring your subject is comfortable and relaxed. Encourage natural poses that reflect their personality, rather than forcing stiff or unnatural positions. Pay attention to your subject's best features and angles, and position them accordingly.
When directing your subject, use clear and specific instructions. Instead of saying "look natural," guide them with precise directions like "tilt your chin slightly downward" or "turn your shoulders at a 45-degree angle." Remember that small adjustments can make a big difference in the final image.
Consider these key posing tips:
- Use the rule of thirds to place your subject's eyes along the upper horizontal line for a balanced composition.
- Experiment with different hand positions to add interest and avoid awkward placements.
- Incorporate props or environmental elements to create context and add depth to your portraits.
Don't forget to pay attention to your subject's posture. Encourage them to stand or sit up straight, but not rigidly. A slight lean forward can create a more engaging and dynamic pose.
Editing Android Portrait Photos
Occasionally, even the best-shot portraits need some touch-ups. With your Android device, you've got powerful editing tools right at your fingertips. Start by using your phone's built-in photo editor or download a specialized app like Snapseed or VSCO for more advanced features.
Begin by adjusting the exposure and contrast to enhance the overall lighting of your portrait. Next, fine-tune the highlights and shadows to bring out details in both bright and dark areas.
Don't forget to tweak the white balance to guarantee natural skin tones. For a more polished look, use the spot healing tool to remove blemishes or distractions. Apply selective adjustments to enhance specific areas like eyes or hair.
Experiment with subtle vignettes to draw focus to your subject. If you're feeling creative, try black and white conversions or add a gentle color grade to set the mood.
Lens Accessories for Android Phones

Increasingly, Android photographers are turning to lens accessories to elevate their portrait game. These add-ons can transform your phone's camera, offering new creative possibilities for stunning portraits. Clip-on lenses are popular choices, easily attaching to your device and expanding its capabilities.
When choosing lens accessories for your Android, consider these options:
- Wide-angle lenses: Perfect for group portraits or environmental shots, they capture more of the scene and add depth to your images.
- Macro lenses: Ideal for close-up portraits, highlighting intricate details like eyes or textures.
- Telephoto lenses: Great for achieving a flattering compression effect and blurring backgrounds in portraits.
Before purchasing, verify compatibility with your specific Android model. Quality matters, so invest in well-crafted lenses from reputable brands. While some cheaper options exist, they may introduce distortion or reduce image quality.
To get the most out of your lens accessories, experiment with different compositions and lighting setups.
Practice using your new lenses in various settings to understand their strengths and limitations. With time and experience, you'll find these add-ons becoming an essential part of your Android portrait photography toolkit.
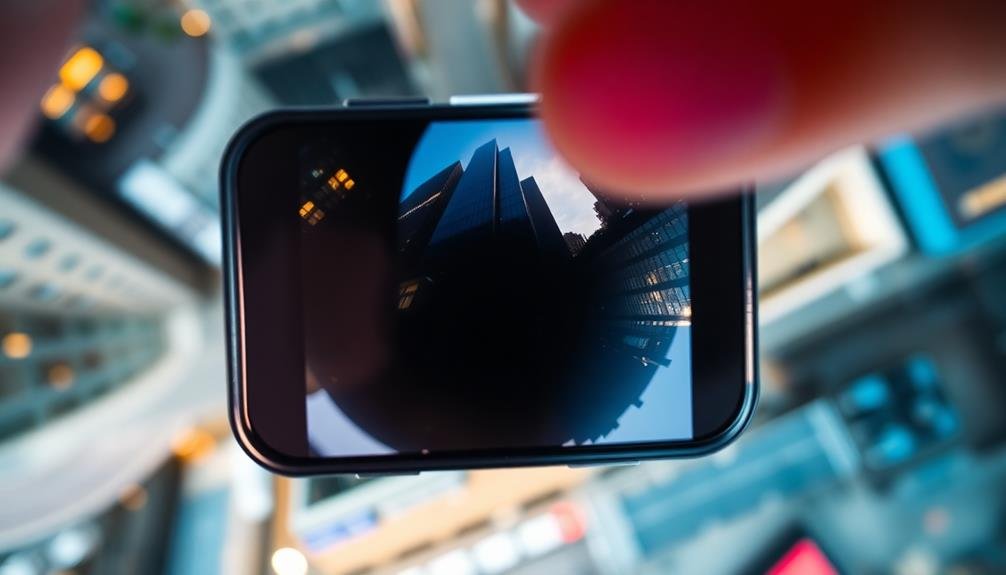
Unique Angles for Creative Shots
Breaking out of conventional portrait poses can lead to eye-catching and memorable images. To capture unique angles with your Android phone, try getting low and shooting upwards. This perspective can make your subject appear more powerful or heroic.
Alternatively, climb to a higher vantage point and shoot downwards for a more vulnerable or intimate look.
Don't be afraid to tilt your phone for dynamic diagonal compositions. This technique adds energy and movement to your portraits. Experiment with extreme close-ups, focusing on specific features like eyes or hands. These intimate shots can reveal details often missed in traditional portraits.
For a fresh take, shoot through objects in the foreground. Use leaves, glass, or fabric to frame your subject and add depth to your image. Try capturing reflections in mirrors, puddles, or windows for a creative double exposure effect.
Lastly, consider unconventional crop compositions. Off-center framing or partial face shots can create intrigue and draw the viewer's eye.
Color Theory in Portrait Photography

Color theory plays an essential role in creating visually striking portrait photographs. Understanding how colors interact and affect mood can elevate your Android portrait shots from good to exceptional. When composing your image, consider the color wheel and how complementary, analogous, or triadic color schemes can enhance your subject.
To effectively use color theory in your portraits:
- Choose backgrounds that complement your subject's skin tone and clothing.
- Use color accents to draw attention to specific features or areas.
- Experiment with color grading in post-processing to create a cohesive look.
Don't be afraid to play with unconventional color combinations to create unique and memorable images. Warm tones like reds and oranges can evoke feelings of energy and passion, while cool blues and greens can create a calm, serene atmosphere.
Pay attention to the existing colors in your environment and use them to your advantage.
Remember that color can also affect the perceived depth and dimensionality of your portraits. Darker, cooler colors tend to recede, while brighter, warmer colors appear to come forward.
Handling Challenging Lighting Conditions
How often have you encountered less-than-ideal lighting when trying to capture the perfect portrait? Challenging lighting conditions are common in mobile photography, but you can overcome them with the right techniques.
For harsh midday sun, use the HDR mode on your Android device to balance exposure. Alternatively, seek shade or create it with a diffuser.
In backlit situations, tap on your subject's face to adjust exposure and use fill flash to illuminate shadows.
Low light scenarios require steady hands or a tripod. Increase your ISO, but be wary of noise. Use night mode or long exposure features if available.
For indoor shots with mixed lighting, set your white balance manually or use the AWB lock feature.
Contrasty scenes benefit from exposure bracketing. Take multiple shots at different exposures and combine them later.
When dealing with fluorescent lighting, adjust your white balance to avoid green tints.
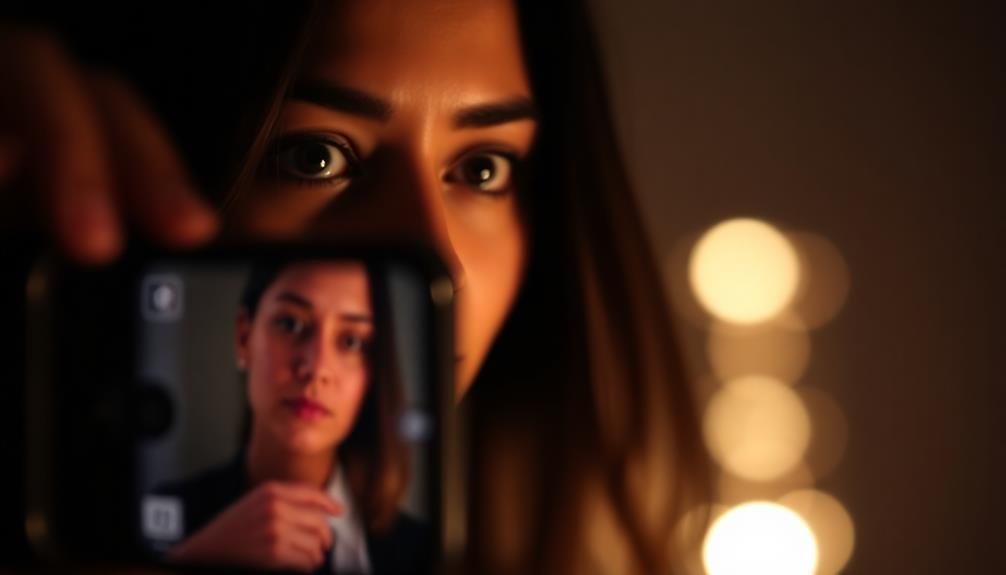
Perfecting Self-Portraits on Android
Frequently, the front-facing camera on your Android device is your ticket to stunning self-portraits. To elevate your selfie game, focus on proper lighting, composition, and camera settings.
Natural light is often your best friend, so position yourself near a window or in a well-lit outdoor area. Avoid harsh shadows by facing the light source directly or at a slight angle.
Experiment with different angles to find your most flattering look. Hold your phone slightly above eye level to create a slimming effect and minimize unflattering shadows under your chin. Use your device's grid feature to align your face according to the rule of thirds for a more visually appealing composition.
To perfect your Android self-portraits, try these advanced techniques:
- Enable portrait mode for a professional, blurred background effect
- Use voice commands or gestures to trigger the shutter, reducing camera shake
- Experiment with your device's built-in filters and beauty modes for enhanced results
Don't forget to clean your front-facing camera lens regularly to guarantee sharp, clear images.
With practice and these tips, you'll be capturing pro-level self-portraits on your Android device in no time.
Frequently Asked Questions
How Can I Protect My Android Phone's Camera Lens From Scratches?
To protect your Android phone's camera lens from scratches, you should use a protective case with a raised rim around the lens. You can also apply a tempered glass lens protector or keep your phone in a separate pocket when not in use.
Are There Specific Android Apps for Professional-Level Portrait Retouching?
Yes, you'll find several Android apps for professional portrait retouching. Try Snapseed, Adobe Lightroom, VSCO, or Facetune2. They offer advanced tools for skin smoothing, facial contouring, and color correction to enhance your portraits like a pro.
How Do I Sync Portrait Photos Across Multiple Android Devices?
You can sync portrait photos across Android devices using cloud services like Google Photos or Dropbox. Enable auto-sync in your preferred app's settings, and you'll have access to your portraits on all connected devices instantly.
What's the Best Way to Clean My Android Phone's Camera Lens?
To clean your Android phone's camera lens, you'll want to use a microfiber cloth. Gently wipe the lens in circular motions. For stubborn smudges, lightly dampen the cloth with distilled water. Don't use harsh chemicals or abrasive materials.
Can I Use Android Portrait Features for Product Photography?
Yes, you can use Android portrait features for product photography. They'll blur the background, highlighting your product. Experiment with different angles and lighting. However, for professional results, you might want specialized equipment and software.
In Summary
You've now got the tools to elevate your Android portrait photography. Remember, practice makes perfect. Don't be afraid to experiment with different techniques and settings. Keep exploring new angles, lighting, and compositions. Your smartphone's a powerful tool, so make the most of it. As you refine your skills, you'll capture stunning portraits that truly showcase your subjects. Now go out there and start shooting!


Leave a Reply